Candy-making in the microwave in 9 minutes.
Why wait for the pre-Christmas holiday season when you can chip a tooth any time of the year.
You don’t need a candy thermometer, it’s made in one bowl in the microwave, it’s ready to go in 9 minutes, and it’s covered in chocolate.
Of course you don’t have to top it with chocolate, but I think everything is better covered in chocolate.
I made Seven Minute Microwave Caramels and then I one-upped them with Chocolate-Covered 7-Minute Microwave Caramels
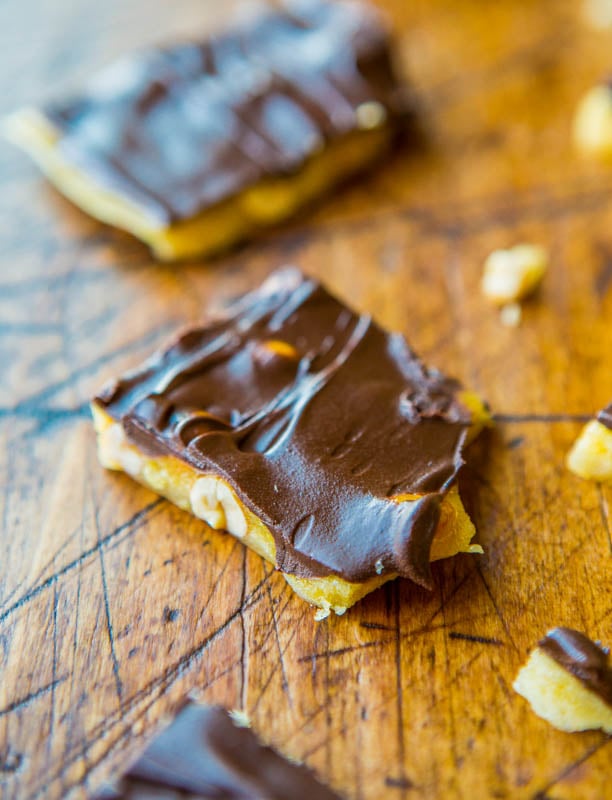
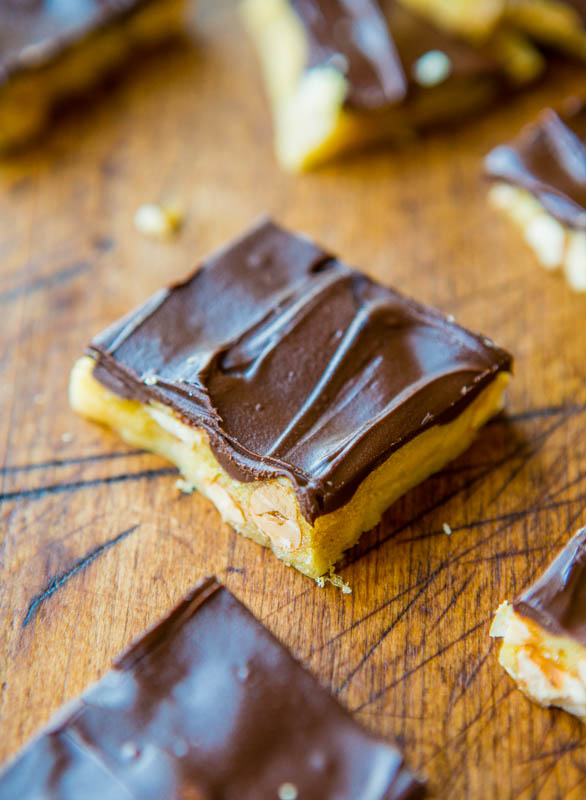
So right off the bat with the peanut brittle, chocolate is involved. I sprinkled chocolate chips on top of the hot brittle right after turning it out onto parchment. The residual heat from the brittle melted the chips so I had one less step and one less bowl to wash. Talk about easy.
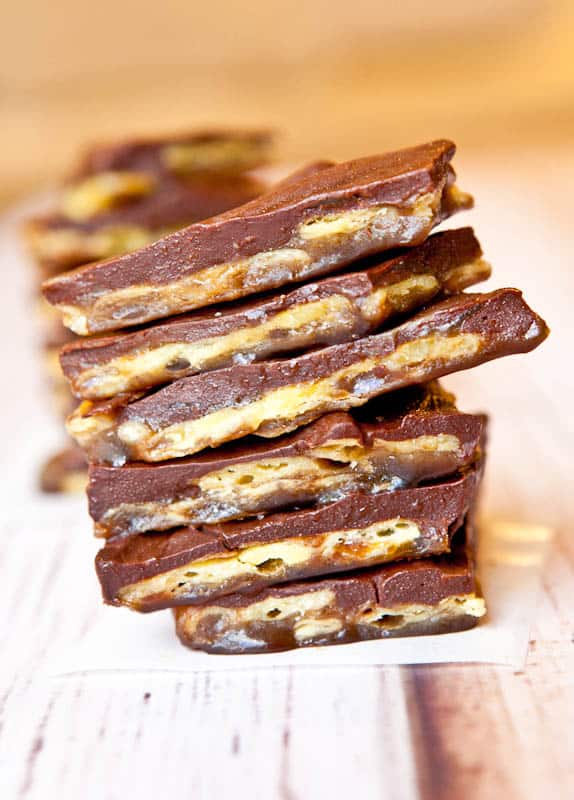
The peanut brittle reminds me of Chocolate Saltine Toffee, otherwise known as Christmas Crack, because of the buttery, toffee flavor and the chocolate.
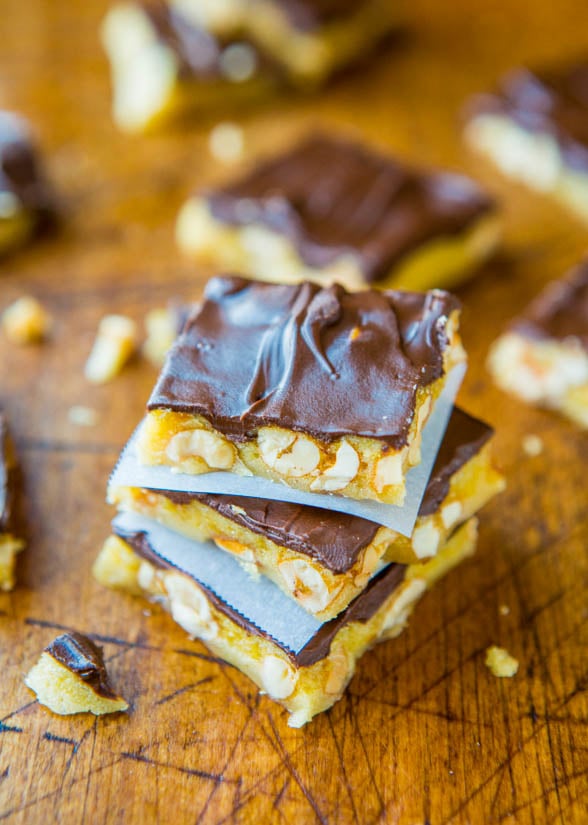
The difference is that the peanut brittle will stick to your teeth and it’s exceedingly crunchy. I read in the comments of this recipe where people have said that adding extra baking soda prevents some of the tooth-sticking situation, although I haven’t tried it.
If you’re looking for a fast and easy way to satisfy your sweet tooth without turning on your oven, try this. It’s also gluten-free if that’s a consideration for you.
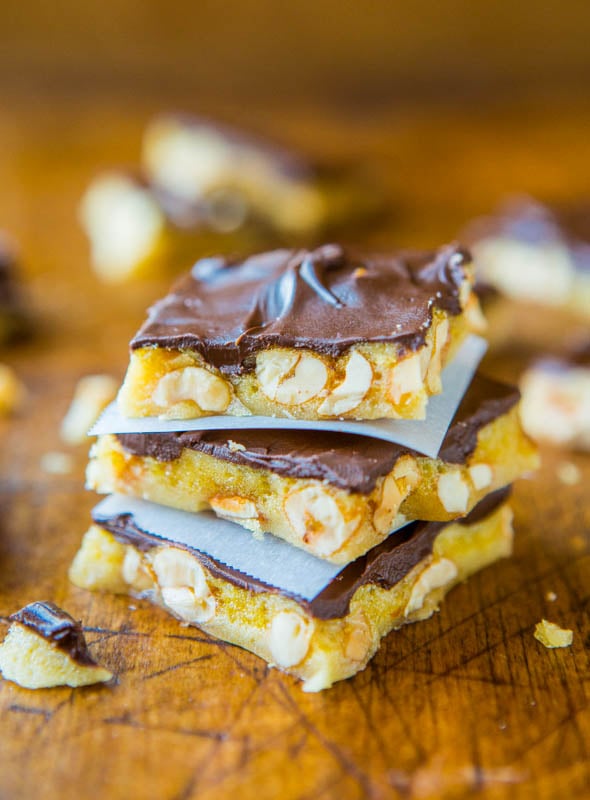
The honey roasted peanuts in the brittle help create a salty-and-sweet element that will have you reaching for just one more piece. And one more.
If you need to a hostess gift, this is so easy and no one has to know it only takes 9 minutes to make.
It’s too good to only eat in December when it gets lost in a sea of sugar cutout cookies, peppermint fudge, and eggnog.
Savor the salty-and-sweet, tooth-sticking, good stuff year-round.
Pin This Recipe
Enjoy AverieCooks.com Without Ads! 🆕
Go Ad Free
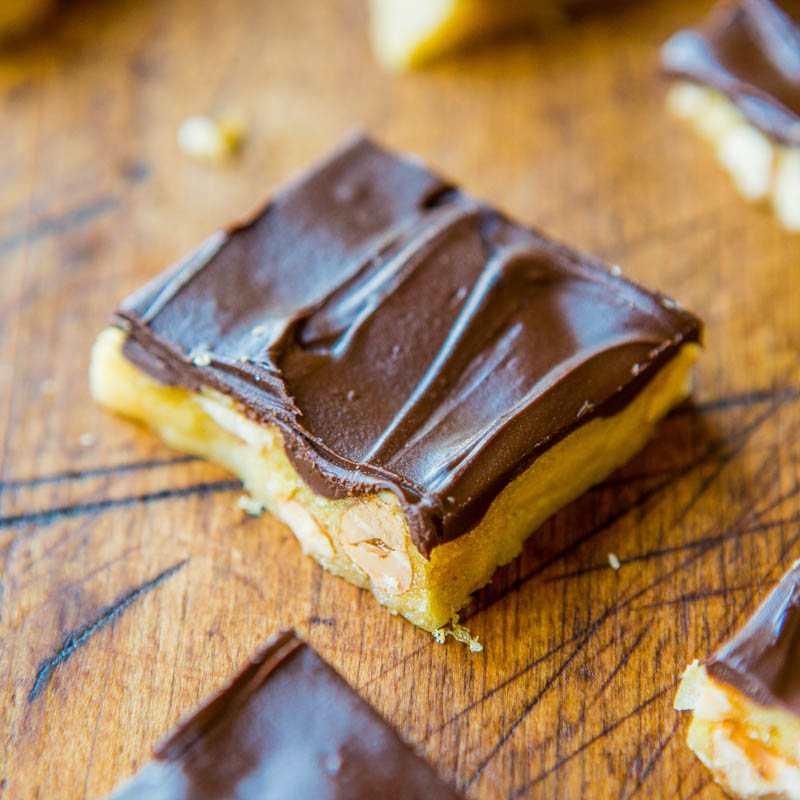
Chocolate-Covered Microwave Peanut Brittle (gluten-free)
Ingredients
- 1 cup granulated sugar
- ½ cup light corn syrup, light in color, not lite
- 1 cup peanuts, I use honey roasted, or try salted dry roasted
- 1 teaspoon unsalted butter
- 2 teaspoons vanilla extract
- 1 teaspoon baking soda
- 1 ½ cups semi-sweet chocolate chips
Instructions
- This is a fast moving recipe. Read the recipe at least twice, in entirety, before beginning. Have everything ready and in place before beginning. Use caution at all stages of recipe, including using a truly microwave-safe microwave-bowl and a trustworthy hot mitt. My microwave is an 1100-watt microwave; if yours is a significantly different wattage, you may need to reduce or extend cooking times slightly.
- Line a baking sheet with parchment paper; set aside.
- To a large microwave-safe bowl (at least 2 quarts because mixture bubbles up considerably) , add the sugar and corn syrup. Cook on high power for 4 minutes.
- Remove bowl from microwave and stir the mixture. Stir in the peanuts.
- Return bowl to microwave and cook on high power for 3 1/2 minutes.
- Remove bowl from microwave and stir in the butter.
- Stir in the vanilla. Use caution; this will cause the mixture to bubble up.
- Return bowl to microwave and cook on high power for 1 1/2 minutes.
- Remove bowl from microwave and stir in the baking soda until evenly distributed and mixture is light in color. Use caution; this will cause the mixture to bubble up and foam.
- Turn mixture out onto parchment, spreading in a thin layer about 1/2-inch thick, or to desired thickness.
- Wait about 1 minute, just so it’s very slightly firmed up, and evenly sprinkle the chocolate chips over the brittle.
- Wait 1 to 2 minutes, or until chips have softened and melted, and with a spatula or knife, smooth out the chocolate.
- Allow brittle and chocolate to set up at room temperature for at least 2 hours before breaking or cutting into pieces.
- Brittle will keep airtight at room temperature for at least 2 weeks, or in the refrigerator for at least 1 month, likely much longer. I store mine in the fridge.
- Recipe adapted from Allrecipes
Nutrition
Nutrition information is automatically calculated, so should only be used as an approximation.
©averiecooks.com. Content and photographs are copyright protected. Sharing of this recipe is both encouraged and appreciated. Copying and/or pasting full recipes to any social media is strictly prohibited.
Related Recipes:
Chocolate Saltine Toffee, i.e. Christmas Crack
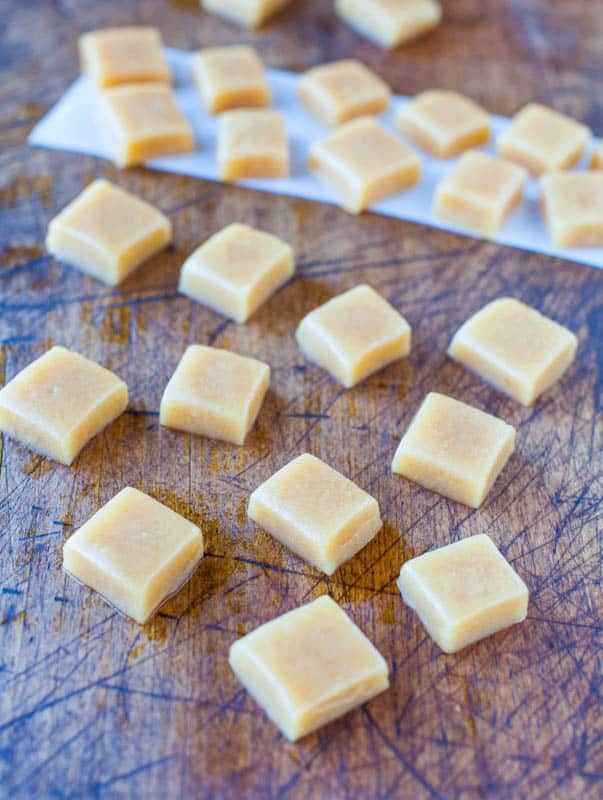
Seven Minute Microwave Caramels (no-bake, gluten-free)
Chocolate-Covered 7-Minute Microwave Caramels
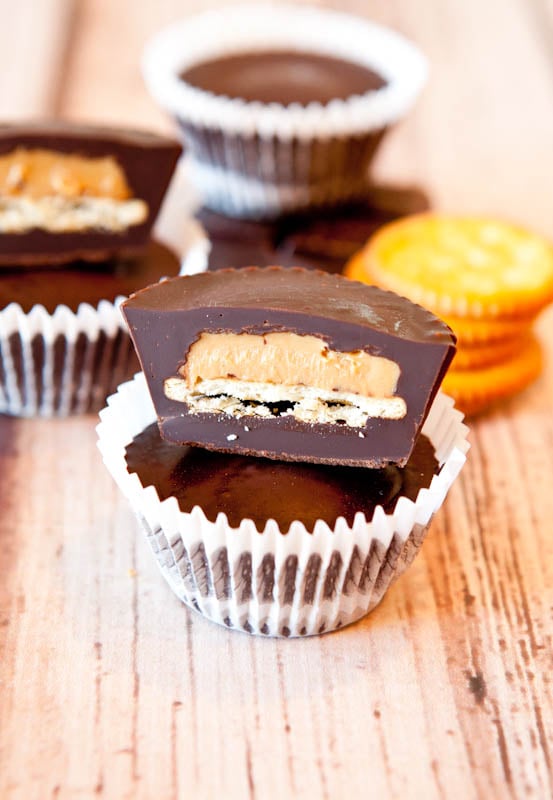
Ritz Cracker Stuffed Peanut Butter Cups (No Bake, Vegan)
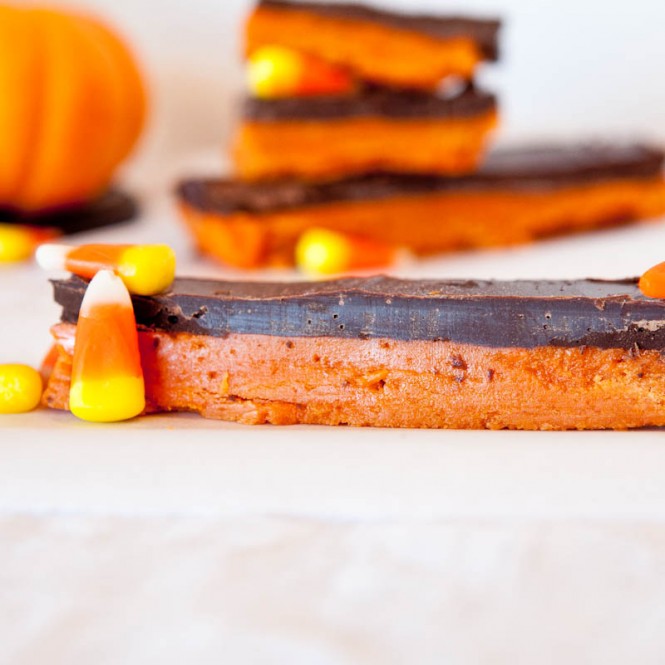
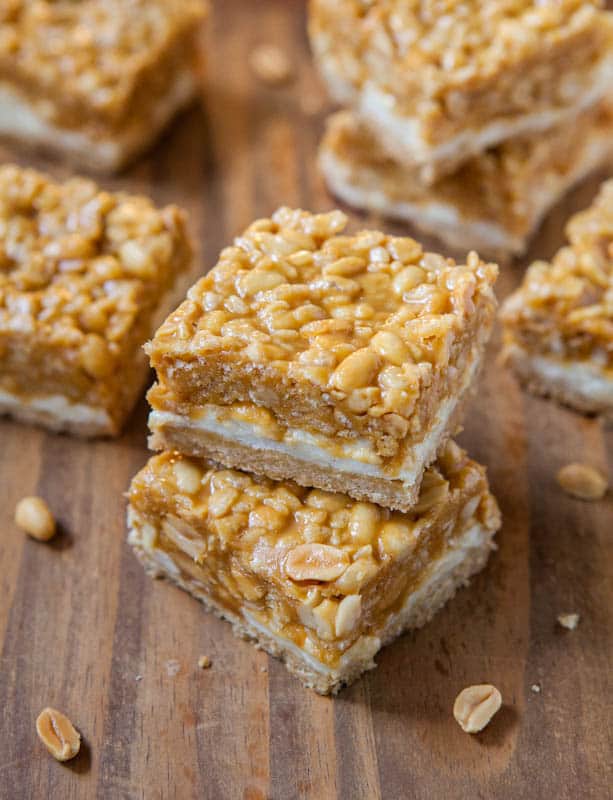
Butterfinger Bars (no-bake, make in microwave, vegan & GF options)
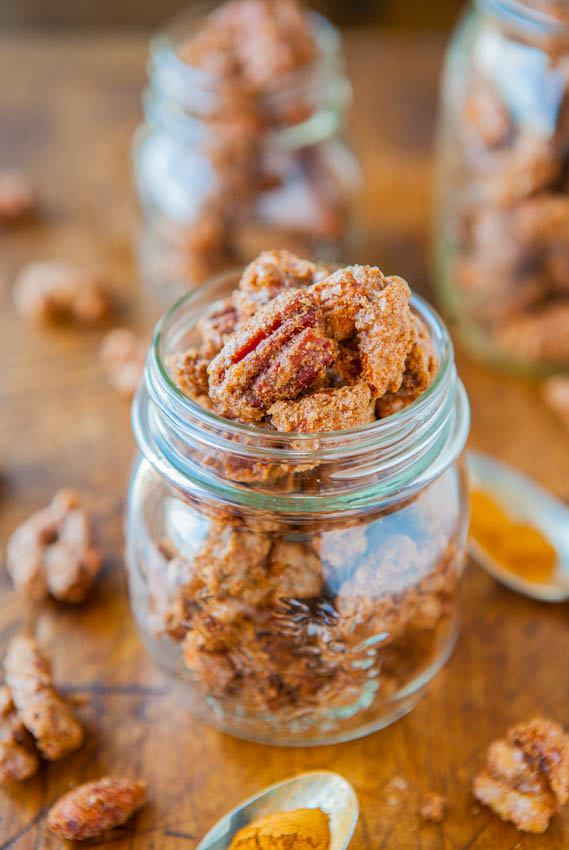
Sweet with Heat Cinnamon Sugar Candied Nuts (GF)
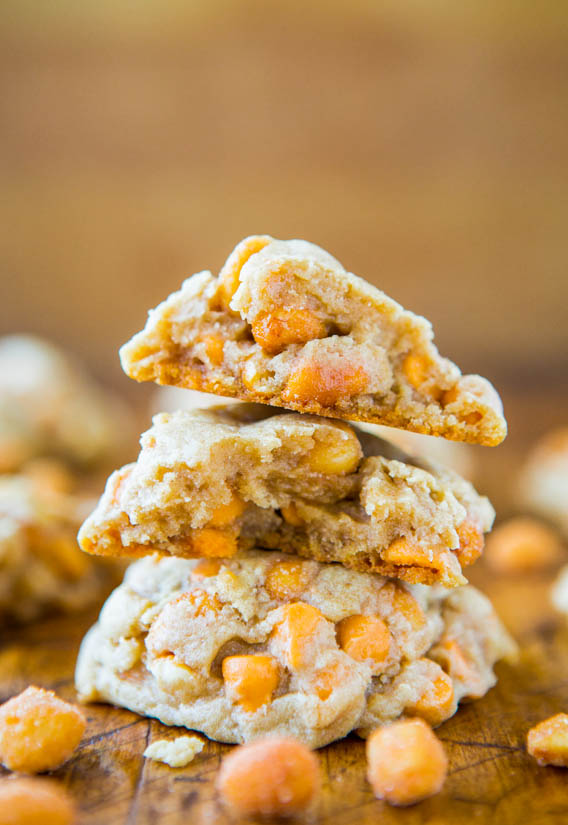
Soft and Chewy Honey Roasted Peanuts and Butterscotch Chip Cookies
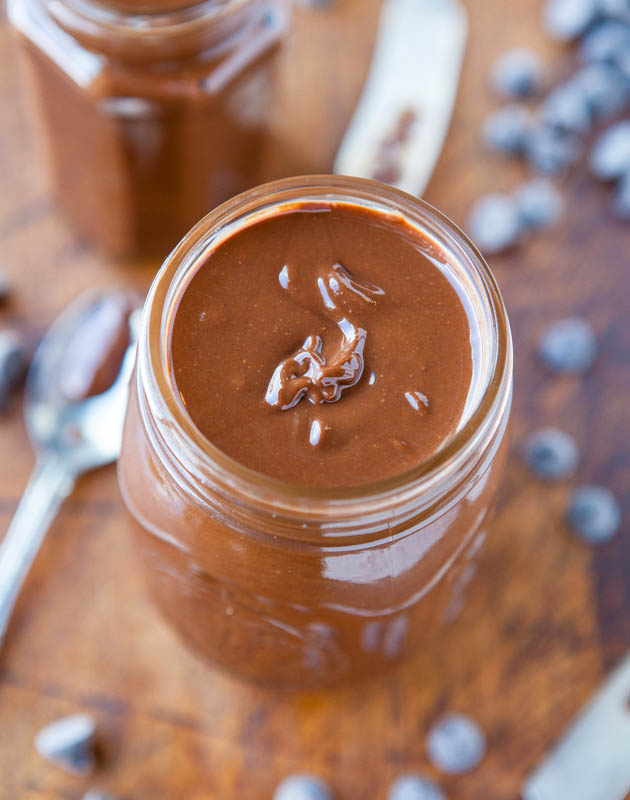
Homemade Chocolate Peanut Butter (vegan, GF)
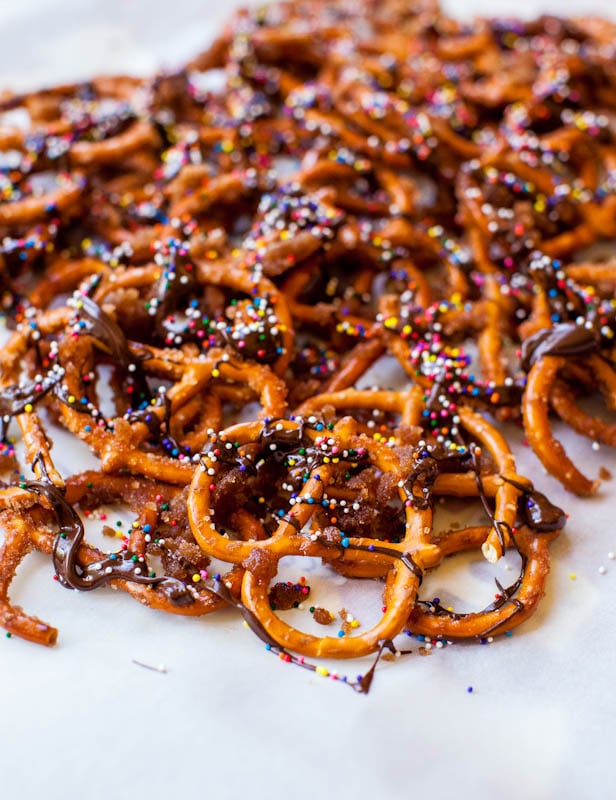
Cinnamon Sugar Chocolate Pretzels – Make in the micro in 5 minutes, and one of the best things you’ll ever make in your microwave
Have you ever made peanut brittle? Tried your hand at candy-making, either traditional or in the microwave?

What size baking pan was used?
Re-read the recipe. Step 2.
Oh yes! I gotta have this asap :) looks incredible!
Yes, bring on the tooth-sticking, salty-sweet love, any time of year! My microwave is already making googly eyes at me. : D
LOL – enjoy :)
I am THE WORST at recipes that call for a candy thermometer! This looks like the best compromise everrrrrr. But. I am one of those weirdos with no microwave. I think I can pull this one off on the stove top, right?
I’m sure you can do it on the stovetop but I have no idea how the cooking times will translate. If you try it, LMK!
Using a thermometer to make candy is one of the things I hate the most! I stick it in one area and it’s the right temp. Another area and it’s too cool. SUCH a pain. I like the idea of making candy without the thermometer :)
And on top of that, the candy seems to stick to the thermometer and I’m having to chisel it off and it never really gets clean and is such a pain!
This is brilliant, Averie – will have to try. I make batches of toffee during the December holidays and each batch has me stirring for about 20 minutes…
Oh this is SO Easy Liz – you’ll love it!