15-Minute Garlic Honey Chicken – 🍗🧄🍯🙌🏻 Better-than-takeout garlic honey chicken that’s ready in just 15 minutes! Crispy breaded chicken is coated in a spicy-sweet garlicky sauce! Such a FAST and EASY recipe that’s great for when you’re short on time but need big flavor! Perfect for busy weeknights and this is picky eater approved!

Table of Contents
I could happily slurp up the honey garlic sauce with a spoon, it’s that good! It coats every piece of crispy breaded chicken perfectly and makes this better-than-takeout recipe live up to its name! It is better than takeout, and faster too!
The honey garlic flavor really shines through in this recipe without the honey being too sweet nor the garlic too potent.

Soy sauce adds just the right level of saltiness to balance out the sweetness of the honey, rice vinegar gives the sauce that extra something that makes the chicken taste like it’s from your favorite Asian restaurant. And red chili flakes add the perfect little touch of heat.
Honey soy garlic chicken is a no-frills, quick and easy recipe that gets dinner on the table in under 20 minutes.
Save yourself time and money by skipping takeout and making this garlic honey chicken bursting with Asian-inspired flavors instead — dinner doesn’t get easier than this!

Ingredients in This Recipe
You should already have most of the ingredients needed for this crispy garlic honey chicken on hand. Gather the following ingredients:
- Popcorn chicken – usually a mixture of diced chicken thighs and chicken breast meat, breaded, cooked, baked, and frozen in bags. All you need to do is bake this according to the package directions. Consult the FAQs and the recipe card for other chicken options if desired
- Oil – vegetable oil or olive oil
- Scallions – also called green onions
- Garlic cloves
- Red pepper flakes – also called red chili flakes or crushed red pepper flakes
- Chicken broth or stock – I suggest using low-sodium
- Honey
- Soy sauce – I use lite or low-sodium soy sauce; use tamari if you need a gluten-free option
- Rice vinegar – sometimes called ‘rice wine vinegar’
- Cornstarch
Note: Scroll down to the recipe card section of the post for the ingredients with amounts included and for more complete directions.

Looking for More Recipes Using Popcorn Chicken?
I don’t typically cook with convenience products like breaded popcorn chicken, but on busy nights it’s so helpful to have ingredient shortcuts like this! If you’re looking for more ways to use that popcorn chicken sitting in your freezer, I also have a Sticky Sesame Chicken Recipe that’s made using popcorn chicken. It’s done in 20 minutes and features a delicious sticky sweet sauce!

How to Make Garlic Honey Chicken
This is a fast, semi-homemade dish that anyone can make with ease and very little prep time. While the popcorn chicken is baking, you just have to make the garlic honey sauce.
Here are the basic steps:
- Bake the popcorn chicken according to the package directions. Depending on the brand you might need to thaw the chicken first, so be sure to account for that!
- Heat the oil to a large pan over medium-high heat. Add the white part of the scallions, garlic, and red pepper flakes. Cook for 30 seconds.
- Pour in the chicken broth, honey, soy sauce, and rice vinegar.
- Bring the mixture to a simmer. Once simmering, slowly pour in the cornstarch slurry (equal parts cornstarch and water that you mix in a small bowl) and whisk constantly.
- Once the sauce has thickened and the chicken is done baking, add the chicken to the skillet and toss to coat with the honey soy garlic sauce.
- Sprinkle with the remaining scallions before serving. You can also garnish with fresh parsley, cilantro, or other fresh herbs. Season it with salt and pepper if desired.


Recipe FAQs
I used frozen popcorn chicken as a shortcut in this recipe. It’s typically pre-cooked and needs just a few minutes in the oven to warm through and crisp up. I don’t typically cook with convenience products like popcorn chicken, but when school is in full swing or we’re having an especially busy week, ingredients like pre-breaded chicken are a life saver!
If you’d like to make this recipe completely from scratch, I suggest breading cubed chicken breasts in flour and cornstarch like I did in my Better-Than-Takeout Sticky Chicken. Make the honey garlic sauce called for in this recipe, but pair it with the chicken from that sticky chicken recipe.
Also consult the recipe card Notes if you want to make it with from-scratch lightly fried chicken pieces.
I haven’t tested it but the same sauce and general gist of this chicken recipe will work with breaded popcorn shrimp (that was previously cooked and frozen). Bake as indicated, make this sauce, toss, and serve.
Rice vinegar is a vinegar that’s made using fermented rice. Compared to stronger vinegars like balsamic or white vinegar, rice wine vinegar tastes fairly mild. It’s just acidic enough to balance out the honey in the sauce, but it doesn’t make your mouth pucker. Sometimes it’s called ‘rice wine vinegar’ but they’re the same thing,
If you don’t have any rice wine vinegar, you could replace it with an equal amount of apple cider vinegar which is slightly fruitier and more acidic, but works in a pinch. Lemon juice will also work.
Yes, they’re the same! You can use rice vinegar and rice wine vinegar interchangeably because they’re the same product. I find mine at Trader Joe’s, but it’s also readily available at most grocery stores and on Amazon.
I highly suggest using the cornstarch as instructed in the garlic honey sauce. It’s what thickens the sauce and makes it beautifully glossy. If you omit the cornstarch, the sauce will be very thin and won’t cling to the chicken.
Technically yes, but the chicken will lose its crispness as it sits in the sauce. For that reason, the chicken is best enjoyed hot, fresh, and right away.

What to Serve with Honey Garlic Chicken
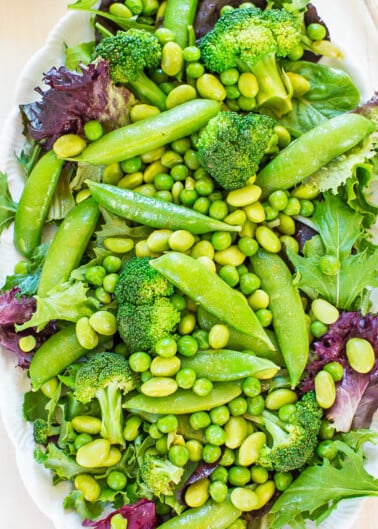
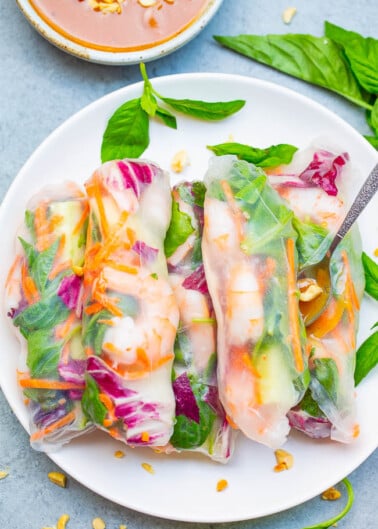
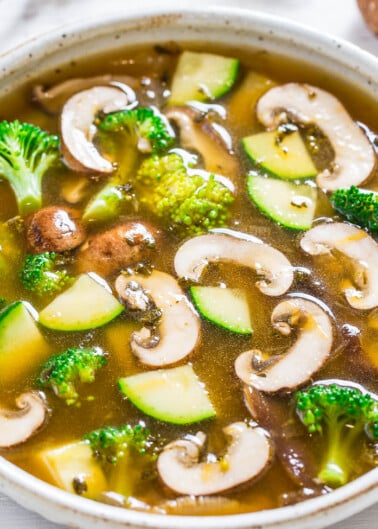
We love pairing the chicken with steamed white or brown rice plus other fresh salads, soups, or spring rolls are all great.


Storage and Reheating Instructions
In the Refrigerator: Store leftovers in an airtight container for up to 5 days. The breaded chicken will soften over time and lose its crispness, but it’s still fine to eat.
In the Freezer: You can freeze leftovers for up to 3 months, but to be honest the chicken and sauce don’t freeze well. But if you’re deciding between freezing the leftovers or tossing them, definitely freeze them!
To Reheat: Heat leftovers for 30-second intervals on high in the microwave.


Pin This Recipe
Enjoy AverieCooks.com Without Ads! 🆕
Go Ad Free

15-Minute Garlic Honey Chicken
Ingredients
- 1 ½ pounds popcorn chicken, (which is 24 ounces from a bag of frozen popcorn chicken that you bake or cook according to package directions, see Notes below for other options)
- 1 tablespoon olive oil or vegetable oil
- 4 scallions, thinly sliced, white and green parts divided
- 4 cloves garlic, finely minced
- ½ to 1 teaspoon red chili flakes, or to taste
- ¾ cup reduced sodium chicken broth
- ¾ cup honey
- 2 tablespoons lite or reduced sodium soy sauce
- 1 tablespoon rice vinegar
- 1 tablespoon cornstarch
- 1 tablespoon water
Instructions
- Bake the chicken according to package directions, or as directed. While the chicken is baking, make the sauce.
- To a large skillet add the oil, white parts of the green onions, garlic, chili flakes, and cook over medium-high heat for 30 to 60 seconds, or until fragrant. Stir constantly so it doesn't burn.
- Add the chicken broth, honey, soy sauce, rice vinegar, whisk to combine, and bring to a simmer.
- Once mixture is simmering, combine the cornstarch and water in a small bowl and stir to combine (this is called a slurry), and then add the slurry to the skillet while whisking constantly.
- Cook for about 1 to 2 minutes, whisking nearly constantly, or until the sauce has thickened.
- Add the cooked chicken to the sauce,and toss and flip it well to evenly coat it in the sauce.
- Garnish with the green parts of the green onions and serve immediately.
- Storage – Leftovers will keep airtight in the fridge for up to 4-5 days, however this recipe is best served hot and freshly made. Reheat gently for about 30 seconds in the microwave, or as needed. Recipe will technically keep airtight in the freezer for up to 2-3 months, however there seems very little point in re-freezing chicken that started off as a frozen chicken, but everyone's preferences are different.
Notes
Nutrition
Nutrition information is automatically calculated, so should only be used as an approximation.
©averiecooks.com. Content and photographs are copyright protected. Sharing of this recipe is both encouraged and appreciated. Copying and/or pasting full recipes to any social media is strictly prohibited.
More Quick Chicken Dinners:
30-Minute Chicken Poke Bowls — 🥕🍋🟩🌺🍗Fragrant jasmine rice is topped with juicy pieces of chicken coated in a SWEET and TANGY sauce! A mixture of fresh herbs and veggies on top adds tons of crunch and texture!

Chicken and Green Bean Stir Fry — 🧡💚 Juicy pieces of chicken and crisp-tender green beans are coated in a sweet and savory stir fry sauce! It’s a simple yet flavorful stir fry that’s made with pantry staples you have on hand already!

Chicken Egg Roll in a Bowl — These egg roll bowls are easy, ready in 15 minutes, full of flavor, have lots of texture, and are way healthier than actual egg rolls! Pair the stir-fry with steamed or cauliflower rice and a simple green salad for a full meal!

Chicken Pad Thai — EASY, ready in 20 minutes, and BETTER than takeout!! Tender rice noodles, juicy chicken, with crisp-tender carrots, cabbage, and more for an IRRESISTIBLE and AUTHENTIC chicken pad Thai!!

Easy Sweet and Sour Chicken — This sweet and sour chicken recipe takes just 15 minutes to make and tastes way better than takeout. Perfect for a weeknight dinner!

Sticky Basil Chicken — Skip takeout and make this AMAZING chicken that tastes like it’s from an Thai restaurant at home in 15 minutes!! So EASY with the perfect balance of sweet, spicy, and plenty of fresh basil!!

Healthier Orange Chicken — Stop calling for takeout or going to the mall food court and make this HEALTHIER orange chicken at home in less than 10 minutes!! EASY, authentic, and so INCREDIBLE that you’ll never miss the fat and calories!!


