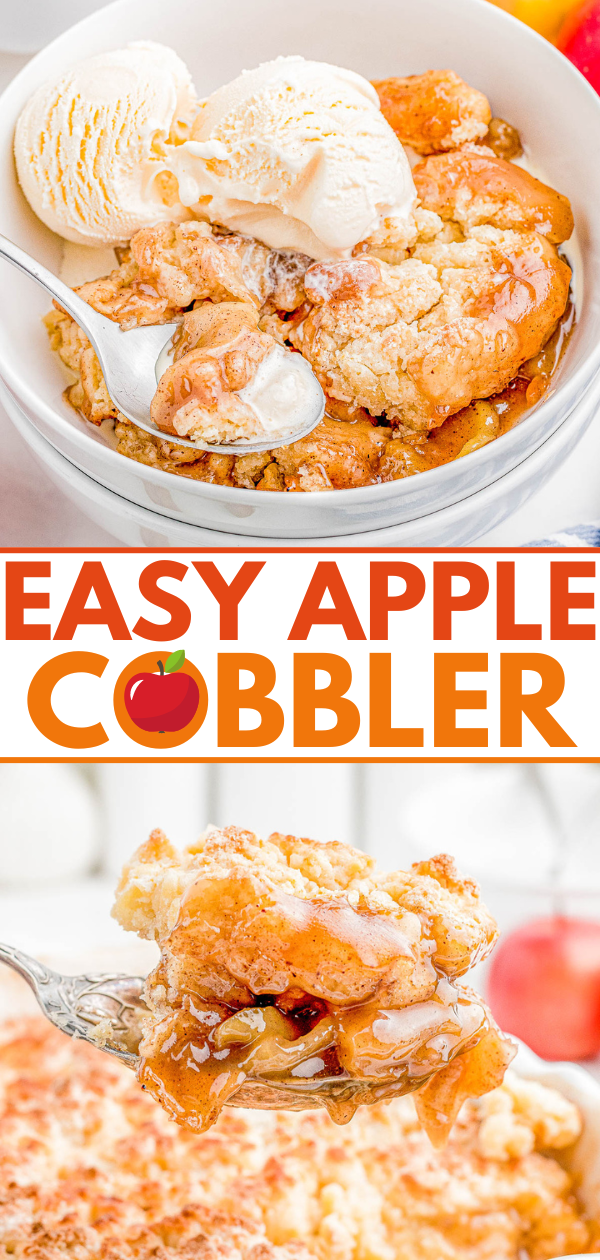
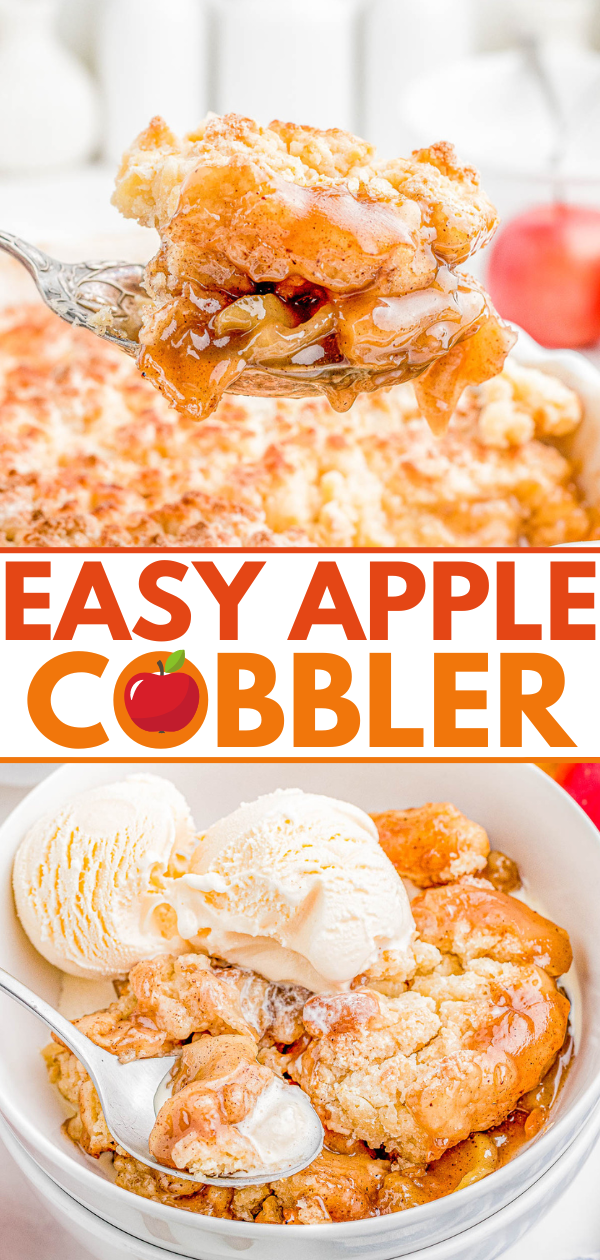
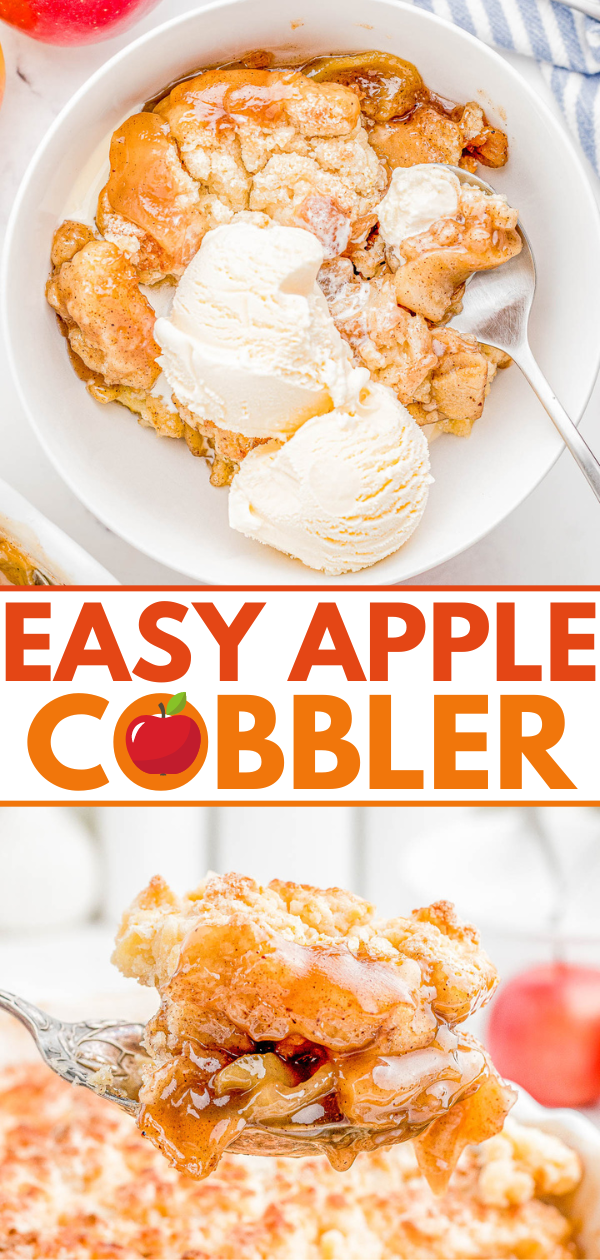
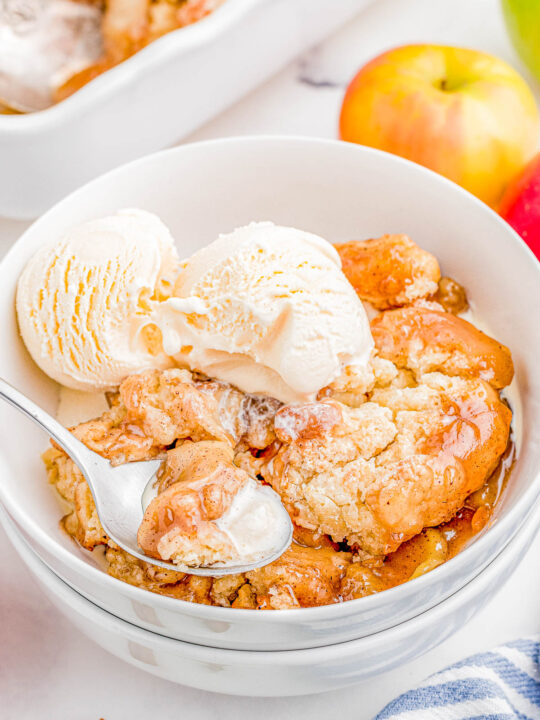
Easy Apple Cobbler — A spiced apple filling is topped with a sweet biscuit topping before being baked to golden brown and bubbly perfection! Apple cobbler is such an EASY dessert to make and tastes even better when drizzled with caramel sauce and served with a scoop of ice cream!
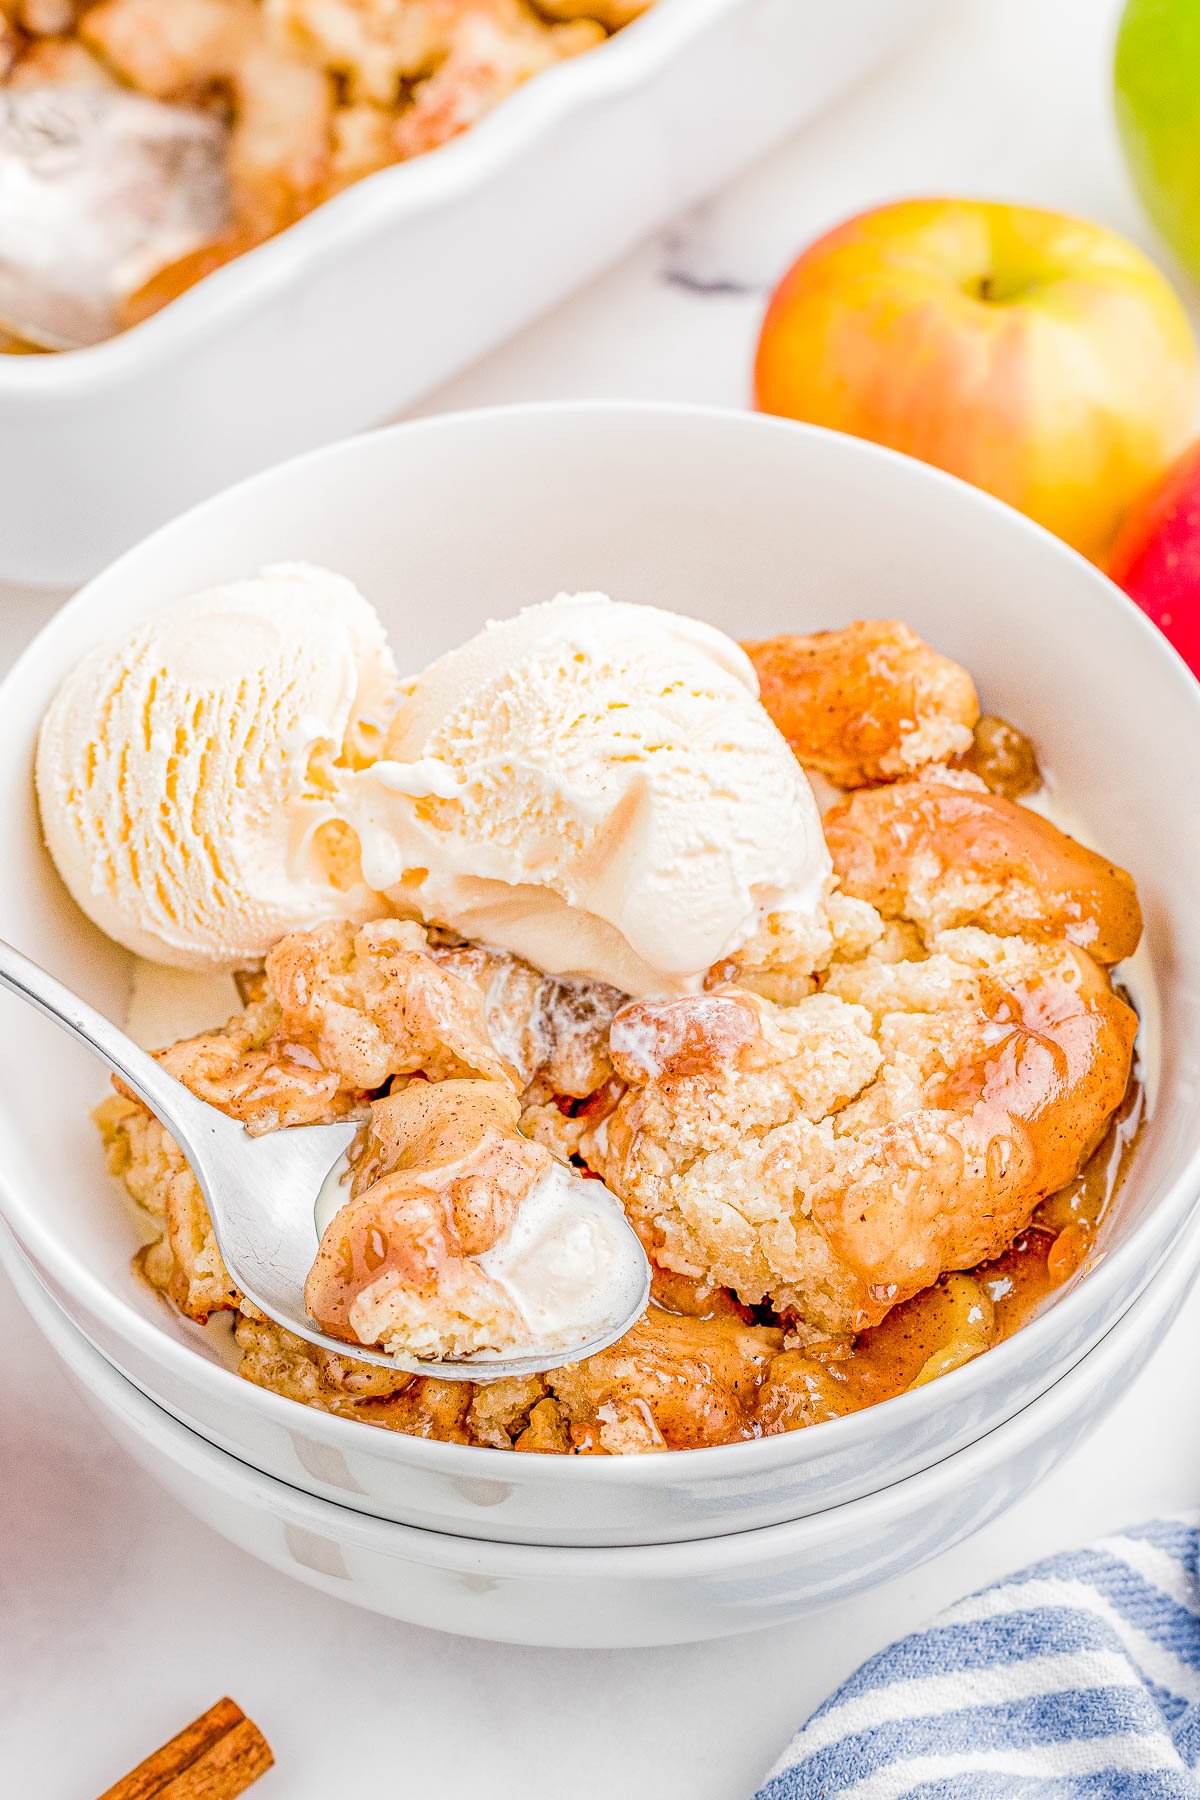
Table of Contents
- Easiest Apple Cobbler Recipe
- Apple Cobbler Ingredients
- How to Make Apple Cobbler From Scratch
- Do I Have to Use Buttermilk?
- What Else To Make with Buttermilk
- Can I Use Canned Biscuit Dough?
- Toppings for Apple Cobbler
- Storing Leftover Apple Cobbler
- The Best Apple Cobbler FAQs
- Easy Apple Cobbler Recipe
- More Easy Apple Dessert Recipes:
Easiest Apple Cobbler Recipe
Just between you and me, I hate making pies.
That’s not to say I don’t make them — I think it’s almost impossible to run a food blog without perfecting a few classic pie recipes like my 100% from-scratch (crust and filling) Best Apple Pie recipe. But making apple pie from scratch can be a hassle. Cutting butter into flour, rolling out the pie crusts, making a pretty lattice topping — I’ll pass, thank you!
But crisps and cobblers? Those are desserts I can manage! No pie dough to roll out, just two bowls to be dirtied, and the prep time takes all of 15 minutes. Win, win, win!
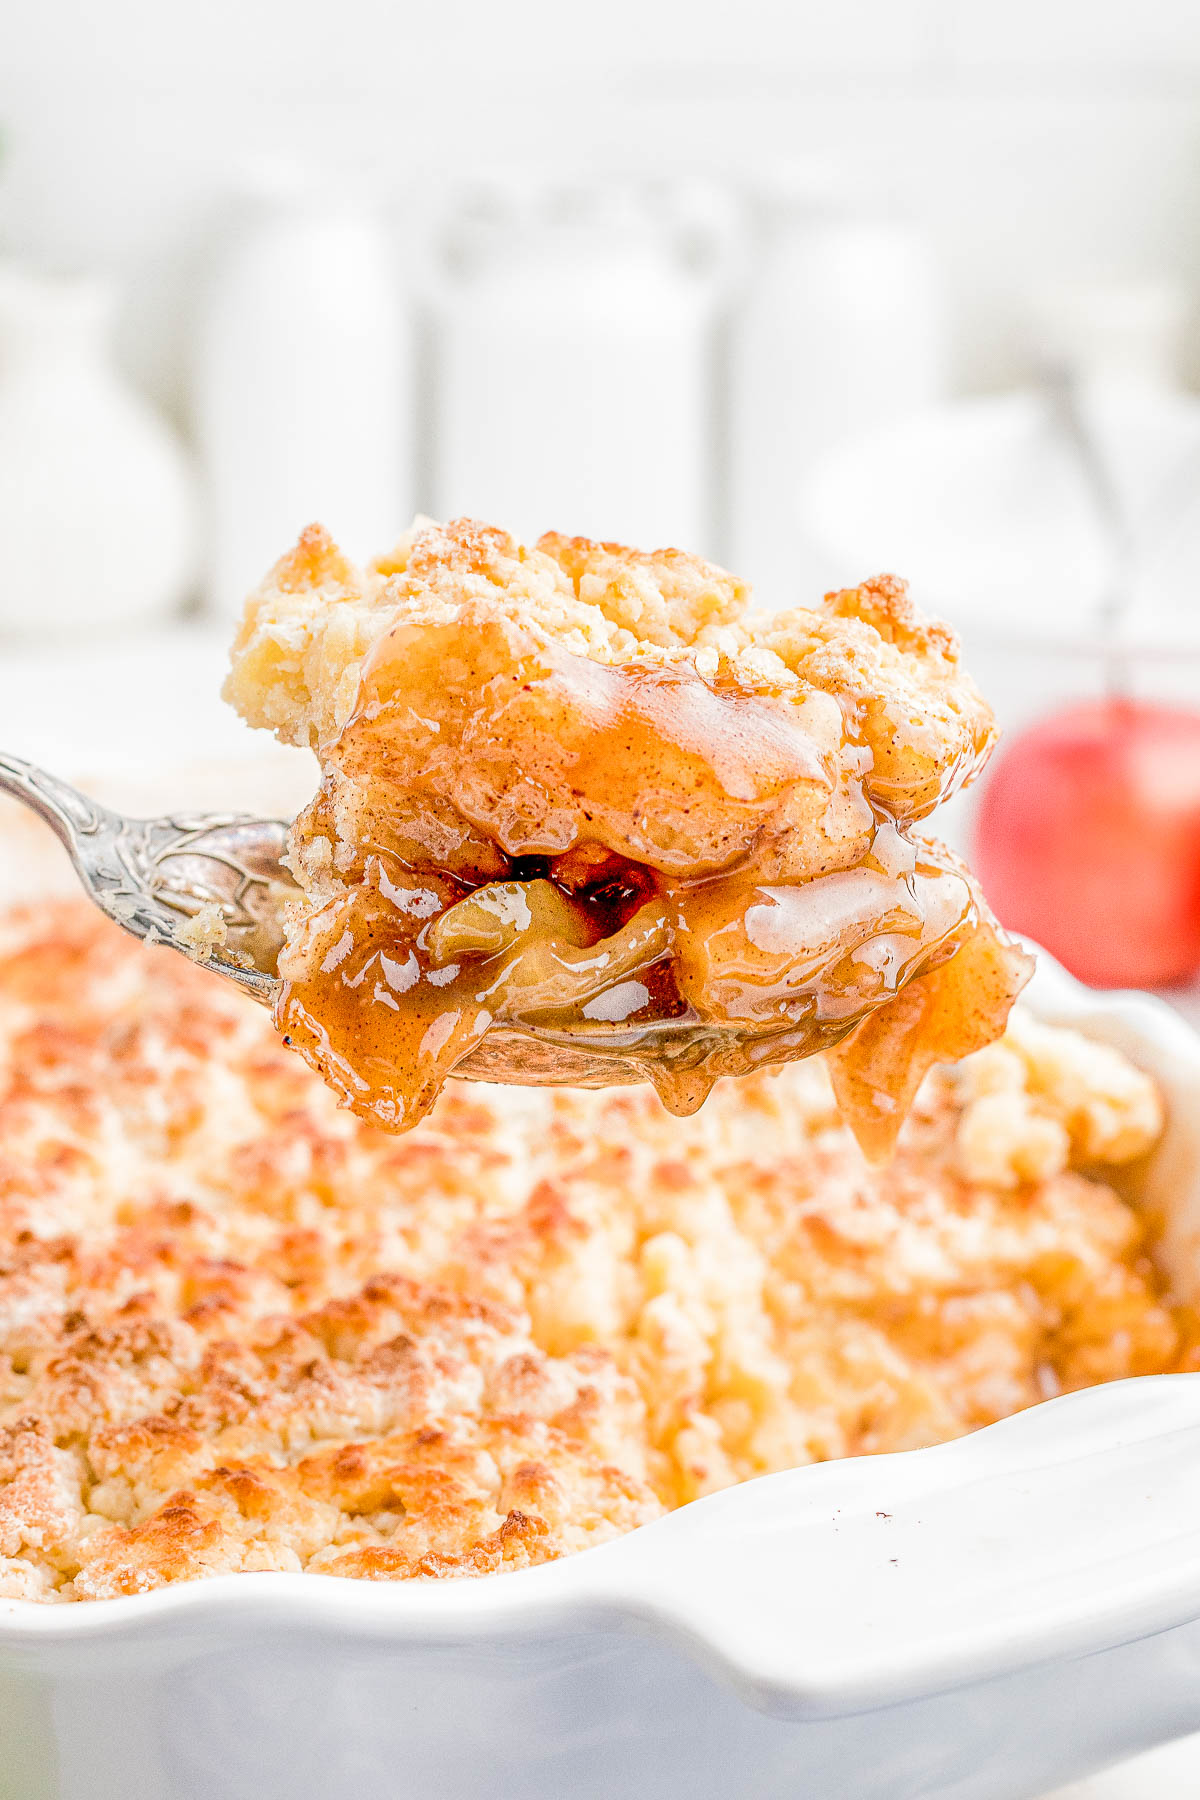
This homemade apple cobbler checks all the tasty boxes. Spiced apples are topped with a biscuit-like topping and baked until tender.
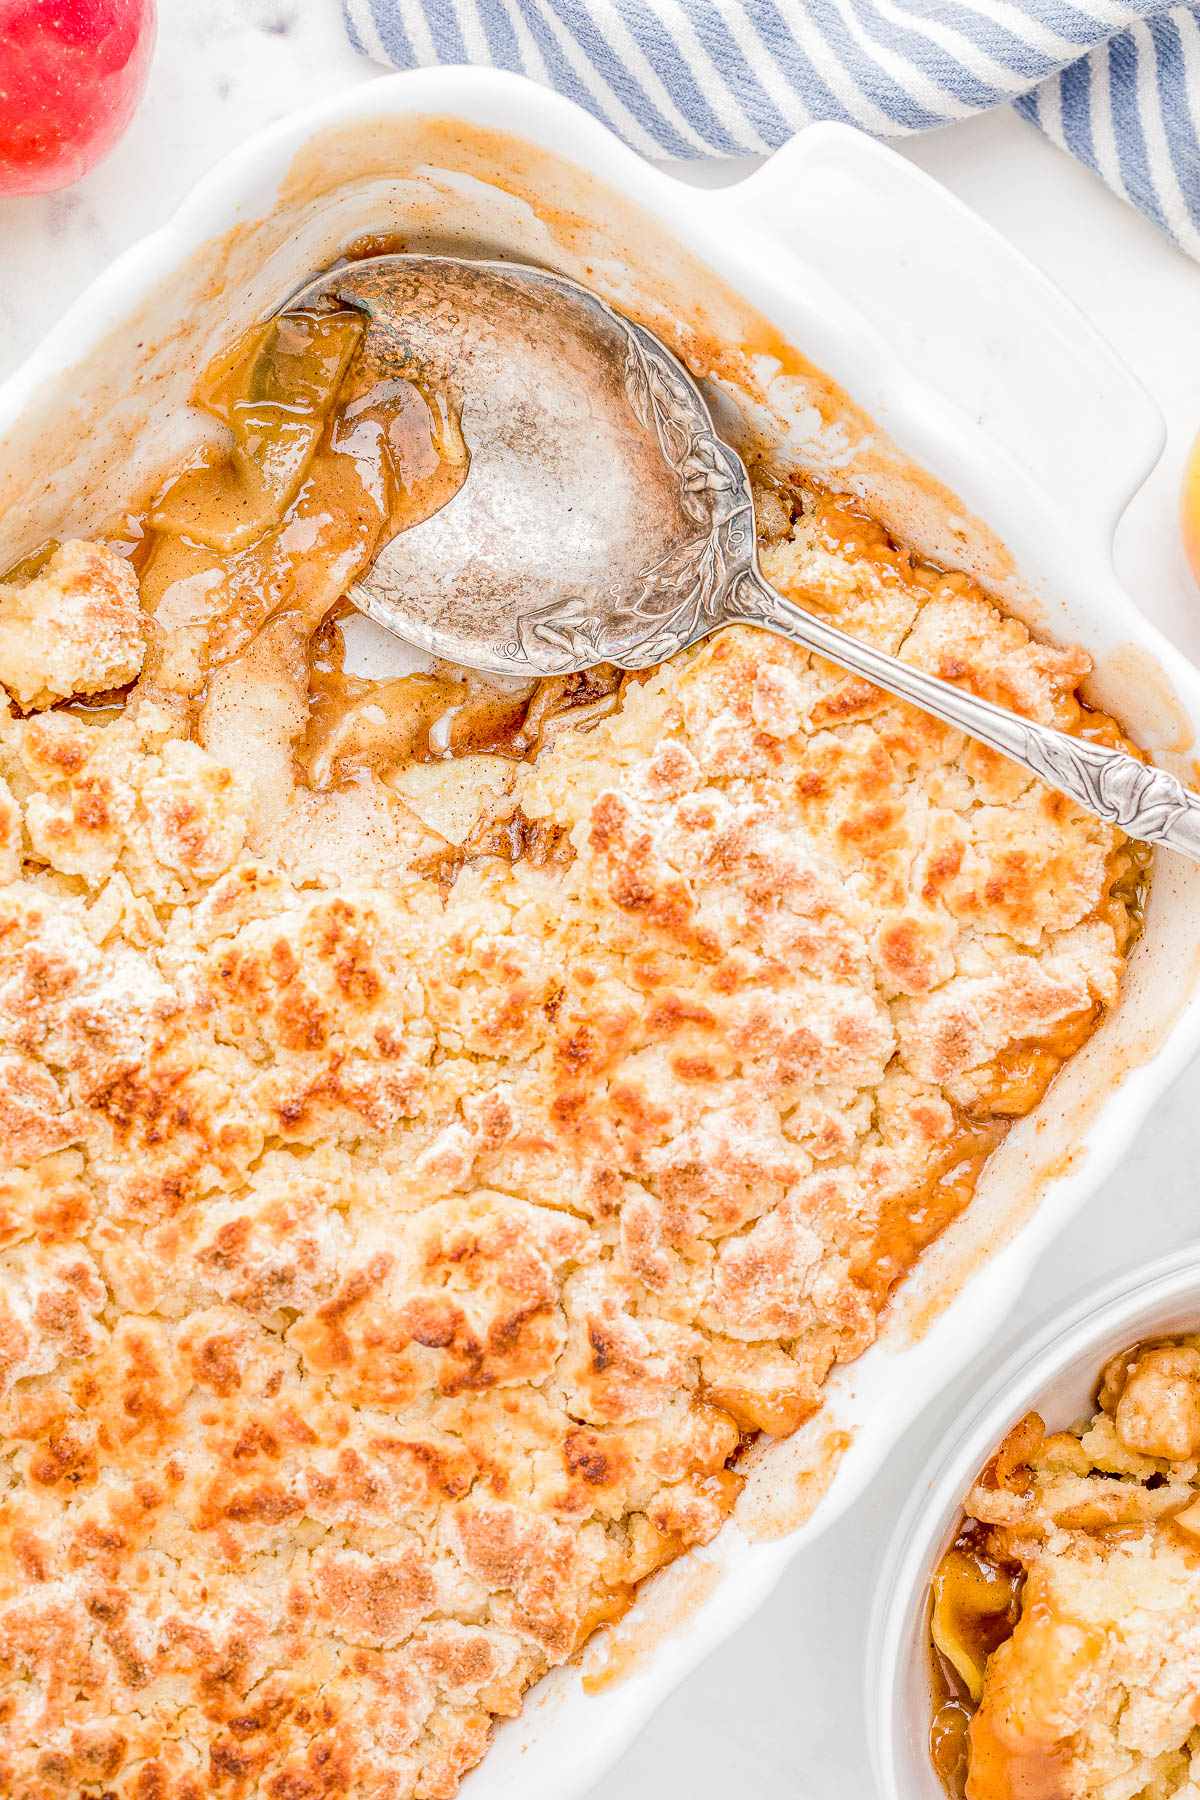
I know this is the point where I’m supposed to tell you the hardest part of the recipe is waiting for the cobbler to cool enough to serve, but … I don’t wait. I start scooping the cobbler out of the pan as soon as it’s on my countertop!
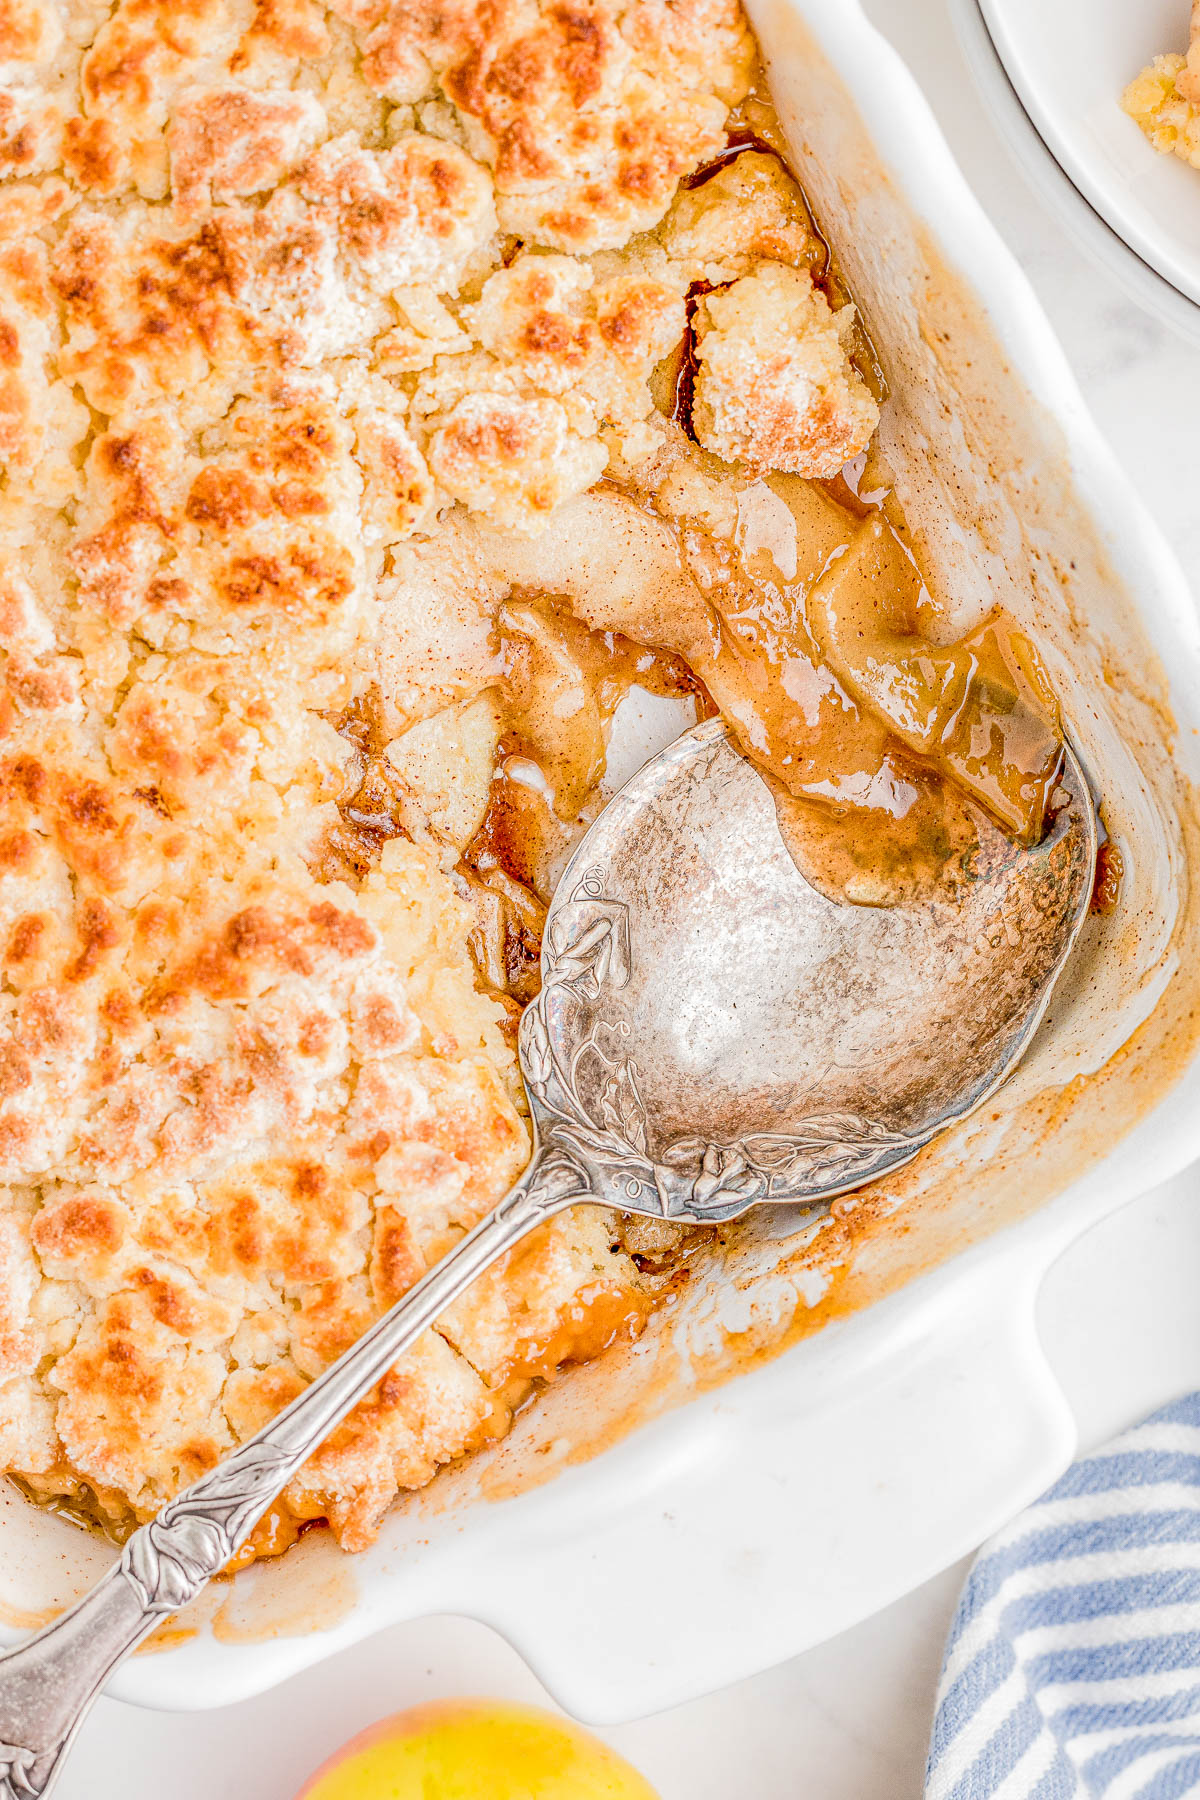
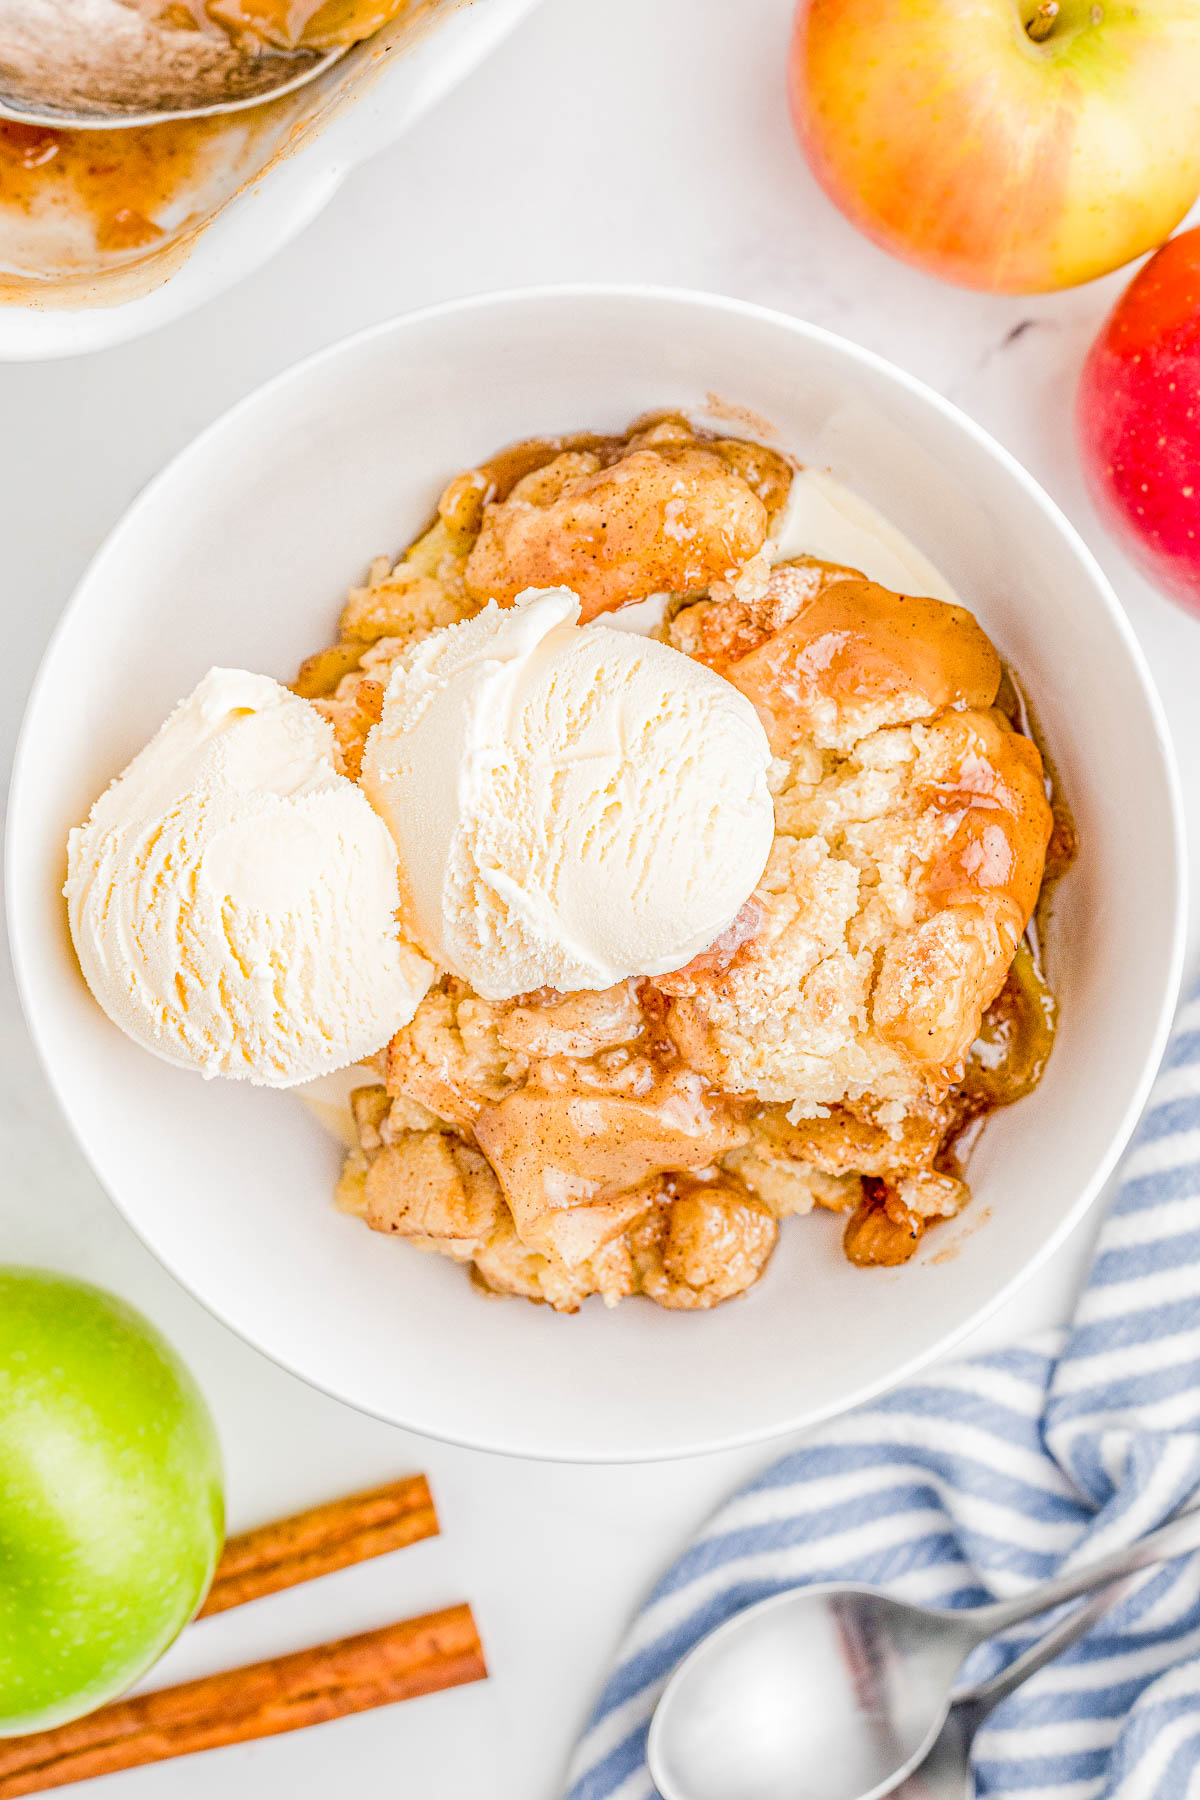
The mound of vanilla ice cream on top helps to cool things down, and the pudding-like puddle of cream and spices left at the bottom is my cook’s treat.
What’s the Difference Between Apple Cobbler vs Apple Crisp?
Crisps (crumbles) and cobblers are very similar.
Both feature a cooked fruit filling with a spiced topping of some sort. However, if you look closely at the ingredient list the difference are pretty clear.
Apple crisp (aka apple crumble) is made with a streusel-like, crispy topping. Old-fashioned oats are most commonly used for that crispy factor, but nuts can also be added.
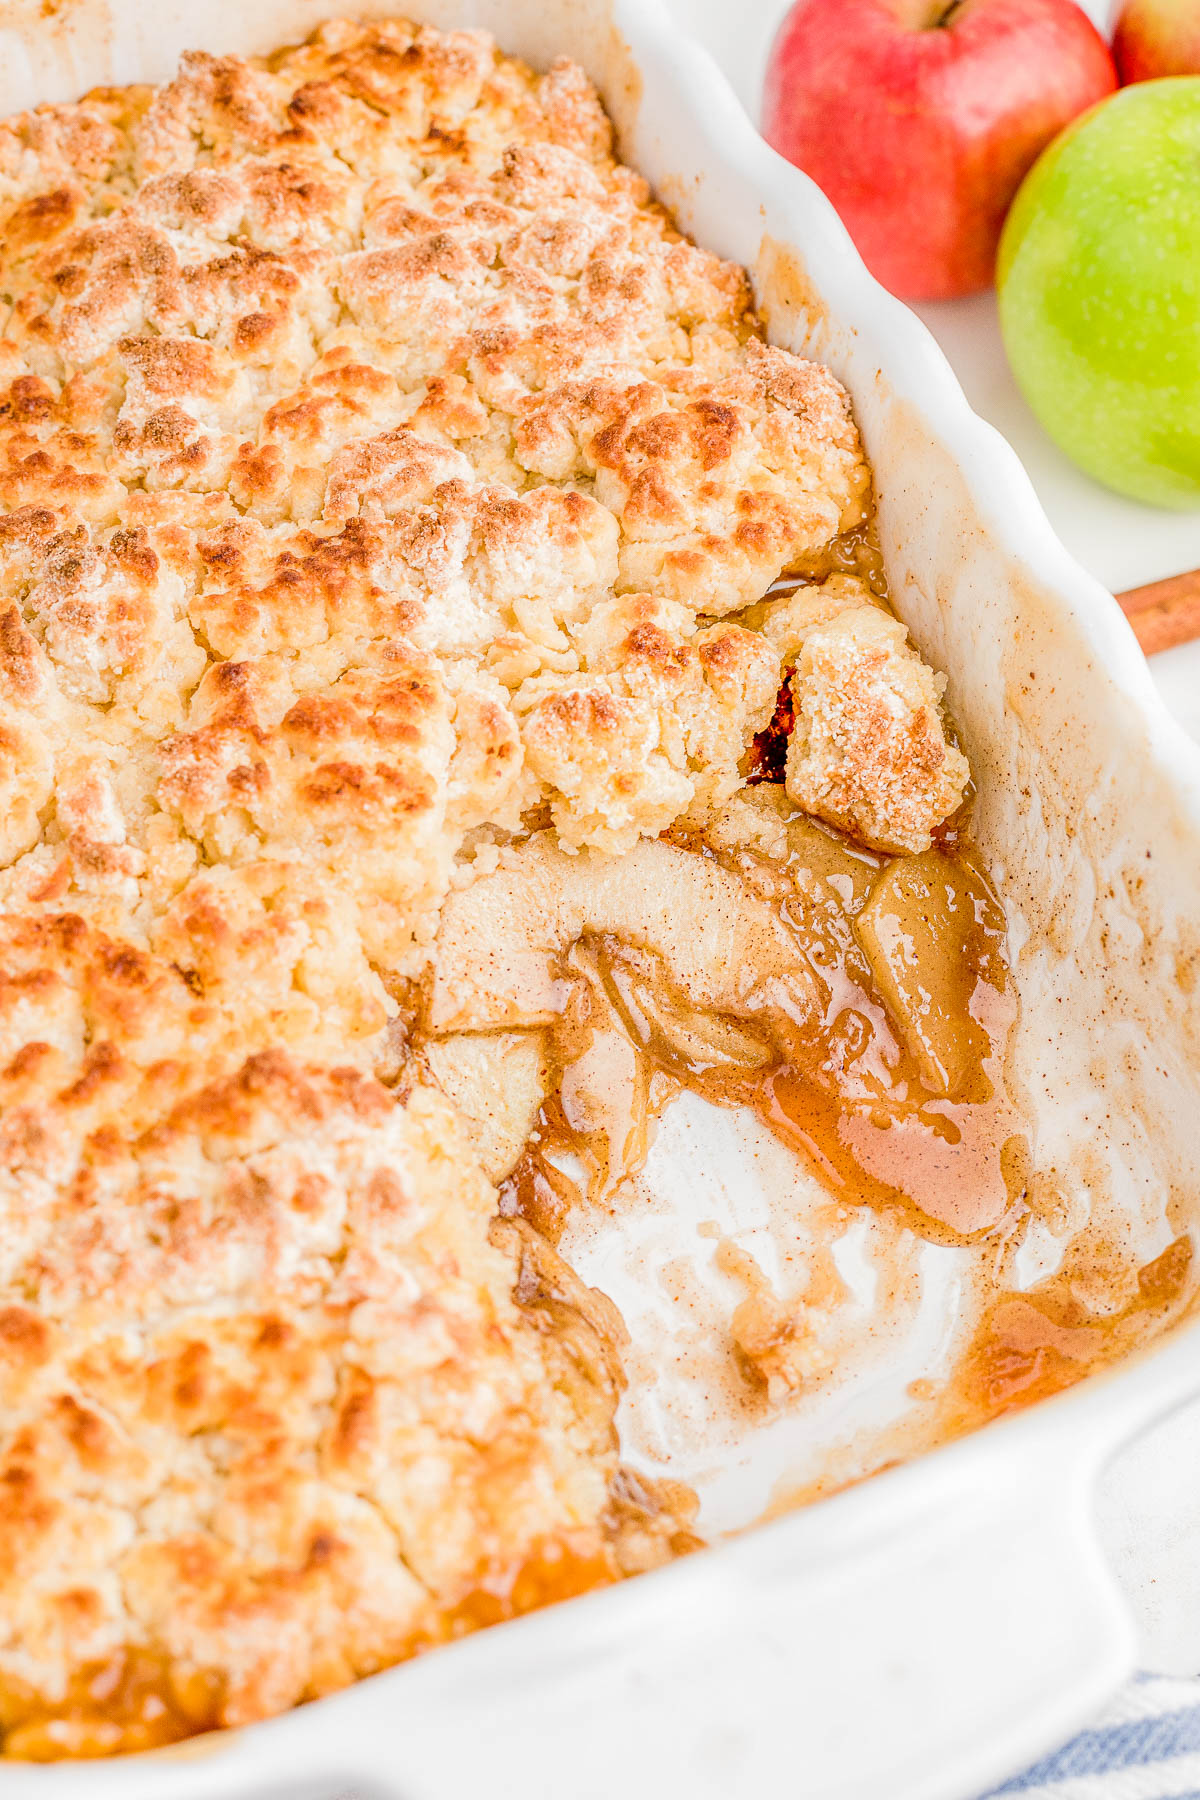
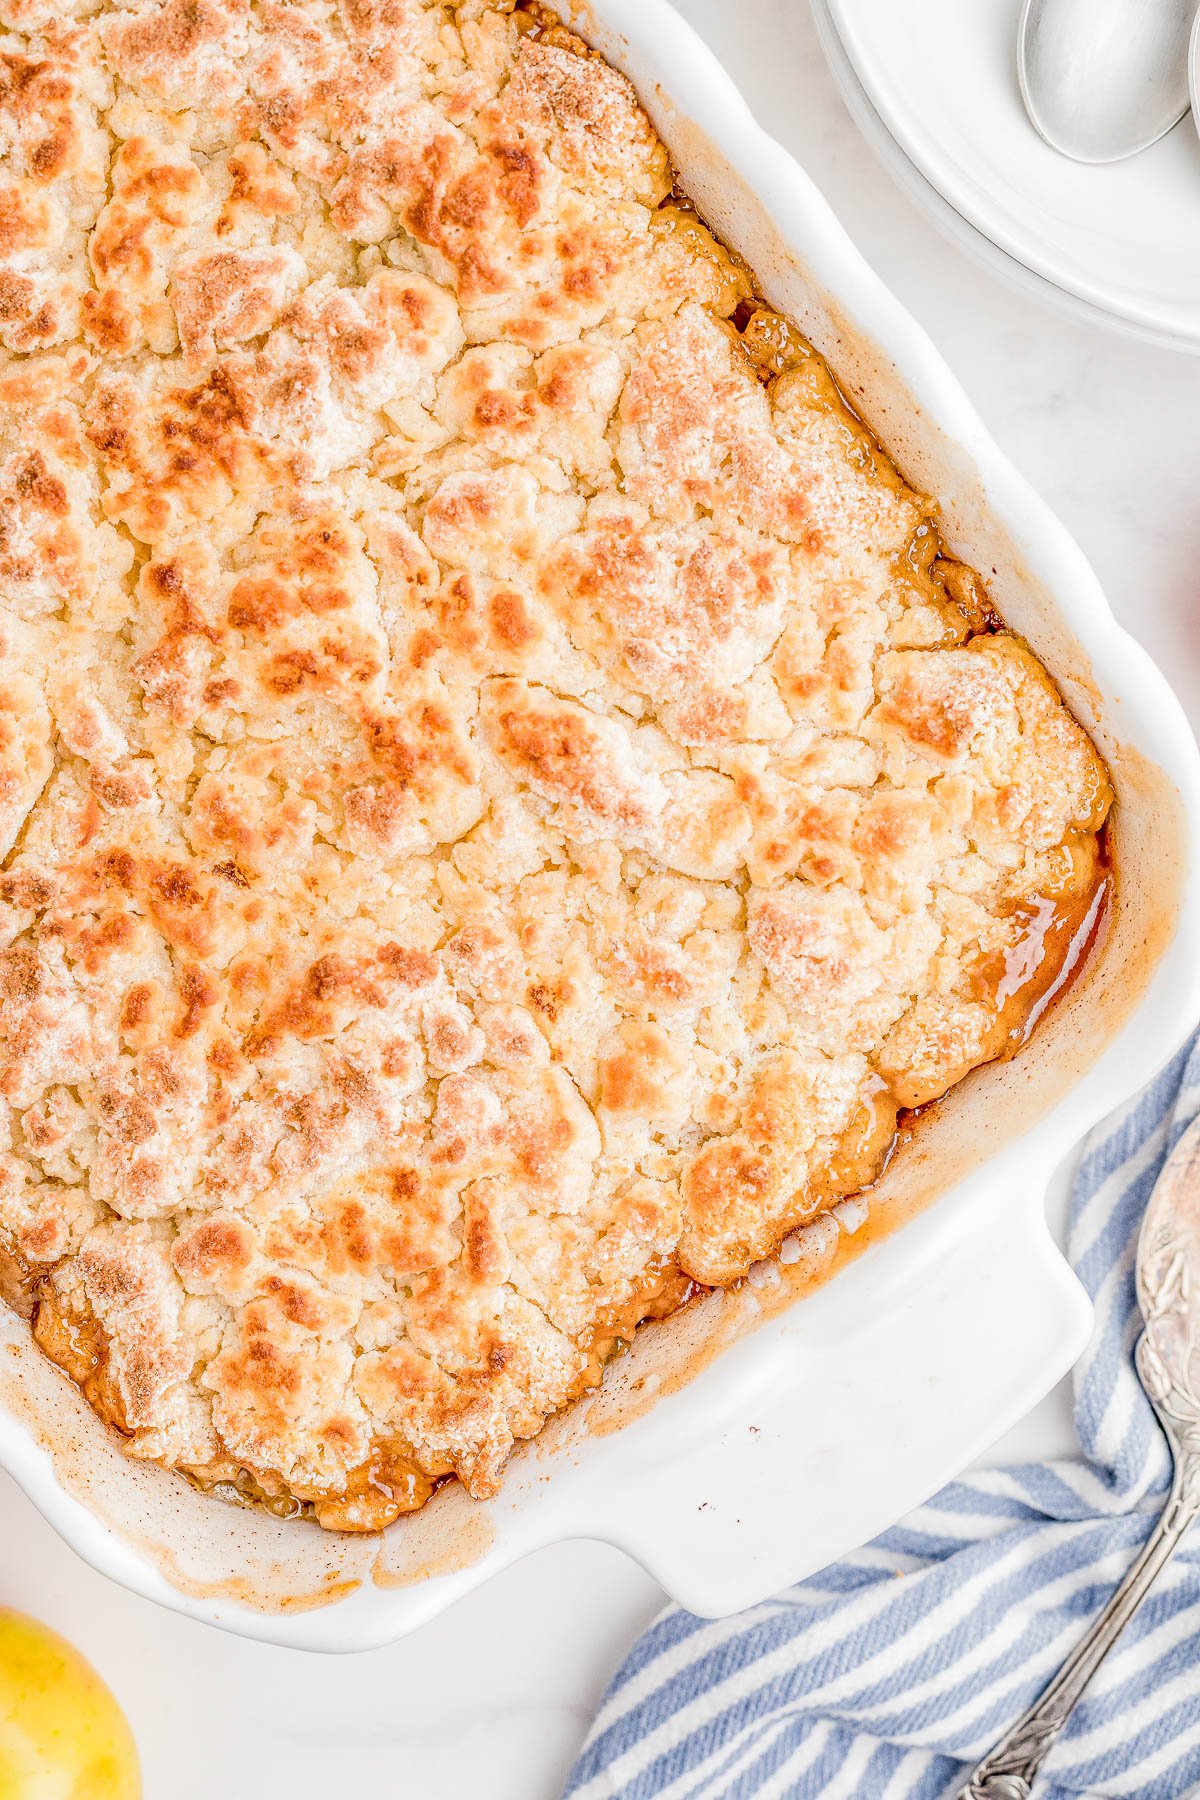
Apple cobbler, on the other hand, is made with a soft and pillowy biscuit-like topping and no oats. The recipe I’m sharing today has a drop biscuit topping. It intentionally looks rustic, which I love because I can’t be bothered to smooth all that batter out into an even layer over the apples!
Fun Apple Dessert Tip
You can make apple crisp over a campfire (or your outdoor grill) using foil packets!
It’s one of my go-to summer and fall desserts, especially when apples are in season and I don’t want to turn on my oven and can use my grill instead.
Apple Cobbler Ingredients
It’s dangerously easy to make this simple apple cobbler at a moment’s notice.
Great for last-minute dinner parties and get-togethers, although not so great for my waistline!
Here’s what’s in apple cobbler:
- Apples
- Lemon juice
- Granulated sugar
- Light brown sugar
- All-purpose flour
- Apple pie spice (a mixture of cinnamon, ginger, nutmeg, and more)
- Salt
- Baking powder
- Egg
- Buttermilk
- Unsalted butter
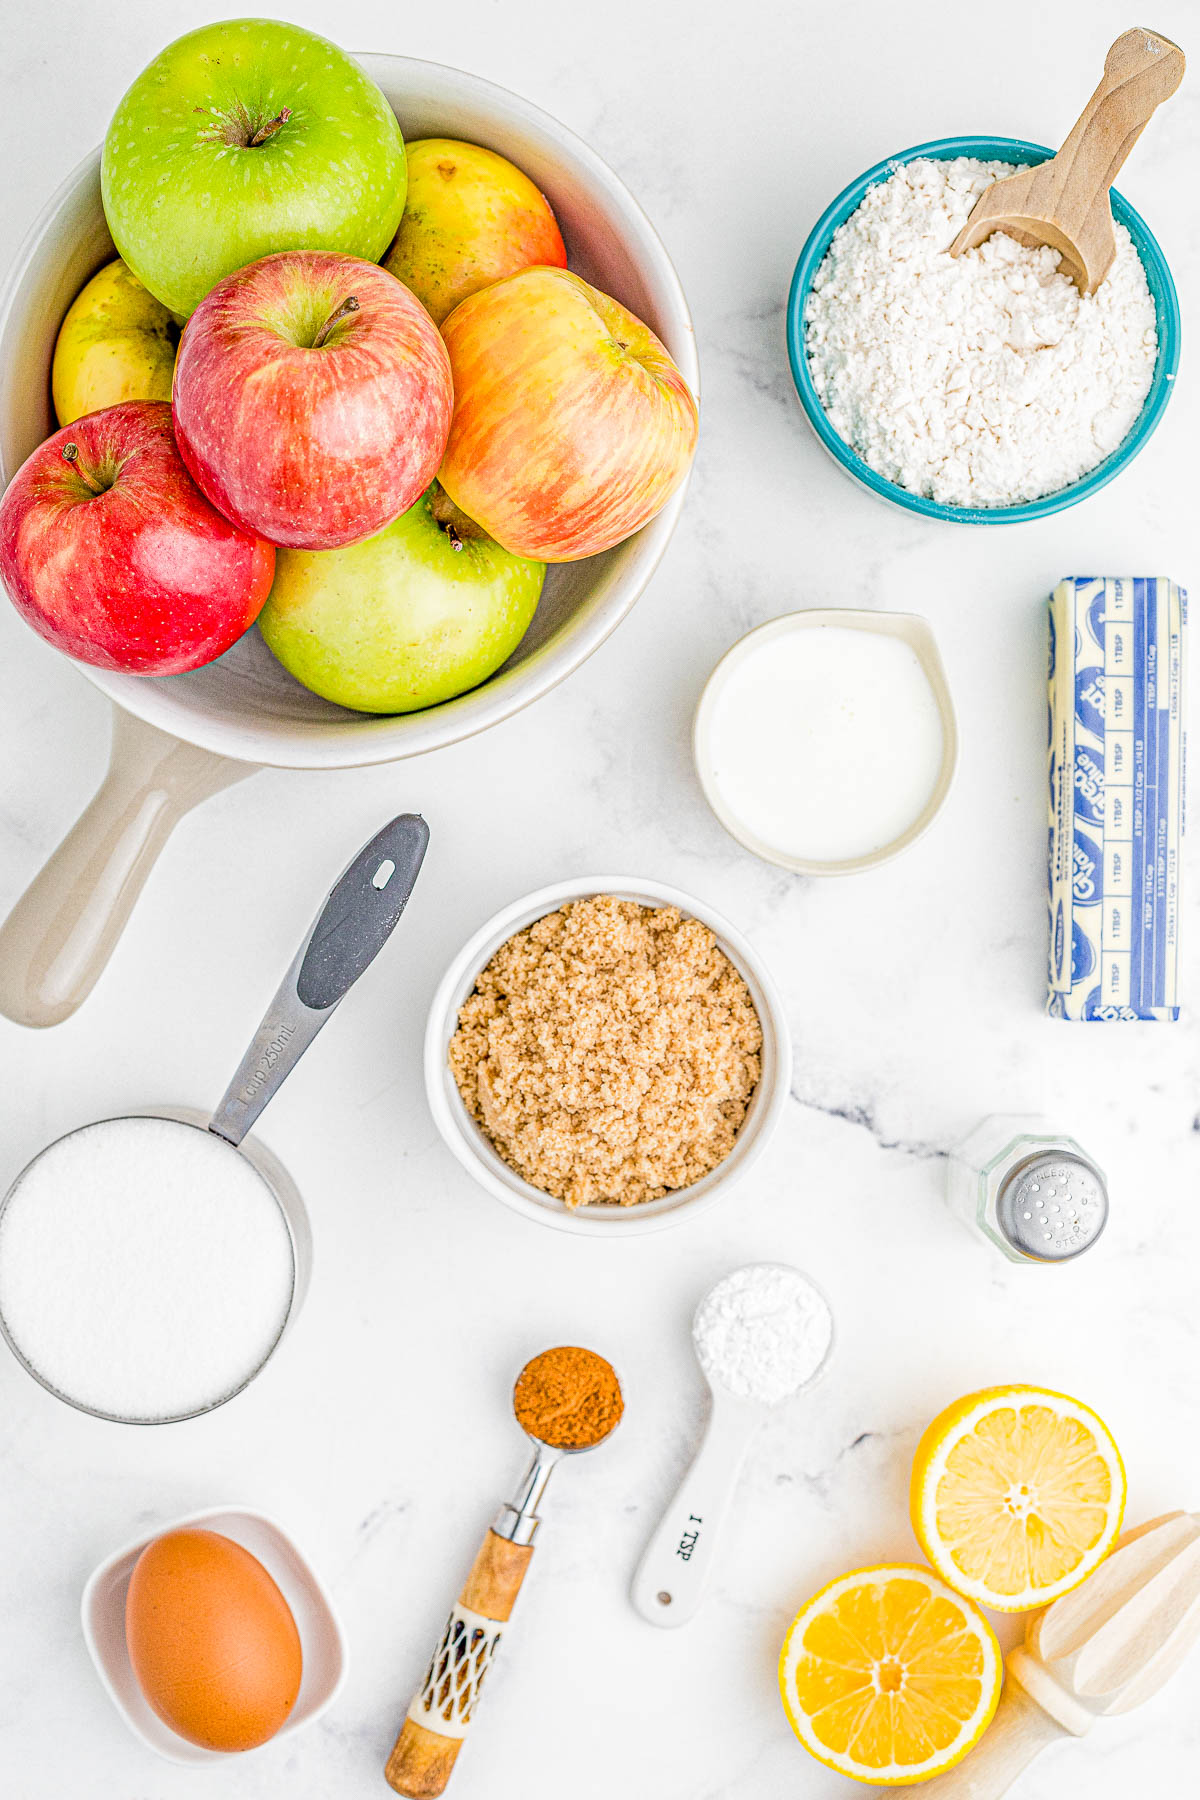
Note: Scroll down to the recipe card section of the post for the ingredients with amounts included and for more complete directions.
What Are the Best Apples for Making Cobbler?
When making apple desserts like this quick and easy cobbler, I recommend using a mixture of tart and sweet baking apples for depth of flavor.
My tart baking apple of choice is Granny Smith apples, and for sweet baking apples Honeycrisp is my gold standard.
However, any baking apple will work! Think: Braeburn, Cortland, Jonathan, Fuji, and Gala apples. These apple varieties all hold their shape once baked and don’t disintegrate into a grainy mess.
Thinking about using canned apples or apple pie filling? Not so fast. Making apple cobbler with fresh apples is always going to taste a million times better than using apple pie filling as a shortcut, trust me!
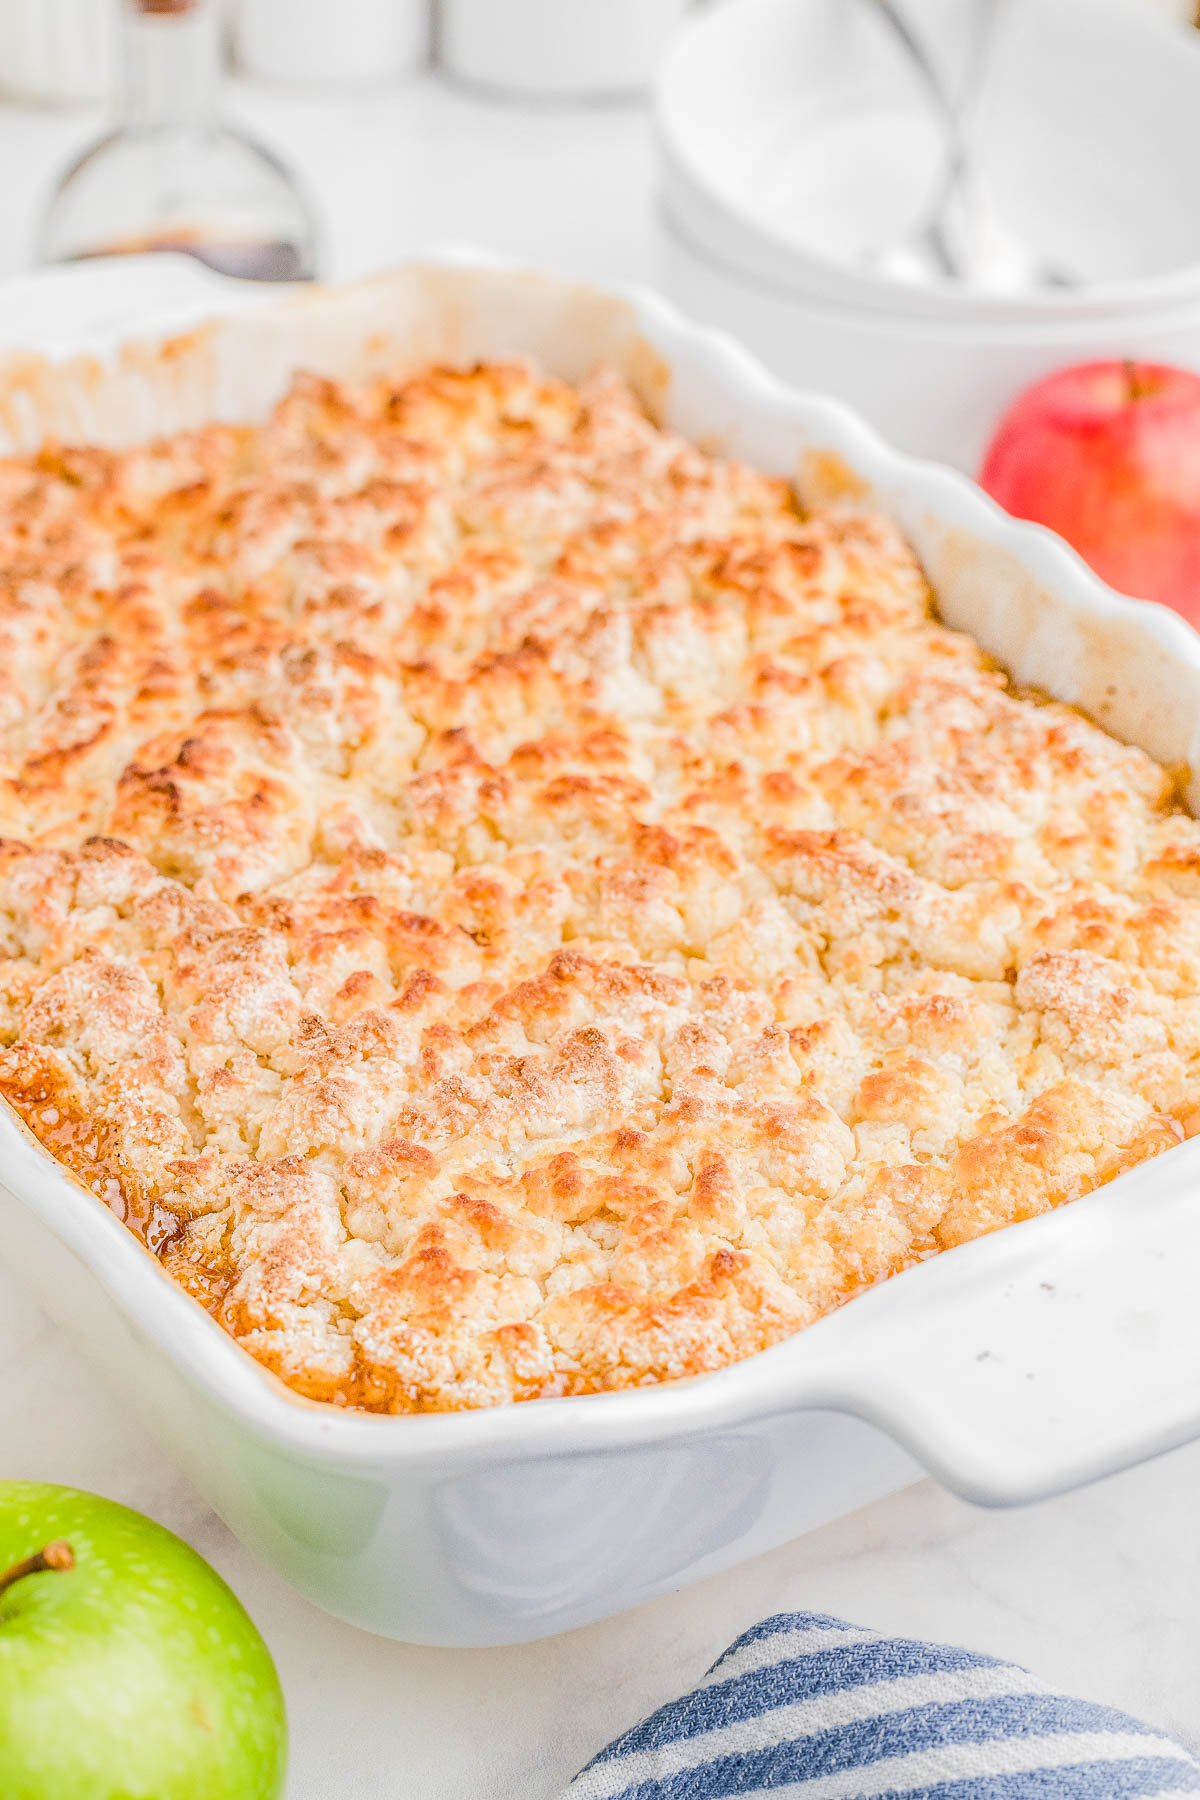
How to Make Apple Cobbler From Scratch
This is such an easy recipe for apple cobbler. The hands-on prep takes just 15 minutes, although you’ll have to plan in advance because the bake time is closer to an hour.
Let’s review the basic steps to making homemade apple cobbler:
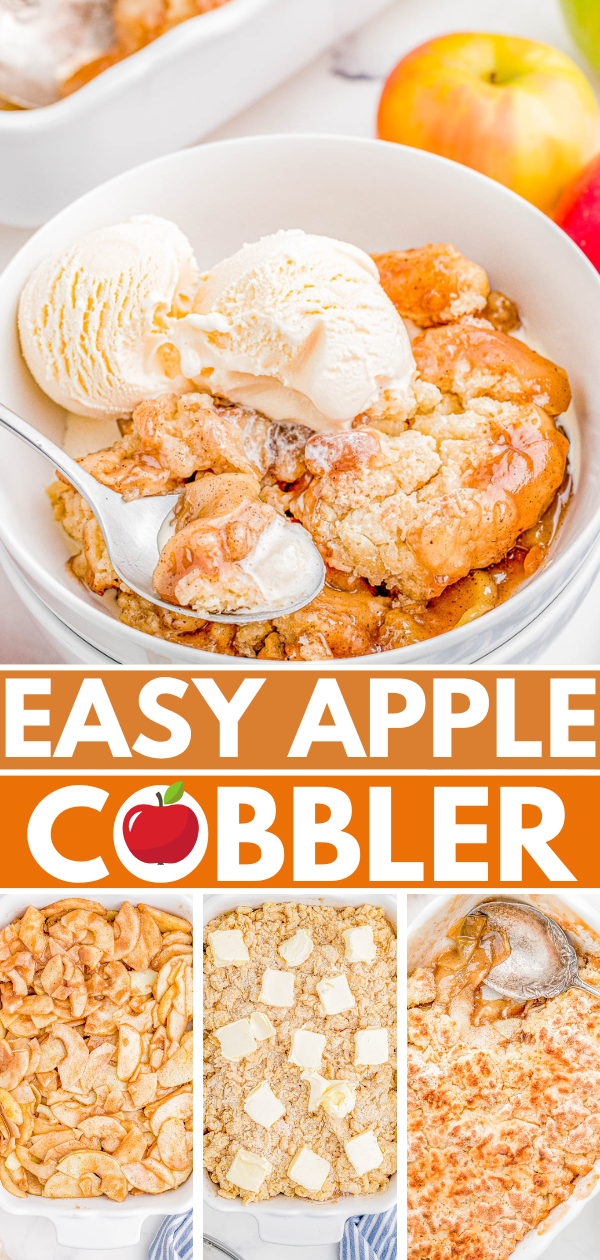
Step 1: Prepare the apple filling. Combine the apple slices, both types of sugar, flour, salt, and apple pie spice in a large bowl. Then, turn the apple filling into a 9×13-inch baking dish.
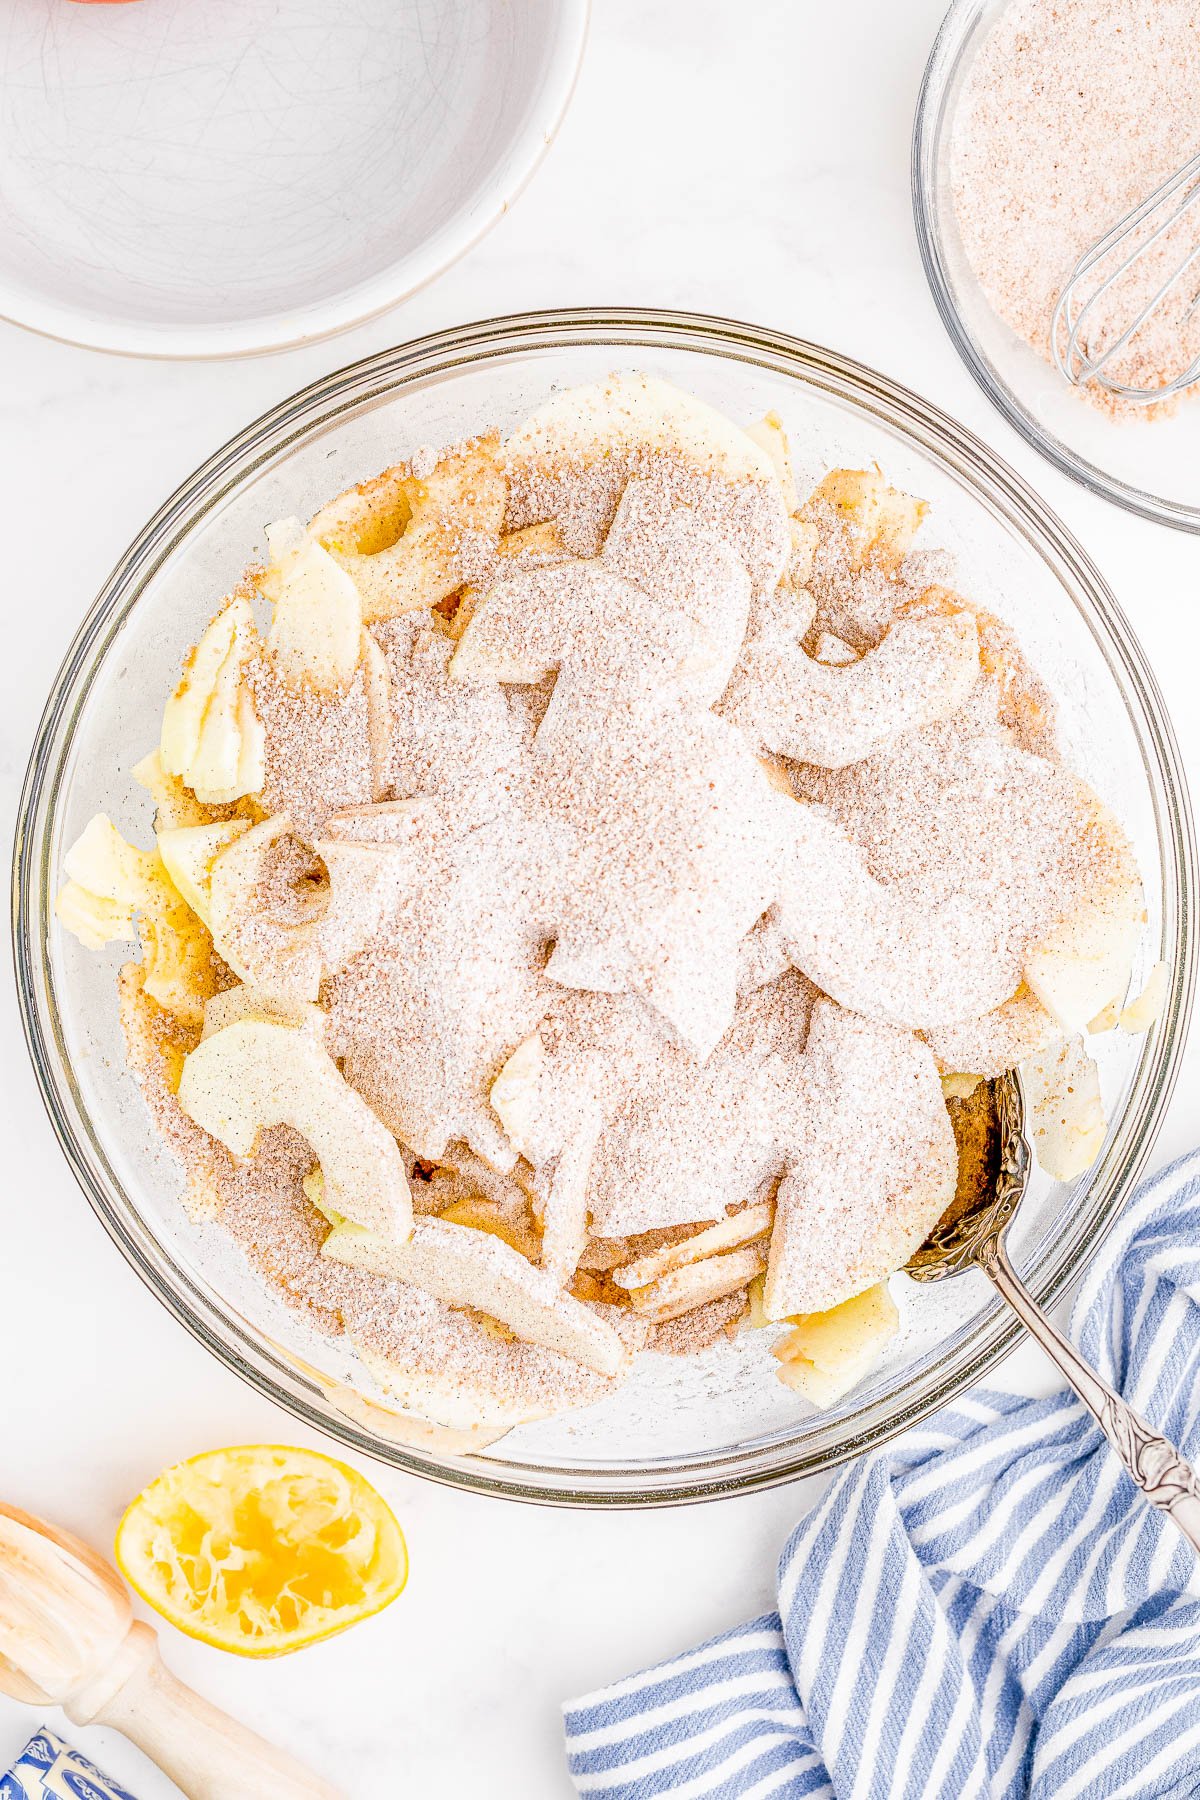
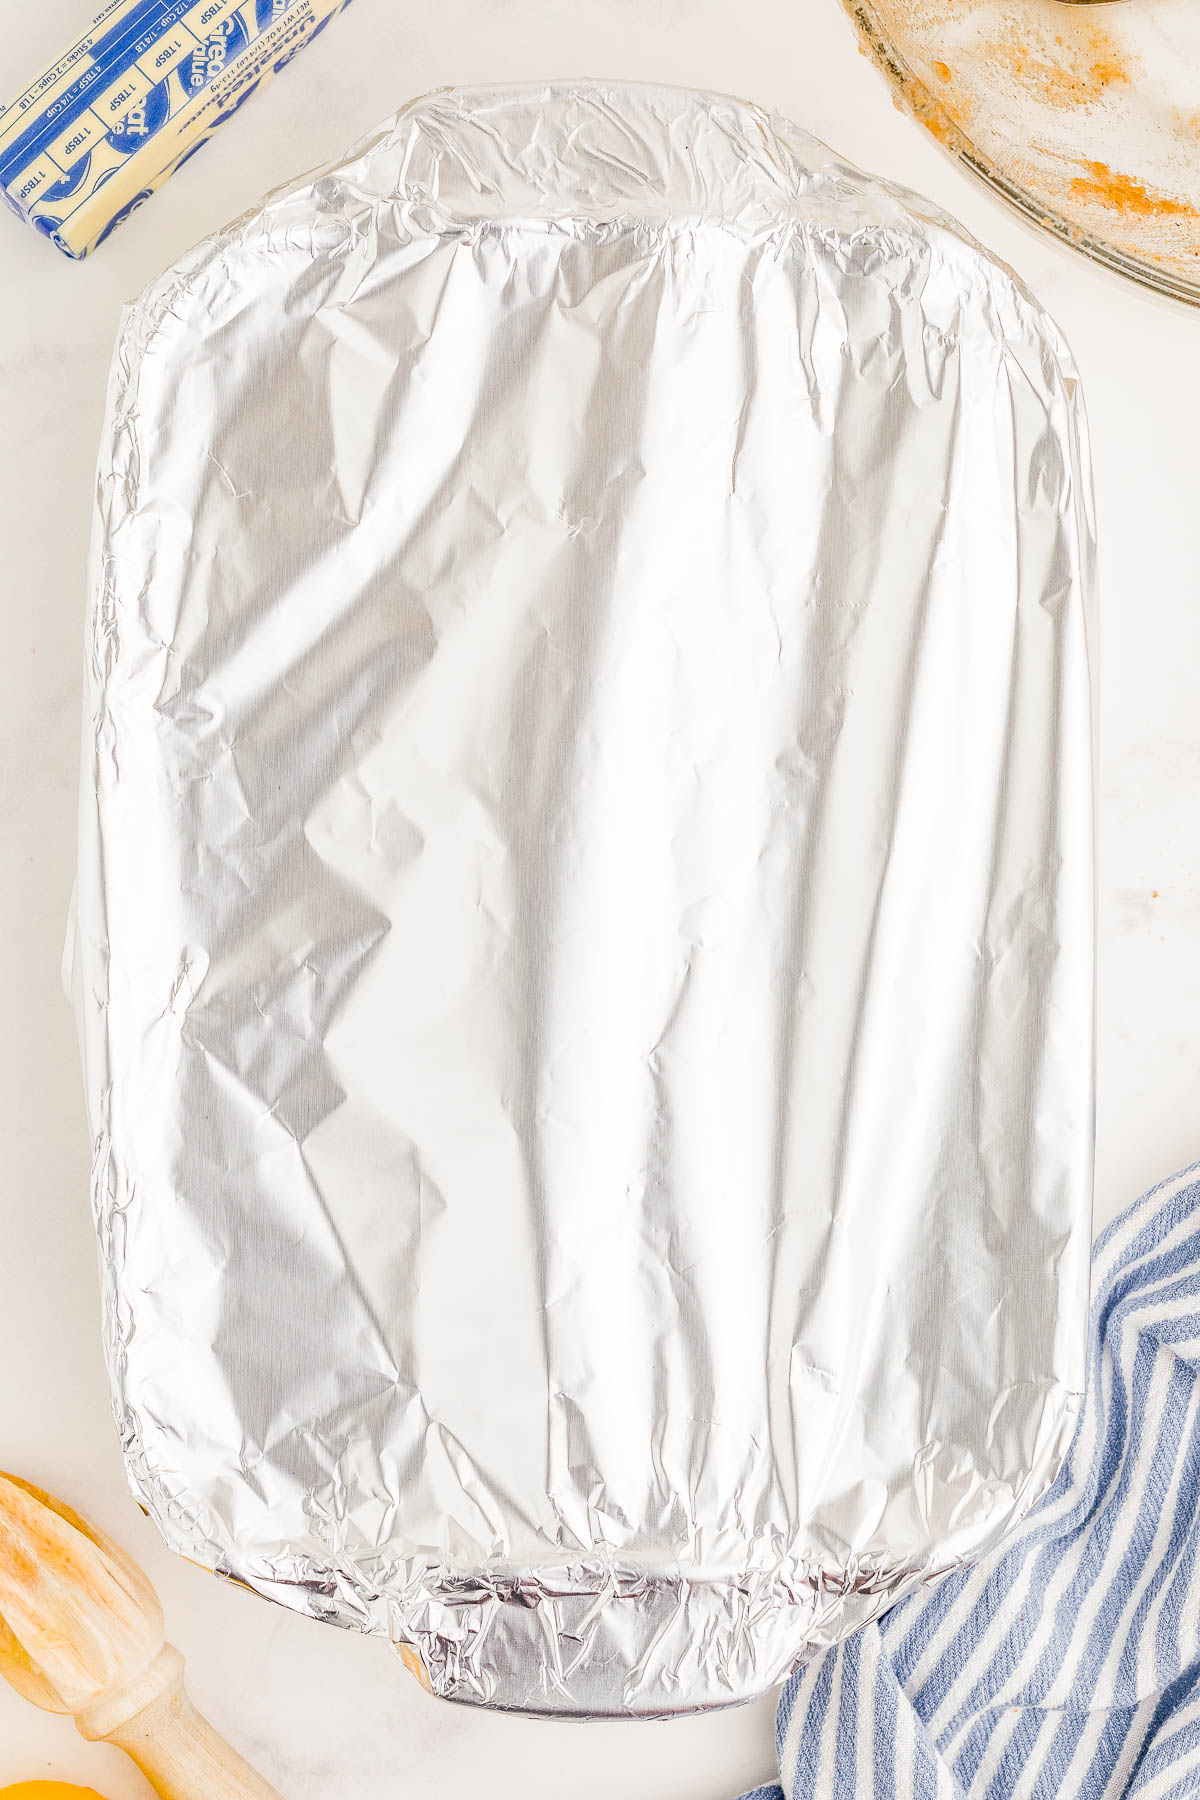
Step 2: Partially bake the apples. Cover the baking dish tightly with foil and pop into a preheated oven. Since apples are so firm, they need time to soften somewhat before the biscuit topping is added. Meanwhile, make the topping.
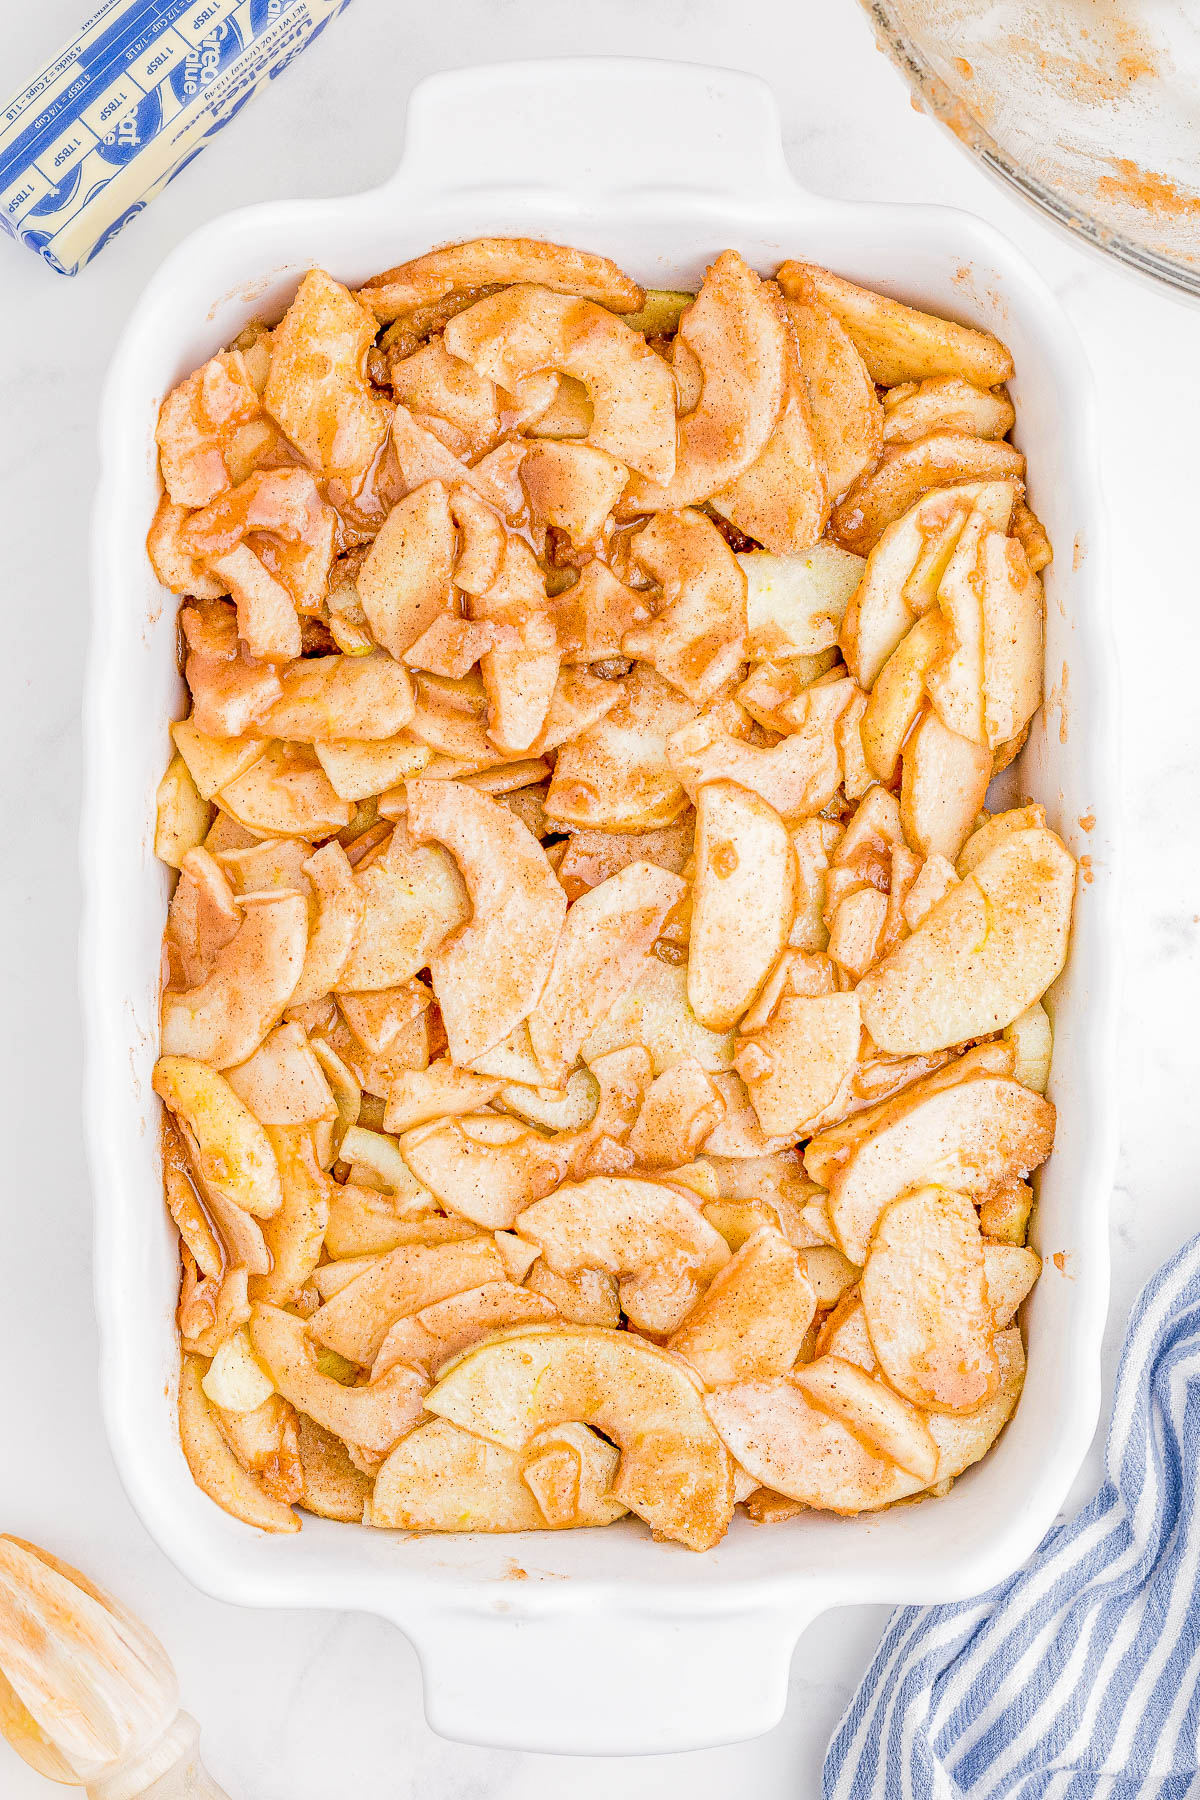
Step 3: Make the biscuit topping. You can work in the same mixing bowl that you prepared the filling in. Combine the flour, granulated sugar, baking soda, and salt.
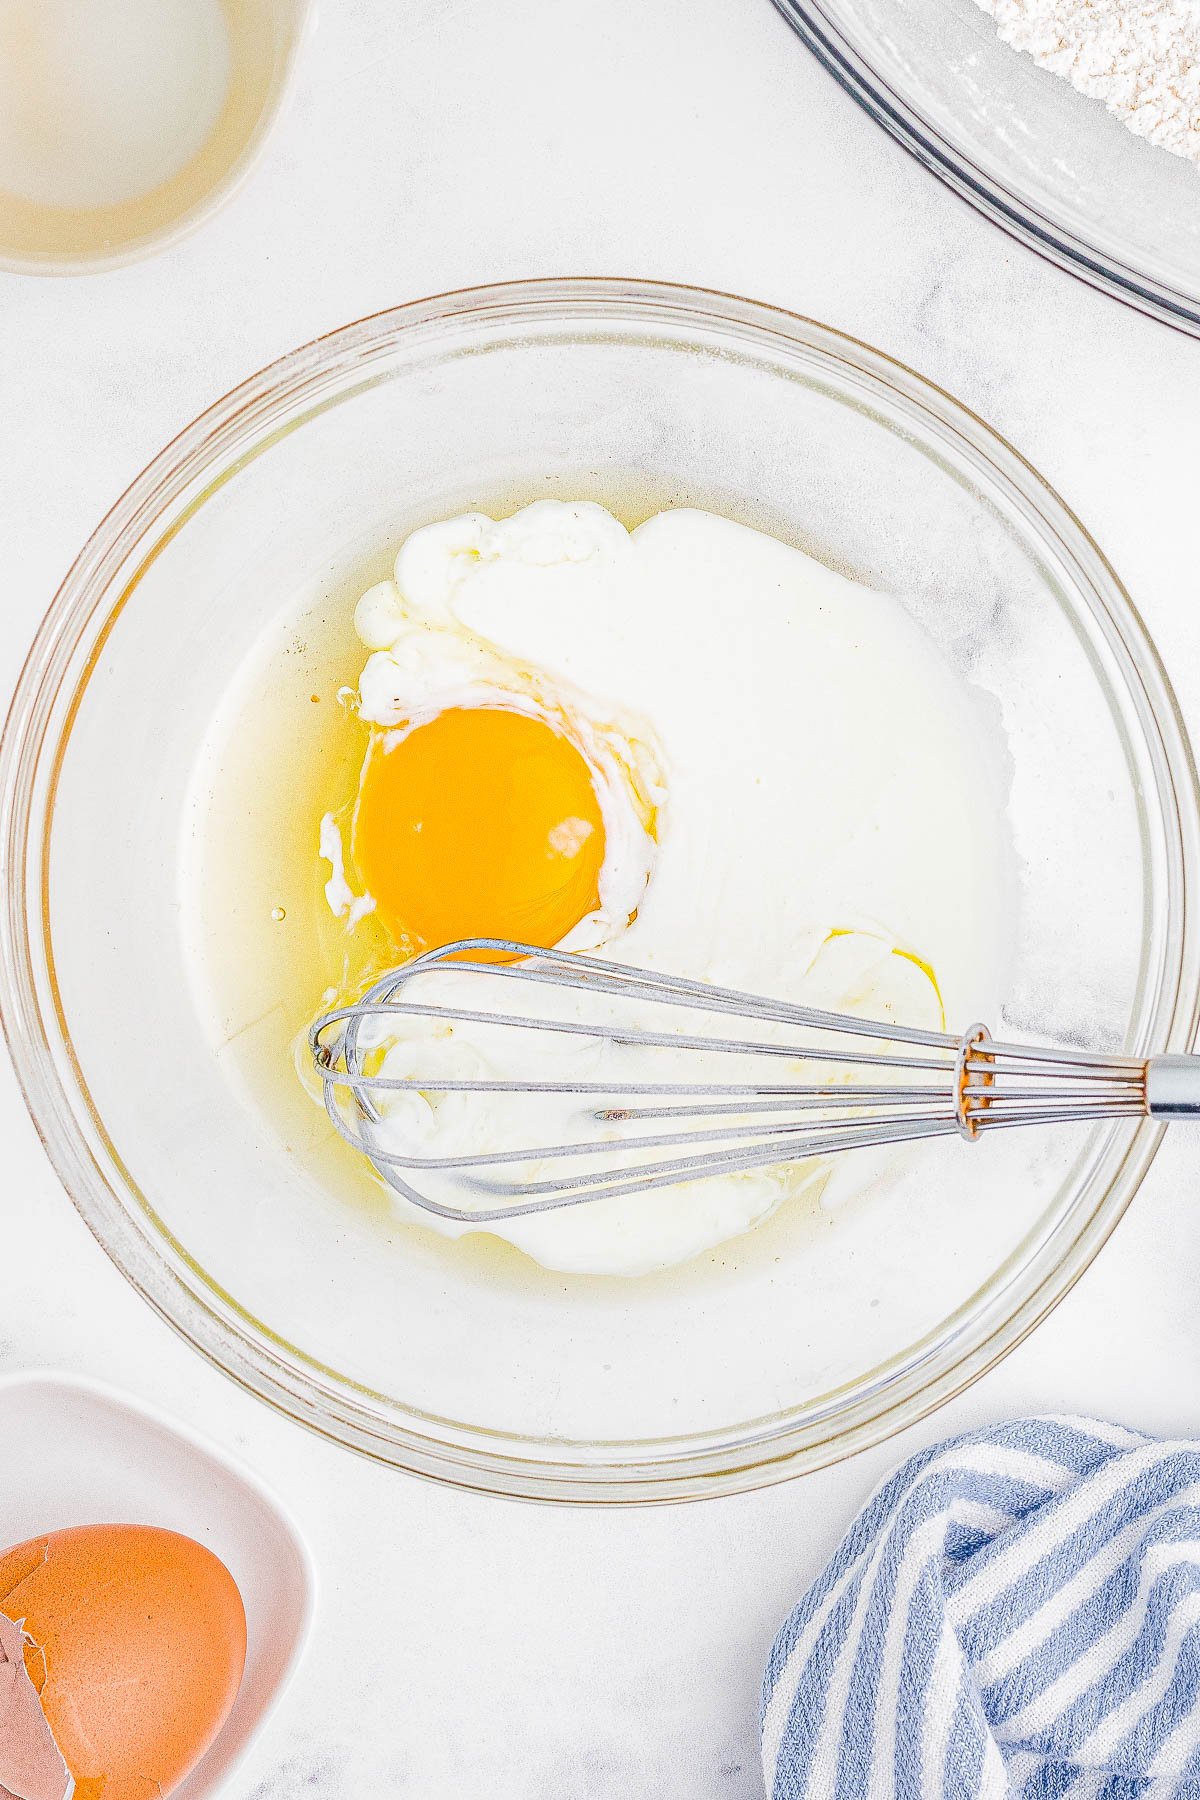
Whisk together the egg and buttermilk and add that to the dry ingredients. Add a few teaspoons vanilla extract if you’d like, too!
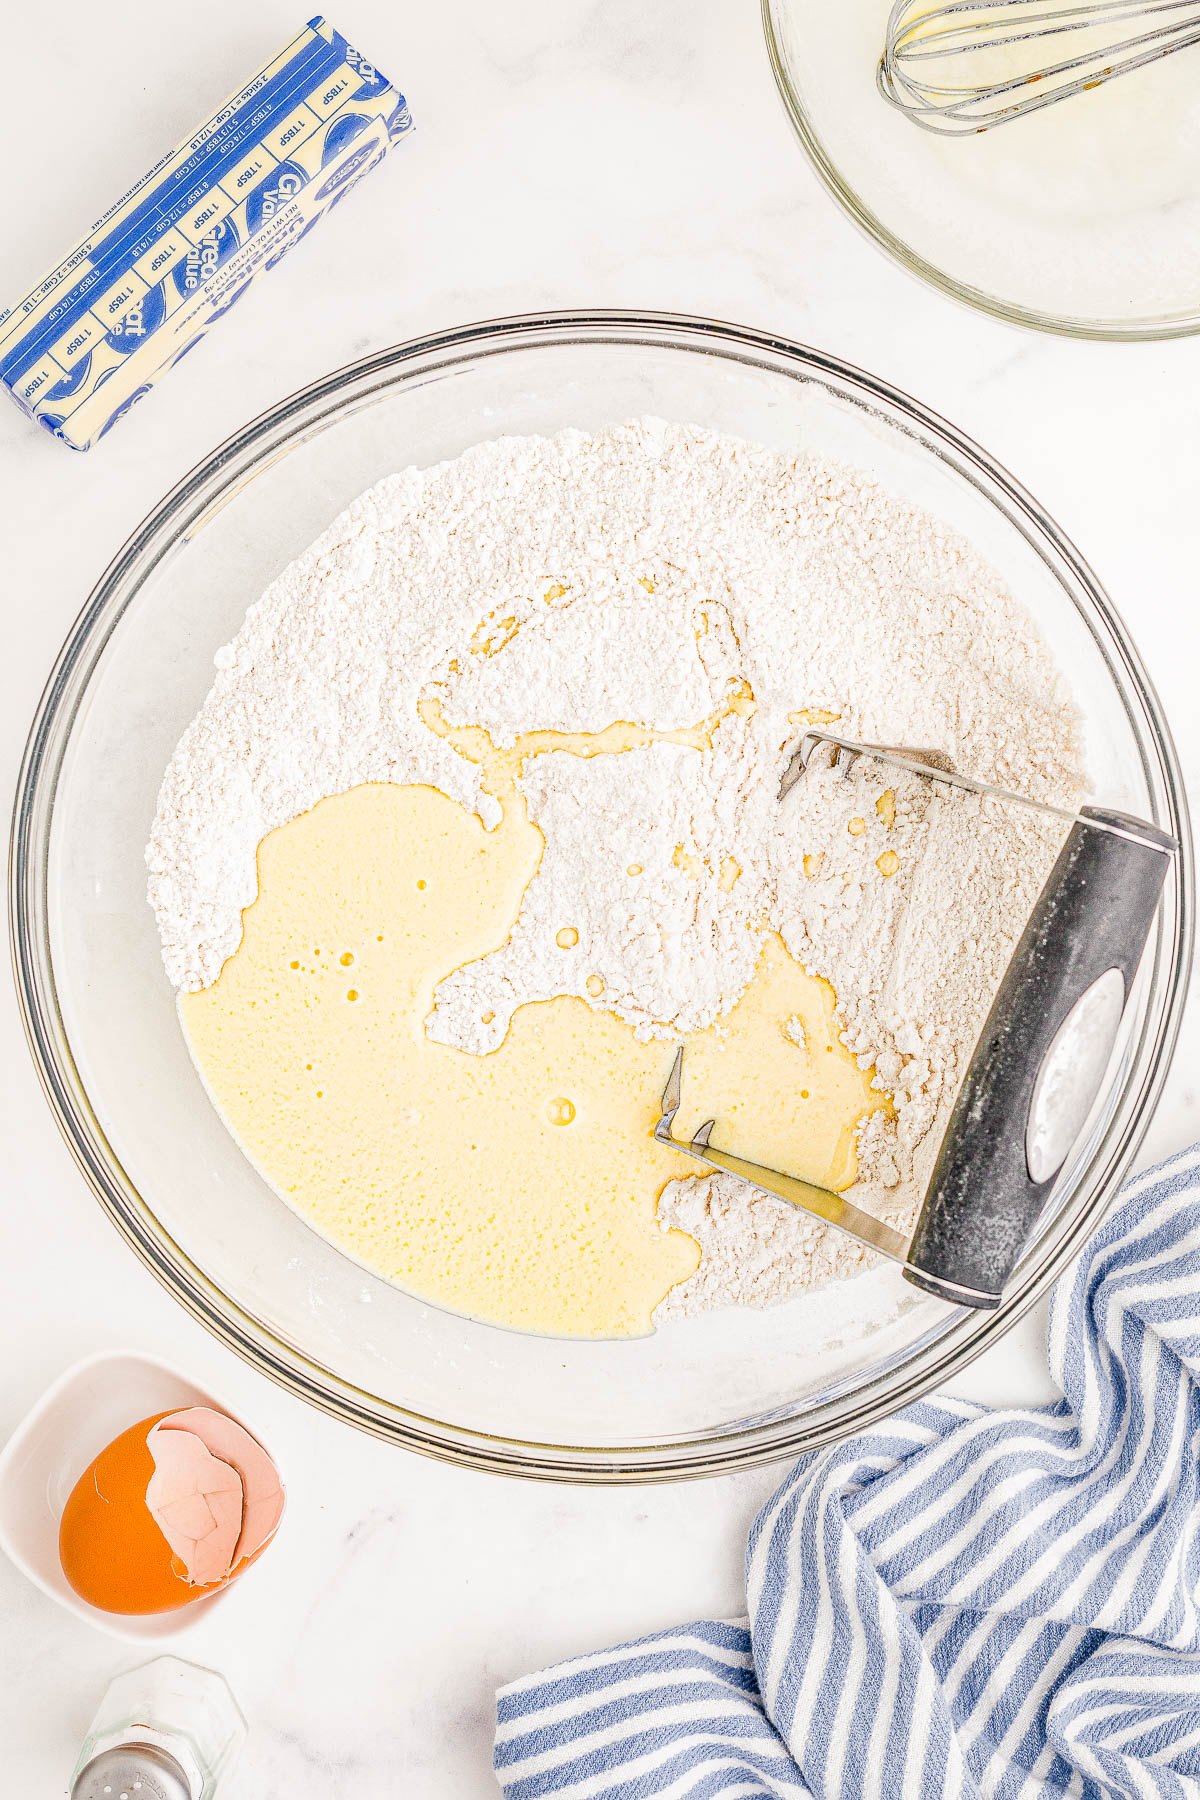
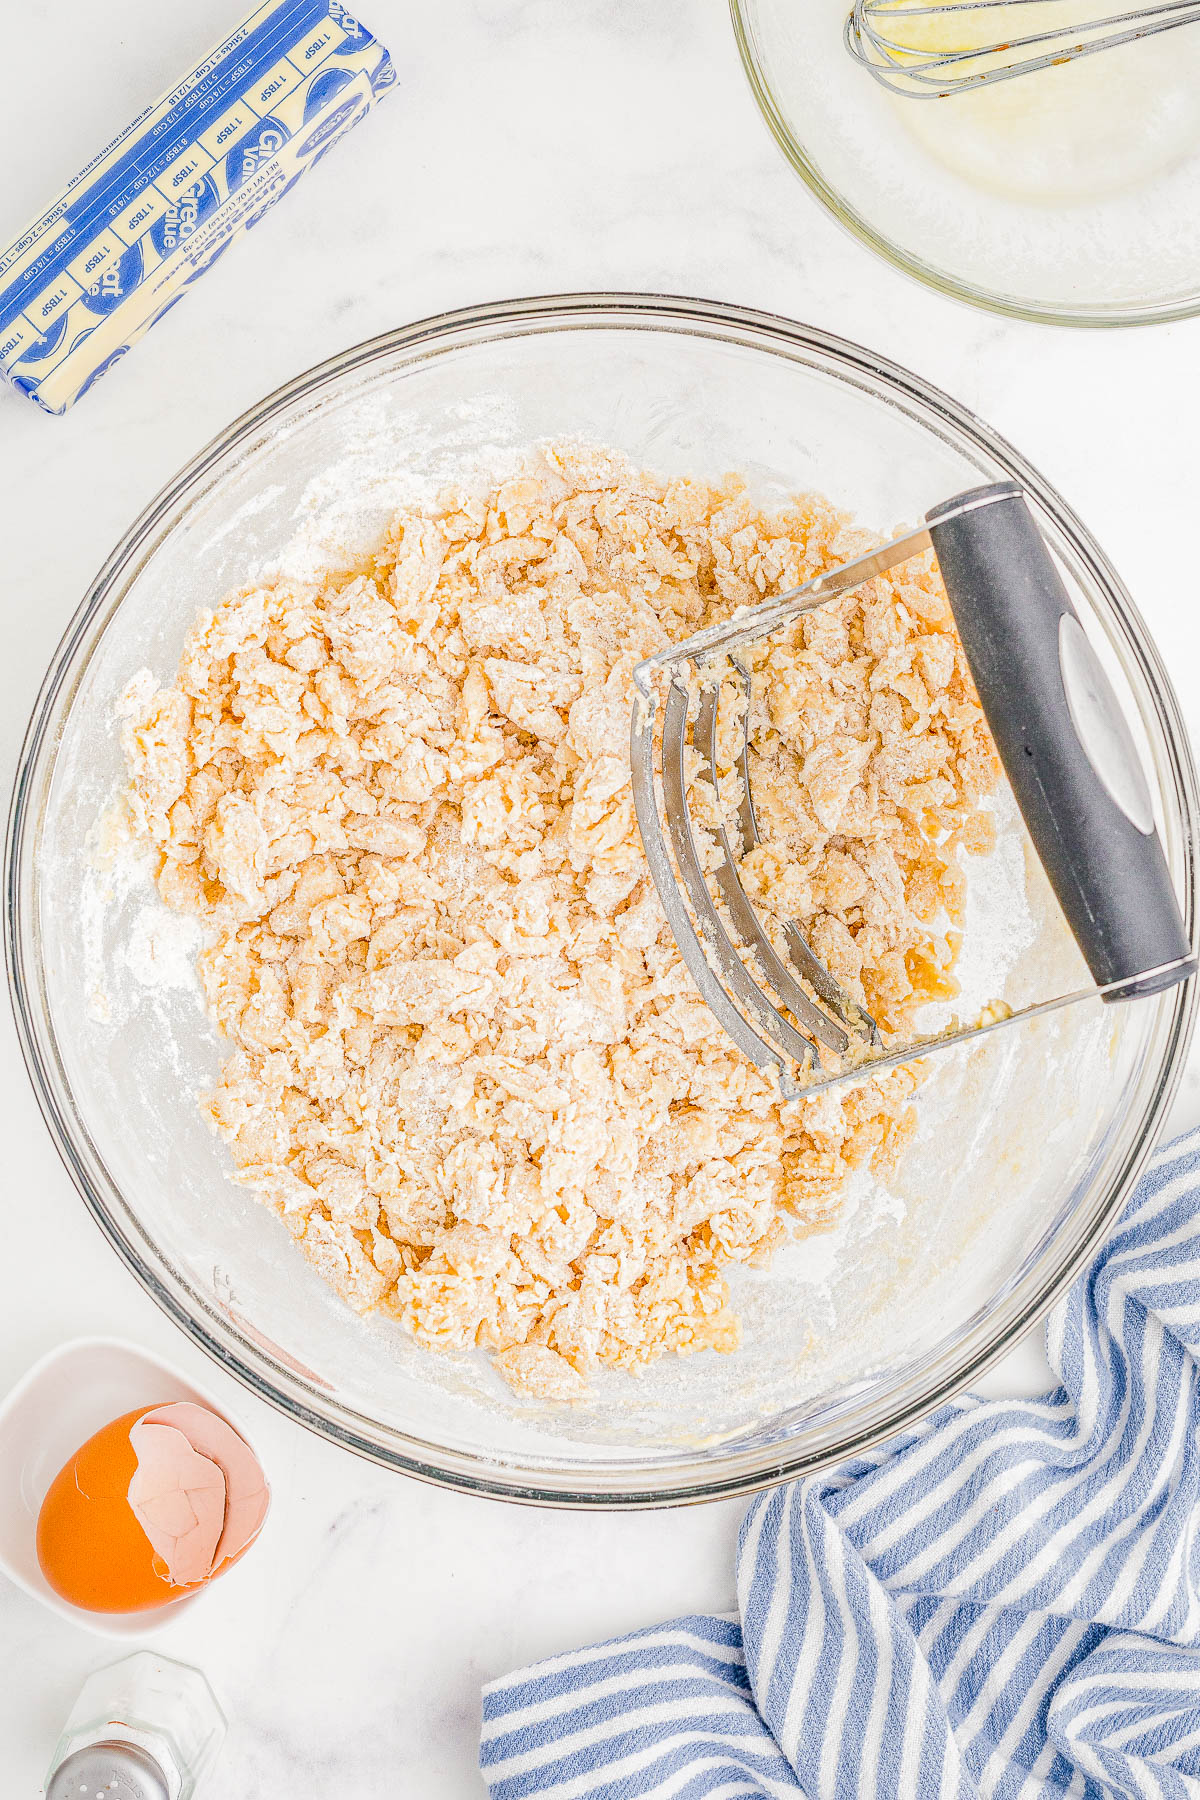
Using a pastry blender, cut the mixture together until you have pea-sized pieces of dough.
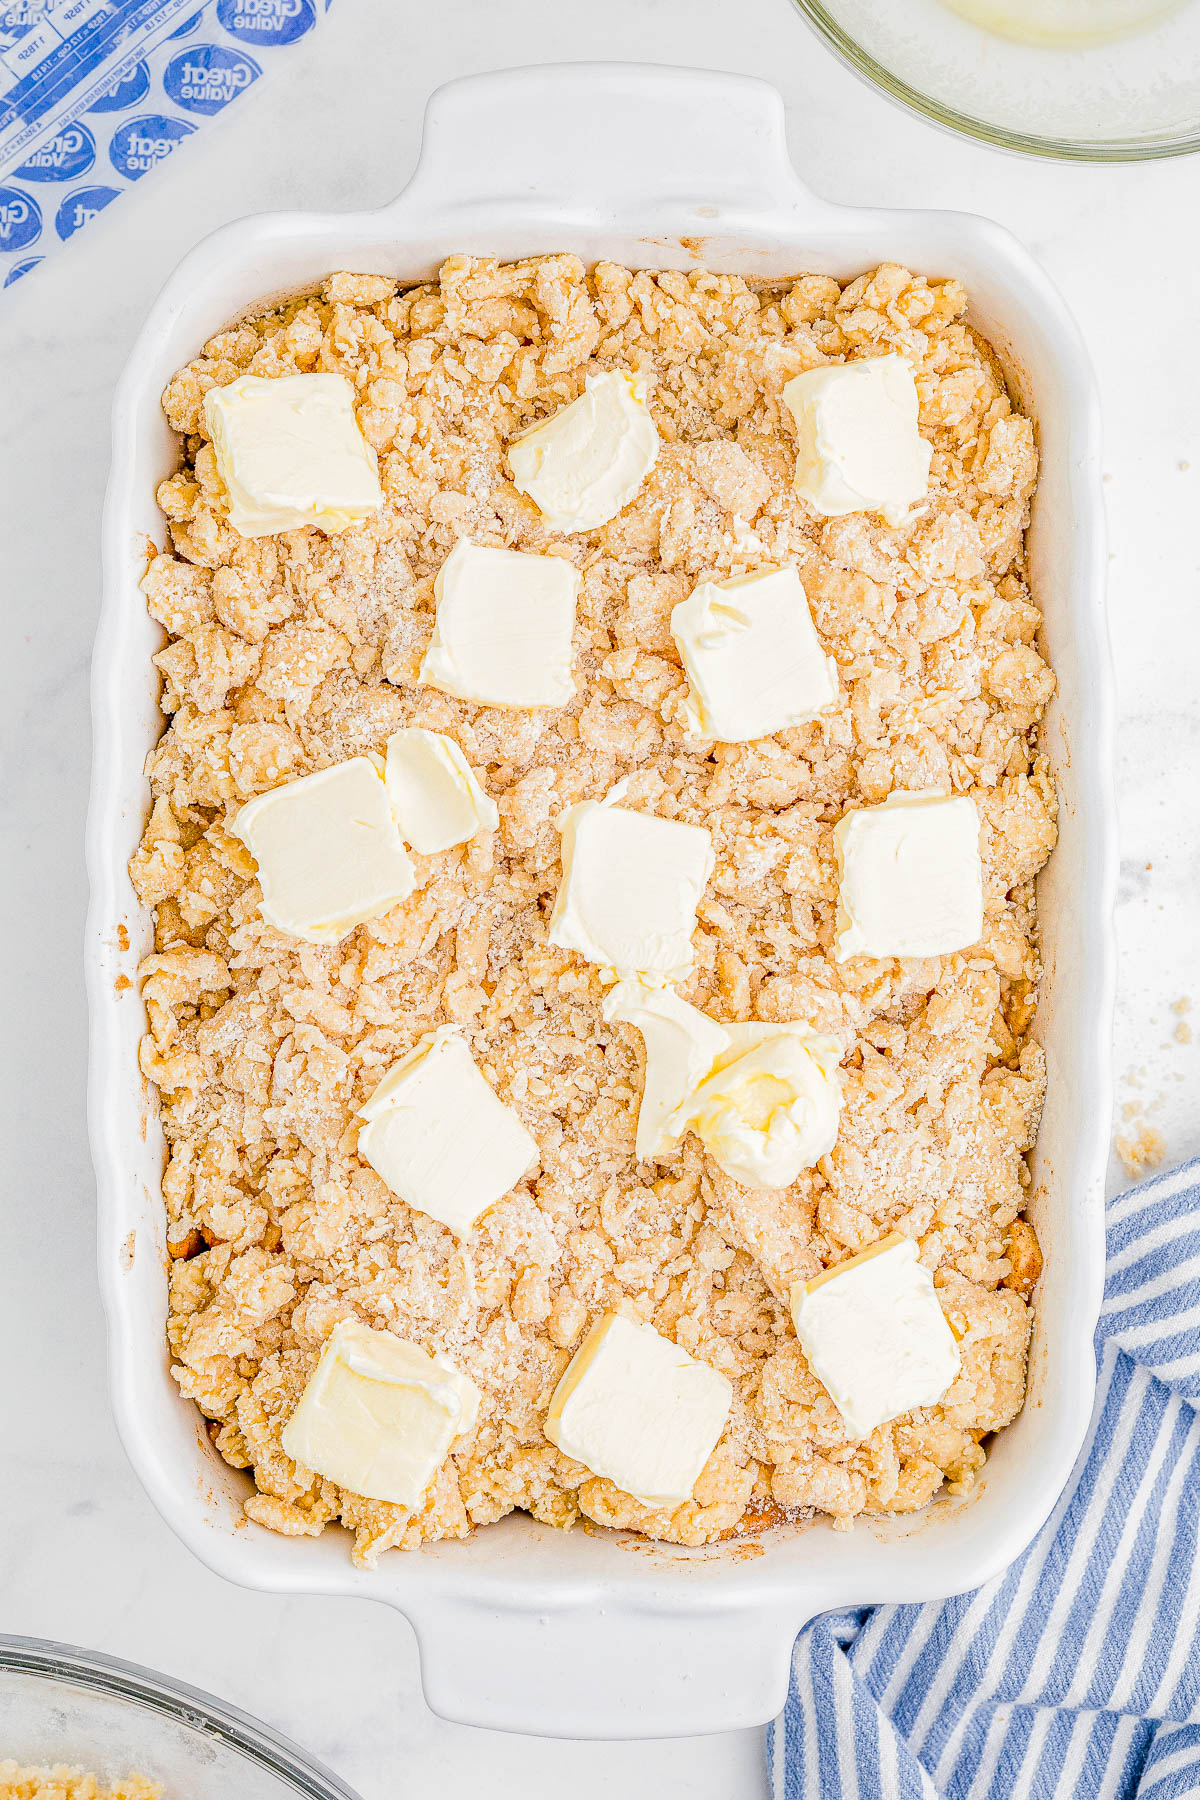
Step 4: Add the cobbler topping. After the apples have baked for 20 minutes, remove the foil. Drop the biscuit dough over the filling and sprinkle it as evenly as possible. Place pats of butter over the dough.
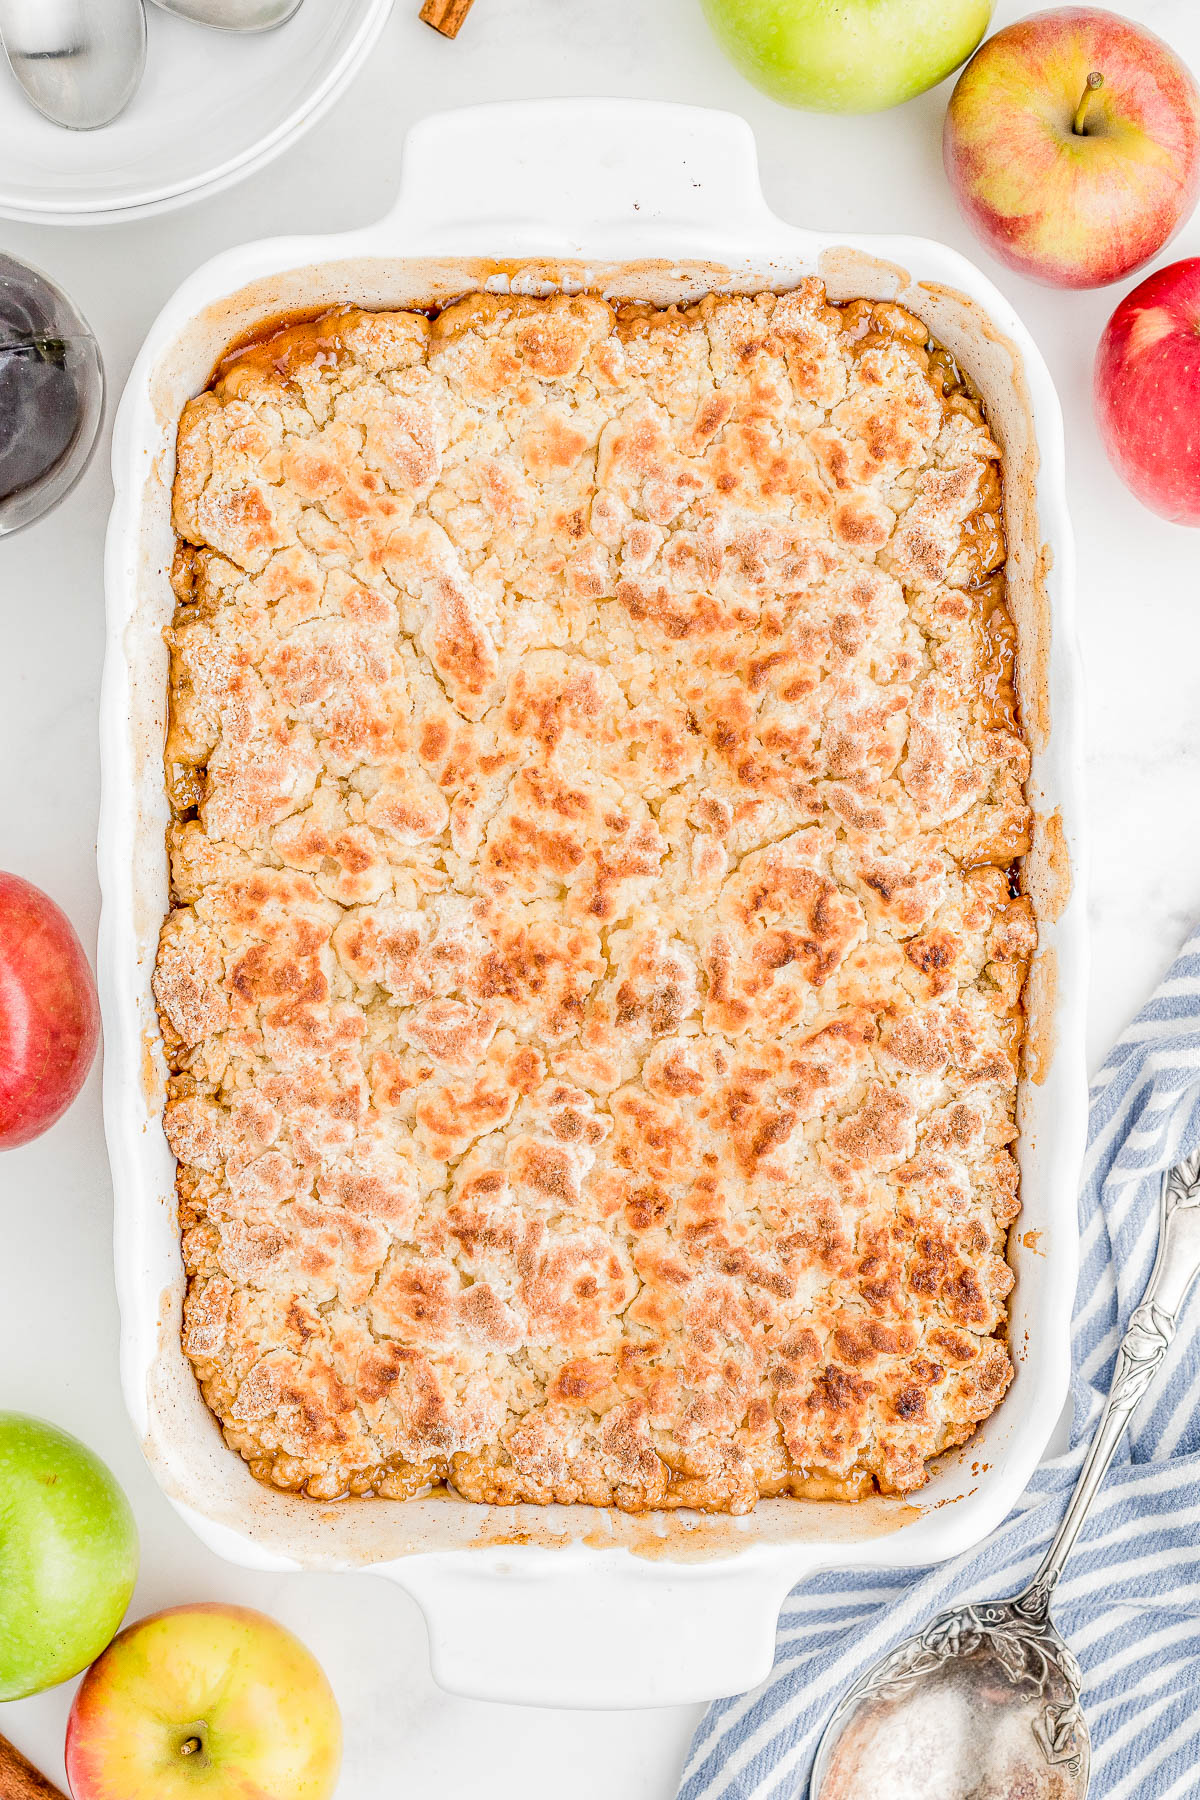
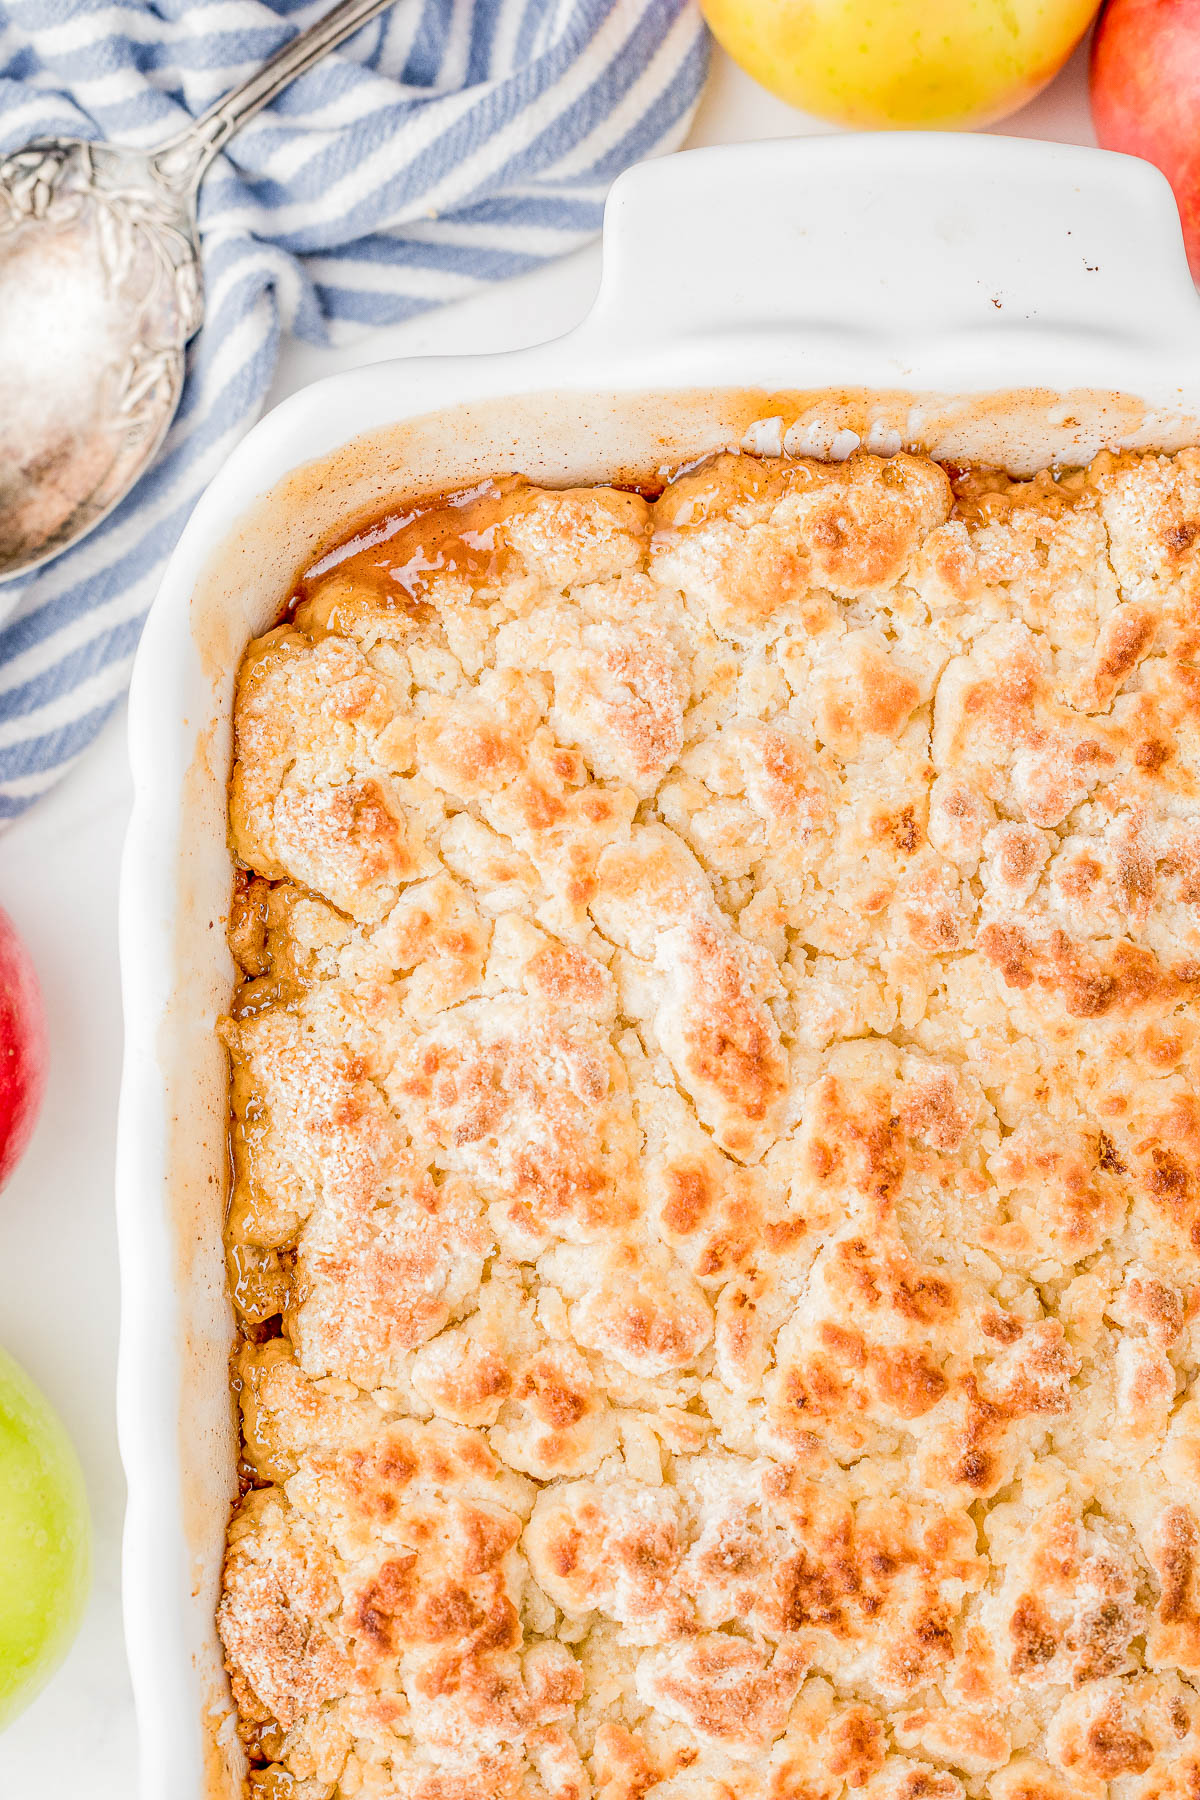
Step 5: Finish baking. The cobbler will need to bake for another 40 minutes. You’ll know it’s ready to come out when the biscuit topping is golden brown and the filling is bubbling around the edges.
Do I Have to Use Buttermilk?
Yes you do. Buttermilk helps the dough for the cobbler rise and also gives it a bit of extra special flavor that you can’t get from dough made without it.
This recipe was designed and developed using real buttermilk and you need to use it. You cannot use regular milk or water.
I also have not tested this with Greek yogurt or sour cream, both of which you’d need to thin out with milk. However, it’s simply easier to use the correct and indicated ingredient – buttermilk – than guess.
I buy my buttermilk Trader Joe’s because I find they have the best prices and good quality.
However, here’s what to do if you don’t have any traditional buttermilk on hand:
- Make your own buttermilk with whole milk and vinegar. Add 1/2 cup of 2% or whole milk to a large measuring cup. Stir in 1/2 tablespoon of white vinegar. Let that mixture sit for 2 minutes before using in the recipe.
- You can use powdered buttermilk. You’ll mix how many ever tablespoons the package calls for, with 1/2 cup of water, to yield 1/2 cup of buttermilk. For those who bake with or use buttermilk semi-frequently, but not so frequently to keep in in your fridge, keeping a tub of powdered buttermilk in your pantry is very handy.
What Else To Make with Buttermilk
If you’re wondering what to do with your leftover buttermilk, I’ve got you covered!
Check out The Best Buttermilk Recipes or every single Buttermilk Recipe I’ve ever posted for plenty of easy and delicious recipes.
Don’t let that buttermilk go to waste when there are so many possibilities!
Can I Use Canned Biscuit Dough?
If you absolutely don’t want to make your own drop biscuit dough using my super simple no-mixer recipe, you can get away with using canned biscuit dough.
You can use one 8-count container refrigerated biscuit dough. Or two 5-count containers. I would opt for ten biscuits rather than eight, but it’s up to you.
My recommendation is to bake the apples alone for about 30 minutes (rather than 20 minutes if doing everything from scratch). Add the biscuits, and then bake for another 20-25 minutes or so.
Canned biscuits bake quicker than scratch so they’ll be done in likely about half the time that my scratch recipe calls for, which is 40 minutes, after you add them to the pre-baked apples.
Bottom Line: All this being said, it’s so easy to make your own biscuit dough, and the recipe was originally developed with it in mind, and it’s what I strongly recommend!
Toppings for Apple Cobbler
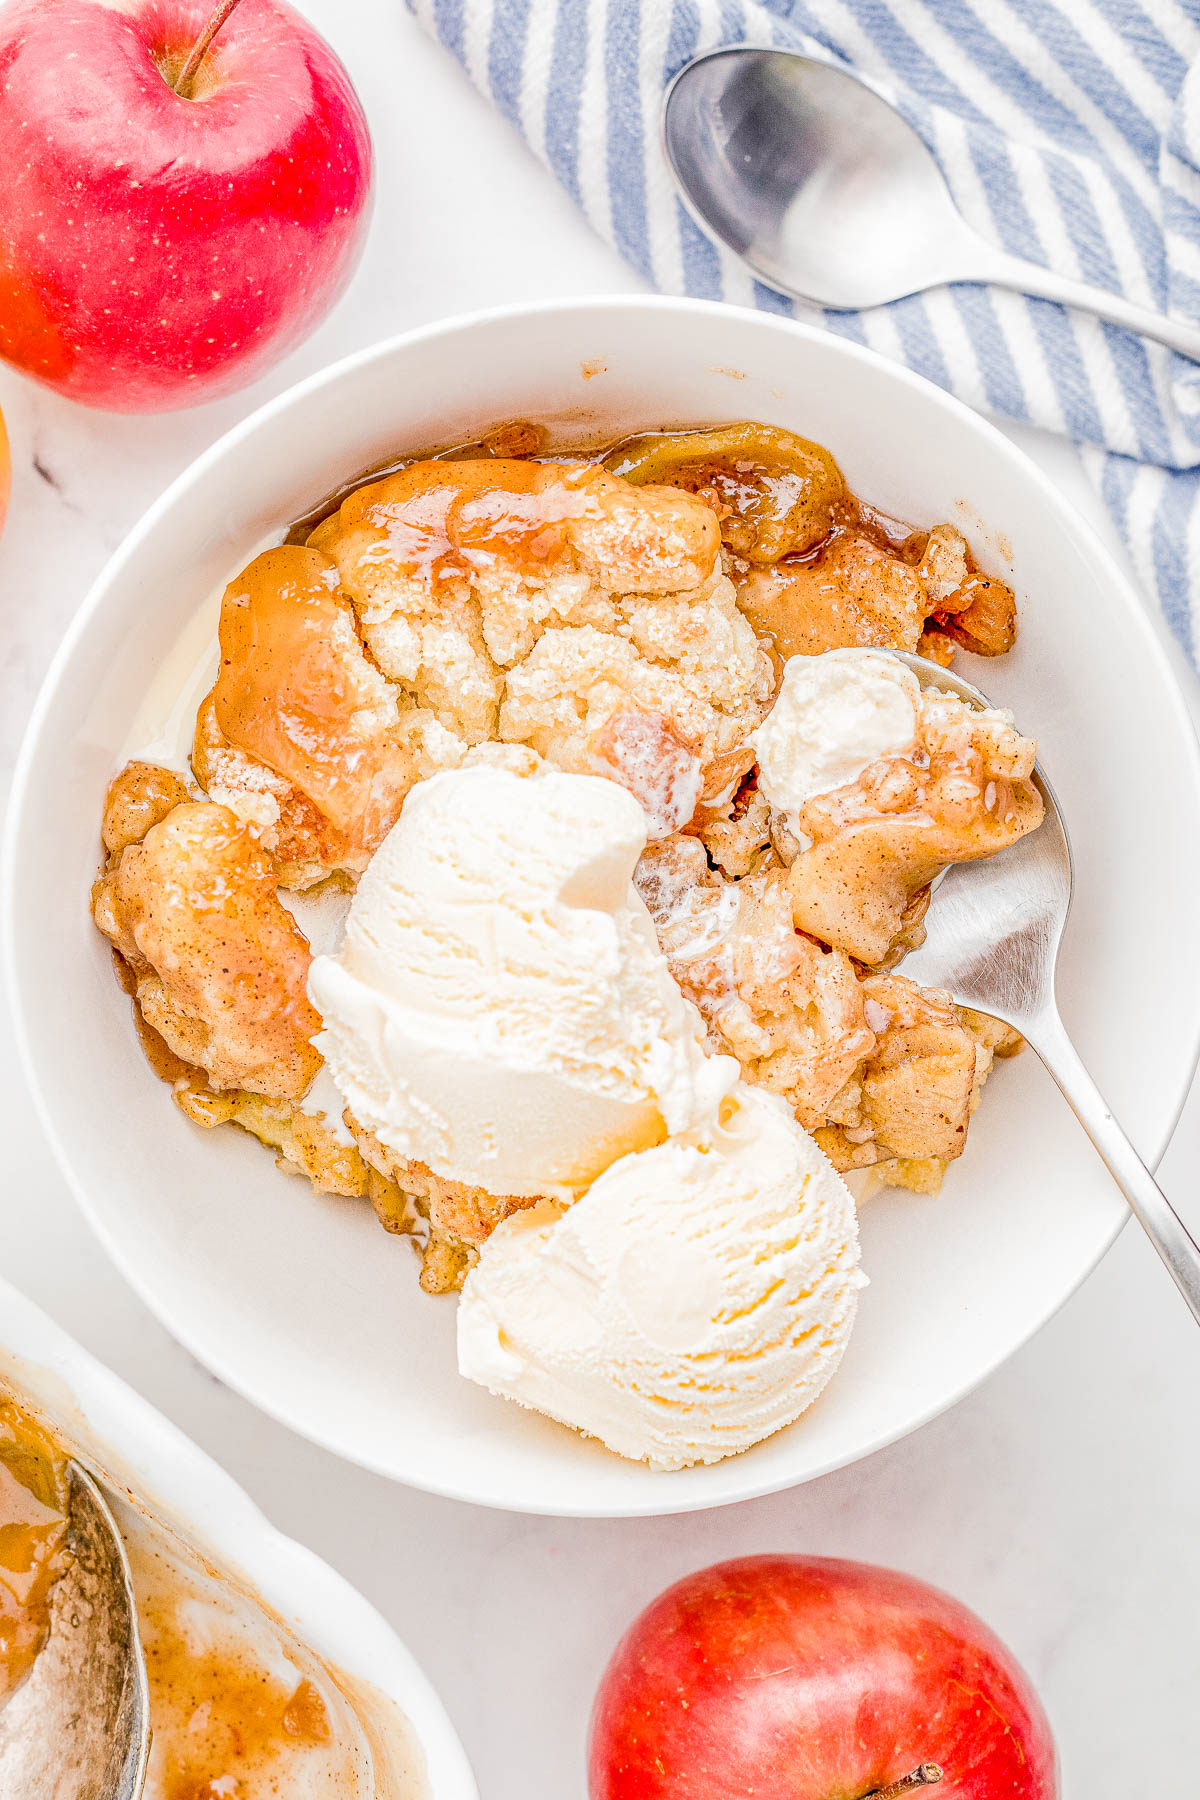
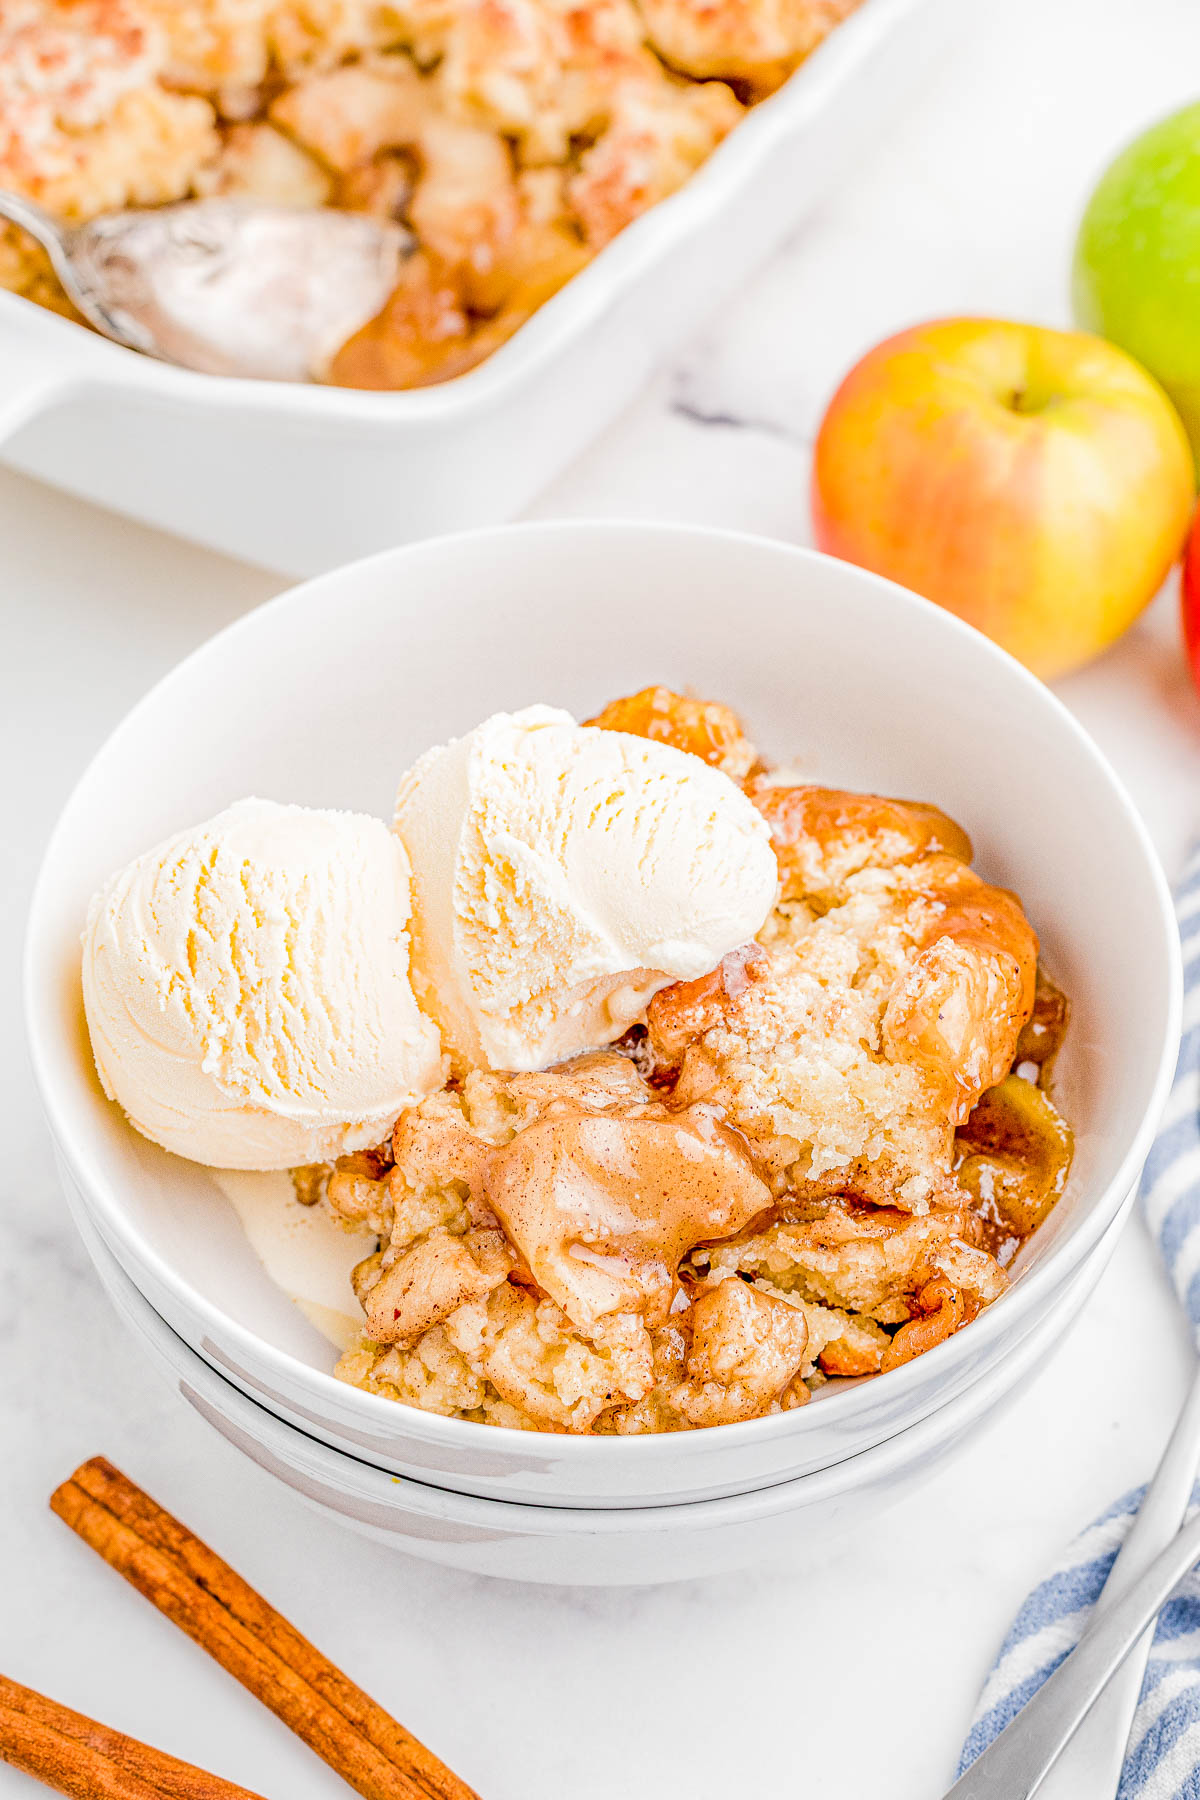
This spiced apple cobbler is addicting as is, but it tastes even better when topped with vanilla ice cream, a drizzle of caramel sauce, homemade salted caramel sauce, or whipped cream or whipped topping.
I recommend topping individual servings only and not the cobbler that remains in the baking dish otherwise you won’t be able to save the leftovers.
Storing Leftover Apple Cobbler
The USDA says that fruit cobblers like this may be left out on the counter for up to two days. However I personally stretch this to 3-4 days at room temperature (covered tightly with plastic wrap) because I don’t like how the texture changes upon refrigeration.
It’ll keep airtight in the fridge for up to 5 days or so, noting the biscuit topping will become soggier as time passes. It’s just the nature of a cobbler.
I don’t recommend freezing cobblers because of the texture changes that will occur upon thawing, although the taste and flavor will be fine if you freeze it airtight for up to 3 months.
The Best Apple Cobbler FAQs
You’ll just have to look at it! The biscuit topping should be golden brown all over, and you’ll likely see bubbling at the edges of the baking dish where the hot apple filling peeks through.
Baking times (especially when you’re baking a sweets/dessert recipe and not a savory dish) always vary depending on your oven, the exact ingredients used, natural variances among fresh ingredients (in this case, the apples), the climate, your pots and pans, and so forth.
Always watch your item, and not what the clock says, when determining doneness!
Most definitely! It’s hard to overcook the apple filling, but the biscuit topping can burn or dry out in the oven if baked for too long.
Allegedly apple cobbler got its name from the cobbled texture of the biscuit topping. I’m not sure I buy this theory, but that’s the story at least.
Cobblers are made with a fruit filling that’s topped with a biscuit-like dough or batter. Crisps and crumbles are made with an oat- or nut-based topping that’s streusel-like in texture.
Yes, I recommend peeling apples when making scratch apple cobbler. And for that part, most any apple dessert recipe.
The peel doesn’t become tender the same way the flesh of an apple does, which results in an apple cobbler filling that’s partly juicy and tender and partly chewy.
Your apple cobbler filling may be runny if you didn’t use baking apples (which hold their shape after being baked and don’t disintegrate).
OR you forgot to toss the apples in flour.
OR the filling can also turn out runny if you didn’t add enough flour. You need 5 full tablespoons of flour to coat the apples in flour and thicken the filling.
Once the cobbler has been baked, there’s nothing you can do to fix a runny filling. It will still be tasty, it just won’t be the right texture.
I recommend spooning the spiced fruit juices at the bottom of the baking dish over vanilla ice cream and eating it as is.
However, in the future you need to make sure to add flour to the filling to thicken it up.
Yes, you can use cornstarch to thicken the filling of this easy apple cobbler instead of flour.
Just note that cornstarch is twice as strong as flour so you need to use just 2.5 tablespoons of cornstarch as a thickener.
Yep! It’s fine to leave on your counter (covered with foil or plastic wrap) for up to 2-3 days.
Yes you can. However, if you want to make peach cobbler, blueberry cobbler, or strawberry cobbler, keep in mind that you likely won’t need to prebake those fruits for the 20 minutes or so that you do in this apple cobbler recipe since they’re all much softer fruits to begin with. I would bake them for about 5-10 minutes covered, then add the biscuit topping and bake as directed in this recipe.
You likely won’t want to use apple pie spice either and I’d simply use a bit of cinnamon and pinch of nutmeg for the other fruits, or as you like.
Pin This Recipe
Enjoy AverieCooks.com Without Ads! 🆕
Go Ad Free
Easy Apple Cobbler
Ingredients
- 8 to 10 apples, peeled, cored, and sliced thinly* (a variety of tart and sweet)
- 1 tablespoon lemon juice
- 2 ¼ cups granulated sugar, divided
- ¾ cup light brown sugar, packed
- 5 tablespoons + 2 1/2 cups all-purpose flour. divided
- 1 ½ teaspoons apple pie spice
- 1 ¼ teaspoons salt, divided
- 1 large egg
- ½ cup buttermilk**
- 1 teaspoon baking powder
- ½ cup unsalted butter, sliced into about 8 pats of butter
Instructions
- Preheat oven to 375F and spray a 9×13-inch baking pan very well with cooking spray; set aside.
- To a large bowl, add the apples and lemon juice. Tip – The lemon juice helps prevent the apples from oxidizing (turning brown) while you're peeling, coring, and slicing them. Feel free to add it to about half the apples (4 or 5) or so, while you're working on getting the remaining 4 or 5 prepped.
- Evenly sprinkle the apples with 3/4 cup granulated sugar (reserve the rest), all the light brown sugar, 5 tablespoons flour (reserve the rest), apple pie spice, 1/4 teaspoon salt (reserve the rest), and toss very well with a rubber spatula to combine and coat evenly.
- Using that same rubber spatula, turn the apples and all the remaining sugary juices out into the prepared baking pan.
- Cover with foil and bake for 20 minutes. While baking, move onto the next steps in the process.
- To a large bowl (Tip – the same bowl you used for the apples is fine provided you scraped out the sugar juices well with your spatula, you can simply wipe it out well with a paper towel and don't need to wash it) add the egg, buttermilk**, and whisk well to combine; set aside.
- In a separate large bowl, add the remaining 2 1/2 cups flour, the remaining 1 1/2 cups granulated sugar, baking powder, and remaining 1 teaspoon salt.
- Pour the wet egg-buttermilk mixture into the dry mixture.
- Using a pastry blender, cut the dough until you have pea-sized pieces.
- After the apples have been baking for 20 minutes, remove the pan from the oven, and evenly spoon the dough over the top.
- Evenly place the pats of butter over the top of the dough.
- Return the pan to the oven, and bake uncovered this time for about 40 minutes, or until the dough is set, lightly golden browned, and you can see the apple mixture below bubbling.
- Allow the cobbler to cool for about 10 minutes, or as desired. Serve with vanilla ice cream, homemade whipped cream, whipped topping (Cool Whip), salted caramel sauce, or your favorite topping, as desired.
- Storage – Extra cobbler will keep airtight at room temp for up to 3-4 days, noting the top will become soggier as time passes. Alternatively, you can store airtight in the fridge for up to 5 days, although if planning on consuming it all in the first few days, then I don't like storing pastry-based desserts like this in the fridge. I personally don't like freezing desserts of this nature either due to the texture changes, although the taste will be fine, stored airtight in the freezer for up to 3 months.
Notes
- Make your own buttermilk with whole milk and vinegar. Add 1/2 cup of 2% or whole milk to a large measuring cup. Stir in 1/2 tablespoon of white vinegar. Let that mixture sit for 2 minutes before using in the recipe.
- You can use powdered buttermilk. You’ll mix how many ever tablespoons the package calls for, with 1/2 cup of water, to yield 1/2 cup of buttermilk. For those who bake with or use buttermilk semi-frequently, but not so frequently to keep in in your fridge, keeping a tub of powdered buttermilk in your pantry is very handy.
Nutrition
Nutrition information is automatically calculated, so should only be used as an approximation.
©averiecooks.com. Content and photographs are copyright protected. Sharing of this recipe is both encouraged and appreciated. Copying and/or pasting full recipes to any social media is strictly prohibited.
More Easy Apple Dessert Recipes:
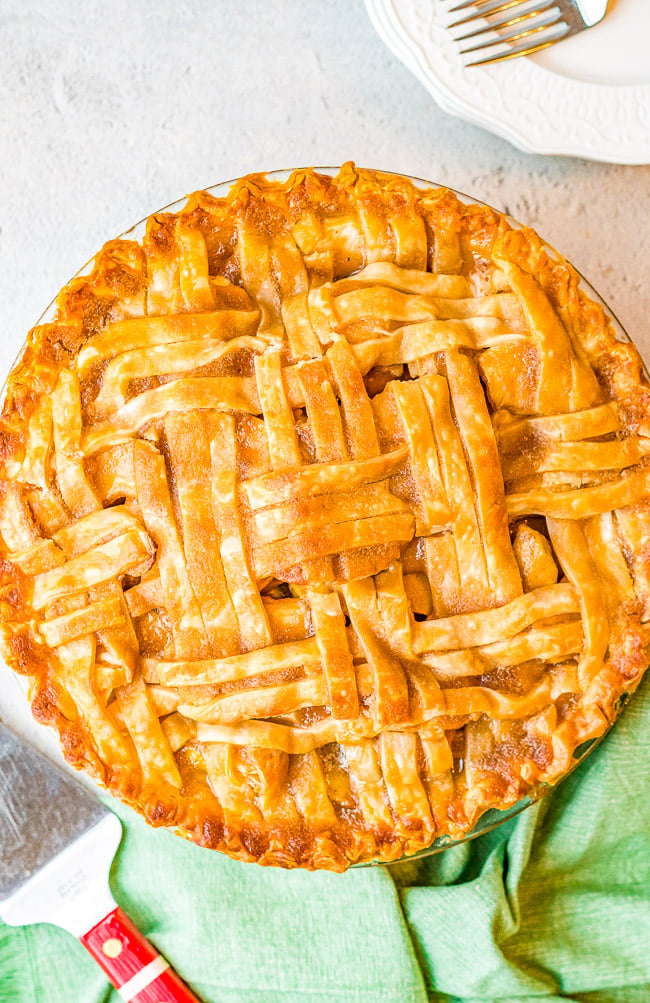
Best Homemade Apple Pie (From Scratch!) — This fabulous apple pie is a specialty of my grandma’s. The sauce for the apples is slowly poured over the lattice crust until it fills the shell.
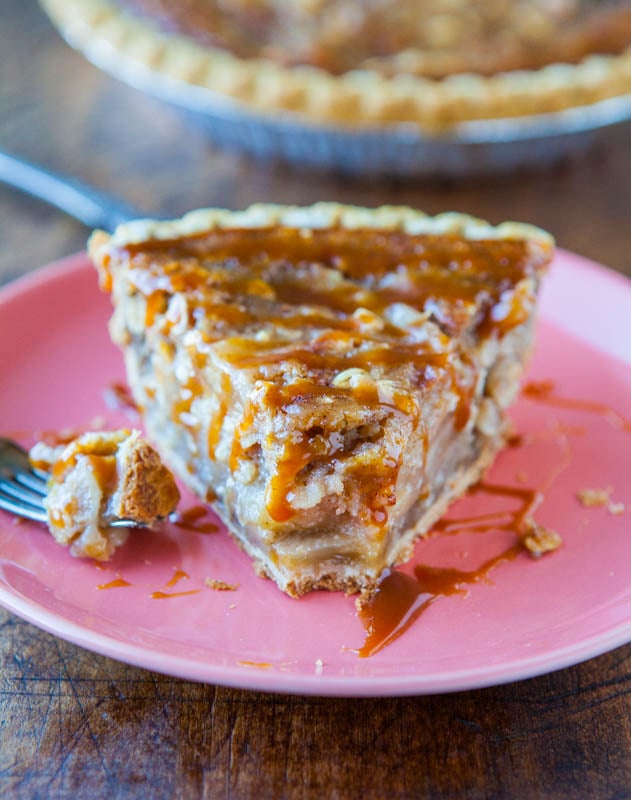
Caramel Apple Crumble Pie — Apple pie meets apple crumble in this easy caramel apple crumble pie recipe. This apple pie is dense, rich, and is packed with caramel apple flavor!
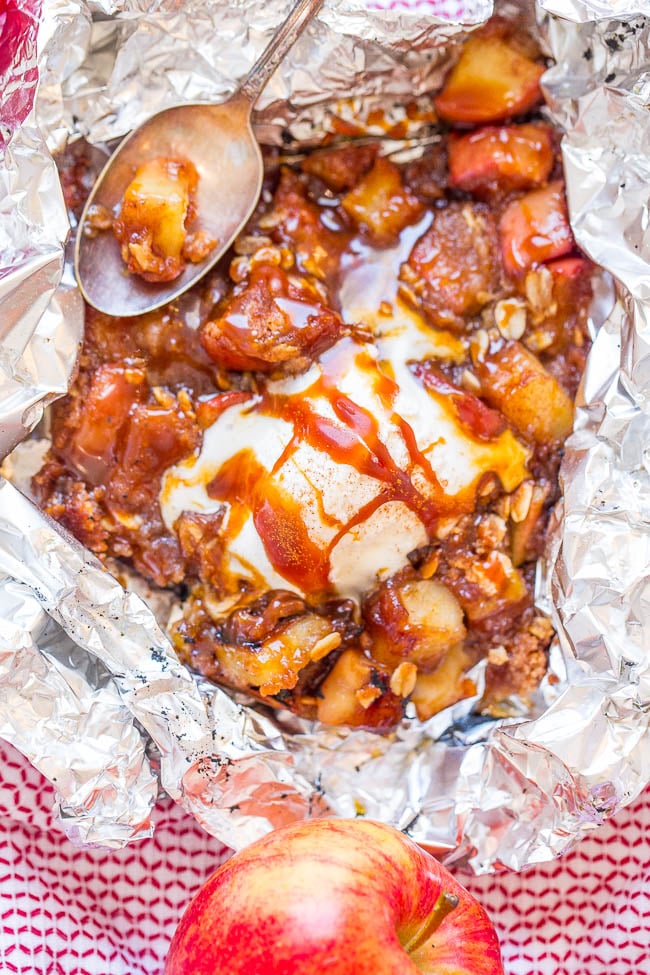
Apple Crisp Foil Packs with Caramel Sauce — EASY, zero cleanup, made on the grill (or oven) in record time, and tastes amazing! Juicy apples, chewy crumble topping, and luscious salted caramel…SO irresistible!
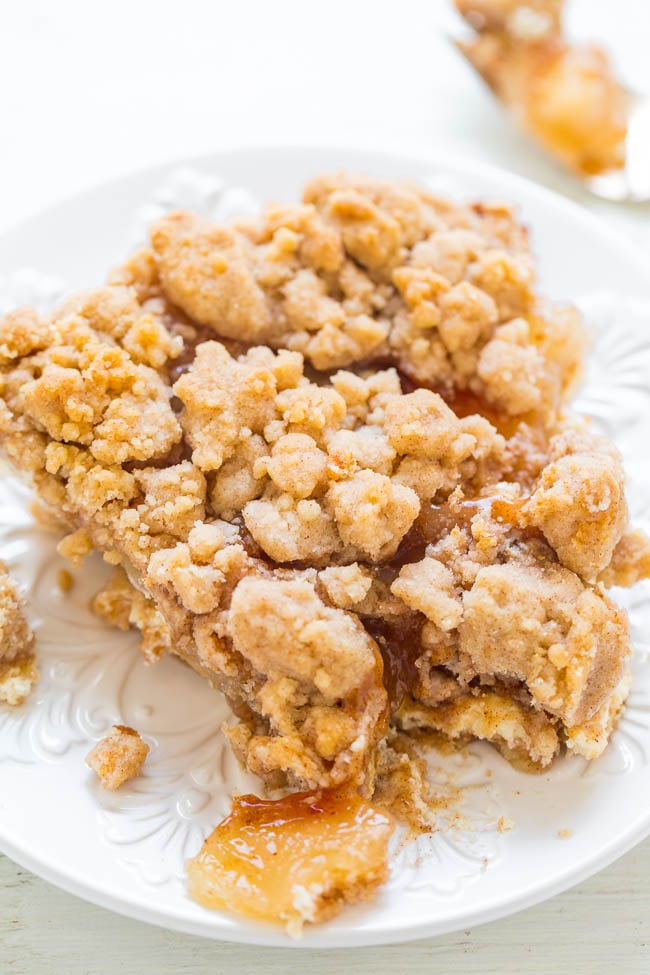
Sugar Cookie Apple Cream Cheese Pie – A buttery sugar cookie crust, tangy cream cheese filling, tender juicy apples, and a crumble topping make this pie a total SHOWSTOPPER!! EASY and THE BEST apple pie!!
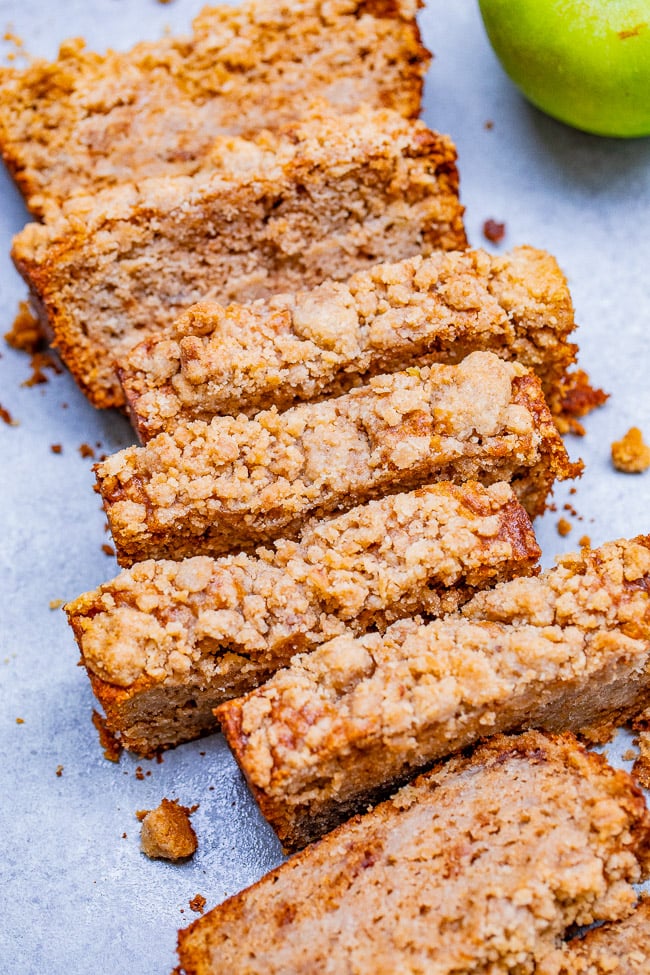
Apple Pie Bread with Streusel Topping — If you like apple crumble pie, you’re going to love this EASY no-mixer apple pie bread!! Soft, tender, moist bread with the contrast of the slightly crunchy crumble topping is PERFECT! Great for breakfast, brunch, snacks, or dessert!!
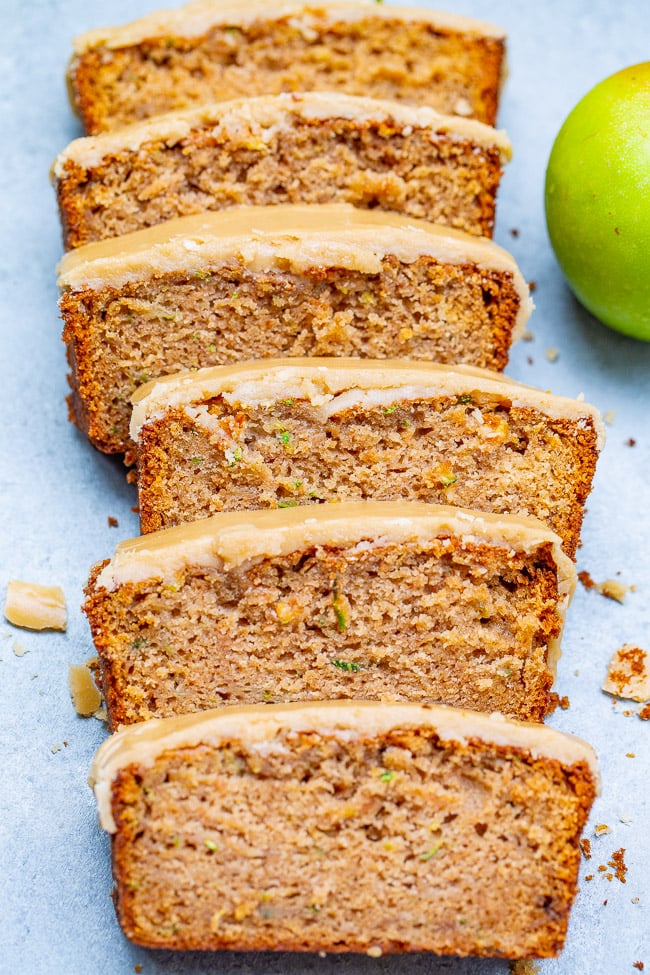
Apple Zucchini Bread with Brown Sugar Frosting – Super soft, moist, and topped with the BEST frosting ever!! One bowl, no mixer, EASY recipe for the best apple zucchini bread that everyone LOVES!!
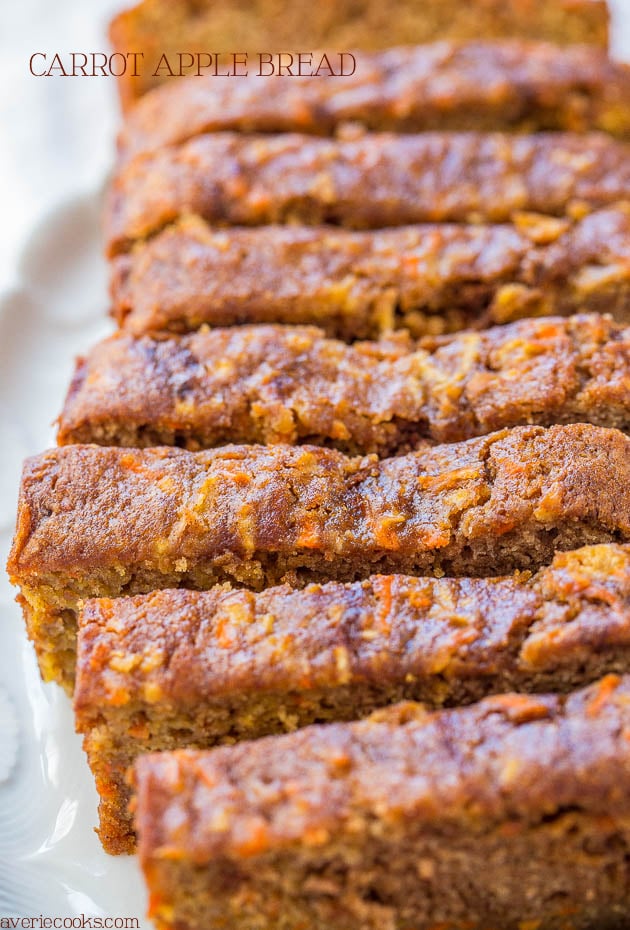
Apple Carrot Bread — This apple carrot bread tastes like carrot cake that’s been infused with apples. It’s a no mixer recipe that goes from bowl to oven in minutes!
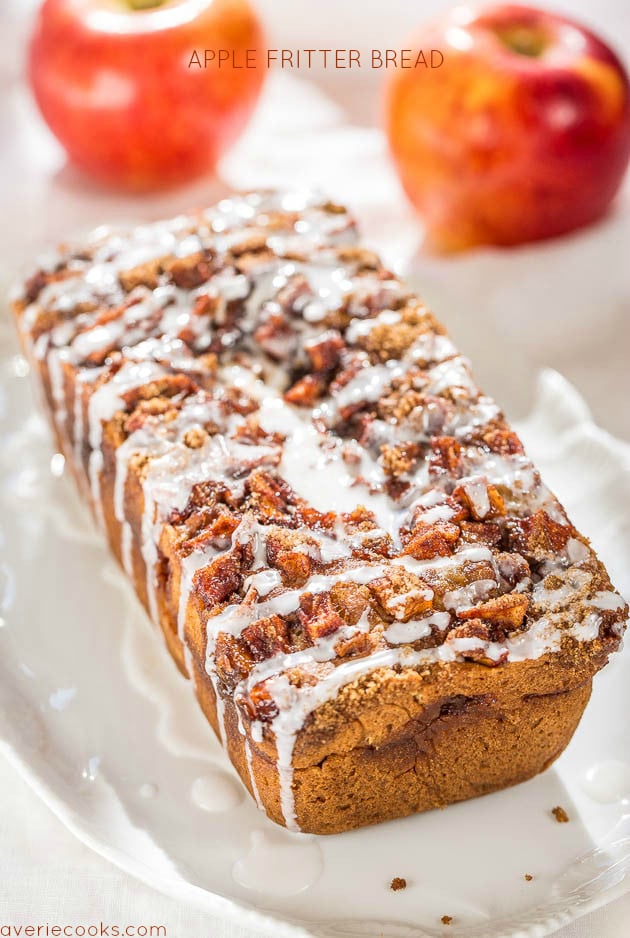
Apple Fritter Bread — The bread tastes as decadent as the apple fritters of my childhood, no deep frying required and it’s more like cake disguised as bread.
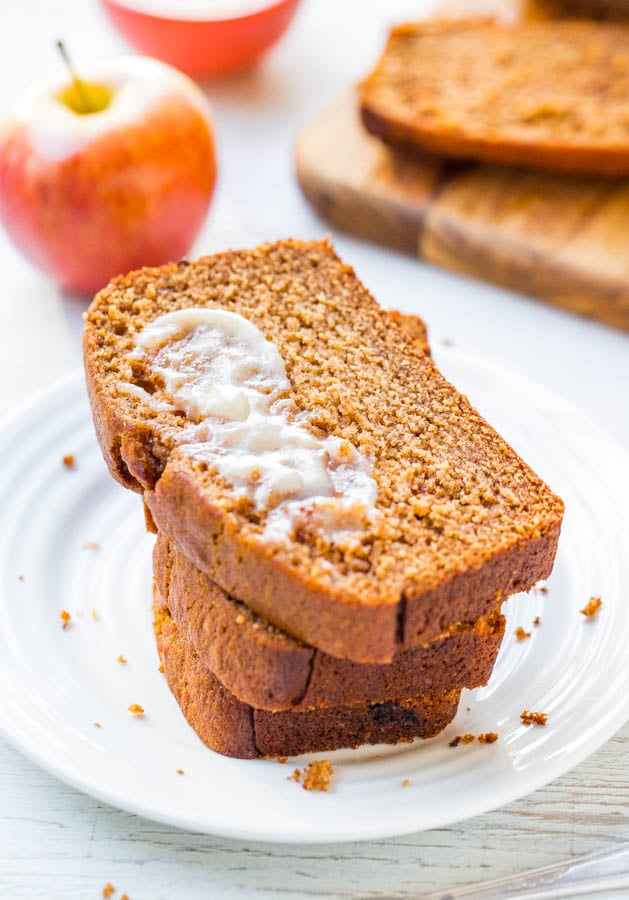
Cinnamon Spice Applesauce Bread with Honey Butter — Applesauce keeps this bread so soft & moist! It’s like apple spice cake, disguised as ‘bread’ so you can have extra!
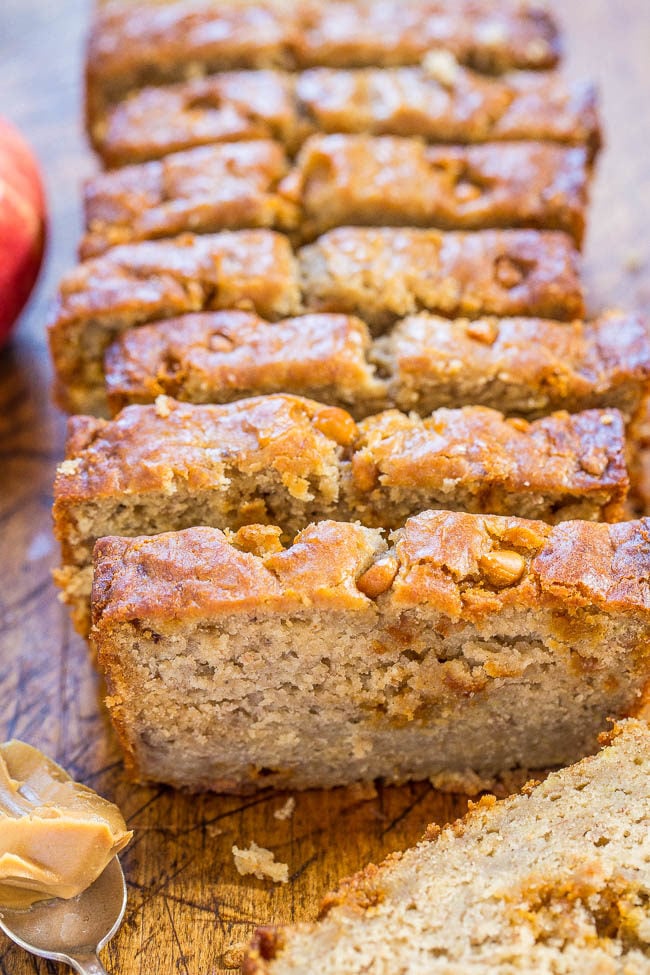
Peanut Butter Apple Banana Bread — Jazz up regular banana bread with peanut butter and apples! A perfect combo that tastes amazing together!! Fast, easy, no mixer required, and a hit with everyone!
Fresh Apple Bundt Cake with Cream Cheese Frosting — An EASY, one-bowl, no-mixer apple cake that’s to-die-for!! Loaded with juicy apples in every bite, perfectly spiced, and topped with tangy cream cheese frosting! So DELISH!!

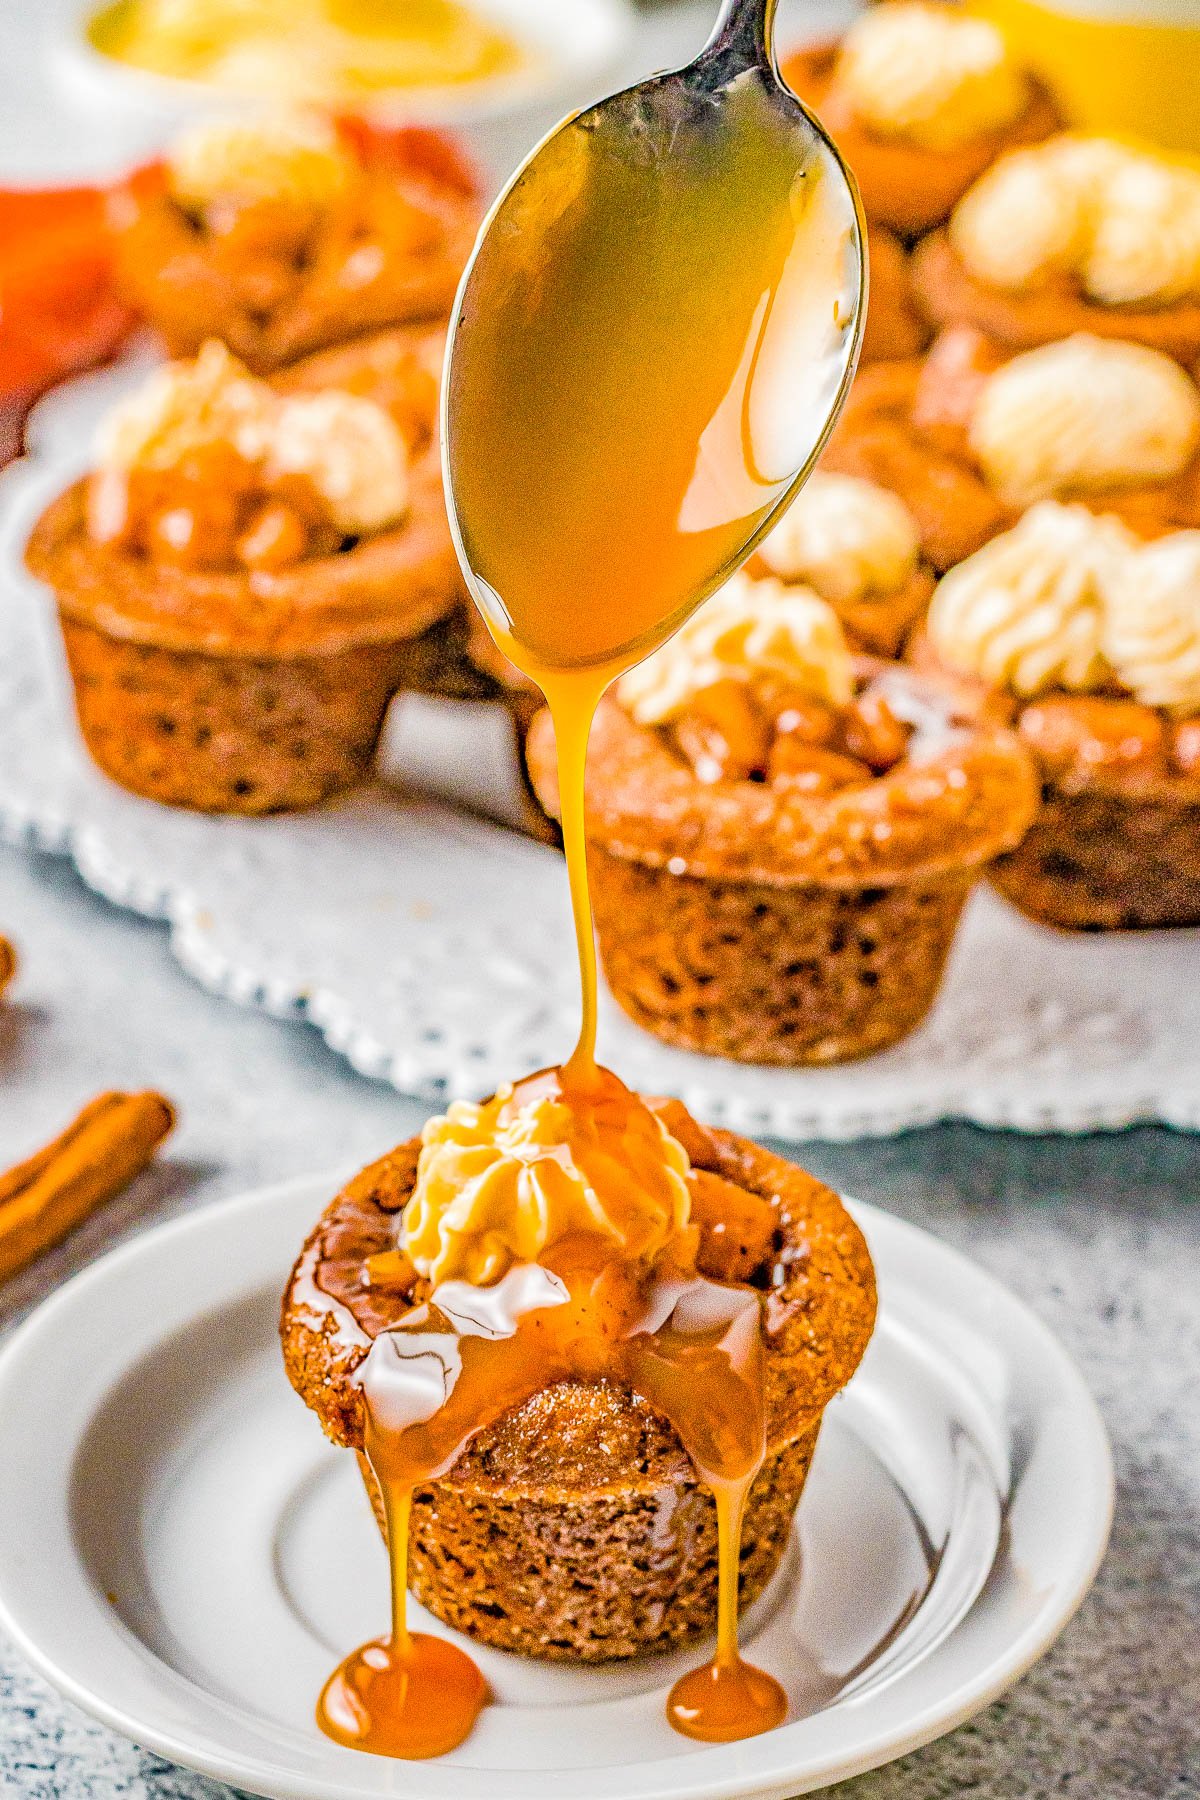
Spiced Caramel Apple Cookie Cups — Soft and chewy gingerbread cookies are shaped into bite-sized mini cookie cups and filled with a scrumptious warmly spiced caramel apple filling! A final touch of whipped cream cheese caramel frosting makes these cookie cups an instant FAVORITE! An EASY dessert that everyone LOVES!
