Cheez-It Chicken Tenders — EASY, ready in 15 minutes, and so CRISPY on the outside thanks to a Cheez-It Cracker coating!! Don’t bother frying chicken when you can bake it! If you like Cheez-Its, you’re going to LOVE this chicken!!
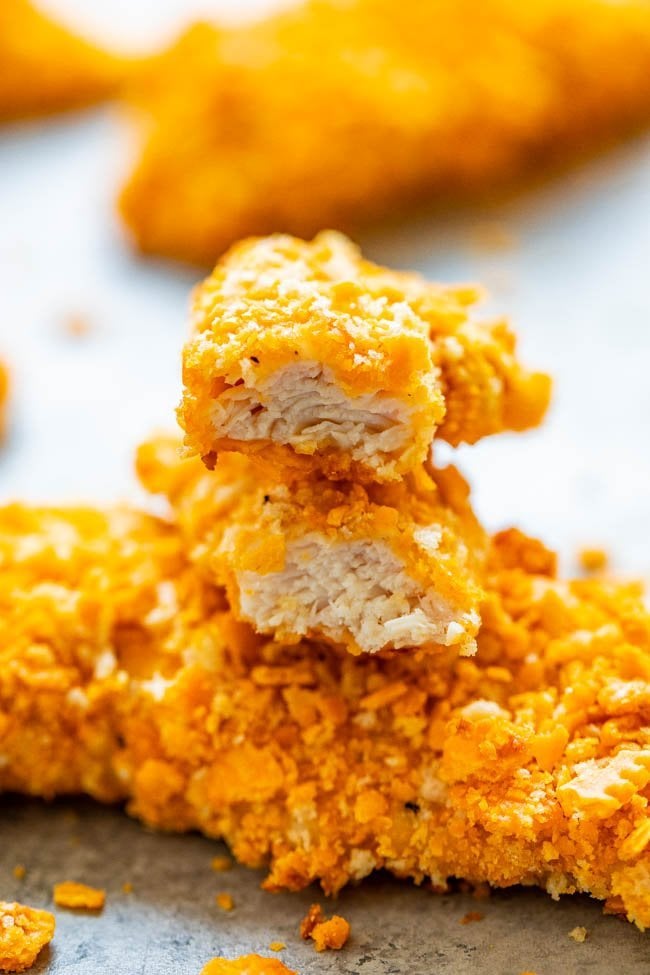
Cheesy Oven Baked Chicken Tenders
One of my favorite snacks growing up and in college was Cheez-It Crackers. I’m not sure why I fell out of the habit of buying them — ok, the meaningless carbs, fat, and sodium do come to mind — but they’re so good.
But recently before a day at the beach I grabbed a box and my daughter and I scarfed them down.
Then I got the idea to make these oven baked chicken tenders breaded in Cheez-Its and panko breadcrumbs. And I have to say it was a pretty great idea because we loved this Cheez-It chicken recipe!
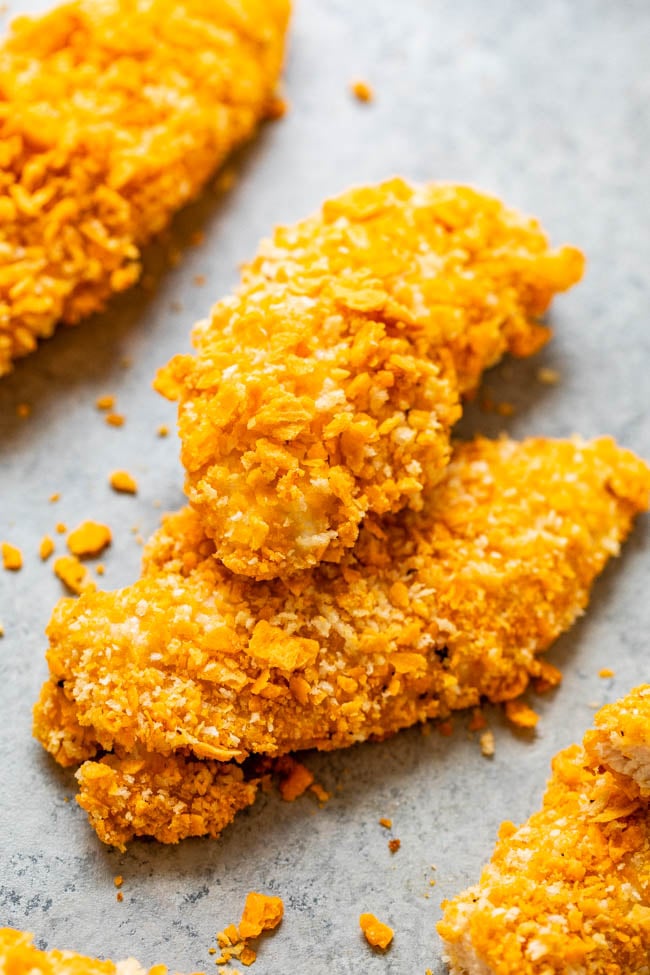
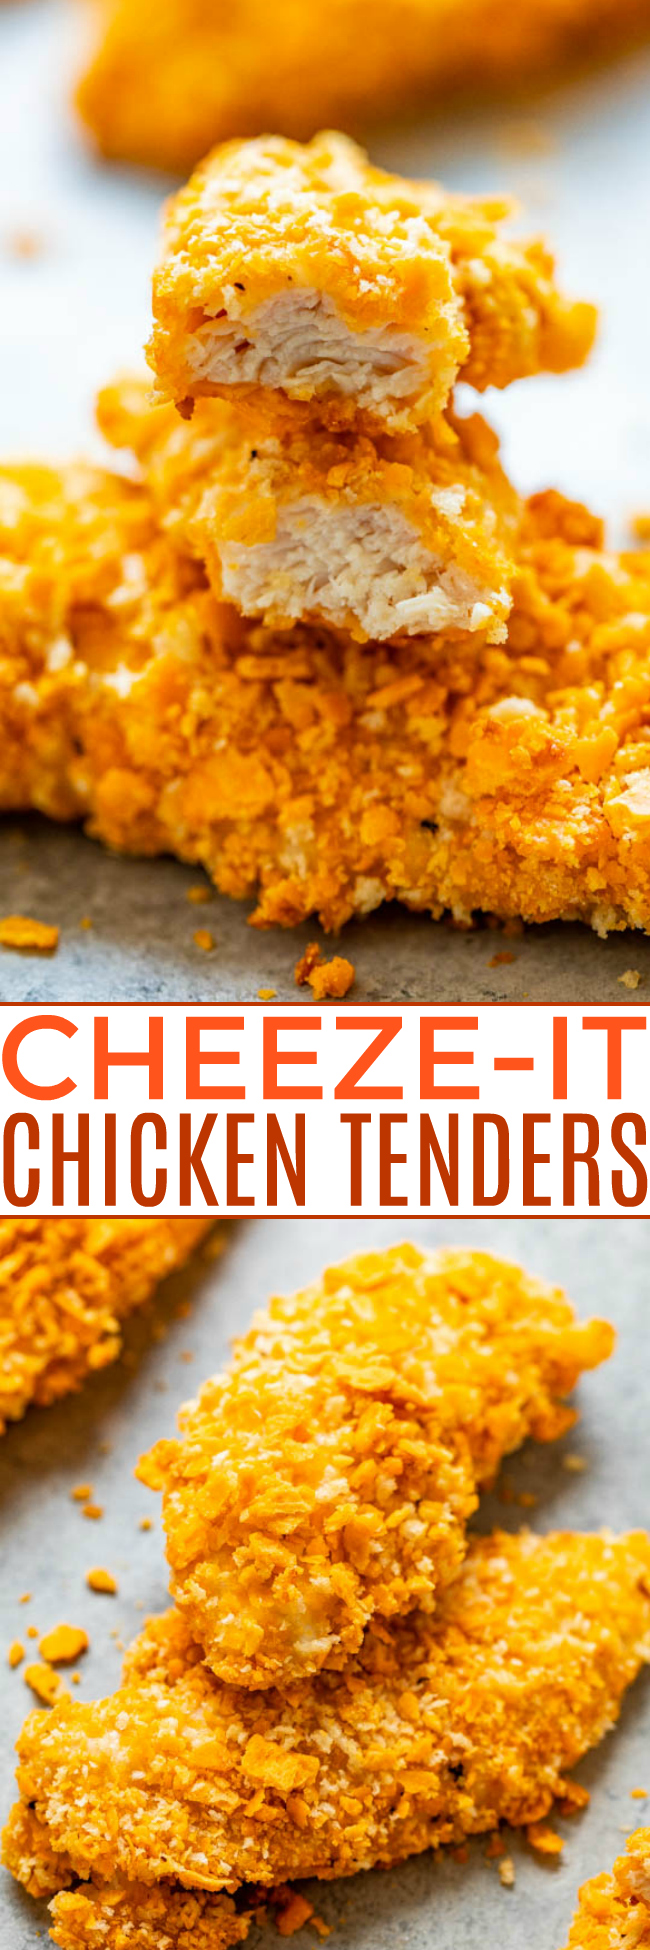
These Cheez-It crusted chicken tenders are plenty crispy on the outside thanks to the crackers and the panko breadcrumbs. Why bother frying chicken when you can get so much flavor from baked chicken?
Meanwhile, the chicken is tender and juicy on the inside. The Cheez-Its add an unmistakeable cheesy flavor that all Cheez-It fans will appreciate.
What’s in the Cheez-It Chicken Tenders?
For this cheesy, crispy chicken tenders recipe, you’ll need:
- Cheez-It Crackers
- Panko breadcrumbs
- Egg
- Kosher salt and pepper
- Boneless skinless chicken tenders
How to Make Cheez-It Chicken Tenders
Simply beat an egg, dip the chicken into it, add the chicken to a large ziptop plastic bag with crushed Cheez-It Crackers and panko breadcrumbs. Seal up the bag and shake.
When you want to spruce up classic shake-and-bake chicken, Cheez-It chicken is how it’s done.
Bake the tenders for 15 minutes and dinner is ready — perfect for busy weeknights! These are also great for game day parties or any time you need a casual appetizer or snack that everyone will love.
Can I Use Regular Breadcrumbs Instead of Panko?
The chicken gets its crispiness from both the Cheez-It Crackers and from panko breadcrumbs.
Note that panko breadcrumbs are Japanese-style breadcrumbs and are not the same as regular breadcrumbs so don’t substitute those.
These are bigger, crunchier crumbs and yield chicken tenders that have a lovely crispiness on the outside that you wouldn’t get from regular breadcrumbs.
Storage Instructions
Cheez-It chicken will keep airtight in the fridge for up to 5 days or in the freezer for up to 4 months, noting that reheated chicken will not retain its crispiness.
Dipping Sauces for Chicken Tenders
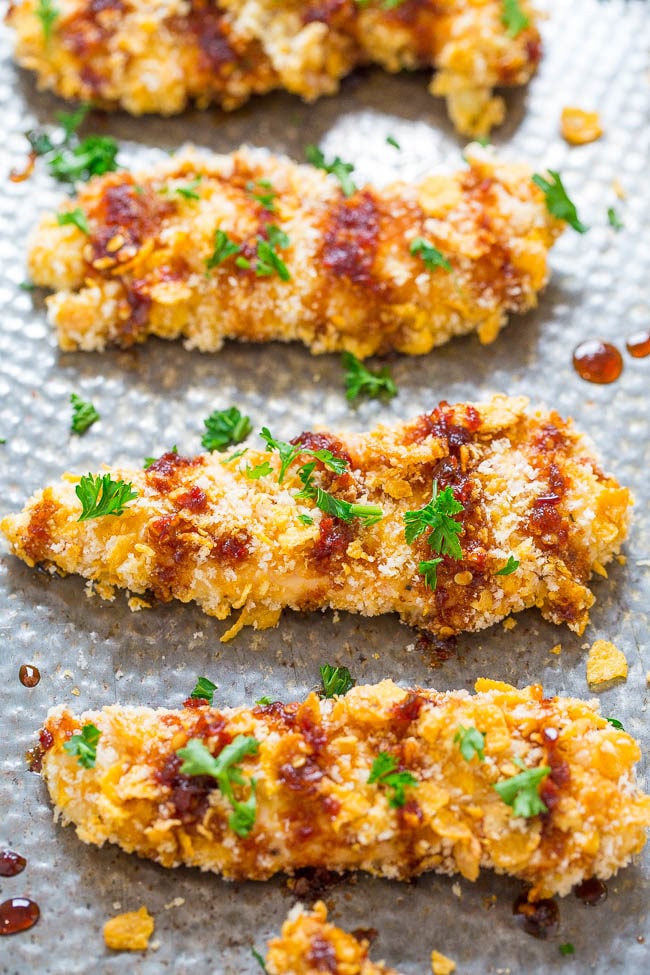
Chop up these Cheez-It crusted chicken tenders to enjoy atop a salad, or dunk into one of the following dipping sauces!
- BBQ sauce
- Honey mustard sauce
- Smoky Honey Mustard
- Ketchup
- Blue cheese dressing
Tips for Making Cheez-It Crusted Chicken Tenders
Be sure not to overbake the chicken because tenders cook up so fast in a hot 400F oven.
I recommend using classic (full fat) Cheez-Its rather than the reduced fat version so that the chicken has a better chance of staying juicier and moister.
There are also all kinds of spicier versions of Cheez-Its out now, and I think they would be great as well if you want to spice things up.
Pin This Recipe
Enjoy AverieCooks.com Without Ads! 🆕
Go Ad Free

Cheez-It Chicken Tenders
Ingredients
- 1 ½ cups Cheez-It Crackers, use regular rather than low-fat
- ½ cup panko breadcrumbs
- 1 large egg
- 1 teaspoon kosher salt
- ½ teaspoon freshly ground black pepper
- 1 to 1.25 pounds boneless skinless chicken tenders
- ranch dressing, blue cheese dressing, ketchup, etc. for serving if desired
Instructions
- Preheat oven to 400F and line a baking sheet with aluminum foil for easier cleanup; set aside.
- To a large ziptop storage bag add the Cheez-It's, seal bag and crush the crackers with your fist from the outside until you have fine crumbs. Tip - Roll a rolling pin, beer bottle, soda can, or something similar over the bag to pulverize the crumbs easily. I don't find it necessary to dirty my food processor for this task.
- Unzip the bag, add the panko, stir to combine; set bag aside.
- To a medium bowl, add the egg, salt, pepper, lightly beat the egg with a fork, add the chicken, and toss and flip chicken with the fork so all pieces are coated evenly.
- Remove chicken from the bowl using the fork (discard excess egg), drop it into the plastic bag, seal bag, and toss and shake bag to evenly coat the chicken.
- Place chicken pieces on the prepared baking sheet, evenly spaced. Tip - Take the excess crumbs that are in the bag and use your fingers or a spoon to firmly push them onto the chicken in any sparsely coated areas.
- Bake for about 15 minutes, flip midway through cooking if desired. Serve immediately with your favorite dip or dressing if desired.
Notes
Nutrition
Nutrition information is automatically calculated, so should only be used as an approximation.
©averiecooks.com. Content and photographs are copyright protected. Sharing of this recipe is both encouraged and appreciated. Copying and/or pasting full recipes to any social media is strictly prohibited.
More Easy Chicken Dinners:
Everything Bagel Baked Chicken Tenders – EASY, ready in 15 minutes, and perfectly CRISPY on the outside!! Tastes like an everything bagel met chicken on the way to the oven and so GOOD! Don’t bother frying chicken when you can bake it!!
Kicked Up Cornflake Chicken – EASY, ready in 30 minutes, so CRISPY on the outside and tender and juicy inside!! The sauce has the perfect amount of KICK to keep you going back for more!!
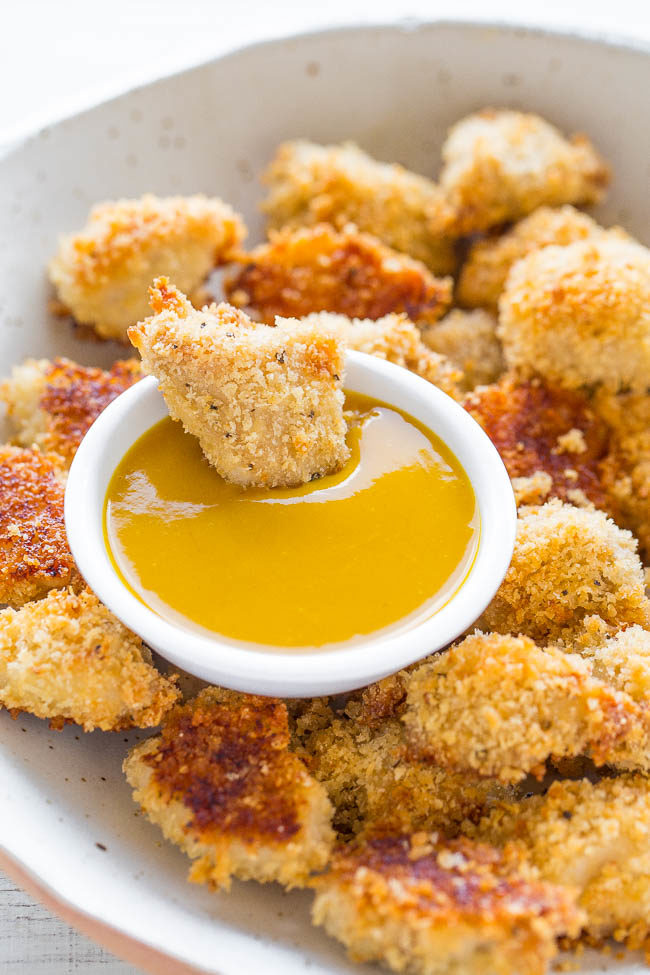
Baked Chicken Nuggets with Honey Mustard – You’ll never guess they’re baked and not fried! Crispy on the outside, tender and juicy inside! Goodbye storebought nuggets because homemade are way better!
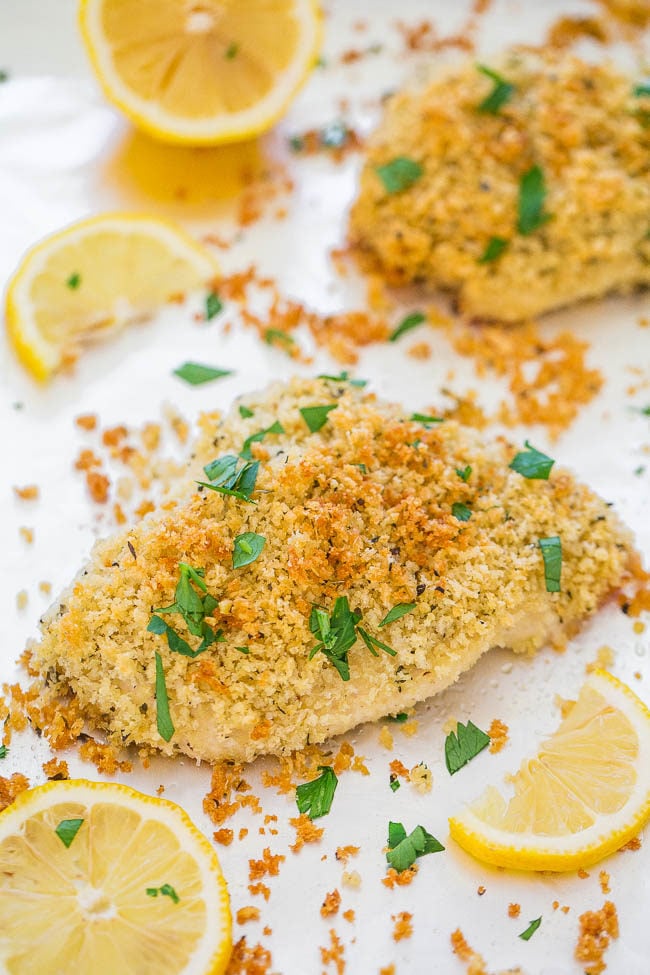
Baked Parmesan-Crusted Chicken – You’d swear this chicken was fried but it’s baked! The interior is so tender, juicy, and moist while the exterior is extra crispy!! Easy, ready in 25 minutes, and so good!
Baked Bacon Cheddar Chicken Tenders – Fast, EASY, perfectly CRISPY on the outside, and juicy on the inside!! Don’t bother frying chicken when you can bake it! The BACON and CHEDDAR coating is irresistible!!




Super easy to make!! The kids can help make it and they loved it!! We made chezit nuggets dipped in a little ranch perfect!
Thanks for the 5 star review, Nonnie, and I am glad these were super easy and the kids could help and loved it!
The whole thing needed way more seasoning. It also tasted chemically from the cooking of the cheez-it. You’d have to slather it in sauce just to make it palatable.
Sooooo easy and very delicious! Definitely going in the dinner rotation.
Sooooo easy and very delicious! Definitely going in the dinner rotation.
Thanks for the 5 star review and I am glad these were so easy, delish, and are going into your dinner rotation!
Great recipe! I’d definitely recommend getting a fine powder out of the cheezits, and I actually didn’t use panko, or the seasonings in the egg (the cheezits were salty enough). Served with steamed broccoli and some mild bbq sauce, and reheating in the air fryer was perfect to get that crunch back
Great recipe! I’d definitely recommend getting a fine powder out of the cheezits, and I actually didn’t use panko, or the seasonings in the egg (the cheezits were salty enough). Served with steamed broccoli and some mild bbq sauce, and reheating in the air fryer was perfect to get that crunch back
I’m glad you enjoyed the recipe and that you were able to customize it a bit and worked great for you!
What a fun and delicious recipe! I made this to bring to work for lunch a few days the other week. Sooo delicious and crispy right out of the oven. They were still good when I reheated them in the microwave, but as you said lost the “crunch.” Still a lovely lunch with some tossed greens; I added some ketchup when I ate them reheated. Very simple and easy to make, too!
What a fun and delicious recipe! I made this to bring to work for lunch a few days the other week. Sooo delicious and crispy right out of the oven. They were still good when I reheated them in the microwave, but as you said lost the “crunch.” Still a lovely lunch with some tossed greens; I added some ketchup when I ate them reheated. Very simple and easy to make, too!
Thanks for the 5 star review and glad these turned out great for you!
Averie,
My big brother invented a recipe for Cheeze-It Chicken years ago. I use my own version of the recipe. You can reheat the chicken to a crispy texture again by first placing it in the microwave until it is a little warm & then heating it the rest of the way in a toaster oven. The toaster oven will make it crisp once again.
Andrea Westcott
great idea, and like baking versus frying, great flavor too, thank you
These are a Cheeze-It lover’s dream! Jon told me some 20 years ago not to buy these very often because he could eat the whole box in no time. This would be a fun surprise for him and they sound fantastic to me as well!