These bars are my heaven.
They’re everything I want in a bar. I had to hide them from myself.
There’s something about supremely chewy, thick, and dense cereal bars that I just go for. I always have.
They’re no-bake and come together in the microwave in less than 5 minutes. So fast and easy to make and no need to heat up the house with a hot oven.
They’re vegan and gluten-free. There’s no butter or flour, but you’d never guess it because they’re exceedingly buttery-tasting and rich.
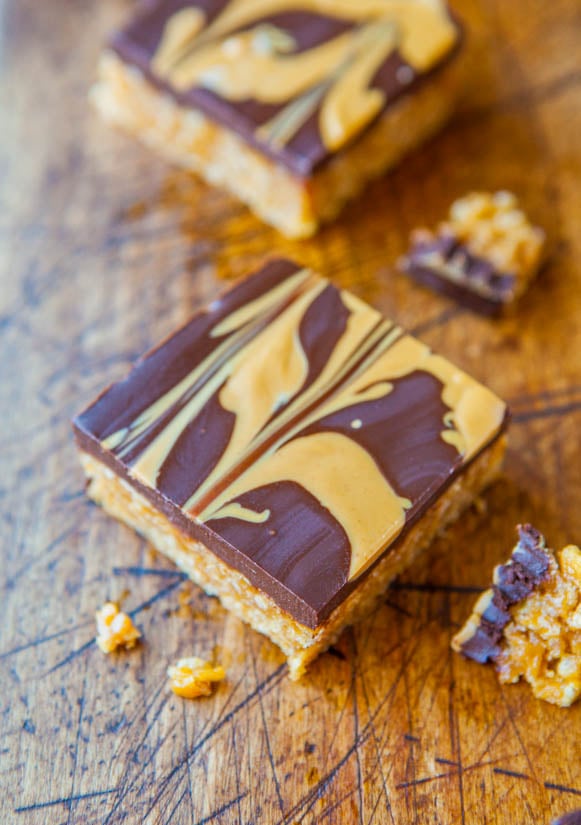
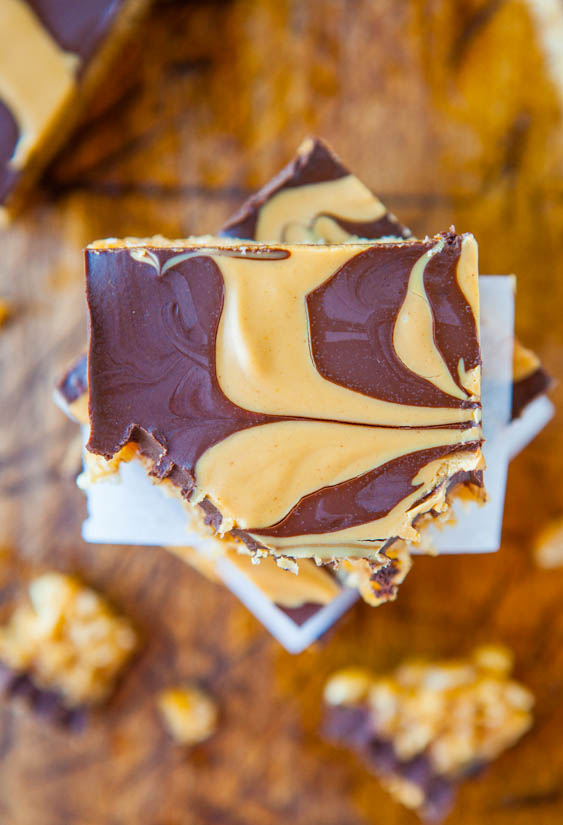
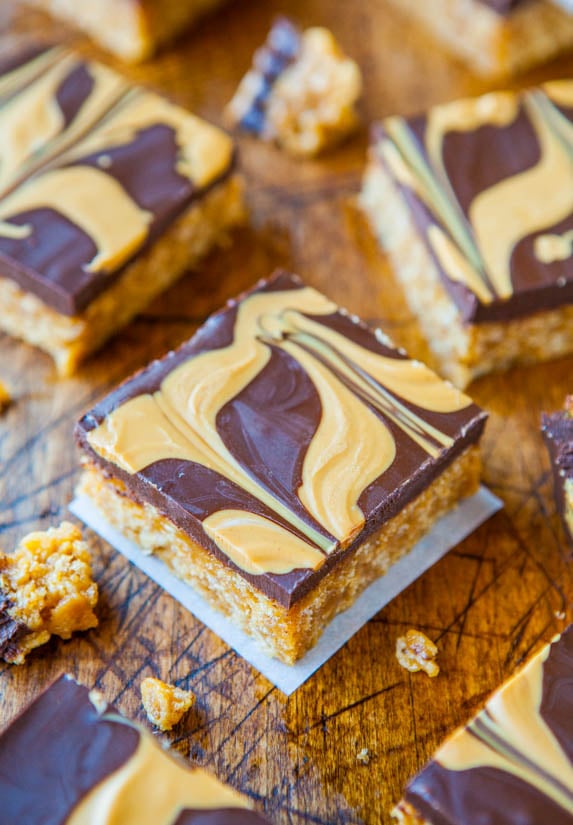
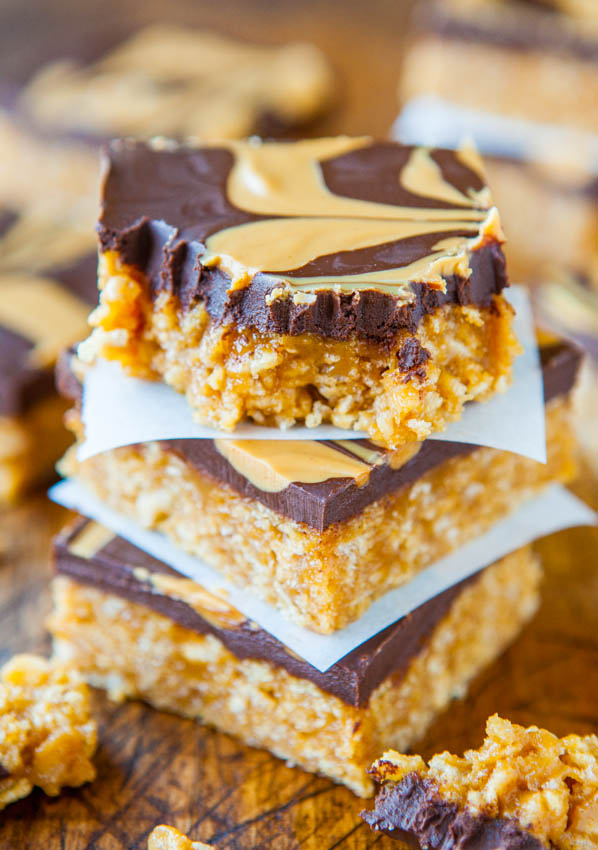
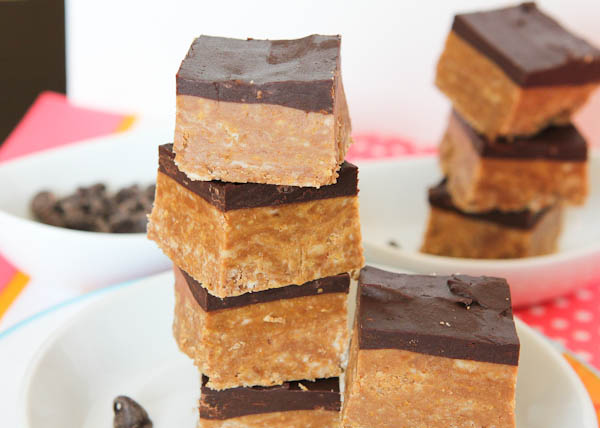
There’s an abundance of peanut butter and chocolate. Always a win.
The chocolate layer stays softer, fudgier, and isn’t prone to cracking or setting up too hard, courtesy of a couple tablespoons of shortening.
It’s a little trick I’ve learned.
They remind me of my beloved Special K Bars, my grandma’s recipe, which I included it in my cookbook because I love them so much. That recipe makes a bigger pan and involves a bit of stovetop cooking, whereas just two minutes in the microwave is all you need here to melt together peanut butter and sugars.
The saucy mixture then drenches cereal in a sweet, brown sugary, caramel-vanilla heaven. I used tablespoon of homemade vanilla extract just to be sure it was noticeable.
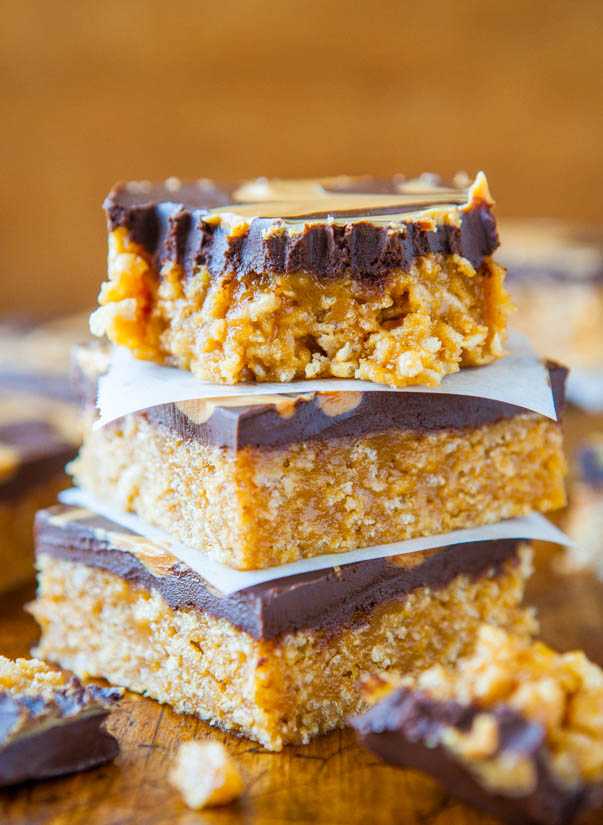
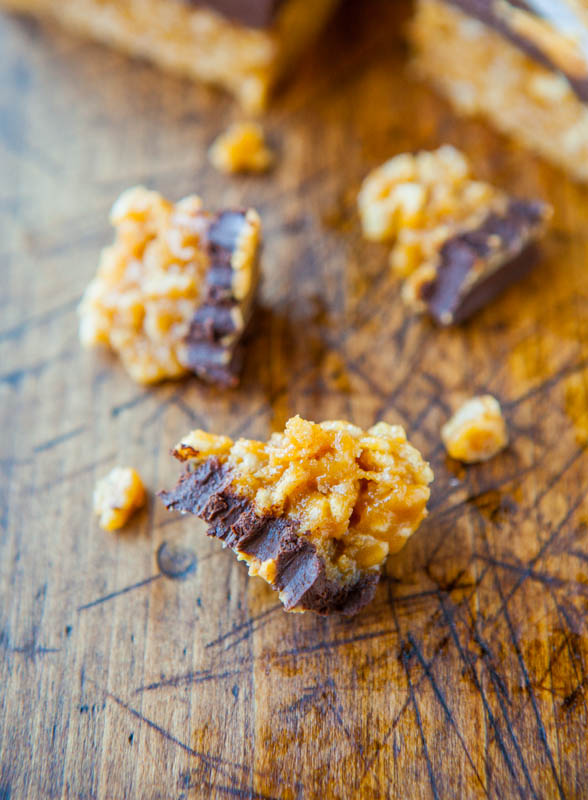
The bars are loaded with chewy texture from the cereal and are soft, but they still hold their shape and don’t turn into a gooey mess.
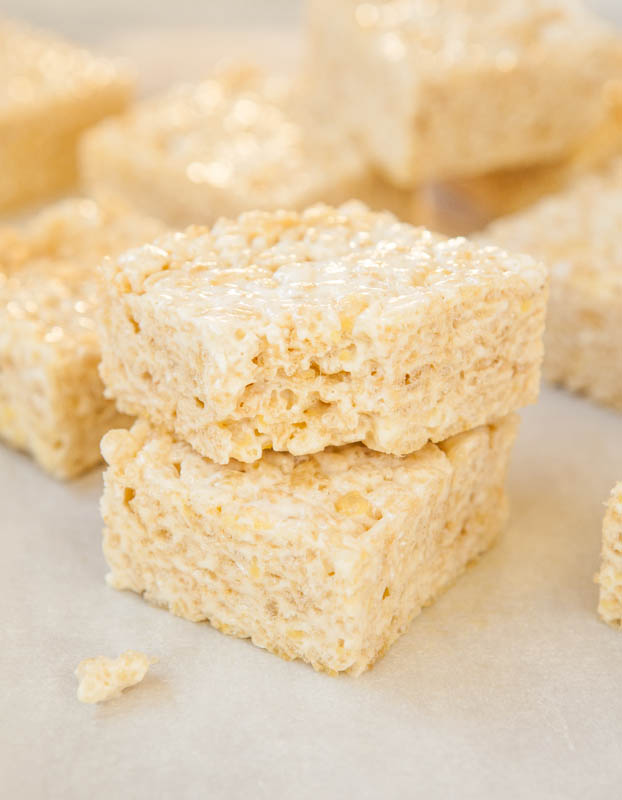
They’re sort of a cousin to Rice Krispies Treats, replacing marshmallows with peanut butter. And you could likely use crushed Frosted Flakes or Corn Flakes. I have a Frosted Flakes Bar recipe in my cookbook because yes, I love cereal bars.
If you need a last minute dessert that takes just minutes to make, try these. Especially if you need them for an event where vegan or gluten-free options may be welcome.
Let’s pretend that because they’re vegan and gluten-free that they’re healthy and we can eat half the pan in a sitting.
I loved these. They’re one of my favorite bars I’ve made in 2013.
My husband also loved them. He’s sort of immune to all sweets and treats I make, but these were keepers for him, too.
The only person who didn’t go crazy with them was my 6 year old. She’s missing her two front teeth and chomping is difficult. She’s been enjoying No-Ice-Cream-Maker Funfetti Cake Batter Golden Oreo Ice Cream instead.
I proudly claim those chomp marks as my doing.
Pin This Recipe
Enjoy AverieCooks.com Without Ads! 🆕
Go Ad Free
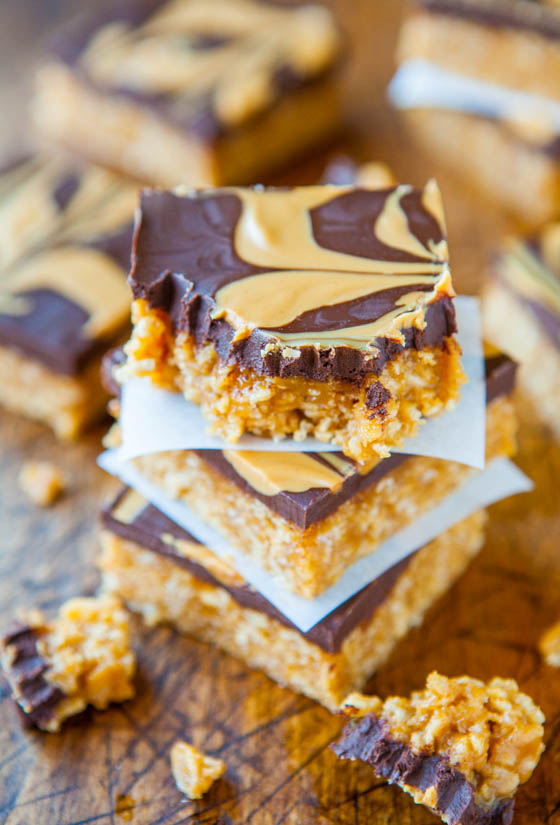
Chewy Peanut Butter and Chocolate Cereal Bars
Ingredients
Bars
- 1 heaping cup creamy peanut butter, use Jif, Skippy, or similar; do not use natural or homemade peanut butter
- ½ cup light corn syrup, light colored, not lite
- ½ cup granulated sugar
- ¼ cup light brown sugar, packed
- 1 tablespoon vanilla extract
- 3 cups Rice Krispies cereal, or similar crispy rice cereal that’s vegan/GF
Chocolate Topping
- 1 ½ heaping cups semi-sweet chocolate chips, melted
- 2 tablespoons vegetable shortening, optional but highly recommended to keep chocolate smooth; see below
- ¼ cup creamy peanut butter, melted
Instructions
- For the Bars – Line an 8-inch square pan with aluminum foil leaving overhang, spray with cooking spray; set aside.
- In a large microwave-safe bowl, combine 1 heaping cup peanut butter, corn syrup, sugars, and heat on high power for 1 minute to melt.
- Stop to stir. Mixture will be on the granular side, this is okay.
- Return bowl to microwave and heat for 1 more minute on high power.
- Stir in the vanilla.
- Stir in the cereal.
- Turn mixture out into prepared pan, packing it down somewhat firmly with a spatula and smoothing the top; set pan aside.
- For the Chocolate Topping – In a medium microwave-safe bowl, combine chocolate chips, shortening, and heat on high power for 1 minute to melt. I highly recommend using shortening for many reasons. It helps the chocolate melt smoother and easier. It prevents the chocolate from setting up too quickly. It keeps the chocolate from cracking when you slice into the finished bars because the chocolate is fudgier and more forgiving than typical hardened chocolate.
- Stop to stir. Chips may not be completely melted. Return bowl to microwave and heat in 10 to 15-second bursts until chocolate can be stirred smooth.
- Pour chocolate over bars, smoothing the top lightly with a spatula or knife; set pan aside.
- Add 1/4 cup peanut butter to a small microwave-safe bowl and heat to melt, about 30 seconds. Stir peanut butter smooth.
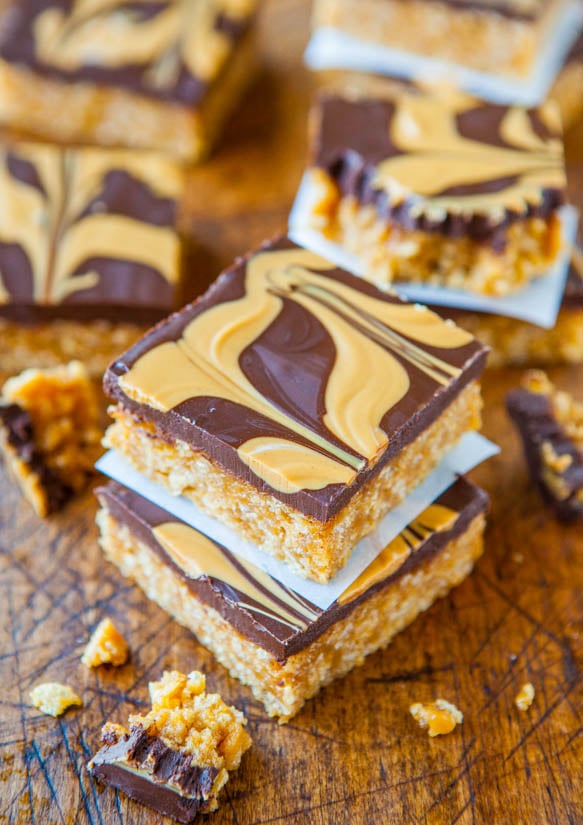
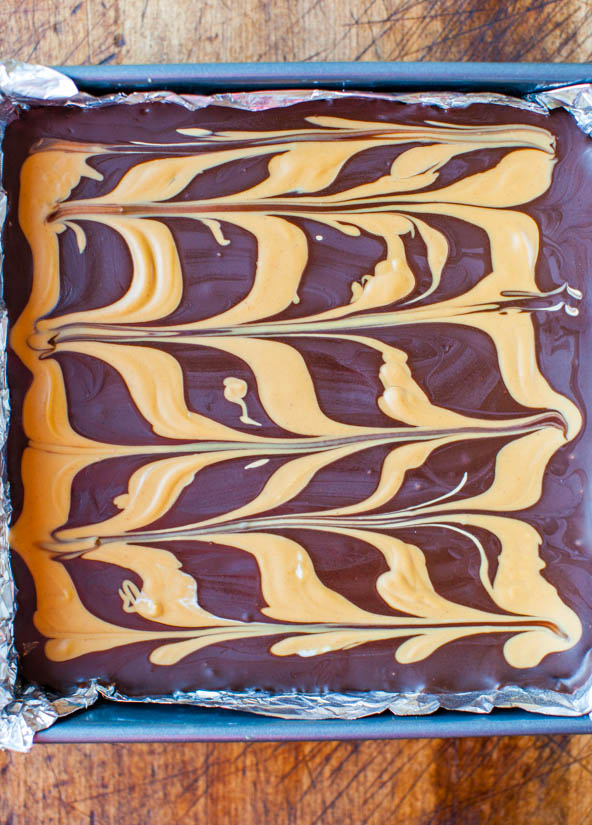
- To create the marbled pattern, drizzle peanut butter over the chocolate in 5 wide, evenly spaced, parallel lines, each spanning the width of the pan. Like 5 rows of long train tracks.
- Rotate pan 90-degrees. With a toothpick, starting at the top of the pan, “draw” 5 evenly spaced lines through the peanut butter. In essence you’re dragging the toothpick perpendicularly through the first set of lines to create the marbling.
- Cover pan with a sheet of foil (to prevent fridge smells), and place pan in fridge to set up for at least 2 to 3 hours, or overnight, or until chocolate layer is completely set before lifting out with foil overhang, slicing, and serving.
- Bars will keep airtight at room temperature for up to 1 week, in the refrigerator for up to 2 weeks, or in the freezer for up to 6 months.
- Take care all ingredients used are appropriate for your dietary needs, reading labels and selecting brands that are appropriate.
Nutrition
Nutrition information is automatically calculated, so should only be used as an approximation.
©averiecooks.com. Content and photographs are copyright protected. Sharing of this recipe is both encouraged and appreciated. Copying and/or pasting full recipes to any social media is strictly prohibited.
Related Recipes:
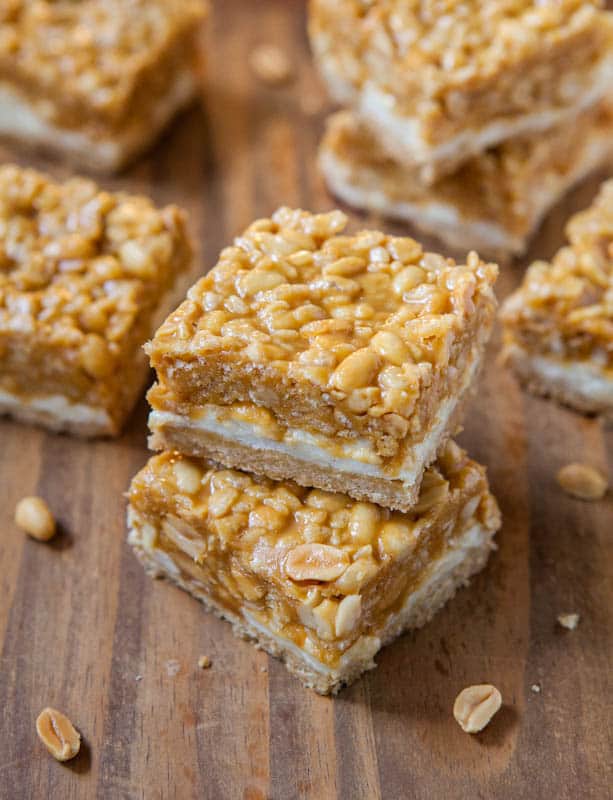
Peanut Chewy Payday Bars (almost no-bake)
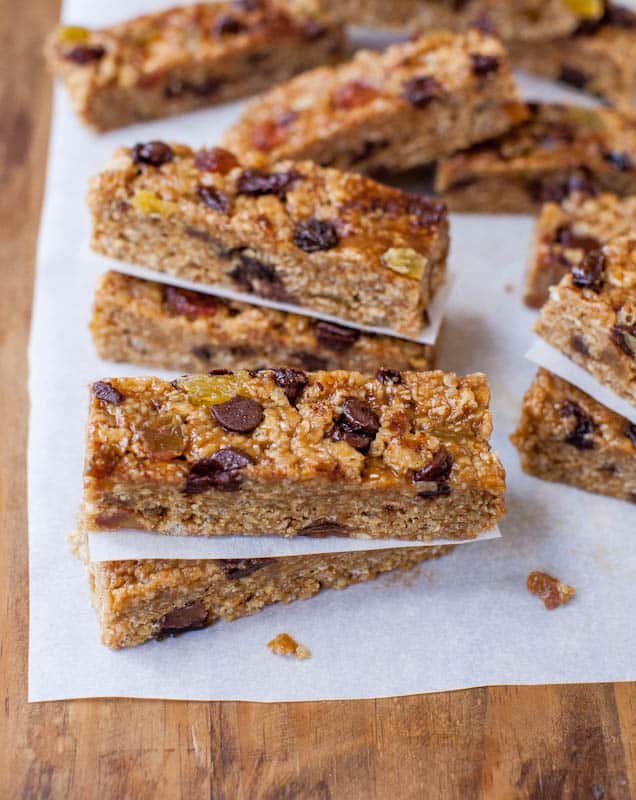
Peanut Butter Chocolate Chip Granola Bars (no-bake, vegan, GF)
Combos Pretzel and Salted Caramel Peanut Butter Bars (no-bake)
Caramel and Chocolate Gooey Bars
Double Chocolate Caramel Corn & Cocoa Rice Krispies Candy Bars
Nutella and Peanut Butter Graham Bars with Chocolate Frosting
Browned Butter Rice Krispies Treats – The best RKTs I have ever had. Double the butter and it’s browned, for great flavor and soft, buttery, chewy bars
No-Bake Nutter Butter Special K Bars
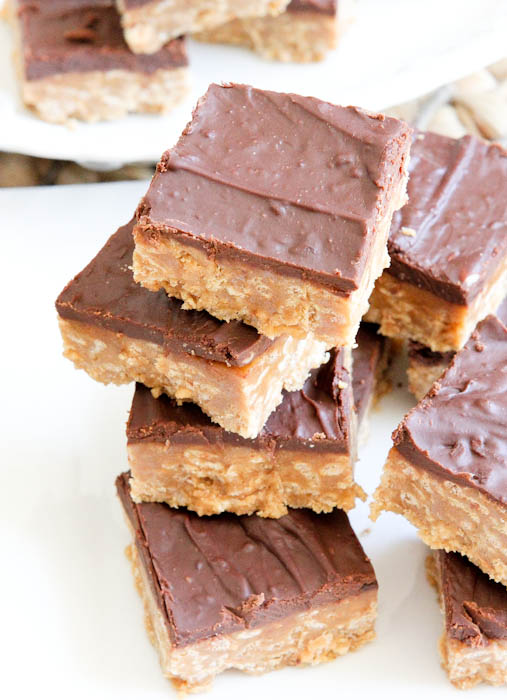
What’s your favorite no-bake, cereal or cookie bar?


these blow me away! this is first up in my back to school lunch packing treats!!
Love your website but, chocolate chip aren’t vegan?
Yes, they most definitely are if they are semi-sweet. The only ingredient of consequence is cocoa solids. Chocolate IS vegan. If you combine it with milk for milk choc chips, that’s different. But semi sweet choc chips are most definitely vegan.
Think chunky PB would work? I’m lazy.
More than likely yes – it just won’t be as smooth to stir together but you should be fine in terms of it ‘glueing’ the bars together. LMK how you like them!
Delicious! Worked just fine. Used brown rice cereal too since that’s what I had and you can’t tell. Thanks!
So glad to hear that it worked, as well as brown rice cereal! Yay! Hope you’re enjoying them!
that swirled top…that like totally makes my love for these bars that much more…and i am so with you there is something about cereal bars that I would have to hide from myself as well :-)
I would love to try these, but I’m not so fond of the corn syrup. Can anyone chime in if honey would make an ok substitution?
More than likely it will be fine. LMK if you try it. Obviously won’t be vegan and it will have a different taste than using corn syrup since honey has more flavor, but it will ‘glue’ and bind the bars together fine I would imagine. LMK if you try!
That swirl on top is gorgeous!!
Could I substitute agave for corn syrup and coconut oil for shortening?
Your poor daughter, without the front teeth to enjoy these amazing, chewy, decadent little bars! Tell her I’ll have her share ;)
That top is just GORGEOUS. I don’t eat marshmallows so a lot of rice krispie treat recipes don’t work for me, so I am happy happy happy to see this one uses peanut butter instead! :D
Thank you! And yes, these are vegan-friendly! I bet you’d like them! :)
This looks ridiculously insane. This reminds me that I have to make some :-)
I miss American sweets already and it’s been only a few days since I left. You always know how to seduce us with delicious looking sweets! It’s way too dangerous to keep looking at midnight here. :D
Thanks for pinning and glad you’re seduced…at midnight. That’s my total bewitching hour for PB/chocolate cravings!
And I just started following your pinterest boards. Whoa. You have some gorgeous!! boards! I am drooling over your collections of bars, brownies, and just about everything else :)
Oh, these bars not only sound delish, they’re also sporting a very hip, retro design! (I want an a-line dress with the exact same colours and groovy pattern!) :D
Now that you mention it, groovy pattern is the perfect description for it, you’re right! And I’d love a dress (or a sofa!) in that pattern, too!
And thanks for all the pins, too!
OH MY GAH!!! I want a day alone with these bars. Just me and them. You can hide them from yourself, but please don’t hide them from me!! I’ll have your piece! :-D
LOL. :)
Is there a reason you can’t use a natural PB like Adam’s? Will the bars just be less sweet without the extra sugar that Skippy, Jif, etc. have in them? Dying to try these since I am GF :)
The reason is because natural PBs tend to spread and/or cause things they’re made with to spread. With a recipe like this with no eggs and no flour, the PB is your glue. And I don’t trust natural PBs as my glue – just being totally honest.
Oh my lordy lord. I am going to order your cook book..yum!! my fav ingredients!!
You’re awesome! Thank you! Please LMK what you think of it and what you make and how it goes!
Wowza! These look so delicious. I was laughing when you said you had to hide these from yourself. LOL! Except…did that work? ;-) Your bars are incredible looking and these are no different. How easy that you can just whip these up so quickly and they look like you slaved for hours. Awesome!
Well – let’s just say the avg person could whip them up in minutes but for me with researching them and cross referencing all my old recipes from my blog, cookbook, childhood, etc…that took awhile. And then creating them FOR the camera, the little things I have to do to make them pop, that took a little longer :) But in general, now that the recipe is written and photos taken, every batch I ever make from now on, literally WILL take me 10 mins :)