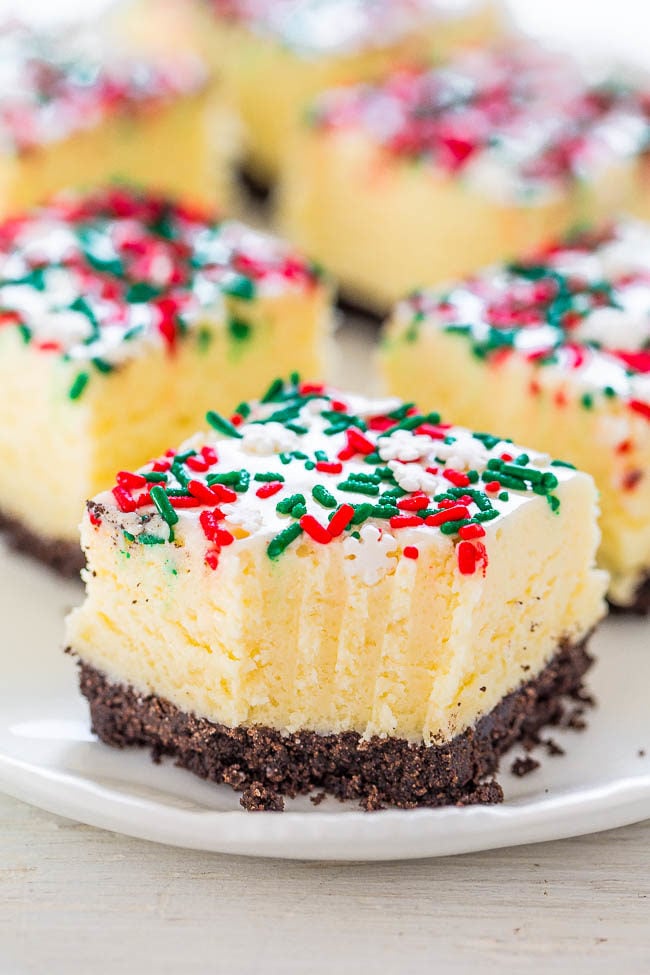
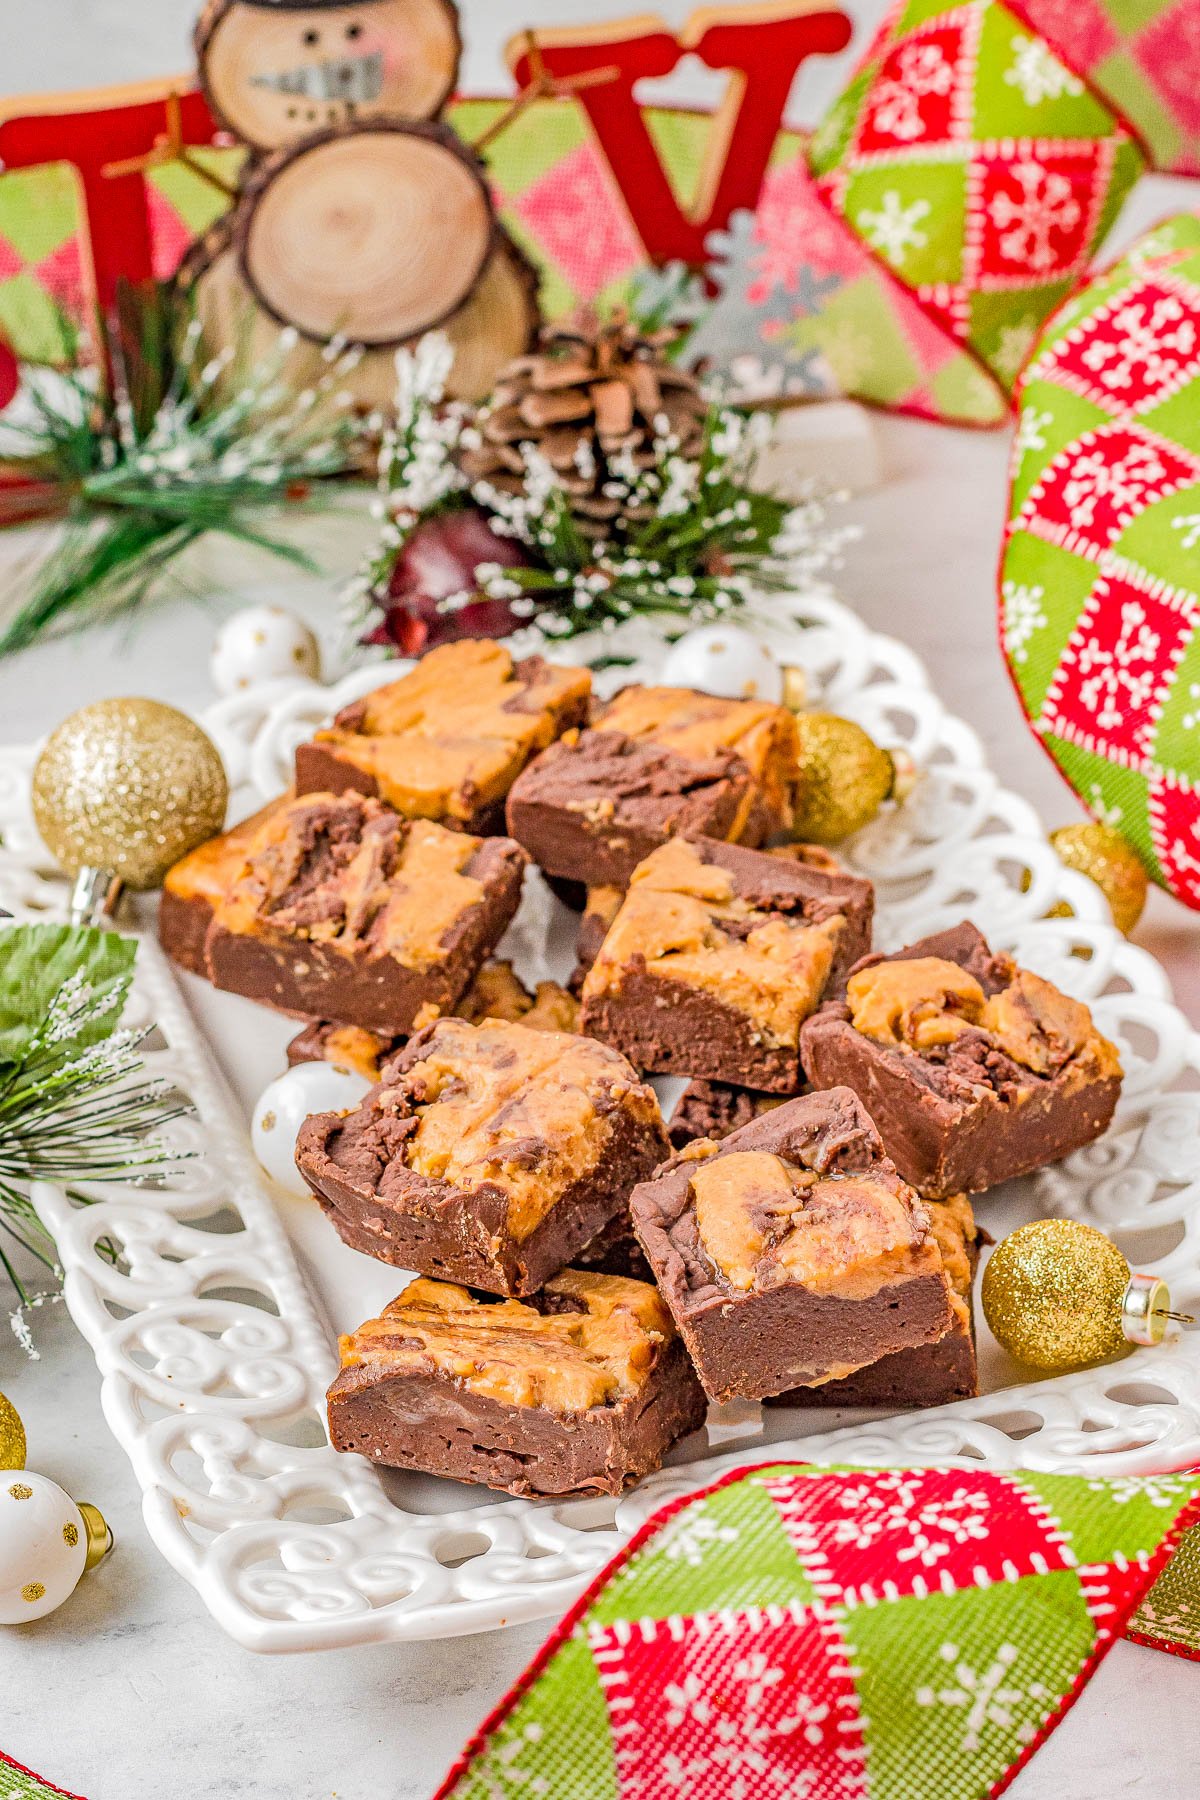
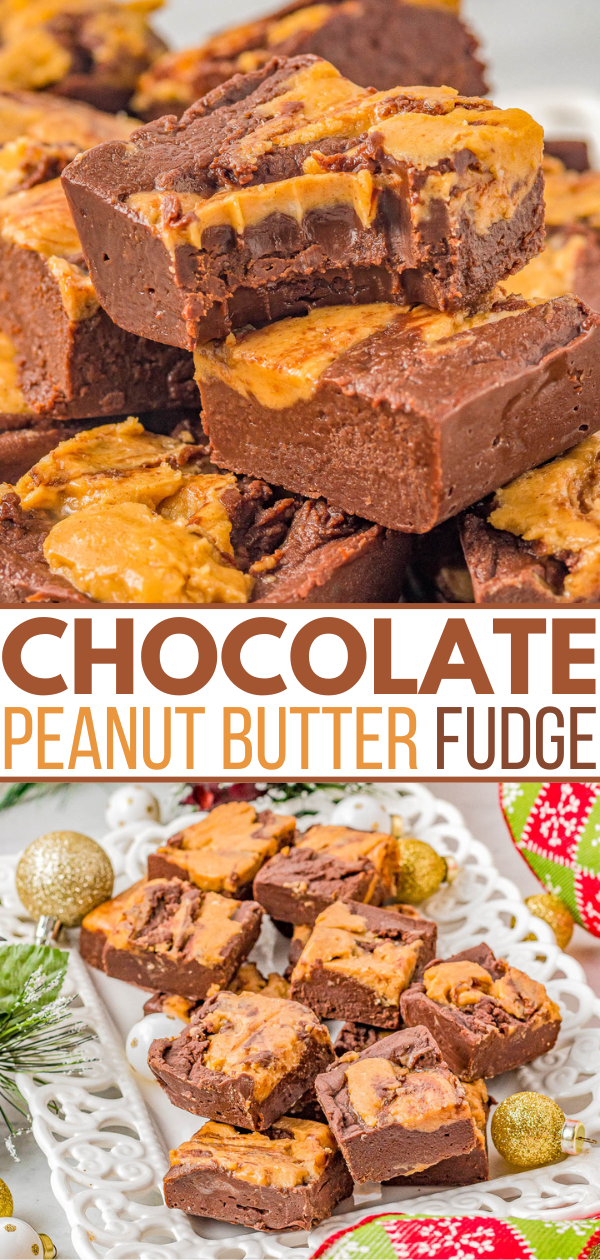
Microwave Chocolate Peanut Butter Fudge — 🙌😋 Rich and decadent chocolate fudge adorned with peanut butter swirls! Made in the microwave with just SIX ingredients, there’s no boiling or candy thermometers involved in this FAST and EASY recipe for PERFECT fudge every time! Make it in advance, it keeps for weeks, and it’s great for gifting and holiday entertaining!
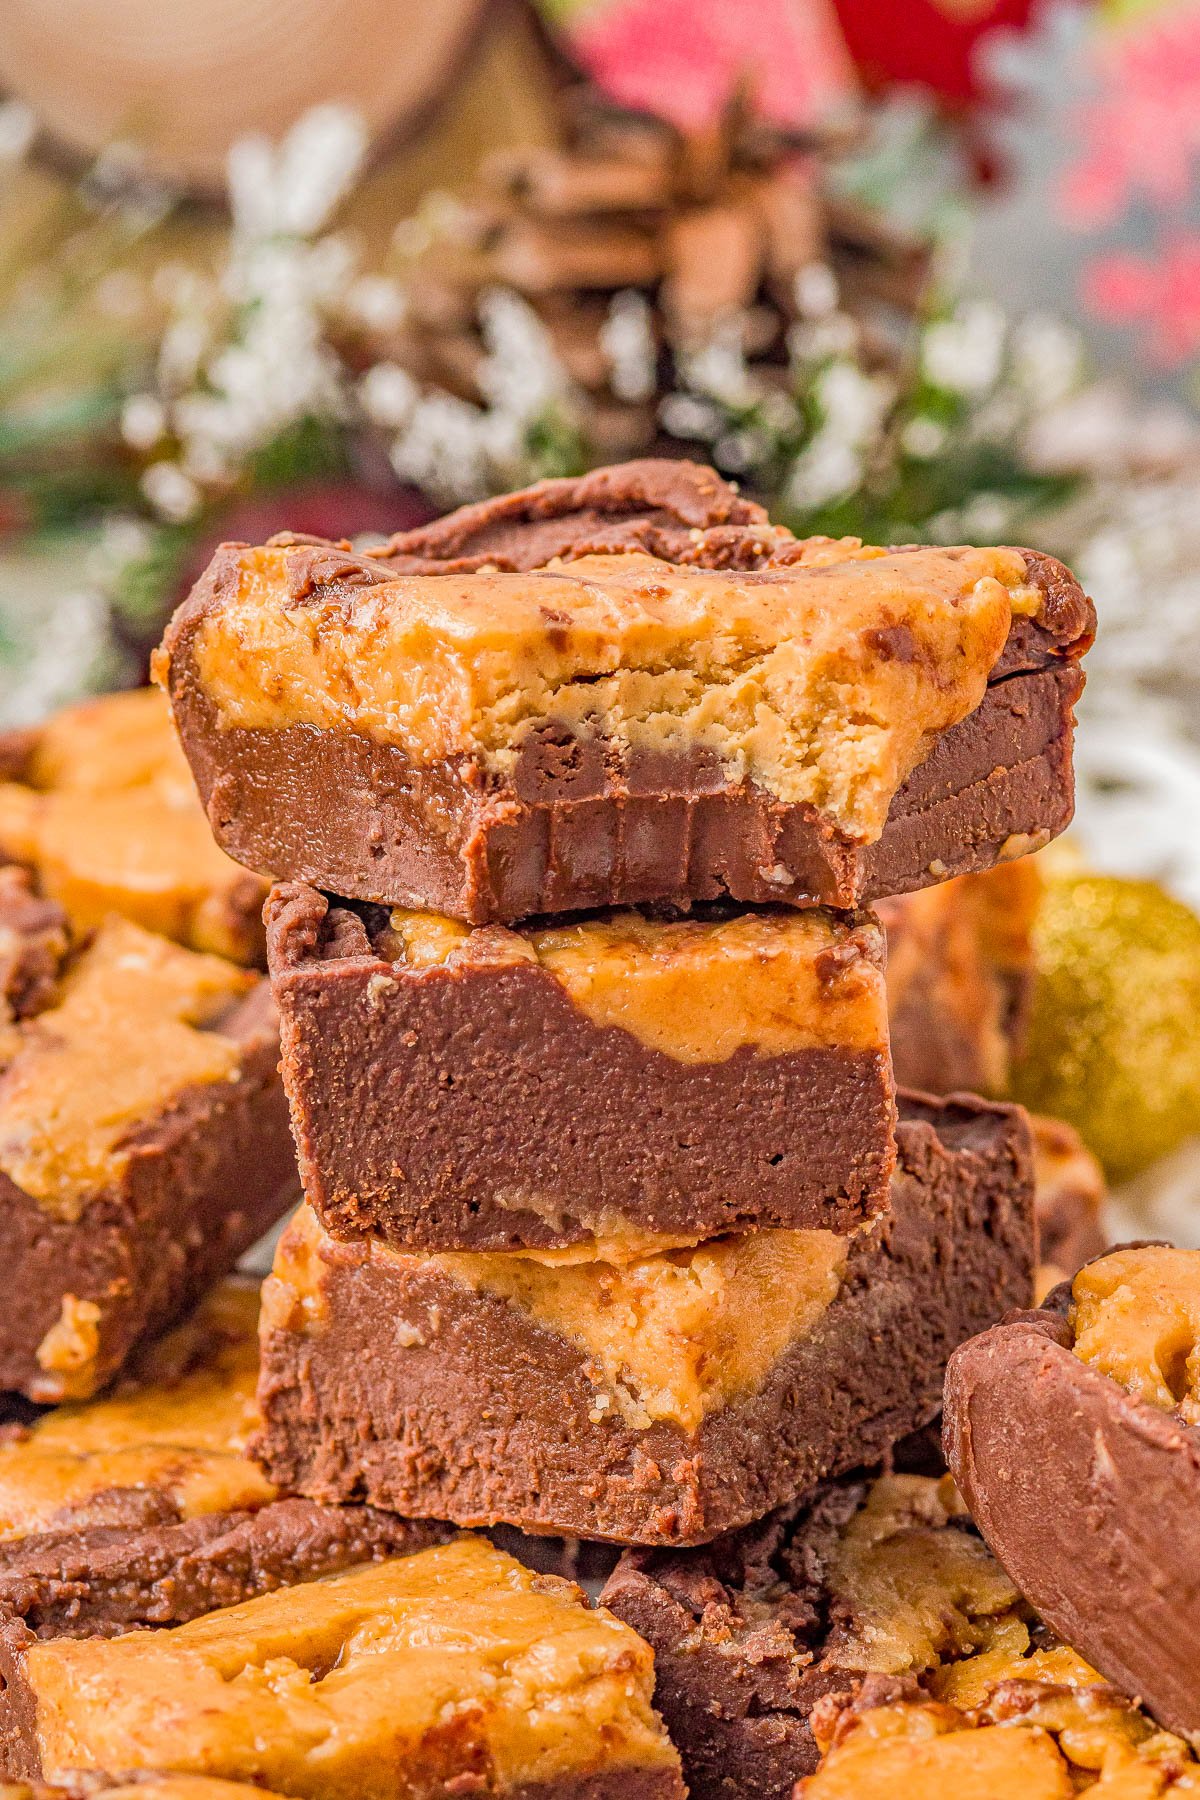
Table of Contents
Chocolate Peanut Butter Fudge Recipe
This is a fast, easy, no-bake recipe for perfect fudge that’s adorned with creamy peanut butter swirls. It’s actually a spinoff of my popular Foolproof Chocolate Fudge recipe which readers have been loving for years now.
But this time around I added peanut butter to take the decadence level up a notch. After all, chocolate and peanut butter are perfect companions!
This fudge doesn’t need to be boiled nor cooked, there are no candy thermometers involved, it’s made in the microwave, and there are less than 15 minutes of active work time — music to my ears during the holiday season!
If you’re wondering what to bring as a hostess gift, or add as your cookie exchange contribution, look no further than this chocolate peanut butter swirl fudge!
Ingredients for Chocolate Peanut Butter Fudge
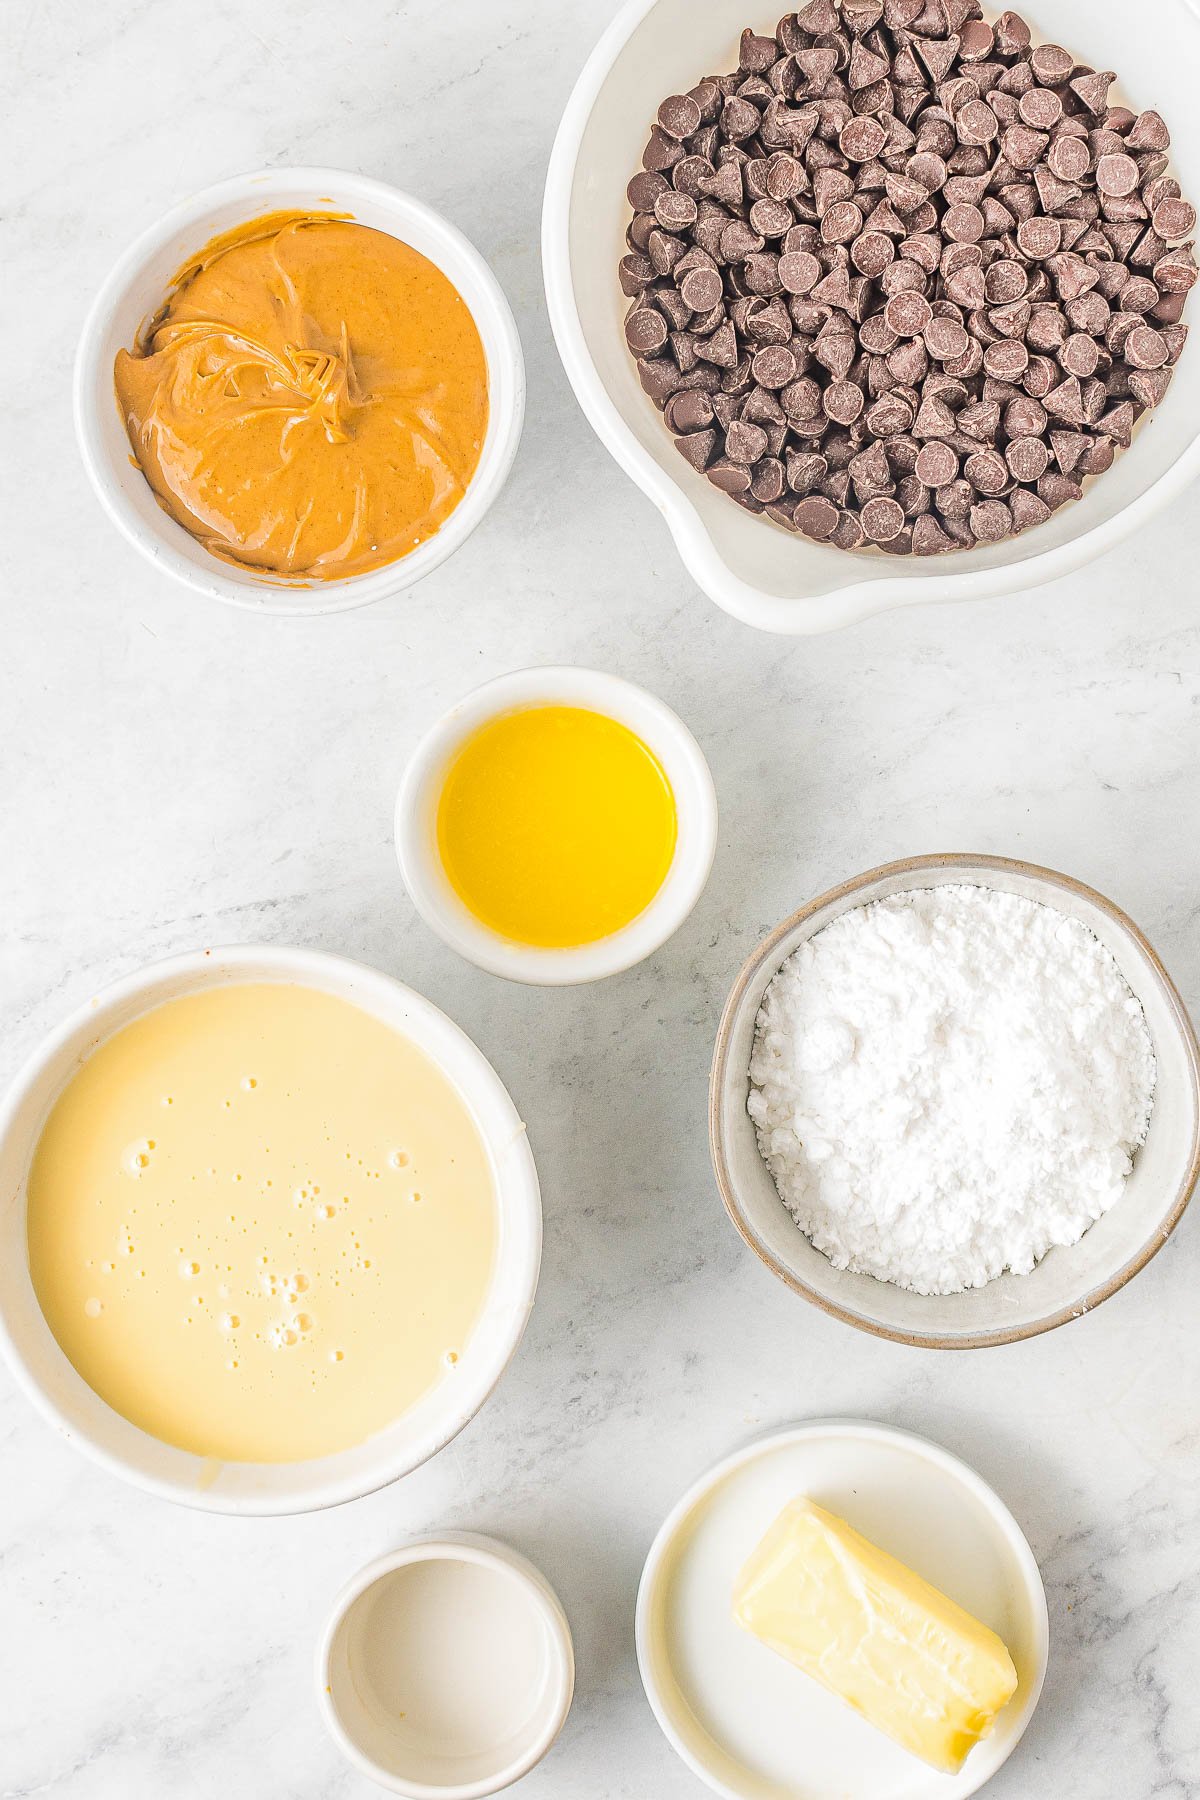
This is a classic peanut butter chocolate fudge recipe using sweetened condensed milk. You only need 6 very common fridge and pantry ingredients:
- Semi-sweet chocolate chips
- Sweetened condensed milk
- Unsalted butter
- Creamy peanut butter
- Confectioners’ sugar
- Vanilla extract
Note: Scroll down to the recipe card section of the post for the ingredients with amounts included and for more complete directions.
How to Make Chocolate Peanut Butter Fudge in the Microwave
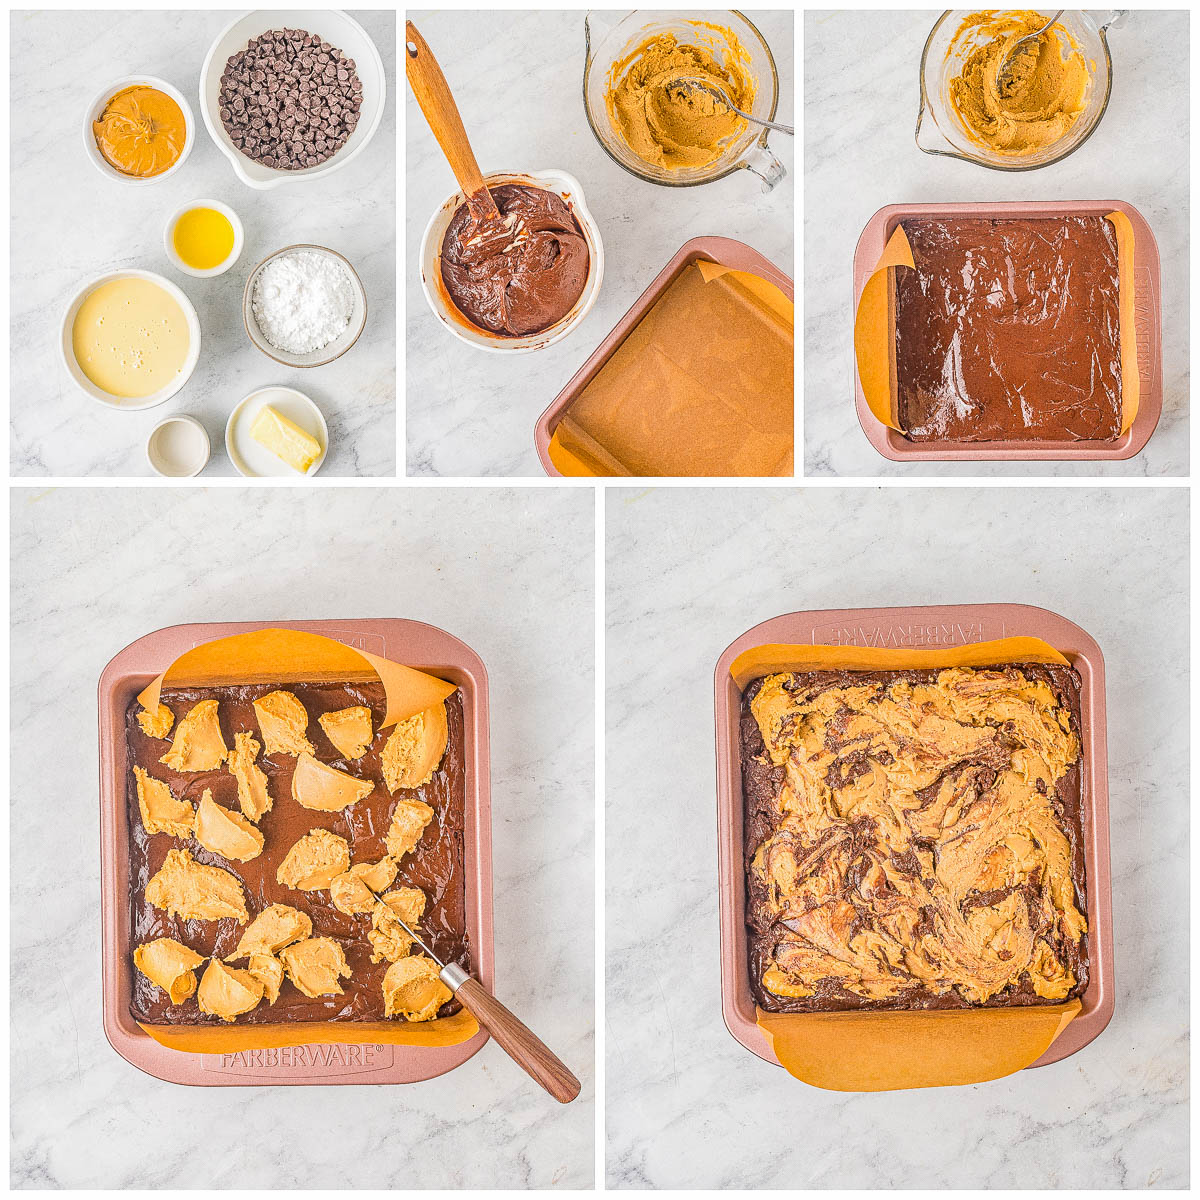
Making microwave chocolate peanut butter fudge is a cinch! Follow my basic and straightforward steps and you’ll be enjoying this easy fudge in no time:
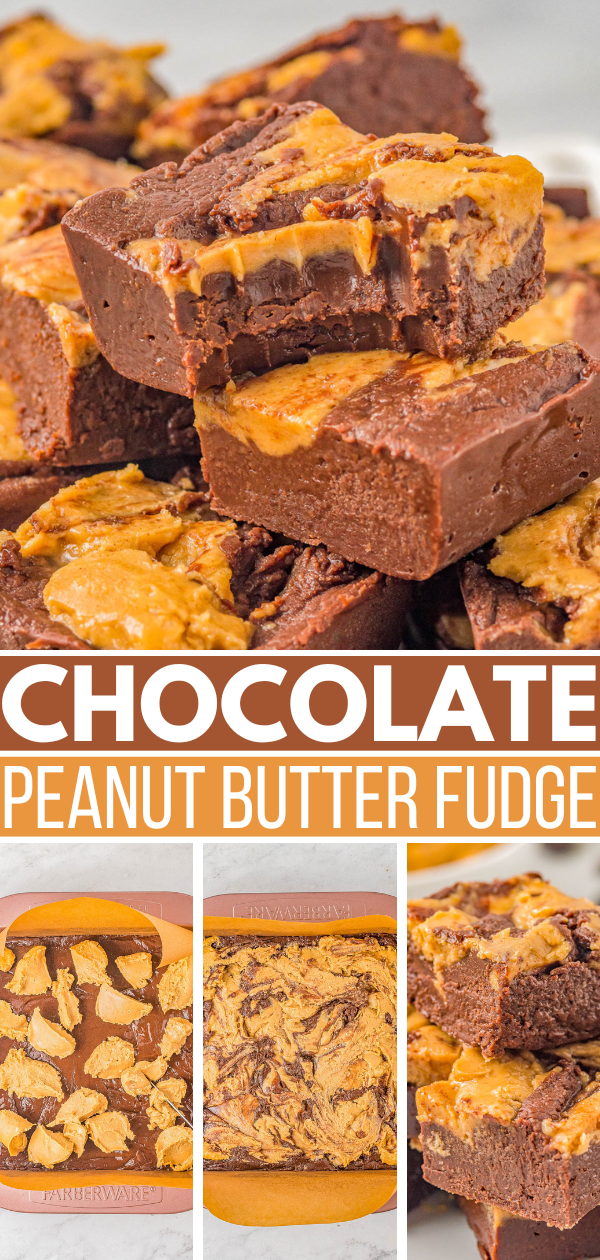
- In a microwave-safe bowl, add the chocolate chips, sweetened condensed milk, part of the butter, and heat until you can stir the chocolate chips smooth.
- Turn the melted chocolate mixture out into a greased and lined 8×8-inch pan.
- Melt the remaining butter, then stir in the peanut butter, confectioners’ sugar, and vanilla.
- Dollop the peanut butter mixture chocolate layer, then swirl using a butterknife.
- Place the pan in the fridge to set for 2 hours before slicing and serving!
Recipe FAQs
I strongly recommend using a traditional no-stir peanut butter like Jif or Skippy which do not separate. Stick with full-fat and full sugar options for best results.
I haven’t tried the Jif Naturals or Skippy Naturals in this recipes so I can’t speak to results. Generally speaking, any peanut butter that separates into solids + oil isn’t advisable.
I like smooth peanut butter but you can use crunchy.
No! It’s imperative that you buy sweetened condensed milk and NOT evaporated milk. They’re two totally different products, and evaporated milk would result in very runny fudge.
Sifting is a pain, but worth the extra minute to ensure that when you add it to the peanut butter, that you’re not battling and struggling with little lumps of sugar that are tricky to incorporate. Therefore, sift if in doubt. And definitely sift if your confectioners’ sugar is lumpy – some bags are just lumpier than others.
To slice this fudge neatly, I simply lift the entire batch out of the baking pan because I always line my pan with either aluminum foil or parchment paper. From there, I can cut it with a large knife. I never try to slice in the pan because not only do (sharp) knives destroy pans, but I can’t get the same clean cuts.
Running your knife under hot water is another trick for easier slicing if you don’t have the sharpest of all knives. Dry it first, then slice. The heat from the hot water will help the knife pierce more easily through the Christmas fudge.
Not necessarily! This fudge keeps for weeks at room temperature! If you want to refrigerate it because you prefer chilled fudge or you live in a warmer climate and have a warm kitchen, you can store it airtight in the fridge for up to 3 months.
Yes, but I don’t find that necessary since it keeps for so long either at room temp or in the refrigerator. (This is also why chocolate fudge with peanut butter makes for an excellent cookie or candy exchange contribution. It can be made weeks in advance and stay nice and fresh.)

Pin This Recipe
Enjoy AverieCooks.com Without Ads! 🆕
Go Ad Free

Microwave Chocolate Peanut Butter Fudge
Ingredients
- 3 cups semi sweet chocolate chips
- one 14-ounce can sweetened condensed milk
- ¼ cup + 2 tablespoons unsalted butter, diced into pieces; divided
- ½ cup no-stir peanut butter, I prefer creamy but you can use crunchy
- ¾ cup confectioners’ sugar, sifted if yours is lumpy
- ½ teaspoon vanilla extract
Instructions
- Line an 8×8-inch pan with nonstick foil or parchment for easier cleanup, leaving a 2-inch sling or overhang on the sides for easier slicing later on; set aside. Spray the foil with nonstick cooking spray if desired.
- To a large, microwave-safe bowl, add the chocolate chips, sweetened condensed milk, 1/4 cup butter, and heat on high power to melt, about 2 1/2 minutes but all microwaves vary in intensity. Stop to check and stir after 2 minutes and heat from there in 15 to 30-second intervals, if necessary, until the mixture can be stirred smooth. Tip – Do NOT overheat the chocolate because it will turn powdery, scorch or burn, and you'll have to start over.
- Turn mixture out into prepared pan, smoothing the top lightly with a spatula as necessary; set aside.
- To a large, microwave-safe bowl (the same one you already used is fine, just wipe it clean with a paper towel), add the remaining 2 tablespoons butter and heat to melt, about 30 to 60 seconds.
- Drop the peanut butter mixture over the fudge in tablespoon-sized "blobs" or dollops evenly spaced over the surface.
- Using a small knife, make swirls and spread the peanut butter mixture around the surface. However, don't over-swirl or overmix. You can gently push the peanut butter into the chocolate a bit, but I don't push it very far down as I like it to remain more superficial.
- Place on the counter to cool and set up fully, about 4 hours. Or, If you are in a hurry, you can place the pan in the fridge for about 2 hours to expedite.
- Allow the fudge to come to room temp if you chilled it in the fridge, remove the foil or parchment from the pan using the sling you made, and set the slab of fudge on a cutting board.
- Using a sharp knife (Tip – run your knife under very hot water, and then dry it, if your knife isn't very sharp; the carryover heat will help pierce through the chocolate), slice the fudge as desired. Fudge will keep airtight at room temp for many weeks (up to about 1 month), in the fridge for up to 3 months, or in the freezer for even longer.
Notes
Nutrition
Nutrition information is automatically calculated, so should only be used as an approximation.
©averiecooks.com. Content and photographs are copyright protected. Sharing of this recipe is both encouraged and appreciated. Copying and/or pasting full recipes to any social media is strictly prohibited.
More Easy Fudge Recipes:
I wrote a Peanut Butter Cookbook with 100+ recipes using Peanut Butter!

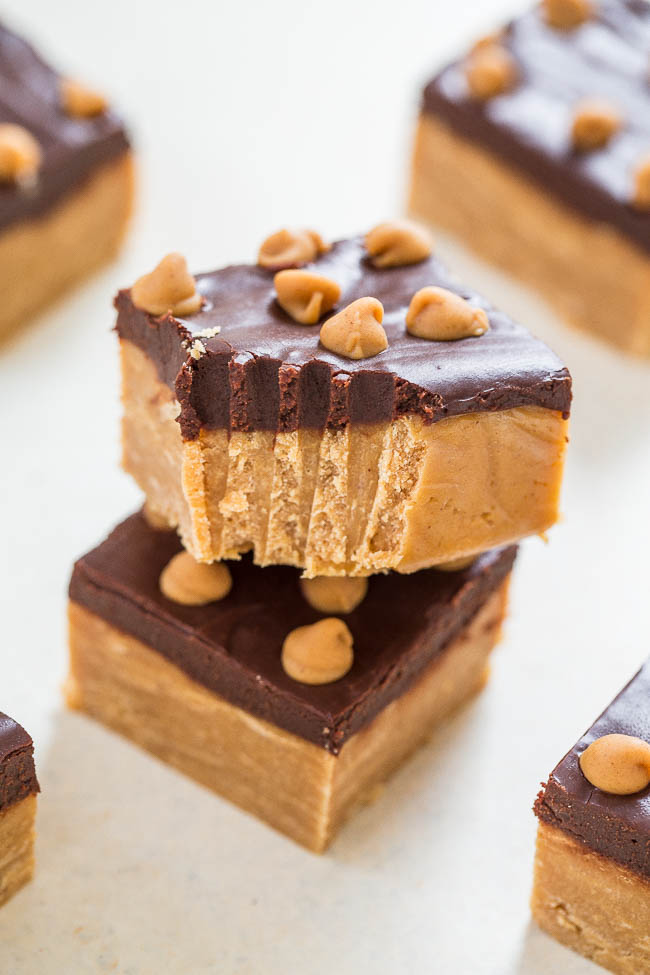
Buckeye Fudge — EASY, no-cook, no-fuss, FOOLPROOF fudge that’s ready in 1 hour!! Dense, chewy and full of rich peanut butter flavor with a smooth, fudgy chocolate topping! It’s irresistible!!
The Easiest Foolproof Fudge Recipe — Look no further than this recipe for the EASIEST and most FOOLPROOF fudge that takes less than 3 minutes to make!!
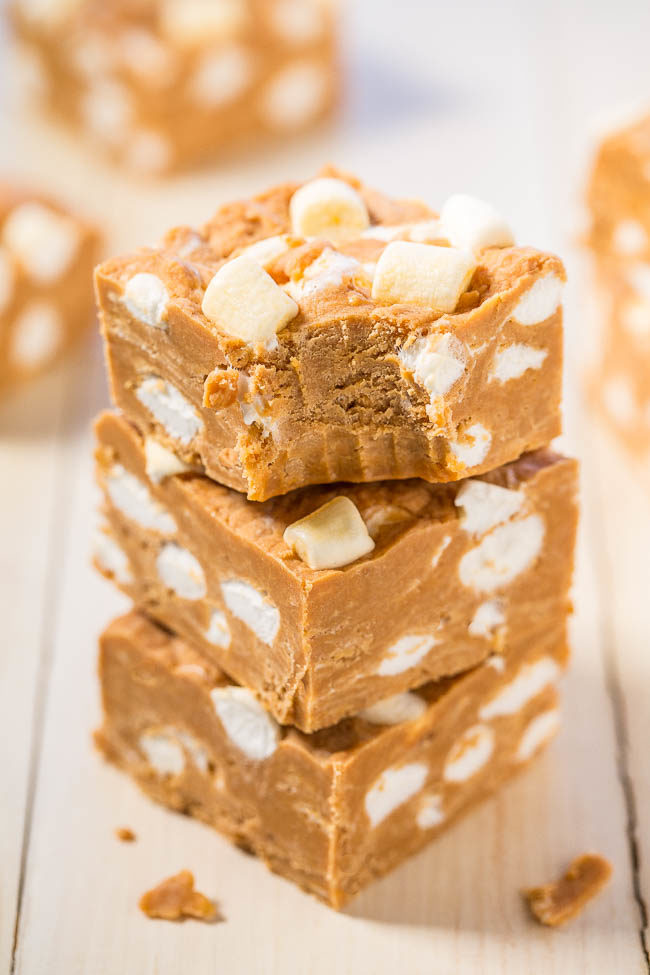
Peanut Butter Butterscotch Marshmallow Fudge — A great dessert to make-ahead and stash in the fridge for impromtu nibbling or parties!
White Chocolate Peppermint Fudge – A FOOLPROOF recipe for fudge with no boiling, no candy thermometers, and it turns out PERFECTLY every time! This EASY recipe uses just 4 INGREDIENTS, can be made ahead of time, and is great for holiday entertaining!

White Chocolate Fudge — This EASY foolproof white chocolate fudge recipe is perfect for Christmas and holiday parties!! A double dose of white chocolate with an Oreo Cookie crust for the WIN!!
