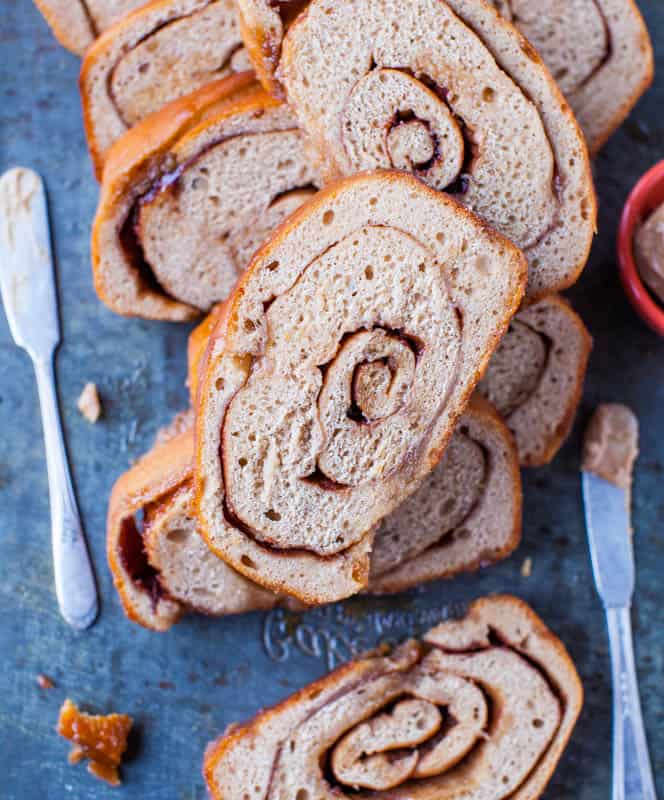
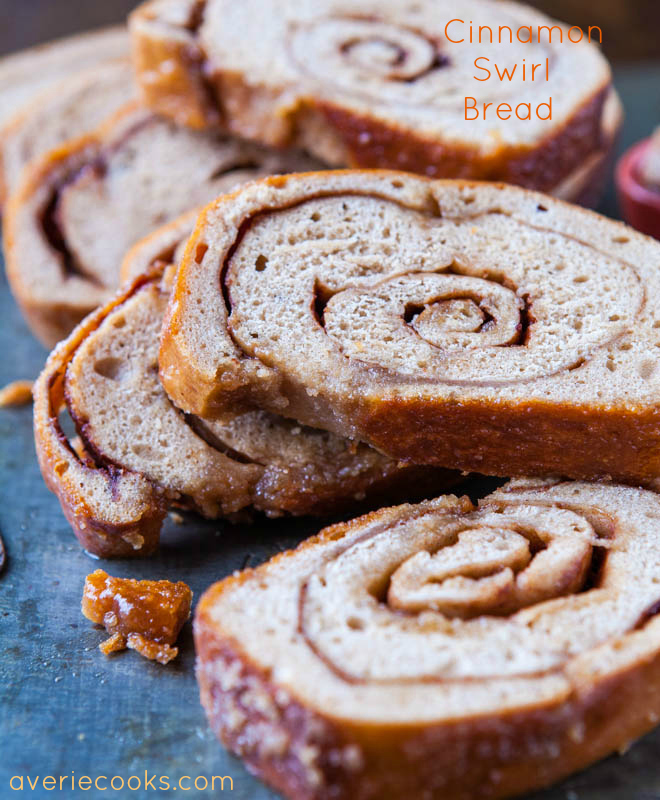
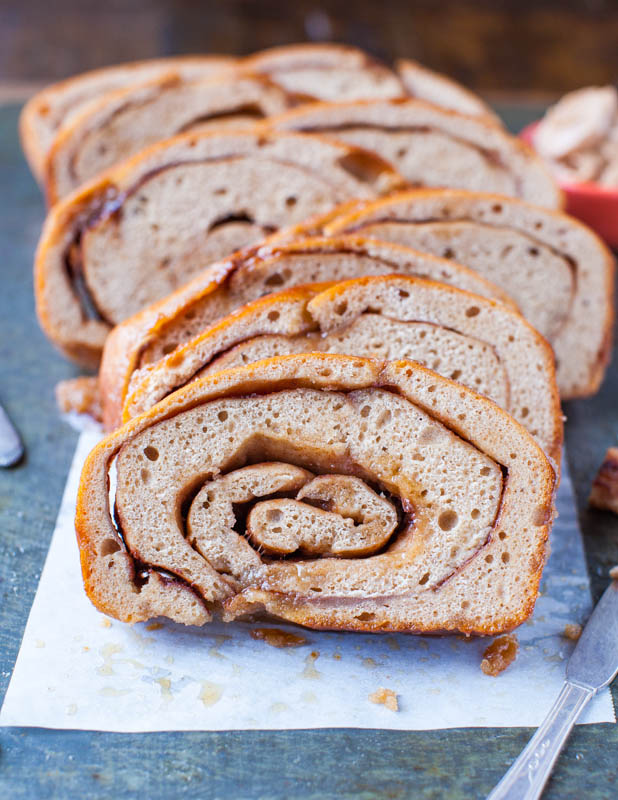
This cinnamon swirl bread is as close to cinnamon buns as bread can get. Filled with a sweet cinnamon-sugar and butter mixture that swirls throughout the loaf, this is a tender, buttery, sweet bread that even novice and new bread makers can successfully tackle.
I adore cinnamon and like vanilla extract, I love cinnamon so much that I always add extra to a recipe and rarely bother measuring it. If a recipe calls for one teaspoon, I liberally shake in at least two teaspoons.
But I don’t really shake it in, I douse it in. I remove the plastic tops with the cut-out holes from my spice jars because they inhibit the cinnamon free-flow.
I’ve been on a bread-making kick lately and cinnamon swirl bread was a natural progression. Although I was tempted to make cinnamon buns, I decided that if I made and then subsequently ate an entire loaf of cinnamon swirl bread in two days, that bread would somehow be better than buns. This cinnamon bread is as close to cinnamon buns as one can get and still call it bread, rather than dessert. I’ll take all the labeling tricks I can get if it means more of these sweetly swirled slices.
I grew up on my grandma’s cinnamon rolls and cinnamon swirl bread. Drizzling her soft cinnamon rolls with frosting or buttering a slice of her fresh cinnamon swirl bread, warm from the oven, are succulent memories carved in my mind and etched onto my tastebuds for a lifetime. What I wouldn’t give now to be able to go back in time to observe her make yeast-based doughs, entirely by feel, as she was legally blind and didn’t use written recipes. I have loose memories of watching her knead dough and as a child, I just remember thinking ‘how much longer til it’s ready’.
Bread-making does require patience. This bread can be knocked out from start to finish in about three hours; not bad. If you’ve never made bread before, don’t be intimidated by this one because making the dough is easy and it comes together in minutes by hand. Then, find your patience pills because the dough rises for about ninety minutes and after the first rise, the dough is kneaded briefly before being rolled out into an elongated rectangle in preparation for it’s cinnamon-sugar rub down.
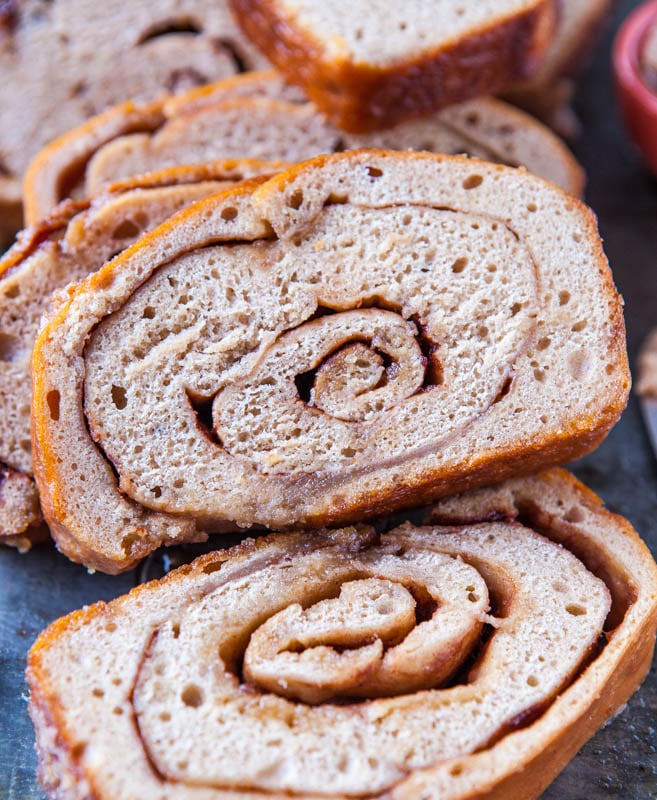
I roll out the dough quite long, about eighteen inches in length, because the longer the dough is rolled, the more turns and coils can be made, resulting in more swirls in the finished bread. It’s a pet peeve of mine when cinnamon swirl bread is under-swirled and with this loaf, I took care that didn’t happen because the swirls are where the full complement of cinnamon-sugar hides. I’m no fool.
After smearing the dough with butter, cinnamon, brown and granulated sugars, and then rolling it up into a plump dough log, it’s placed in a loaf pan, seam-side down, where it rises for about an hour before baking. Baking only takes about a half hour, the quickest step of all. It’s all a very do-able process but yes, it takes longer than nuking a TV dinner. Good things come to those who wait.
No matter how tightly the dough is rolled, while the bread bakes, some of the luxurious filling will likely seep out of the well-stuffed coils. I could have been stingier with the butter or sugars, lessening the seepage potential, but that’s nonsense. I prefer to live in buttery, sugary abundance and slathered the dough with ample amounts of both. Just days prior to baking this bread, I was watching an episode of Ree making her famous cinnamon rolls, and I took a cue from the butter master and didn’t skimp. She advises that if you think you’ve added enough butter; stop and add some more. I love her logic.
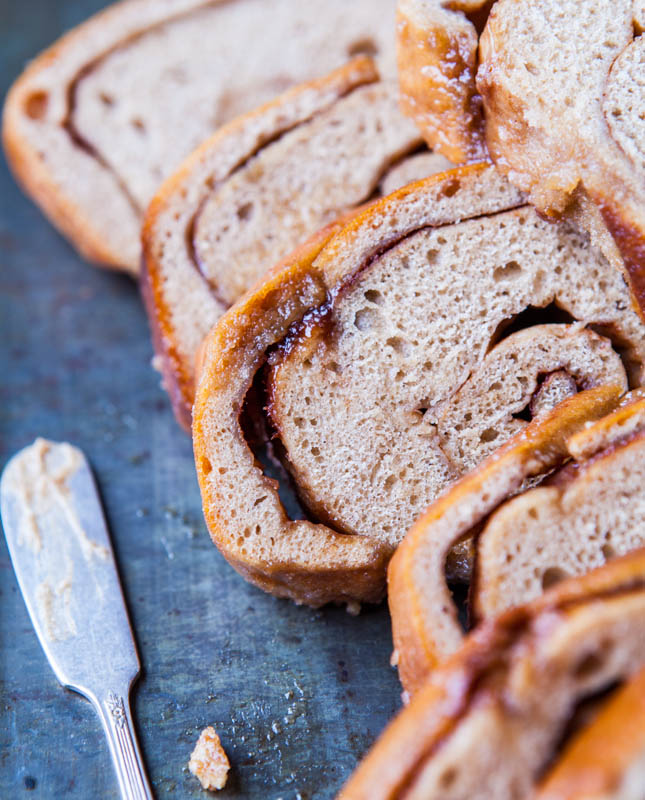
After the bread has baked, immediately turn it out from the loaf pan on a rack to cool, with parchment paper or a baking sheet placed underneath the rack. The drippy, sweet, caramelized buttery-cinnamon-sugar mixture that drained into the bottom of the loaf pan during baking needs to be redistributed back onto the bread. It will be tempting to drink that cinnamon-spiked butter sauce, or to eat the caramel bits that were created as the brown sugar and butter congeal and form a sweet, thick caramel sauce. Instead, pour or scoop the pan remnants over the top of the loaf, using a spatula as to not miss a drop of the liquid gold. Allow the loaf to cool and as it does, it will literally drip-dry, and some of the coating will magically reabsorb back into the bread. Then, wrap your sticky bundle of joy in plasticwrap before placing it inside a gallon-sized ziplock, which is how I store all my homemade bread, and it keeps for the better part of a week this way.
Since I am such a cinnamon fan, I used cinnamon three ways; in the bread dough itself, and of course it’s in the cinnamon swirls, and I prefer this bread toasted with ample smears of cinnamon-sugar butter piled on, to really boost the cinnamon profile. The cinnamon is complemented by the sugars; one accentuates the other, and it’s a match made in swirly bread heaven.
In terms of density, the bread is in the medium range. It’s not a light and airy croissant but it’s not anywhere near as dense as the Cinnamon Raisin English Muffin Bread, as English muffins tend to be much denser than a loaf of bread is or should be.
As I ate this bread, I was transported back decades earlier to my Grandma’s tiny kitchen and my childhood memories of eating her bread, slice after slice. Back then I took great pleasure in unwinding and unwrapping the coils and licking the cinnamon-sugar from them. Yes, I did. I didn’t do that with this bread, although I was tempted. Instead I just licked my fingers, which invariably become coated in the very sticky but very wonderful caramely, buttery, cinnamon-sugar sauce that seeps from the coils.
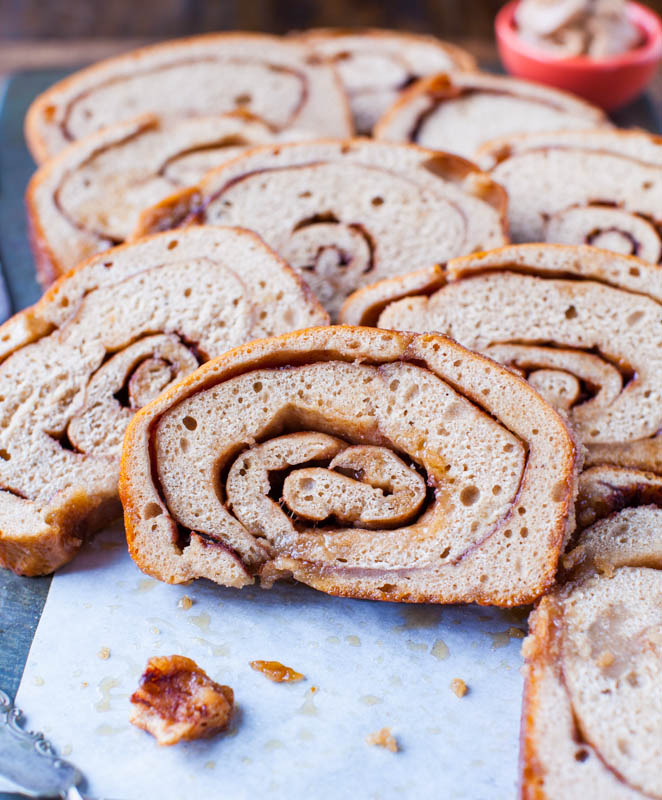
What I love most about this bread, and with all swirled buns or rolls, is the keyhole center that peers back at me, buried amidst a web of concentric circles. Let’s face it, the best part of a cinnamon bun is the epicenter; the final coiled turn. It’s the softest, most tender, moistest, butteriest, and best bite of all. And eating my way into the perfect center bites of this bread was no exception.
Pin This Recipe
Enjoy AverieCooks.com Without Ads! 🆕
Go Ad Free

Cinnamon Swirl Bread
Ingredients
For the Bread
- ¾ cup water, heated to ~120 to 130F for Platinum Red Star yeast, or to about ~105 to 115F for other yeast
- 2 ¼ teaspoons one 1/4-ounce packet Platinum Red Star Yeast or another active dry yeast
- 1 teaspoon granulated sugar
- ½ cup milk
- 1 tablespoon unsalted butter
- ¼ cup granulated sugar
- 2 teaspoons cinnamon
- ½ teaspoon salt, optional and to taste
- 3 cups all-purpose flour
For the Filling
- 3 tablespoons unsalted butter, very softened
- ¼ cup granulated sugar
- ¼ cup loosely packed light brown sugar
- 2 teaspoons cinnamon
Instructions
- For the Bread - In a glass measuring cup or microwave-safe bowl, warm the water to temperature, about 45 seconds on high power. Testing with a thermometer is preferred, but if testing with your finger, mixture should feel warm but not hot. Add the yeast, 1 teaspoon sugar, stir to dissolve, and let stand for 5 to 10 minutes.
- In a large microwave-safe bowl, combine milk and 1 tablespoon butter and heat until butter melts and mixture can be stirred smooth, about 1 minute on high power; do not allow the milk to boil. To the melted mixture, add 1/4 cup sugar, 2 teaspoons cinnamon, salt, and whisk to combine. Add the yeast-water mixture and whisk to combine. Add 2 1/2 cups flour and stir; dough will be wet and loose. Turn dough out onto a Silpat Non-Stick Baking Mat or floured work surface and knead in the remaining half cup of flour, adding flour just until the dough is soft and smooth. Knead for about 8 minutes.
- Place mounded dough in a lightly greased large bowl and turn dough over so that the top as well as bottom is greased. Cover with plasticwrap and let rise in warm place for about 90 minutes, or until doubled in size (To achieve a warm environment, power oven on to 400F as if preheating your oven and after 1 minute, shut the oven off. Quickly slide the bowl with the dough in it into the warm oven and shut the oven door quickly so the warm air does not escape; double check to make sure your oven is off. You're looking for temps in the 80s, a warm summer day type temperature; not overly hot)
- Punch down dough with your fist to release the air and turn dough out onto a large Silpat or floured surface and knead for about 1 minute. Roll dough out into a long rectangular shape, about 9 inches wide and about 15 to 18 inches long (9 inches wide so it fits in the loaf pan and the longer in length the dough is made, the more turns that can be made, resulting in more cinnamon-swirls per slice; roll it thin but not paper thin, about 1/8-inch thick)
- For the Filling - Spread 3 tablespoons butter over the surface of the dough with a spatula. Evenly sprinkle 1/4 cup granulated sugar, then sprinkle the brown sugar, and then sprinkle 2 teaspoons cinnamon.
- Starting at one edge, carefully roll up dough into a loaf, rolling as tightly as possible. Pinch off the two ends and pinch together bottom seam as best you can, to prevent leaking while baking. Place dough into prepared pan, seam side down. Cover with plastic wrap and let rise until doubled in size, about 1 hour.
- In the last minutes of rising, preheat oven to 375F. Prior to baking, score top of loaf by cutting 3 or 4 diagonal slits across with a sharp knife, slicing about 1-inch deep. Bake for about 30 to 38 minutes, or until golden brown. Because baking times, dough, ovens, and conditions vary, keep a very watchful eye on the loaf because it will have a tendency to burn in the final moments.
- After baking, immediately turn bread out onto a wire rack and allow it to cool. Whatever cinnamon-sugar-butter mixture leaked in the bottom of the pan, pour it over the top and if the brown sugar has caramelized in the bottom of the pan, scoop out with a spatula and pour or spread over the loaf; it somehow re-absorbs a bit over time. Allow loaf to cool completely before slicing and serving. Store bread in an airtight container or ziptop food storage bag at room temperature for up to 5 days or in the freezer for up to 3 months.
- Recipe loosely adapted from this cinnamon swirl bread
Nutrition
Nutrition information is automatically calculated, so should only be used as an approximation.
©averiecooks.com. Content and photographs are copyright protected. Sharing of this recipe is both encouraged and appreciated. Copying and/or pasting full recipes to any social media is strictly prohibited.
Related Recipes:
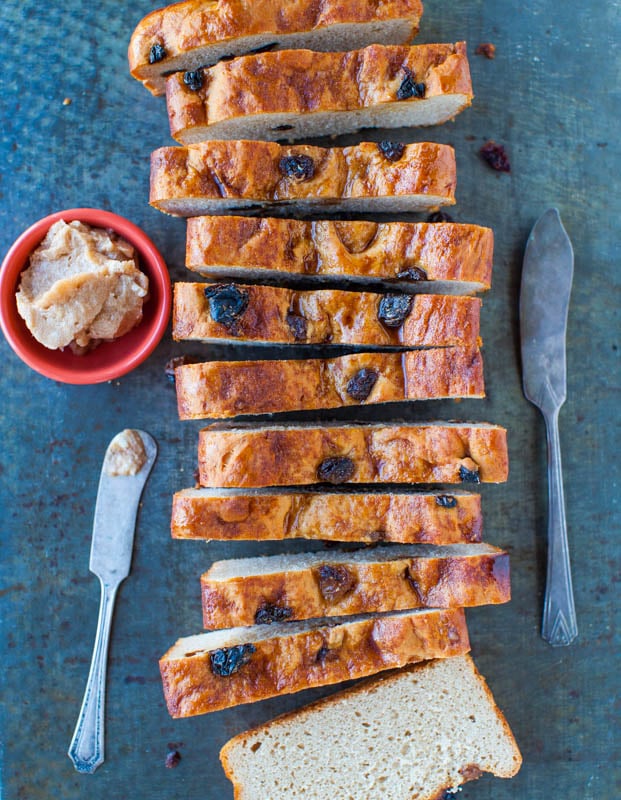
Cinnamon Raisin English Muffin Bread with Cinnamon Sugar Butter – If you’ve never made bread before, this is a goofproof, foolprood, no-knead bread recipe. You’ll never have a need for storebought English muffins again, especially because this bread is spiked with cinnamon-sugar and raisins
Cinnamon Bun Pie – Uses a shortcut and they’re ready from start to finish in less than 30 minutes and they give Cinnabons a run for their money. I’m working on yeast-based cinnamon rolls next
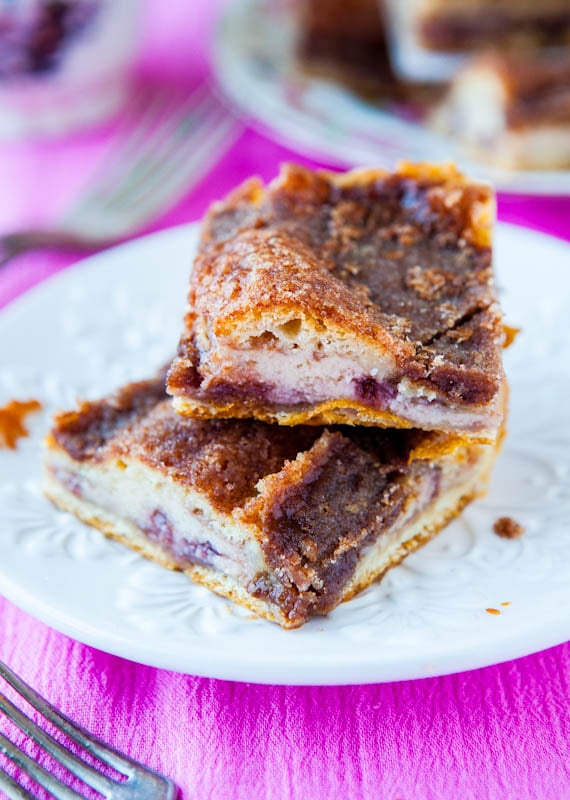
Cinnamon Sugar Crust Cream Cheese and Jelly Danish Squares – Tastes like an Entenmann’s danish, with a crispy and crunchy cinnamon-sugar coating, and is filled with smooth cream cheese and jelly. The squares use a shortcut and are a snap to make
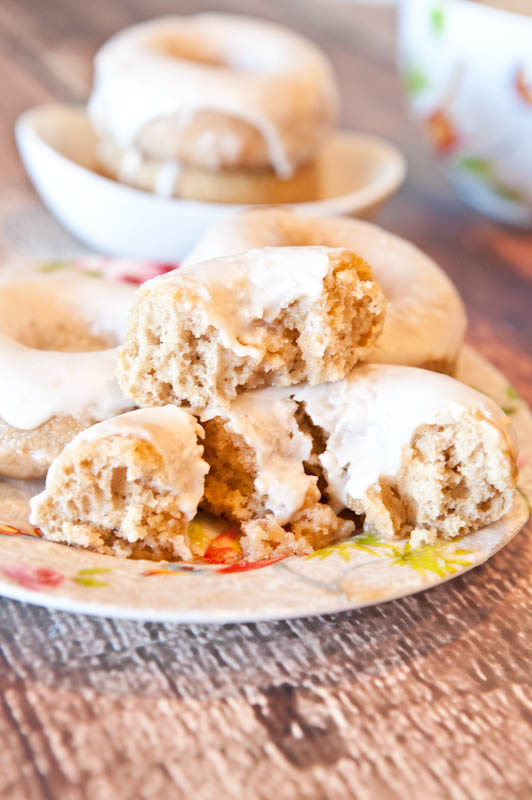
Baked Cinnamon Bun Donuts with Vanilla Cream Cheese Glaze – A cross between a Krispy Kreme donut and a Cinnabon cinnamon roll. Yeast-free, easy and although I haven’t tried personally tried muffin tins, if you don’t have a donut pan, I’ve had readers write saying they’ve baked them as muffins with success
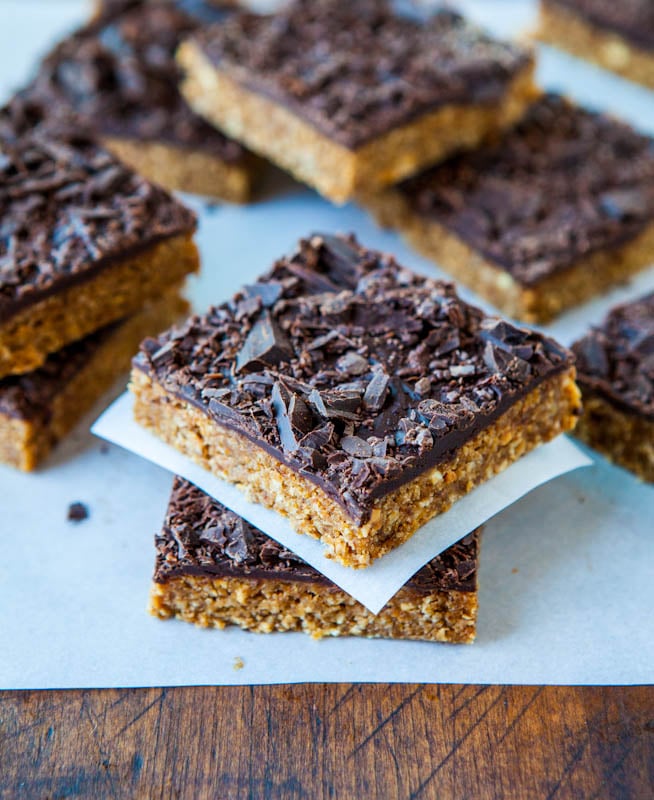
Cinnamon Oatmeal Date Bars with Chocolate Chunks (no-bake, vegan, gluten-free) – Like cinnamon oatmeal, but in bar form, with a prominent cinnamon flavor. To keep these lighter, feel free to omit the chocolate topping and the base of these bars is a perfectly healthy, no-bake, vegan, gluten-free, granola bar with no refined sugar added
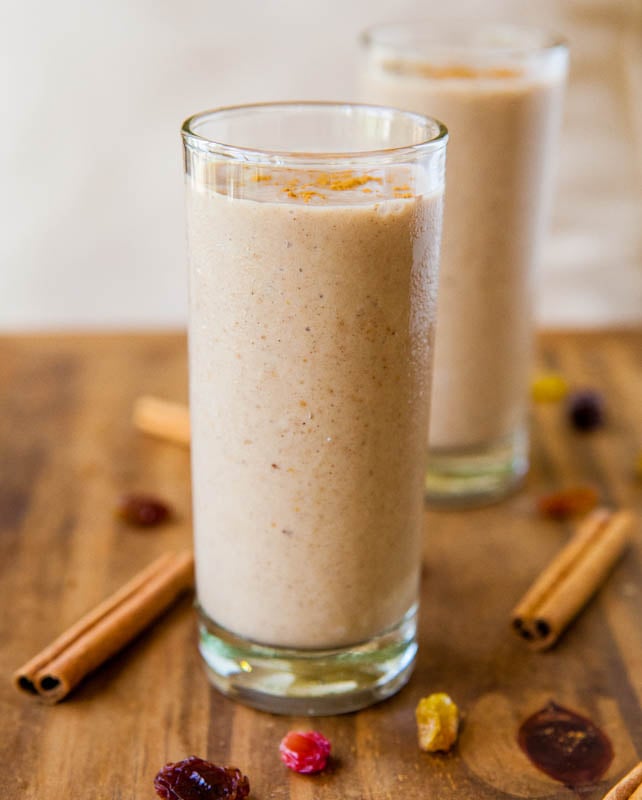
Cinnamon Raisin Bread Smoothie (vegan, GF) – Tastes like drinking a glass of cinnamon-raisin bread, although no actual bread was used, and I put a graham crackers to work
Do you like Cinnamon Swirl Bread or have a favorite recipe for it?
Have you ever made bread with yeast?
If you have any tips, tricks, thoughts, favorite recipes, or anything at all to add about bread-making, please feel free to chime in and link up your favorite recipes.
Dscovering this whole new yeasty realm of baking and learning as I go has been so much fun. Even the less than stellar loaves I’ve made are better than storebought, they make great Overnight French Toast, and with each loaf, I learn something. Kind of like making cookies and with each batch, you learn something about what works, what doesn’t, and what to try slightly differently next time. The process is almost as much fun as the product. Almost.
Thanks for the Vanilla Bean Sampler Pack and Glass Jar Giveaway entries and the Pure Vanilla Cookbook Giveaway entries – winners announced next post
Yes, several years after you posted this recipe I finally made it. :) I used quick-rise yeast which sped the process up a LOT (actually, I didn’t get to it in time after the second rise so my bread deflated a little–still tasty, though). Just a thought for you–maybe updating this recipe to use with the quick-rise yeast to shave off some rise time? I knocked a good 45 minutes off from this and I bet you could get it down to a 2 hour process.
Thanks for the five star review and I’m glad that you made this…wow!
Good tip about the yeast. I will give it a try sometime in 2020 after the holiday cooking season is over for me!
Hi Averie – I made this bread a few weeks ago and thought I’d give you a little feedback on my experience. When I started making it, I noticed that the dough became very wet. I was weary as it looked way more wet than any other yeast bread I’ve made, but you said in the directions it was meant to be wet and loose so I proceeded. When I went to turn it out to knead it, it poured across the counter; I couldn’t even touch it (stuck to my hands and spread everywhere). I managed to salvage it by adding more flour (I think I added at least another cup or even cup and a half) until it was manageable enough to knead. It ended up baking up just fine and tasted wonderful, but I’m just wondering if anyone else has had this problem. I’m not sure where I went wrong as I followed your recipe exactly. Cheers!
Thanks for the feedback and bread-making is VERY dependent on climate and also the type/brand of flour used. I live in a very dry climate and probably need much less flour overall than someone who lives in a more humid climate. And I always bake with King Arthur AP flour (or their bread flour if I’m making bread that I specifically note to use bread flour in). Flour brands vary widely in the amount of gluten they contain and those with less gluten, you’ll probably end up using a greater quantity of flour.
So my feedback would be to use as much flour as seems appropriate for YOUR dough, your climate, situation, etc. I mean dough that is so sloppy wet you can’t work with it? Definitely add more flour, as much as you think is necessary. Trust your baking instincts! Glad the bread baked up great and tasted wonderful!
I just baked the cinnamon swirl bread tonight and it tastes amazing! I baked it at 350 for 35 minutes because my oven runs hot. The only problem I had was when I turned the bread out of the pan it kind of collapsed in on it self and now the top has come off half of it. I don’t know if I didn’t roll it tight enough or something? It isn’t the yeast because I didn’t even leave it as long as suggested before I baked it. It won’t go to waste though because it tastes too good to throw out :)
I don’t know if I didn’t roll it tight enough or something? = Yes, I think that was the culprit if the top came off. Sometimes with rolled-up breads they can want to separate if you don’t roll them tightly. Also I think possibly you may have under-baked. Despite your oven running hot, it things don’t get to that perfect internal temperature, they can look done, but upon cooling they fall or collapse a bit. Not the end of the world usually with regard to taste but the appearance isn’t as pretty. I am thinking maybe drop your oven down by 25 degrees and/or tent with a sheet of foil in the last 20 mins or so of baking so it doesn’t get too browned on the top/sides if you try again. Glad it taste greats!
I made this and must’ve done something wrong! When I was baking and it had ten minutes left on the thirty minutes the top of the bread was already turning brown! And since you warned that it could burn easily, I pulled it out. I kinda figured it wouldn’t be completely done in the middle and I was right. Top part was done but doughy in the middle. What did I do?? Help!
Whenever something is browning too fast on top, simply cover the item with a sheet of foil (tenting the pan) and/or turn down the oven about 25 degrees. Homemade bread DOES tend to turn browner on top than what you may be used to seeing in stores, at least for me anyway. But I think if you tented it and continued to bake a bit longer the top would have been fine & the interior cooked through.