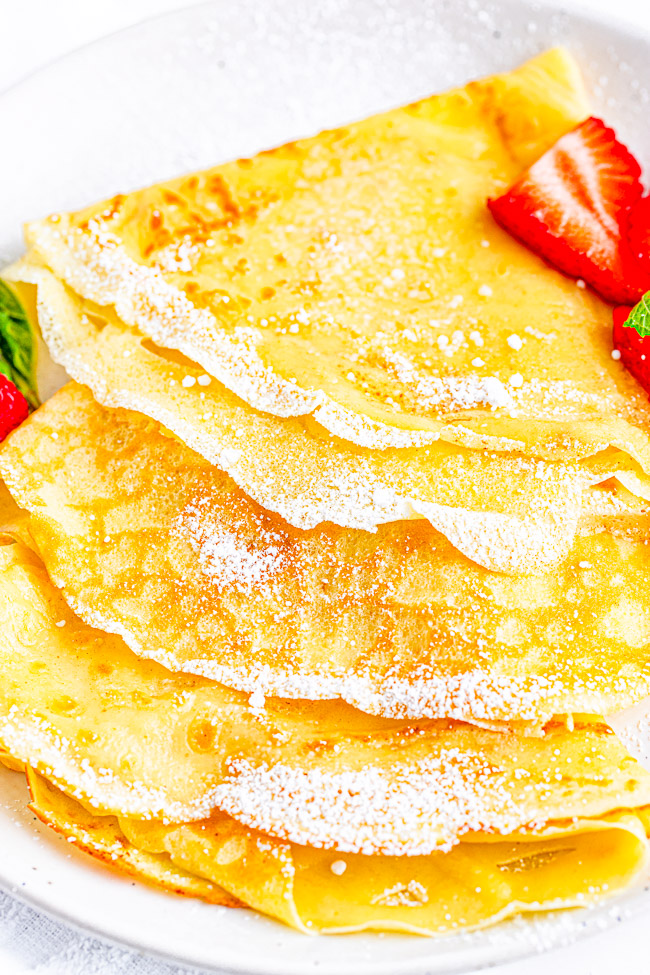
Classic Crepes — This basic crepe recipe produces tender, thin, delicate, buttery crepes that are wonderful with most any kind of filling from sweet to savory! Learn to make classic French crepes at home with just 6 COMMON ingredients! FAST, EASY, and NO special pans required!
The Best Basic Crepe Recipe
Classic crepes have such an elegant vibe to them — at least I think so! They’re little bundles of French indulgence made right from the comfort of your own home.
Although this recipe uses basic ingredients, the homemade crepes are buttery, thin, delicate, with ever-so crisp edges, and have a tiny touch of sweetness to them.
Crepes can be filled with just about anything under the sun, ranging from chocolate and peanut butter to fruity jams or fresh fruit with a dusting of confectioners’ sugar.
Or, go in a more savory direction with the filling options, including cheese, bacon, spinach, or avocado.
These leaven-less French-style pancakes are sure to be a hit for breakfast, brunch, dessert, or anytime you want to impress someone!
What Are Crepes?
In a nutshell, crepes are very thin pancakes. They originated in France and are a popular treat there.
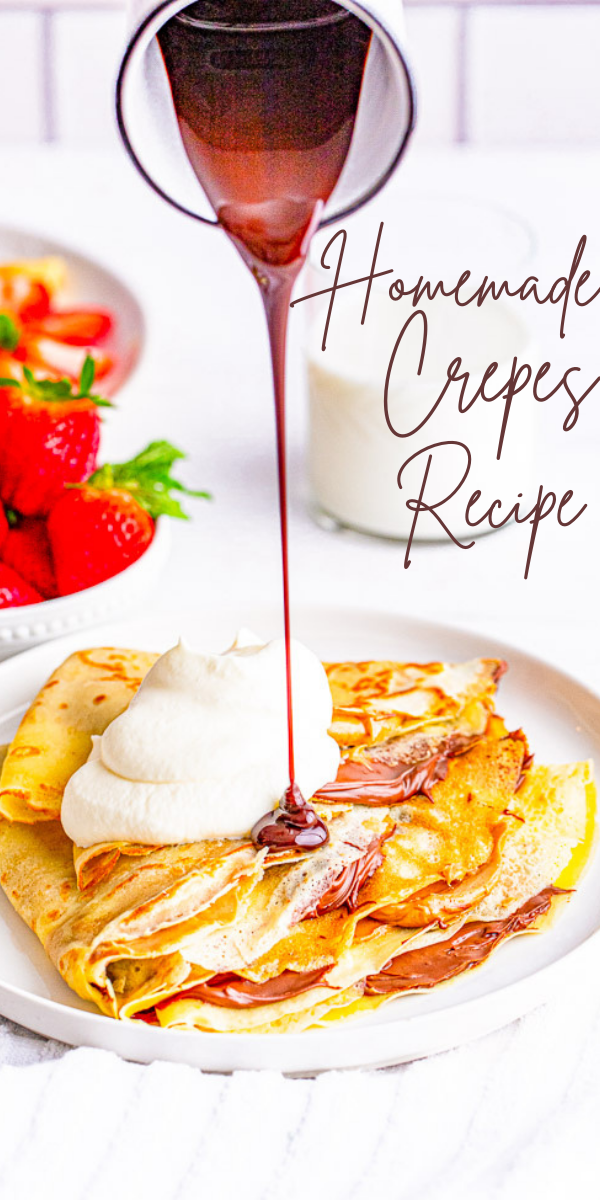
Popular crepe fillings include Nutella, fresh berries, banana slices, and so on. There are also simple lemon crepes that have been dusted with sugar and drizzled with freshly squeezed lemon juice.
Savory crepes are typically called “galettes” and can be filled with everything from ham to cheese to potatoes.
Ingredients in Basic Crepes
For this basic crepe recipe, all you need are just six common ingredients you likely have in your fridge and pantry!
Get out the following ingredients:
- All-purpose flour
- Sugar
- Sea salt
- Whole milk
- Eggs
- Unsalted butter
How to Make Crepes at Home
What I especially love about this easy crepe batter is that it comes together in your blender!
Step 1: Simply place the flour, sugar, salt, milk, eggs, and cooled melted butter into the blender and blend until everything combines.
Step 2: Place the canister of the blender in the fridge for at least 30 minutes, or up to 36 hours in advance.
Step 3: When you’re ready to cook the crepes, place an 8-inch nonstick skillet over medium heat and grease the skillet lightly with butter.
Step 4: Using a 1/4-cup measure, fill it with crepe batter about three-quarters full, which is 3 tablespoons. For slightly bigger crepes, you can fill it full which is 4 tablespoons.
I don’t recommend making them larger than 4 tablespoons because they just simply get too thick, which isn’t at all how you want your crepes.
Step 5: Now this is where you will need to be fast and work rapidly! After you add the batter, swirl the batter along the bottom of the pan evenly.
Let it cook for 90 seconds, or just until the crepe will start to lift slightly along the edge.
Step 6: Take an offset spatula and lift up the side of the crepe. Use your fingers carefully and flip the crepe over. Allow it to cook for an additional 45 to 60 seconds. The crepe should be lightly golden brown on all sides.
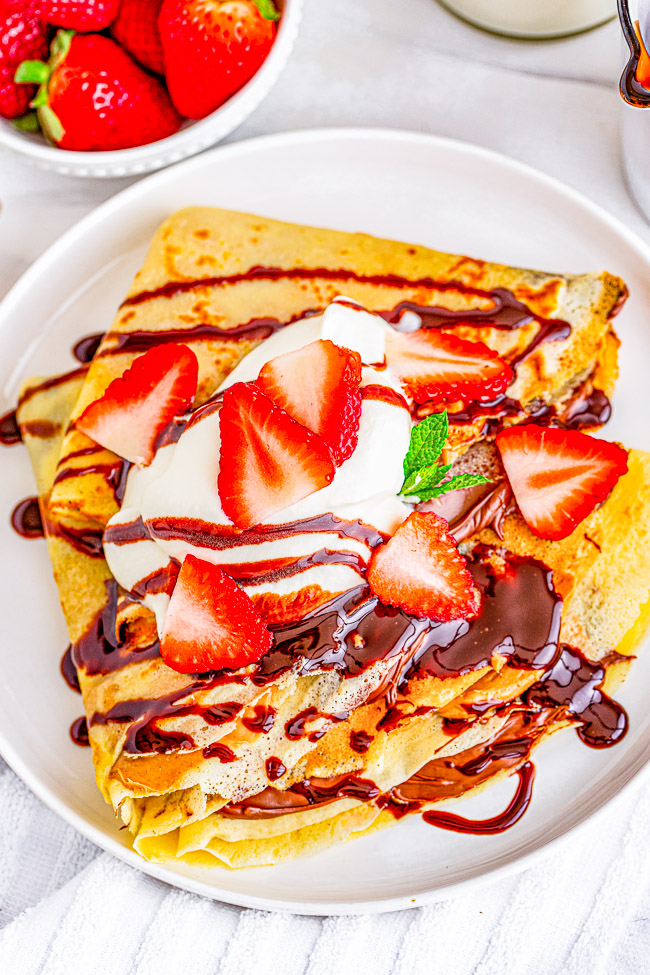
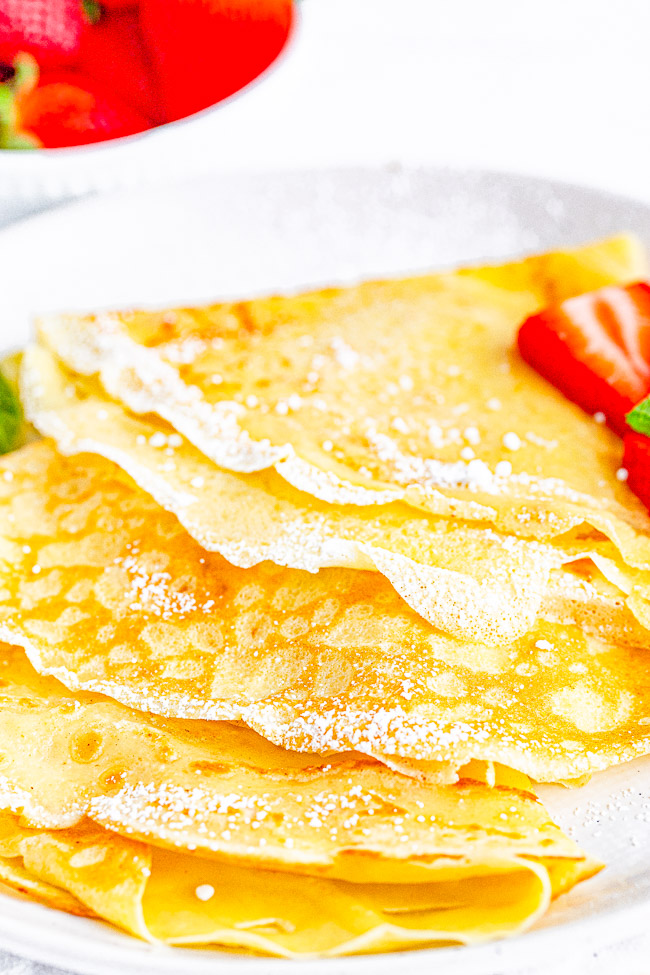
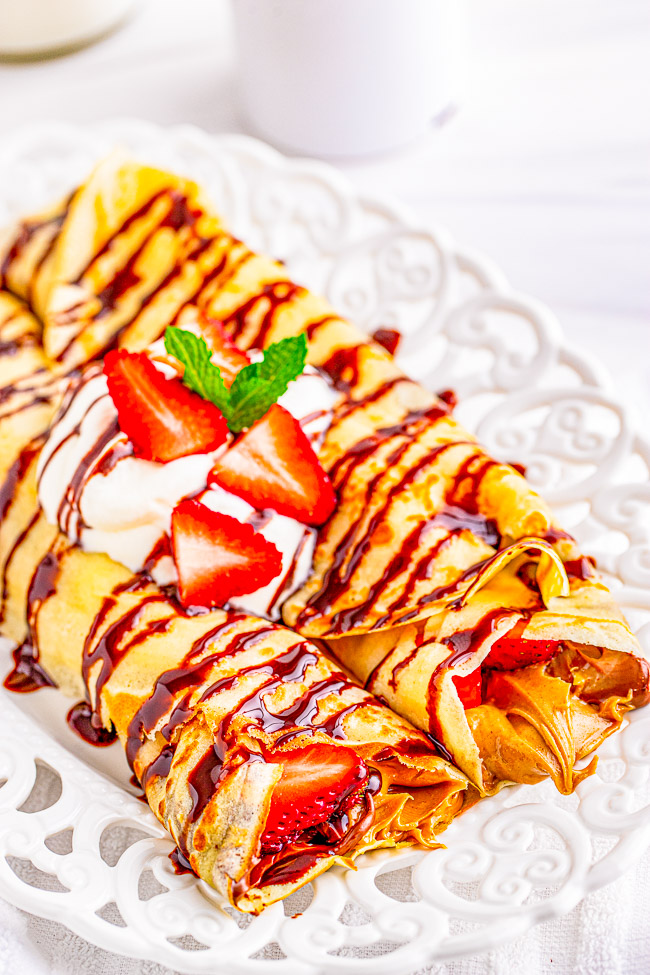
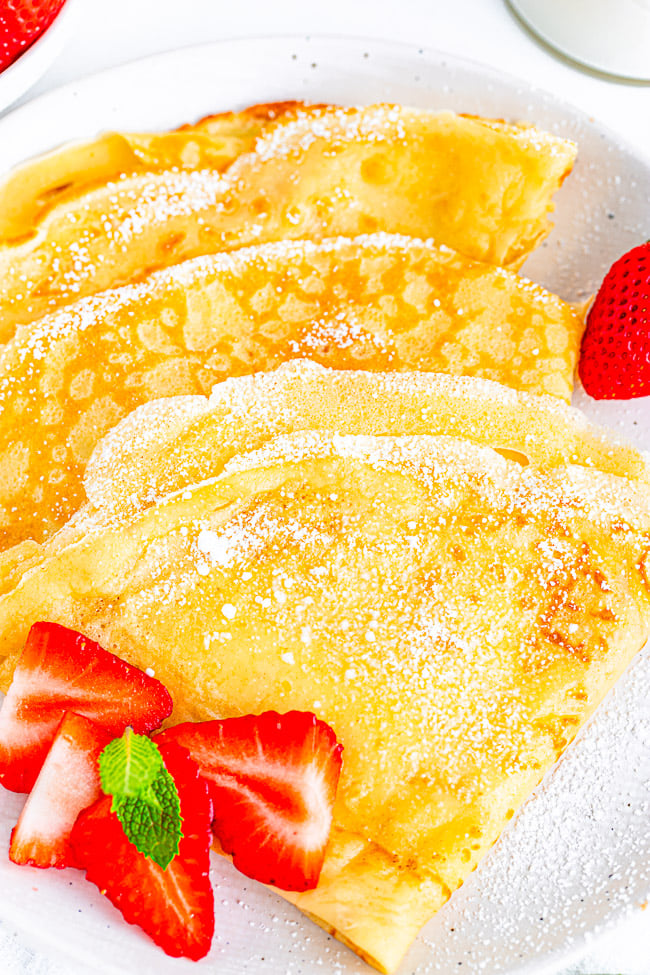
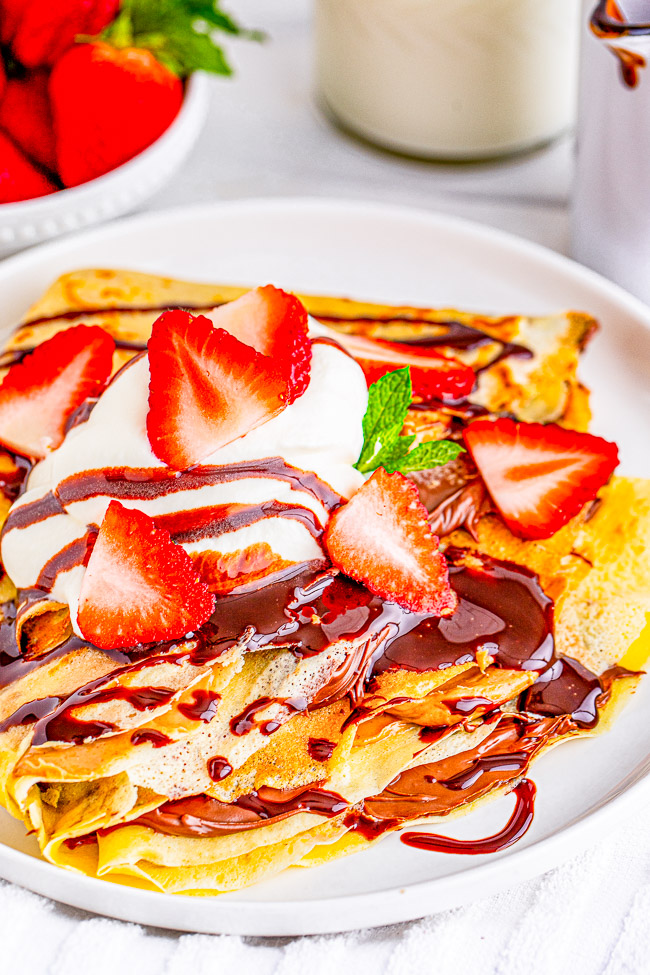
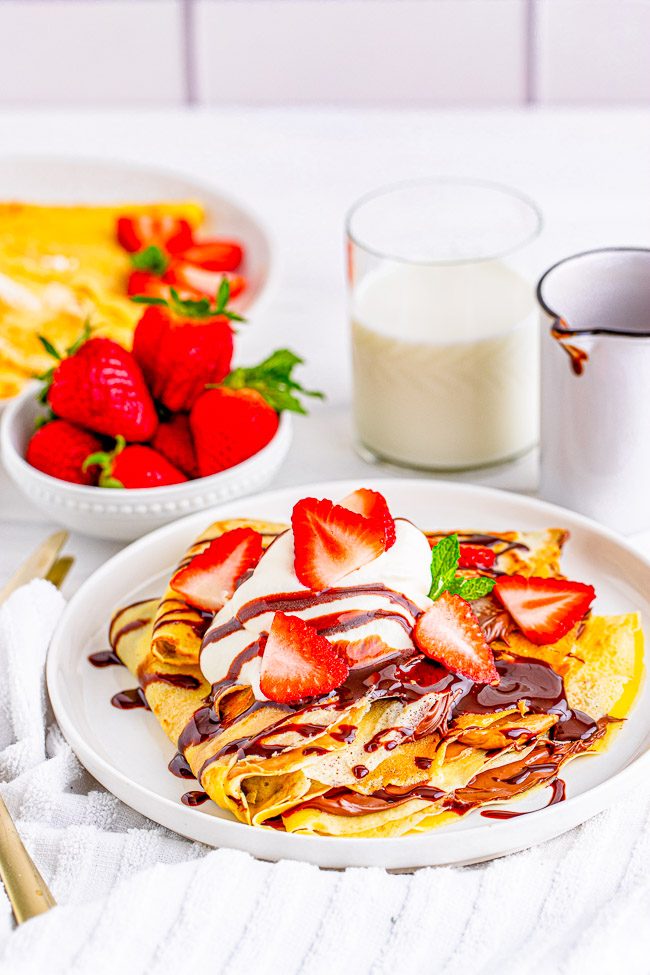
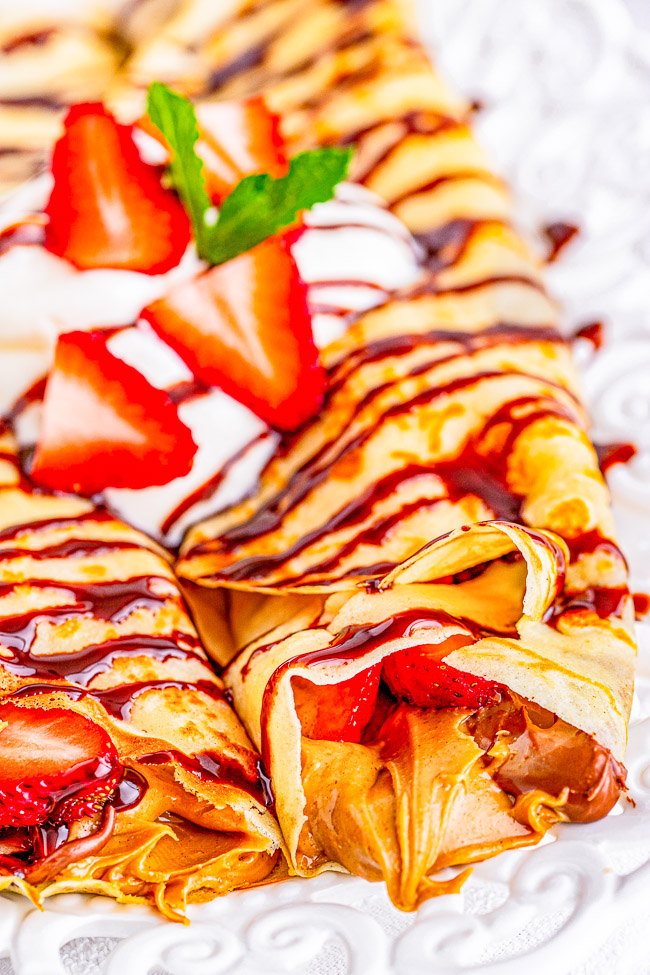
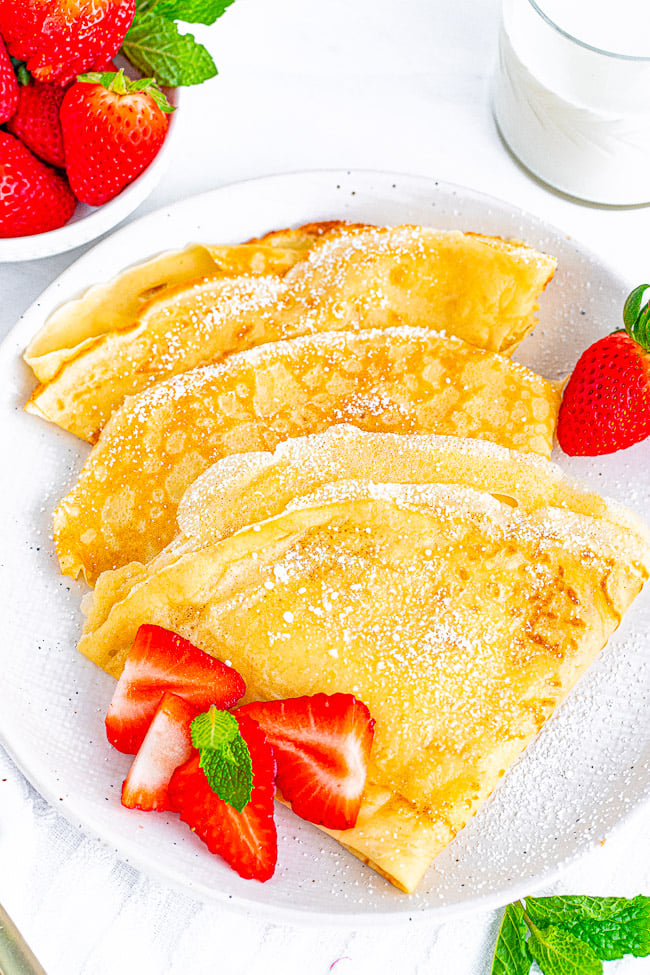
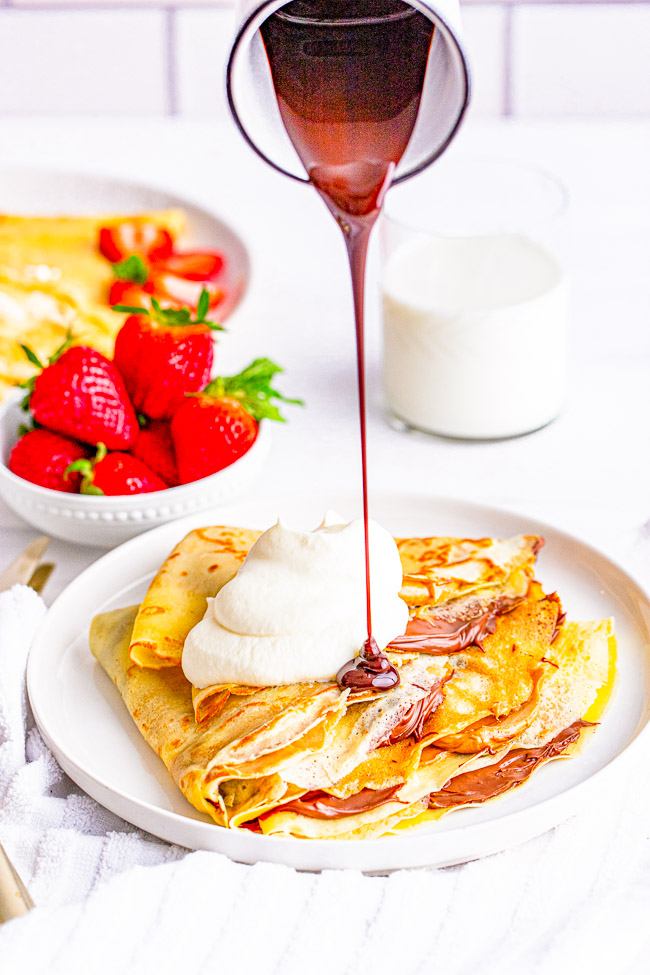
Step 7: Serve simply and classically with a dusting of powdered sugar, or go all out and fill it with all your favorite things. I love to add a smear of peanut butter with Nutella.
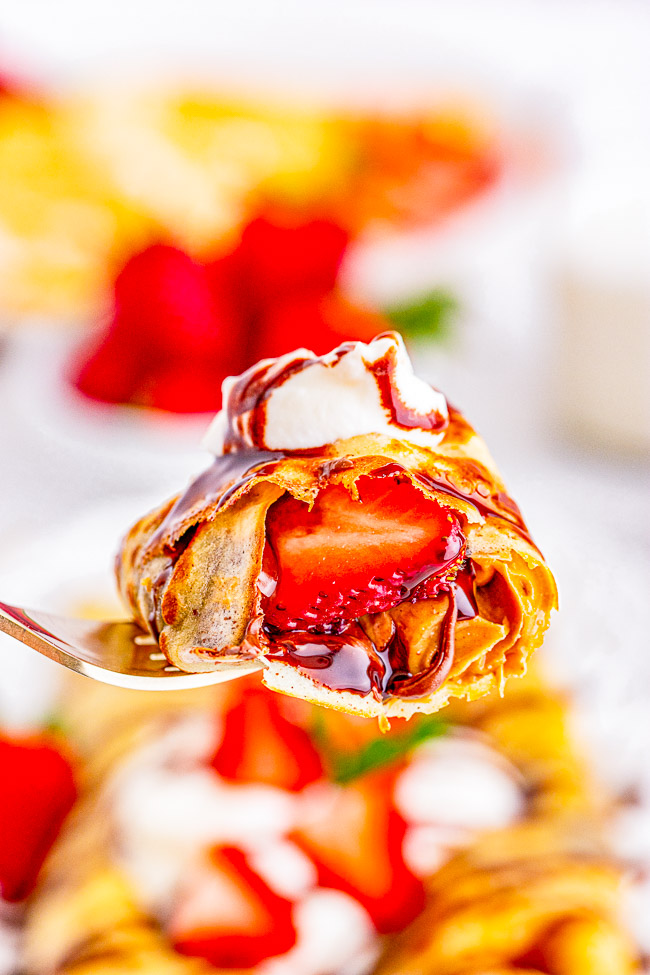
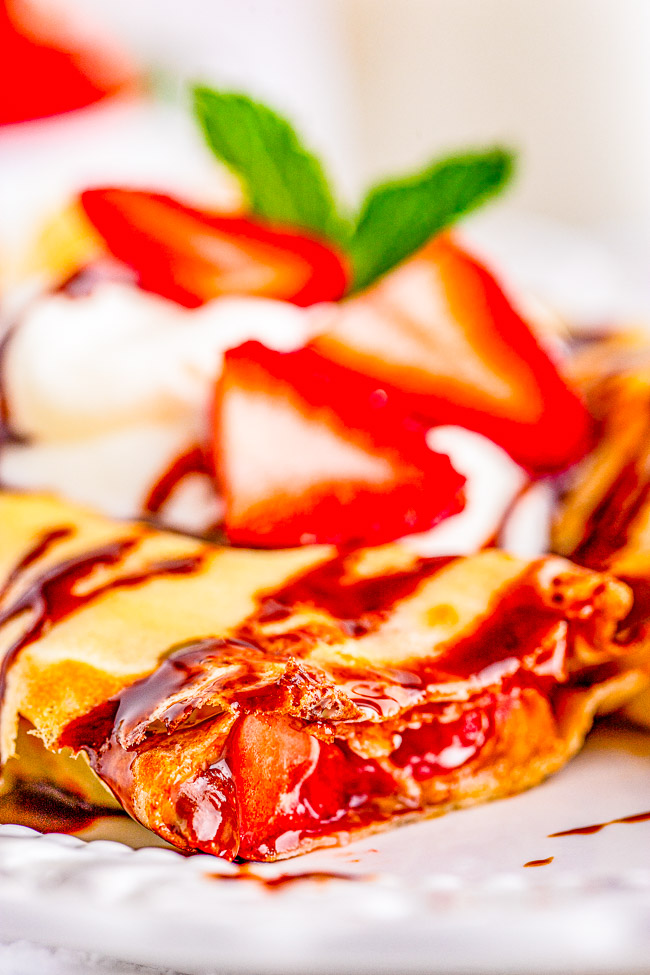
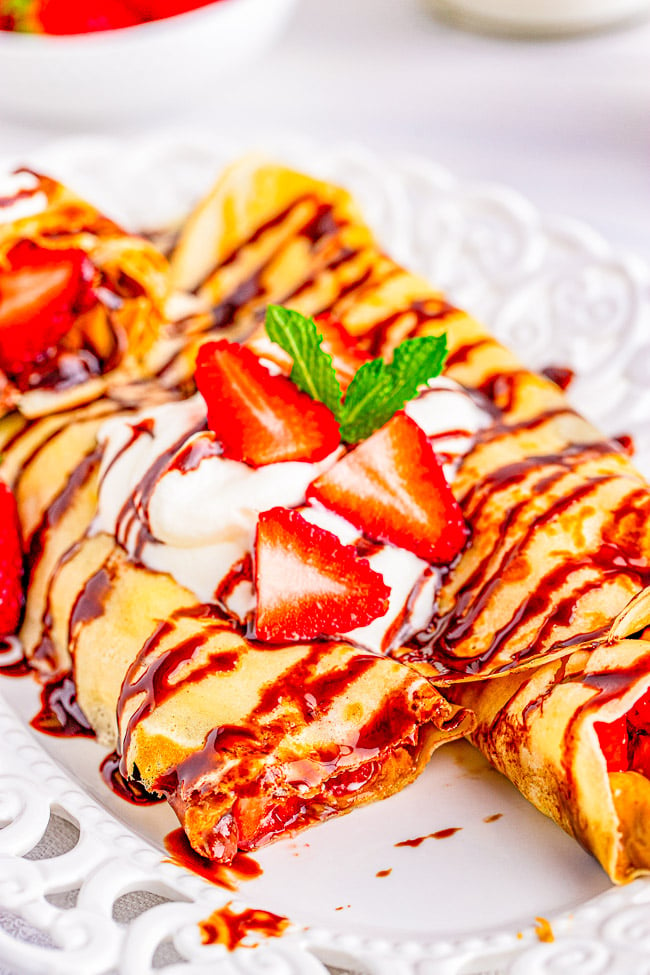
Pop some fresh berries inside — strawberries are my favorite — and then roll or fold the crepe and serve.
Keep reading for my suggestions on both sweet and savory crepe fillings!
Is a Special Crepe Pan Required?
No, it’s not. Any 8-inch non-stick skillet will work. Just make sure it’s a non-stick skillet. This isn’t the time to use anything else!
Can I Use a Cast Iron Skillet?
No, a non-stick is a must for this recipe. I worry that the homemade crepes would stick to the cast iron and you’d never get them off cleanly.
Can Crepes Be Made Ahead of Time?
Since crepes need to be made one at a time, I realize that to make enough to serve a group it can be a bit of a wait and a process standing at the stove swirling, flipping, and babysitting them.
There is nothing better than fresh crepes, but since this may not always be possible, you can make them up to 48 hours in advance. Store them airtight in the fridge and then serve them when you’re ready.
Additionally, as noted above, the crepe batter can be made up to 36 hours in advance and stored in the fridge until you’re ready to make them.
Can Crepes Be Made Gluten-Free?
I have only ever use regular all-purpose flour and have never tried making gluten-free crepes.
If you do give it a try, I definitely suggest using a cup-for-cup gluten-free flour intended for baking that is designed to replace traditional all-purpose flour.
Let me know how it works if you try your hand at gluten-free crepes in the Comments section below.
Crepe Filling Ideas to Try
There are so, so many ideas for what you can put on or inside of classic crepes. My recipe is so versatile that the sky is really the limit for what you can incorporate!
My favorite sweet crepe toppings and fillings include:
- Hershey’s syrup or chocolate sauce
- Hot fudge
- Butterscotch sauce
- Nutella
- Caramel or salted caramel sauce
- Peanut butter (almond or cashew butter too)
- Honey
- Jelly, jam, or marmalade
- Berries (strawberries, blueberries, raspberries, blackberries)
- Other fruit (sliced bananas, peaches, mangos, kiwi)
- Lemon curd
- Whipped cream or whipped topping
- Cinnamon
- Confectioners’ sugar
Favorite savory crepe toppings and fillings include:
- Cheese (almost any kind!)
- Hummus
- Mushrooms
- Bacon
- Spinach
- Kale
- Prosciutto
- Salami
- Shredded chicken
- Cooked salmon or lox
- Garlic or roasted red pepper cream cheese
Can Crepes Be Frozen?
I imagine so, since regular pancakes freeze well. However, you’d need to freeze the crepes with pieces of parchment paper between the layers, otherwise they’ll stick together and you’ll never thaw them in one piece.
Frozen crepes can be gently reheated in a skillet or enjoyed at room temperature with your favorite crepe fillings and toppings.
Tips for the Best Crepes
After making the batter in your blender, you do need to allow it to rest to allow any bubbles to rise out — at least 30 minutes and up to 36 hours.
When greasing the non-stick skillet, I like to keep a stick of butter next to my workstation so I can just pick it up with the wrapper on, swipe the skillet with butter and I’m ready to go.
Grease the skillet between every one or two crepes that are made.
The swirl technique can be a little tricky only because you do need to work quickly when you spread the batter in the bottom of the skillet so have patience when you’re first learning and getting the hang of making homemade crepes.
The first crepe or two will come out a little funny looking until you do get the hang of it.
However, I find this to be the same way with traditional pancakes in that the first one, or even the first few, are always a little off!
Pin This Recipe
Enjoy AverieCooks.com Without Ads! 🆕
Go Ad Free
Classic Crepes
Ingredients
- 1 cup all-purpose flour
- 1 ½ tablespoons granulated sugar
- ¼ teaspoon fine sea salt
- 1 ½ cups whole milk
- 3 large eggs
- 2 tablespoons unsalted butter, melted and cooled, + more for cooking/greasing the skillet
- confectioners' sugar for dusting, optional
- favorite toppings, as desired*
Instructions
- Add the flour, sugar, salt, milk, eggs, and cooled melted butter into the canister of a high-speed blender.
- Blend on high for 30 seconds, or until there are no lumps. I like to scrape down the sides and the bottom to make sure there are no flour lumps. The flour can sometimes stick to the bottom of the blender, so I scrape it down the blend again for a few more seconds.
- Place the blender with the top on directly into the fridge to rest for at least 30 minutes, or up to 36 hours, before you actually make the crepes. Do not skip this step, the batter needs to rest in order for your crepes to properly turn out.
- Place a paper towel on a plate; set aside.
- Grease an8-inch nonstick skillet with butter and using a 1/4-cup measure, fill it about three-quarters full which is 3 tablespoons with batter. For slightly bigger crepes, you can fill it full which is 4 tablespoons. Tip - I don’t recommend making them larger than 4 tablespoons because they just simply get too thick, which isn’t at all how you want your crepes.
- After adding the batter to the skillet, you need to work very quickly! Swirl the batter along the bottom of the pan evenly. Let it cook for 90 seconds, or just until the crepe will start to lift slightly along the edge.
- Take an offset spatula and lift up the side of the crepe. Use your fingers carefully and flip the crepe over. Allow it to cook for an additional 45 to 60 seconds on the second side. The crepe should be lightly golden brown on all sides when done.
- Place the crepe on top of the paper-towel-lined plate; set aside. Continue with the rest of the batter in the same process and form, and place the finished crepes on top of each other in a stack on the plate.
- Serve simply and classically with a dusting of confectioners' sugar, or go all out and fill or top them with all your favorite things. See topping/filling ideas below*.
Make ahead instructions:
- There is nothing better than fresh crepes, but since this may not always be possible, you can make them up to 48 hours in advance. Store them airtight in the fridge and then serve them when you’re ready.
- Additionally, as noted, the crepe batter can be made up to 36 hours in advance and stored in the fridge until you’re ready to make them.
Notes
- Hershey’s syrup or chocolate sauce
- Hot fudge
- Butterscotch sauce
- Nutella
- Caramel or salted caramel sauce
- Peanut butter (almond or cashew butter too)
- Honey
- Jelly, jam, or marmalade
- Berries (strawberries, blueberries, raspberries, blackberries)
- Other fruit (sliced bananas, peaches, mangos, kiwi)
- Lemon curd
- Whipped cream or whipped topping
- Cinnamon
- Confectioners’ sugar
- Cheese (almost any kind!)
- Hummus
- Mushrooms
- Bacon
- Spinach
- Kale
- Prosciutto
- Shredded chicken
- Cooked salmon or lox
- Garlic or roasted red pepper cream cheese
Nutrition
Nutrition information is automatically calculated, so should only be used as an approximation.
©averiecooks.com. Content and photographs are copyright protected. Sharing of this recipe is both encouraged and appreciated. Copying and/or pasting full recipes to any social media is strictly prohibited.
Favorite Breakfast and Brunch Recipes:
15 Favorite Breakfast and Brunch Recipes – Fast and easy tried-and-true recipes that everyone will love!
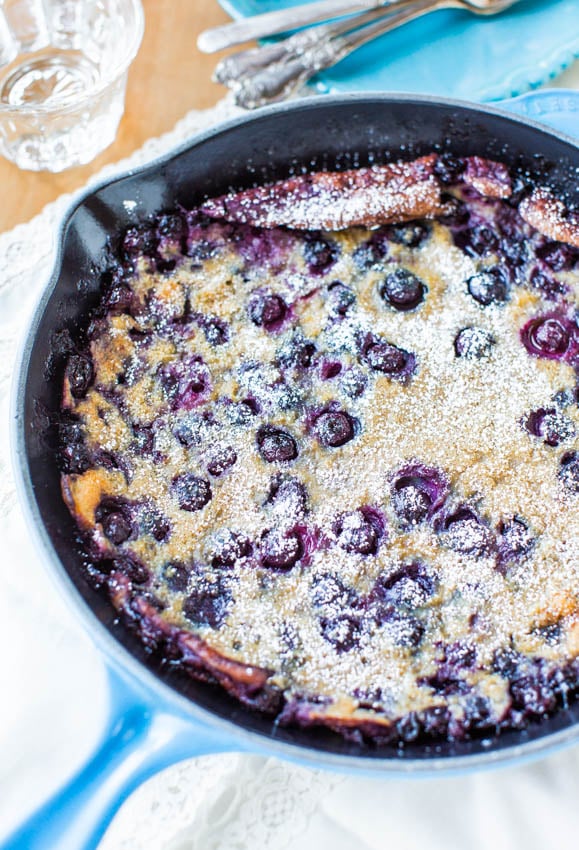
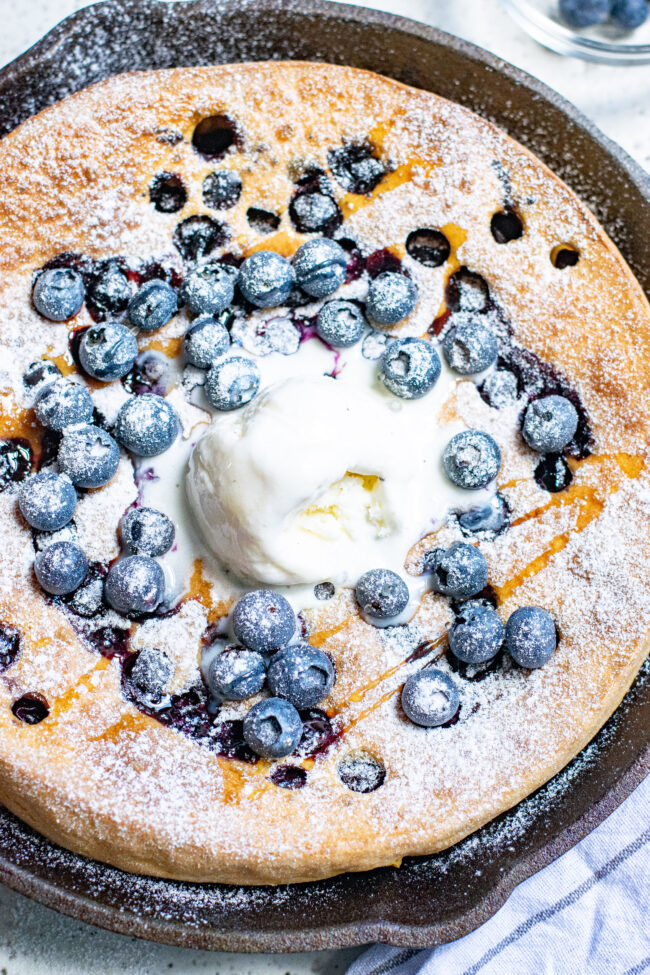
Blueberry Dutch Baby Pancake Recipe — This oven-baked pancake has the chewiness of crepes with the thickness of clafoutis, and making it is as easy as making pancake batter! Because it’s baked, there’s no need to stand around flipping pancakes!
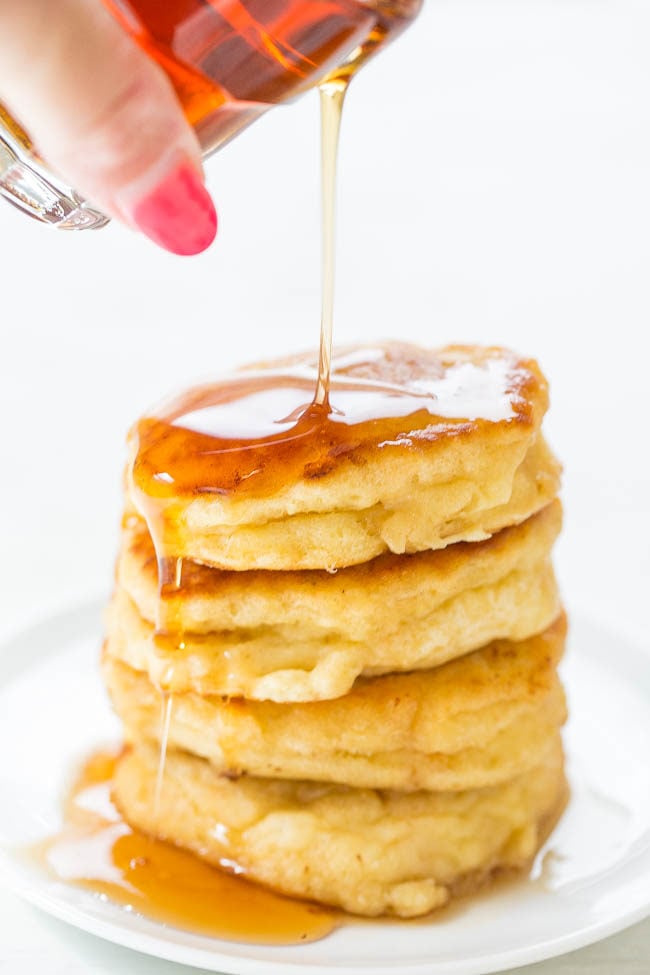
Thick and Fluffy Mini Buttermilk Pancakes — Your search for perfect pancakes is over! Easy, soft, fluffy, light, and the thickest pancakes I’ve ever made thanks to a special trick!
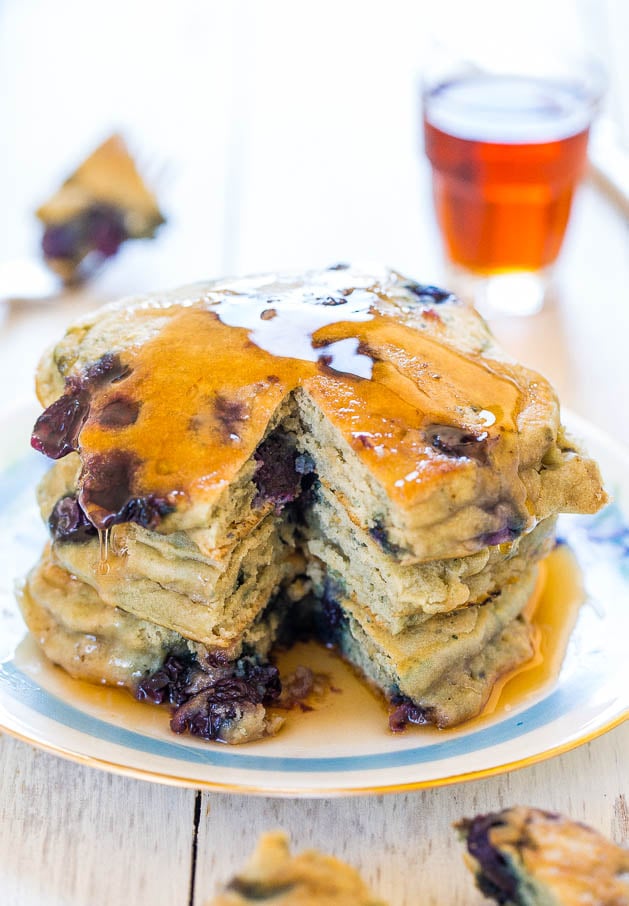
Dairy-Free Soft and Fluffy Blueberry Pancakes – Healthier pancakes that are soft, fluffy, light & just bursting with blueberries!
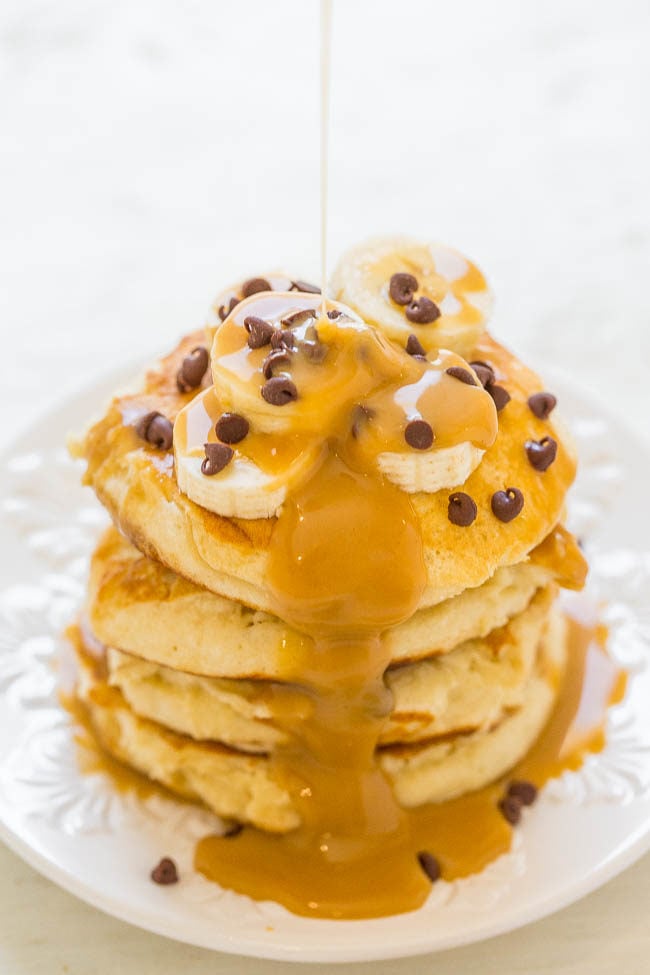
Peanut Butter Banana Protein Pancakes — Light, fluffy, EASY pancakes that pack 13+ grams of PROTEIN per serving!! The peanut butter-infused maple syrup is rich, decadent, and you’ll never settle for plain maple syrup again!!
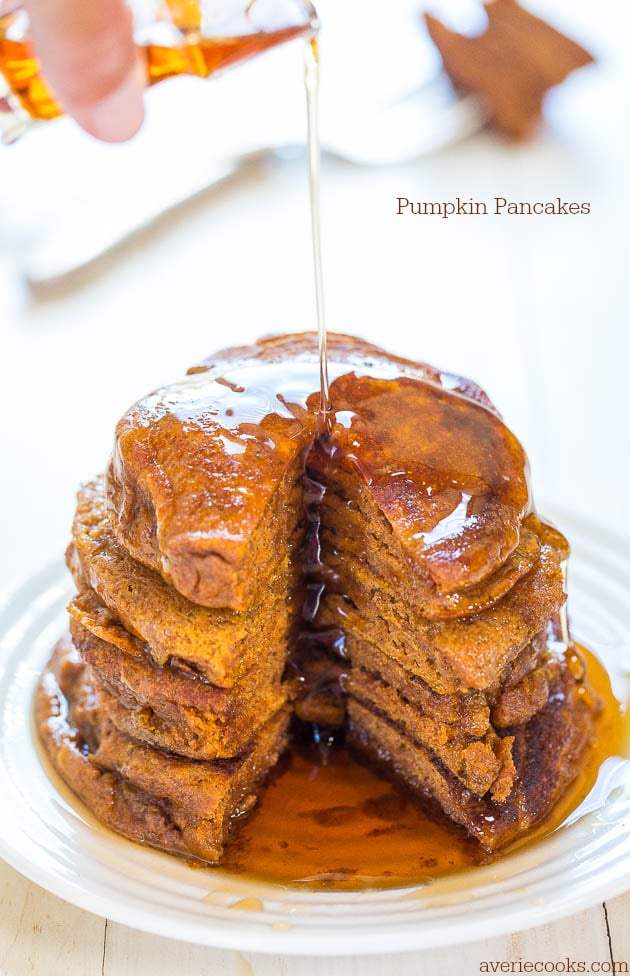
Pumpkin Pancakes – Soft, fluffy, and packed with big pumpkin flavor! Perfect comfort food for chilly mornings when a smoothie just won’t do!
Pumpkin Blueberry Dutch Baby Pancake – One big oven-baked pancake so there’s nothing to stand around waiting to flip!! The batter is made in the blender making this the EASIEST pancake ever! Gluten-free and dairy-free options provided!!
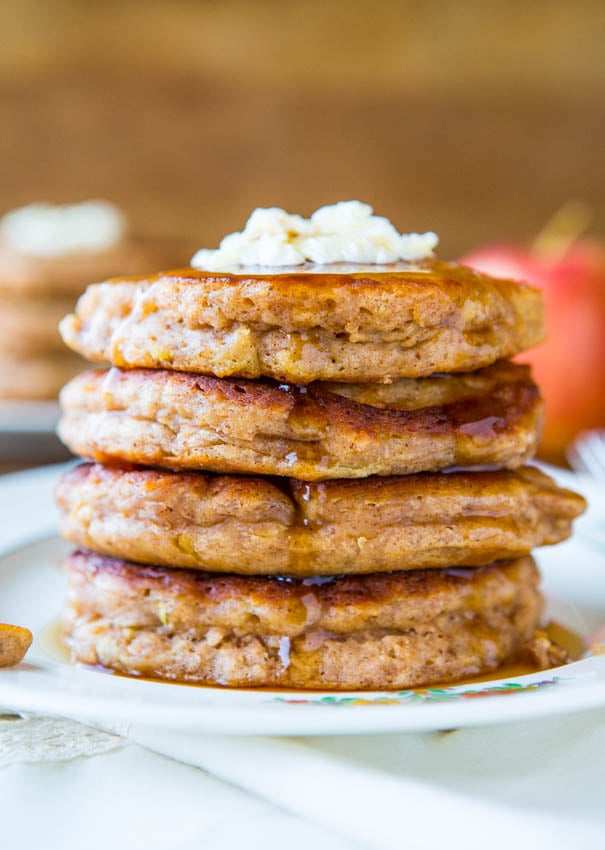
Apple Pie Pancakes with Vanilla Maple Syrup – Faster and easier than making an apple pie and tastes just as good
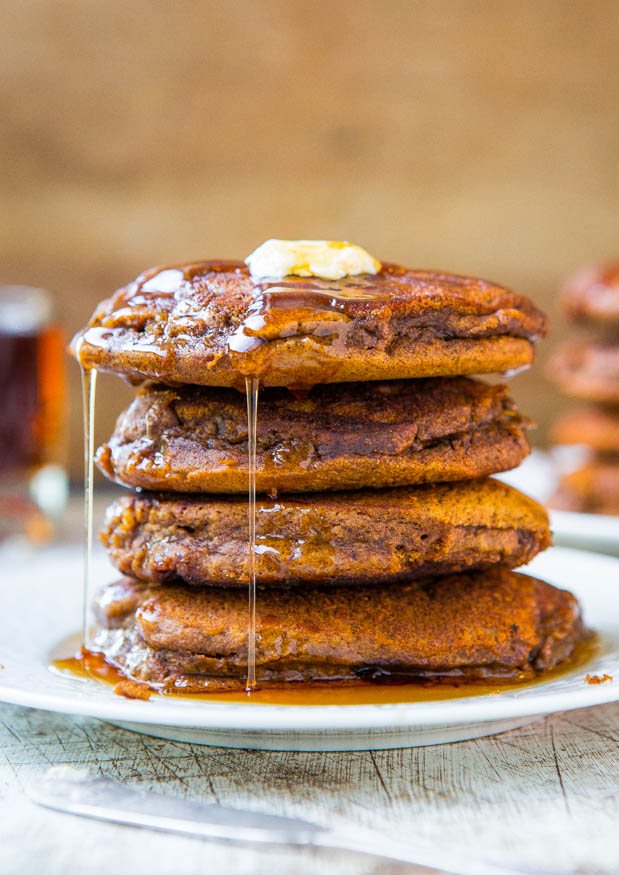
Soft and Fluffy Gingerbread Pancakes with Ginger Molasses Maple Syrup – Pancakes that taste like gingerbread cookies!
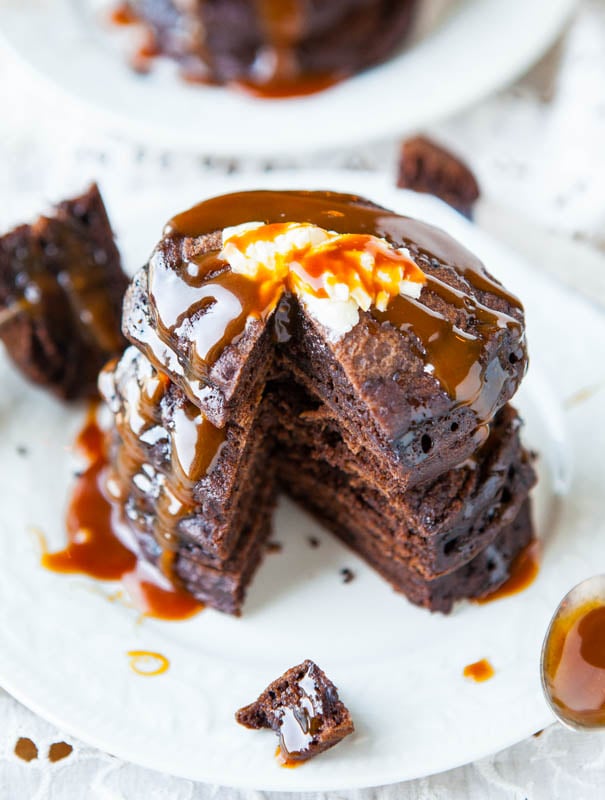
Chocolate Buttermilk Pancakes – Chocolate for breakfast paired with salted caramel sauce for the win!





Crepes absolutely delicious!? My go to is whipped cream cheese and my favorite jam! Just like a danish! My favorite jam is Christmas jam. (Strawberry+raspberries+cinnamon!!
Made this recipe for blintzes. .Browned one side only and then added cheese filling to browned side..Returned blintzes to pan and finished browning.
Turned out great and they were golden brown…Thank you!
Made this recipe for blintzes. .Browned one side only and then added cheese filling to browned side..Returned blintzes to pan and finished browning.
Turned out great and they were golden brown…Thank you!
Thanks for the 5 star review and I am glad the recipe turned out great for your blintzes!
great