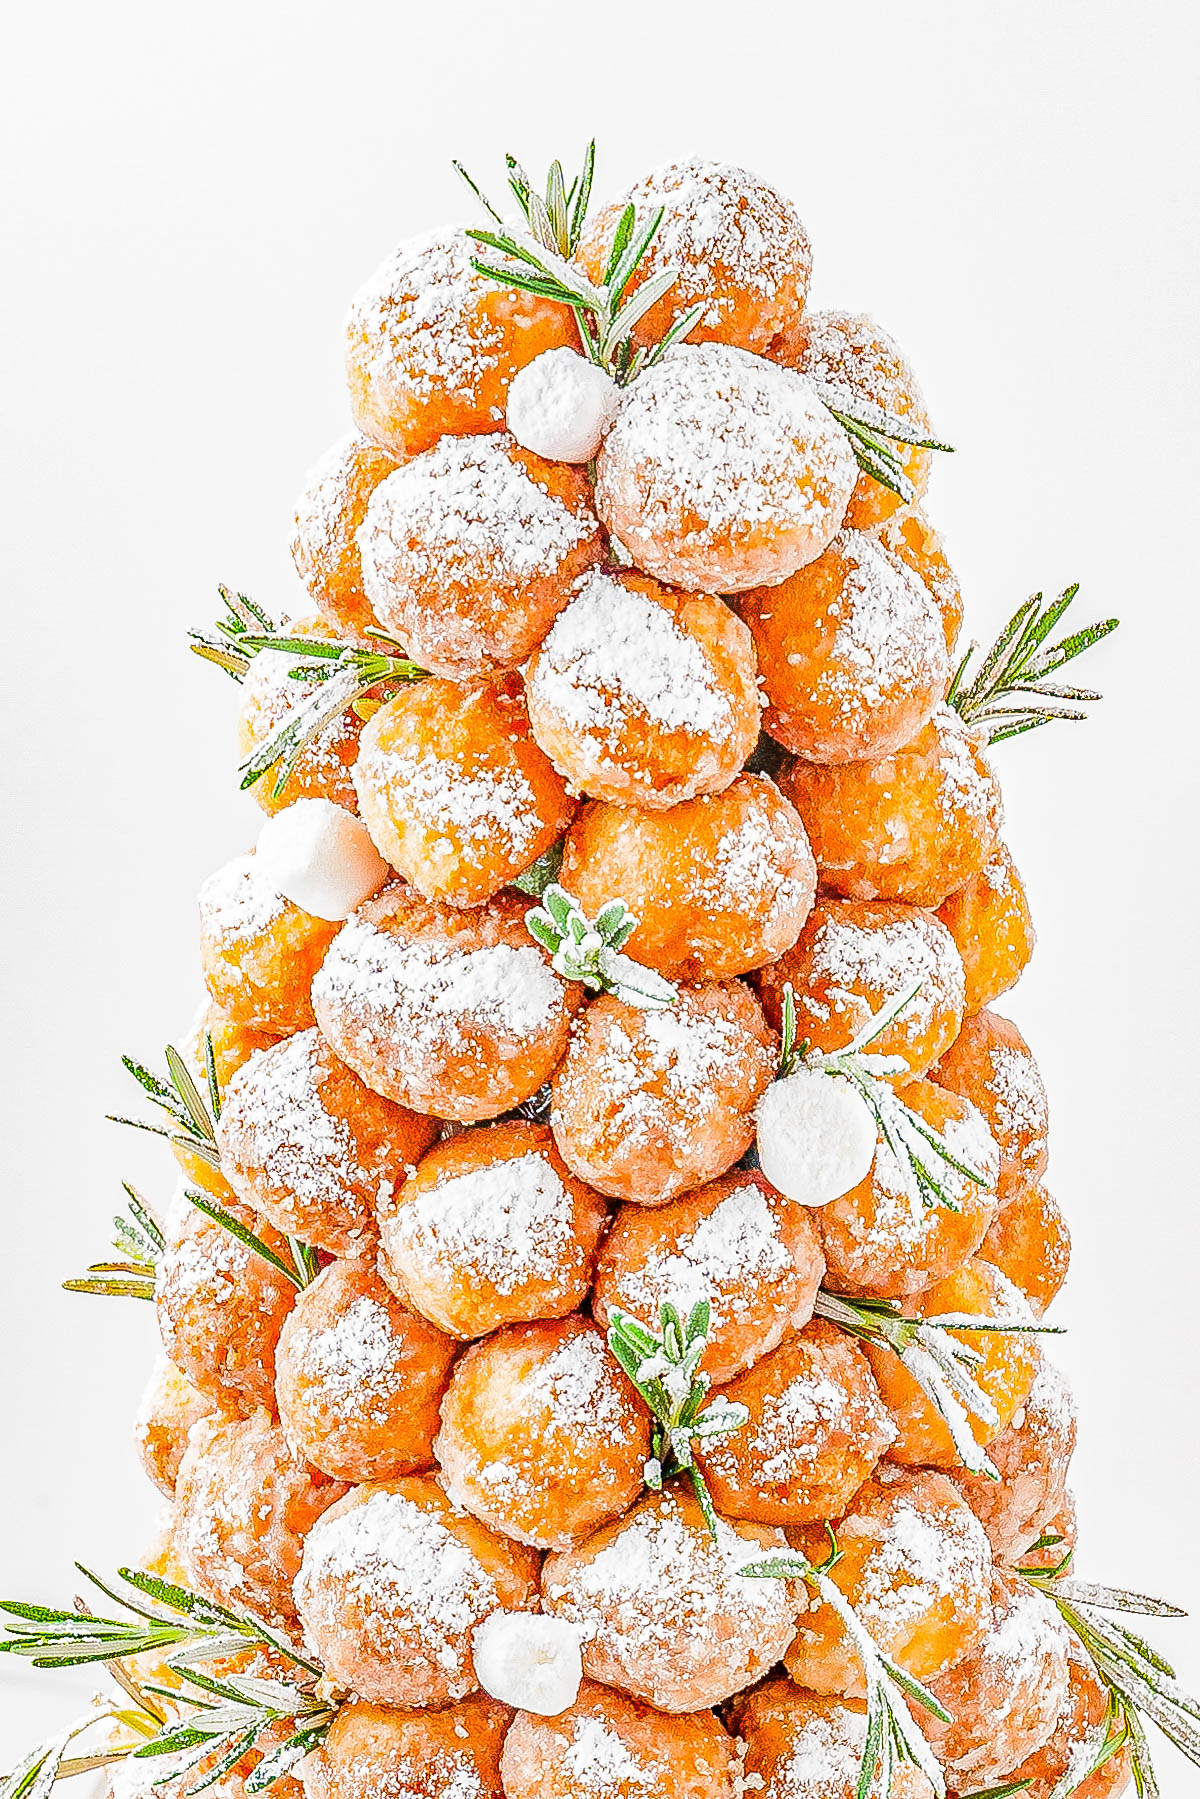
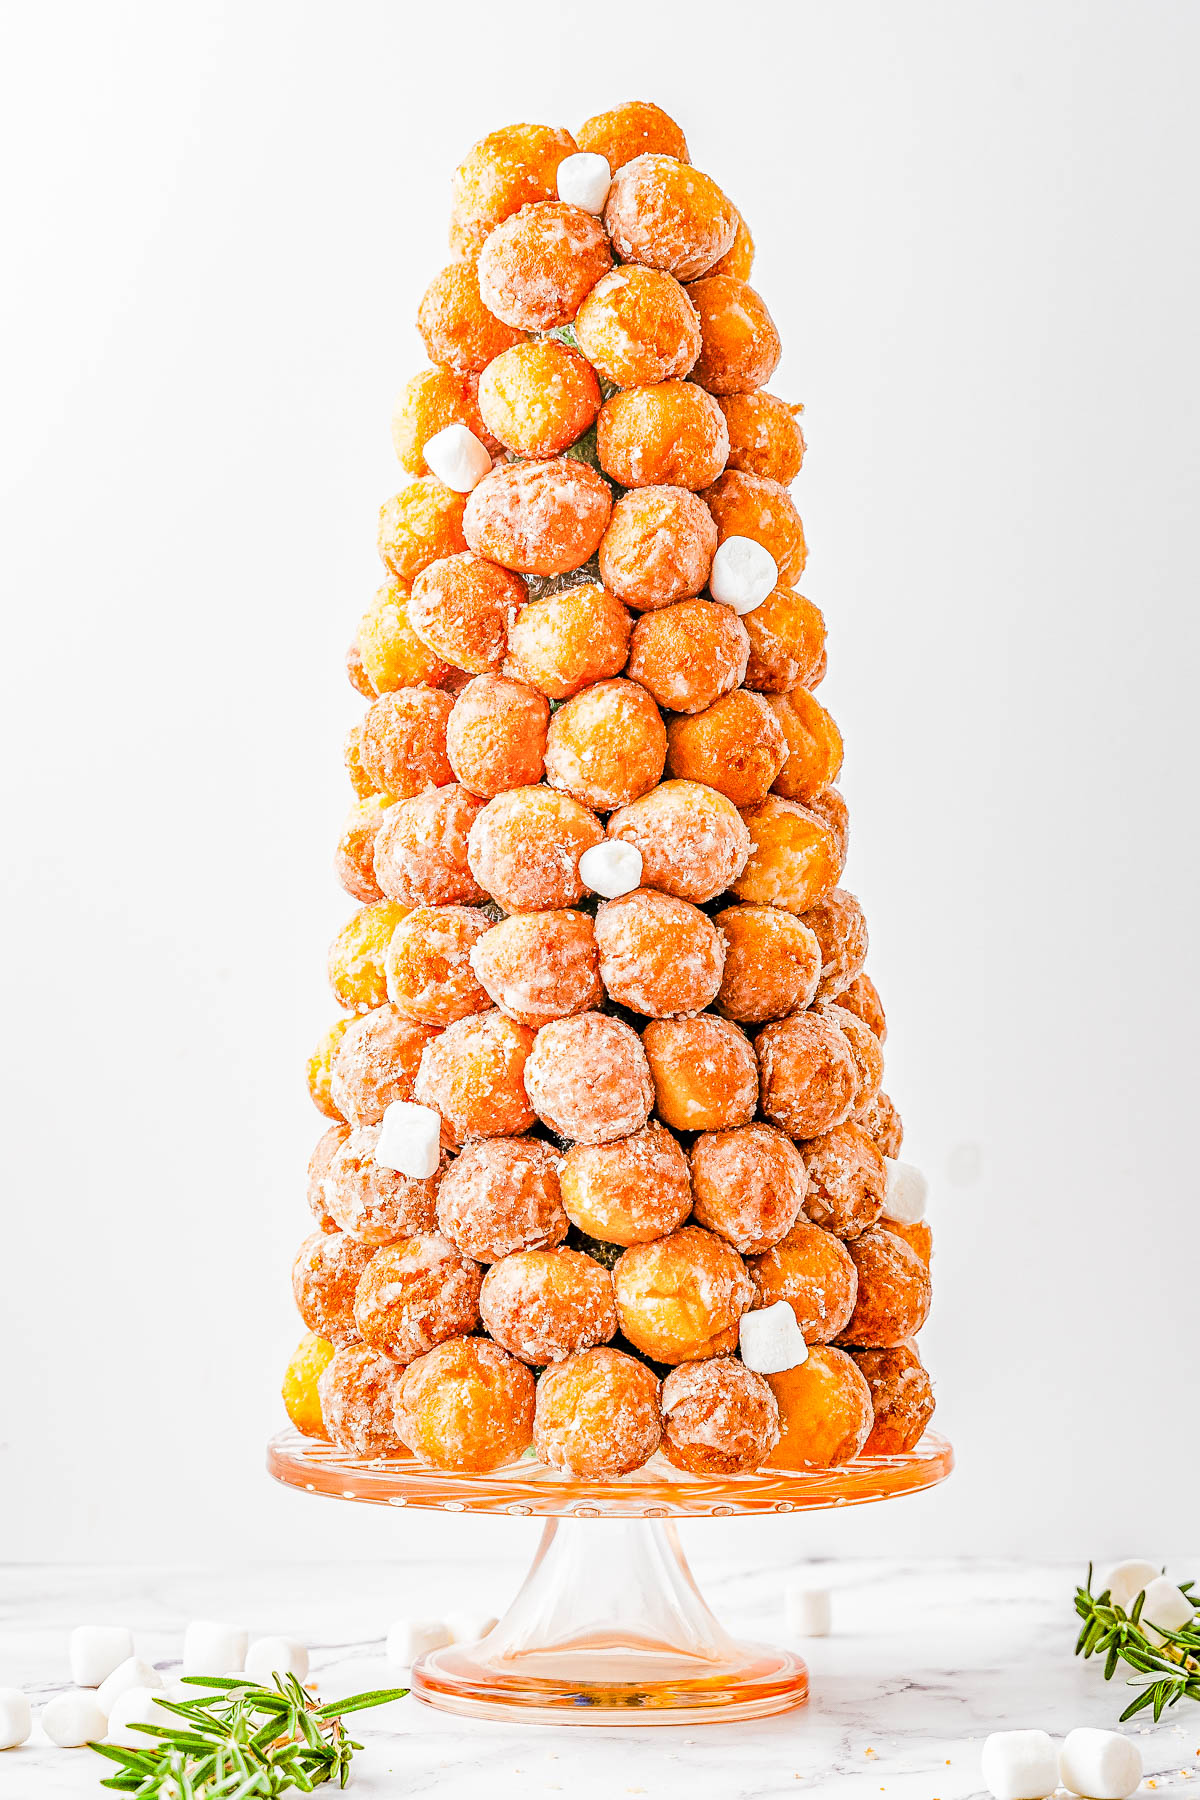
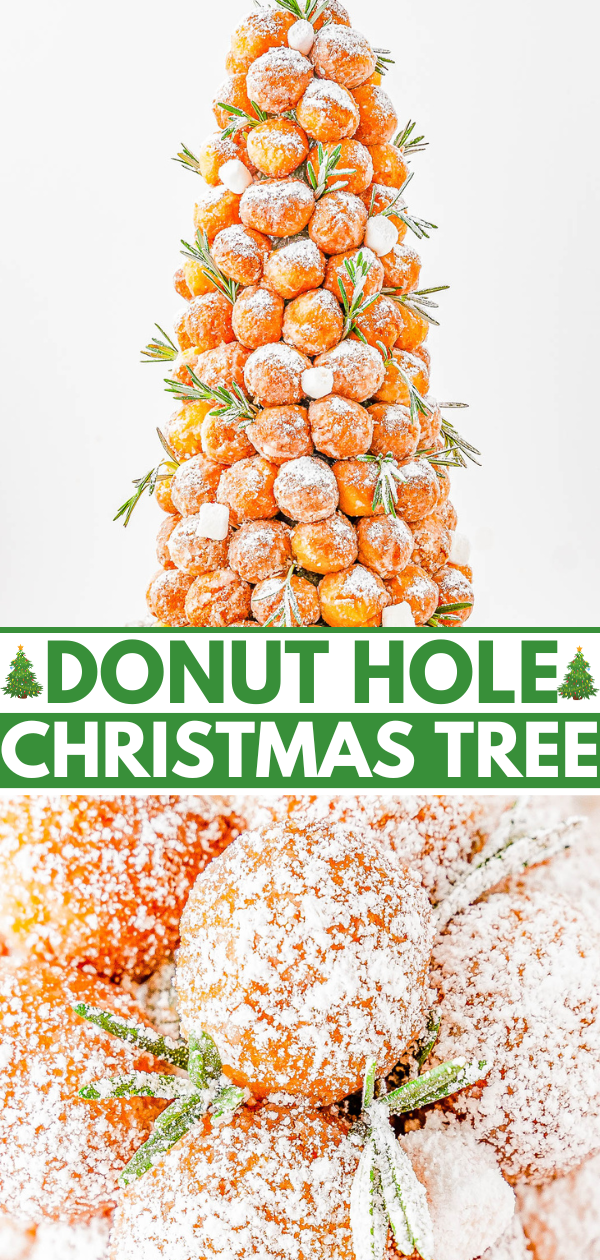
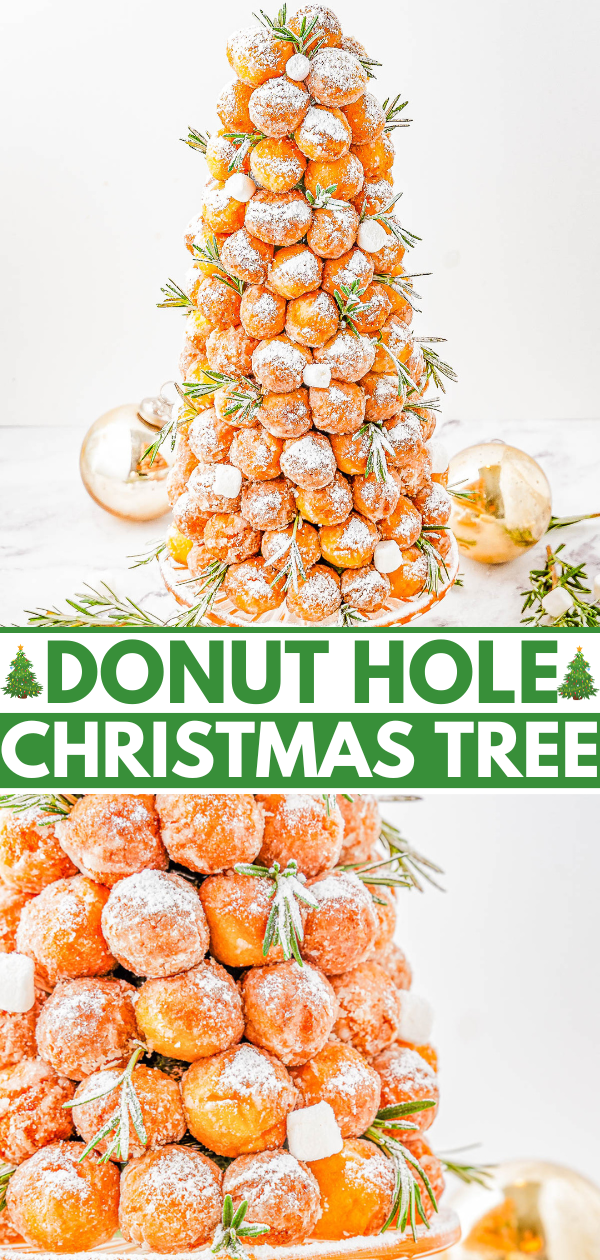
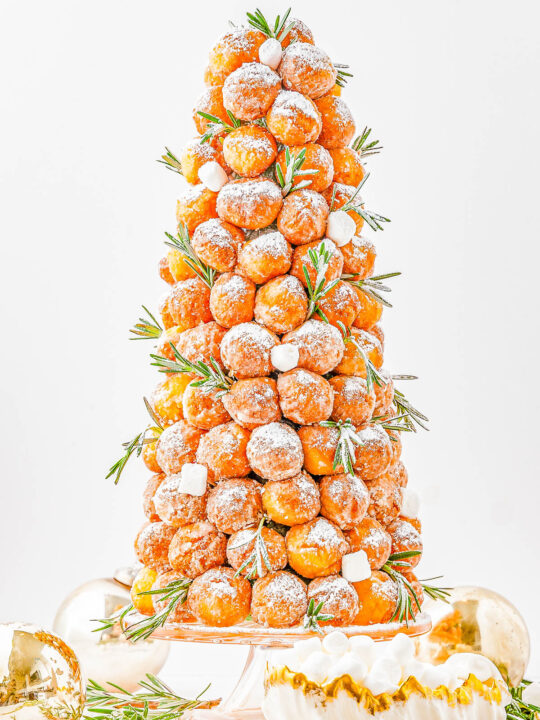
Donut Hole Christmas Tree – 🍩🎄😍 Looking for a QUICK and EASY, yet FESTIVE centerpiece for your holiday dessert table or brunch spread? Try making a Christmas tree out of donut holes! All you need is a styrofoam cone from the craft store and some store-bought donut holes. Decorate your tree however you want, and let guests help themselves!
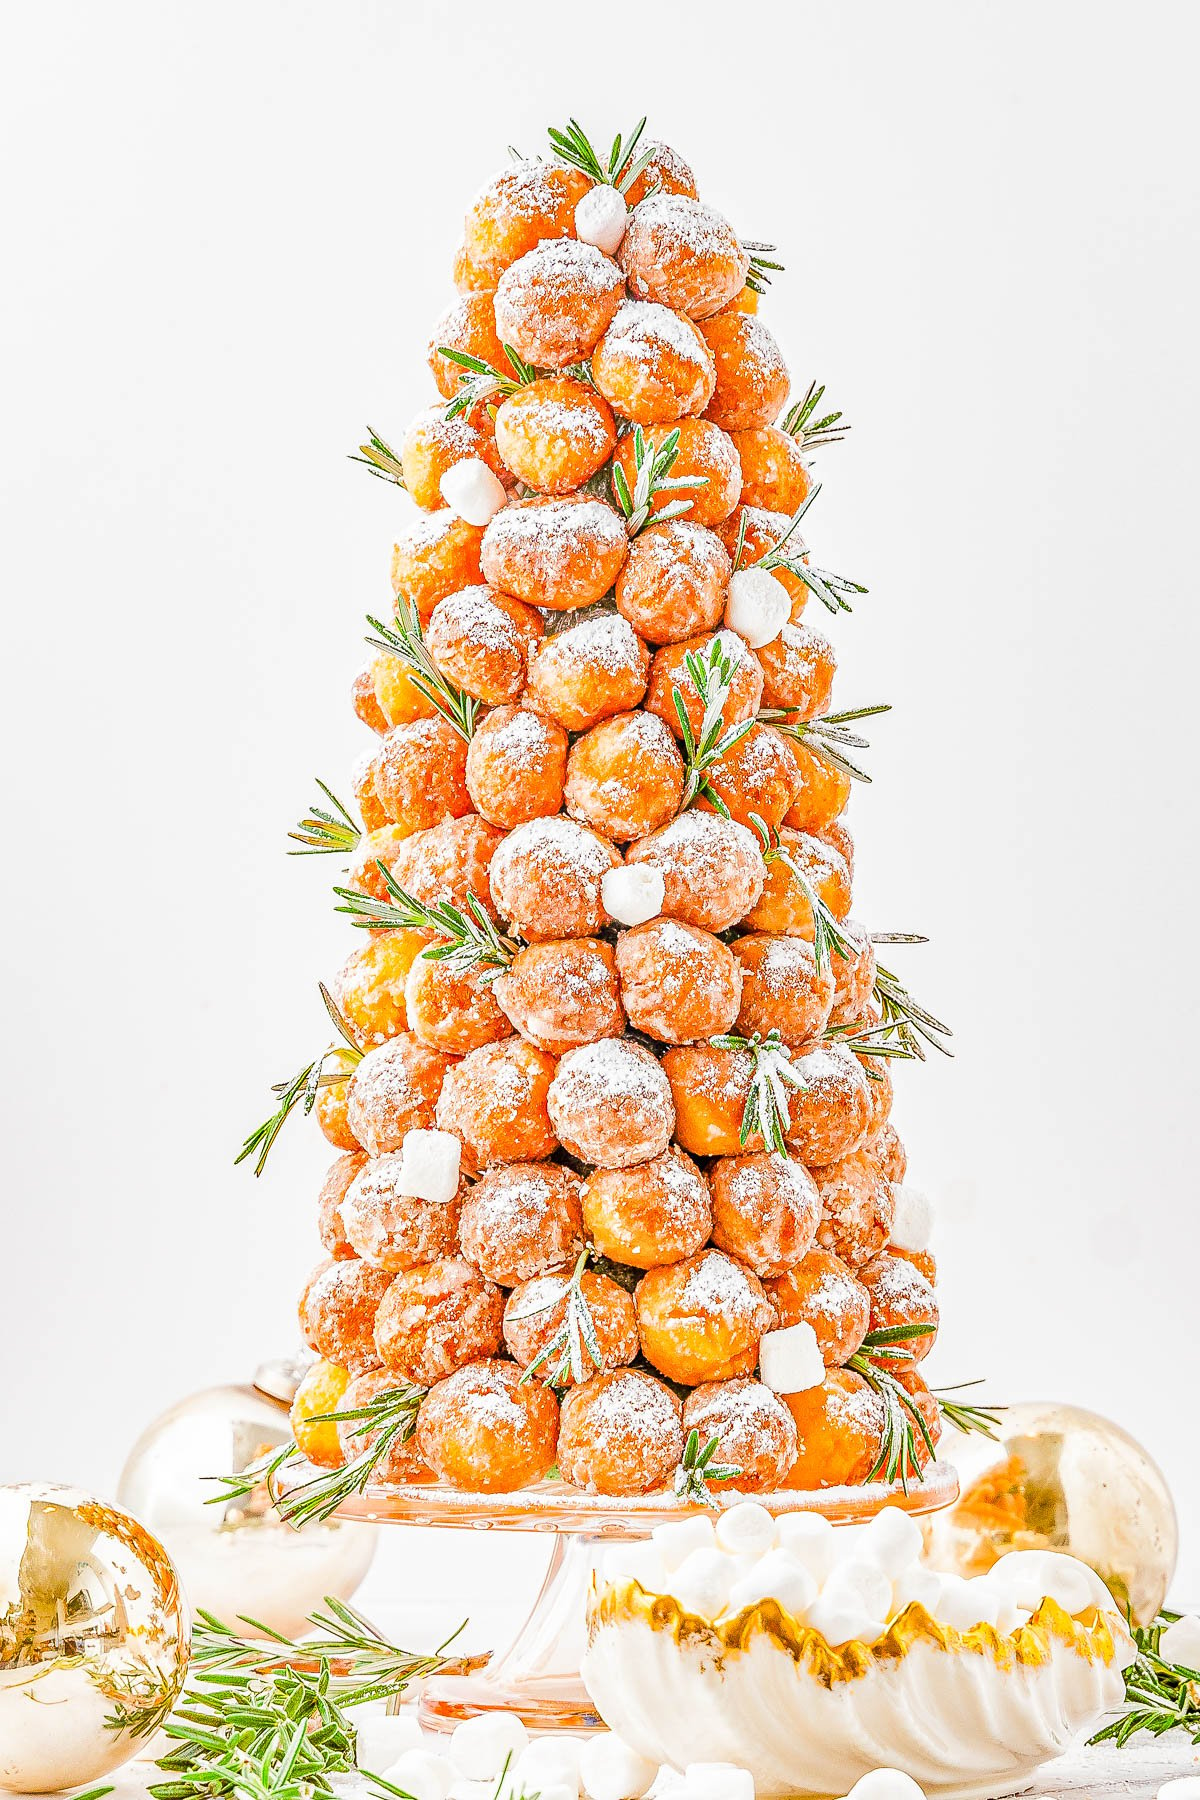
Table of Contents
Festive Donut Christmas Tree Tutorial
If you need a show-stopping, perfect centerpiece for an upcoming holiday party or brunch but don’t have the time or desire to make something from scratch, this doughnut tree is for you!
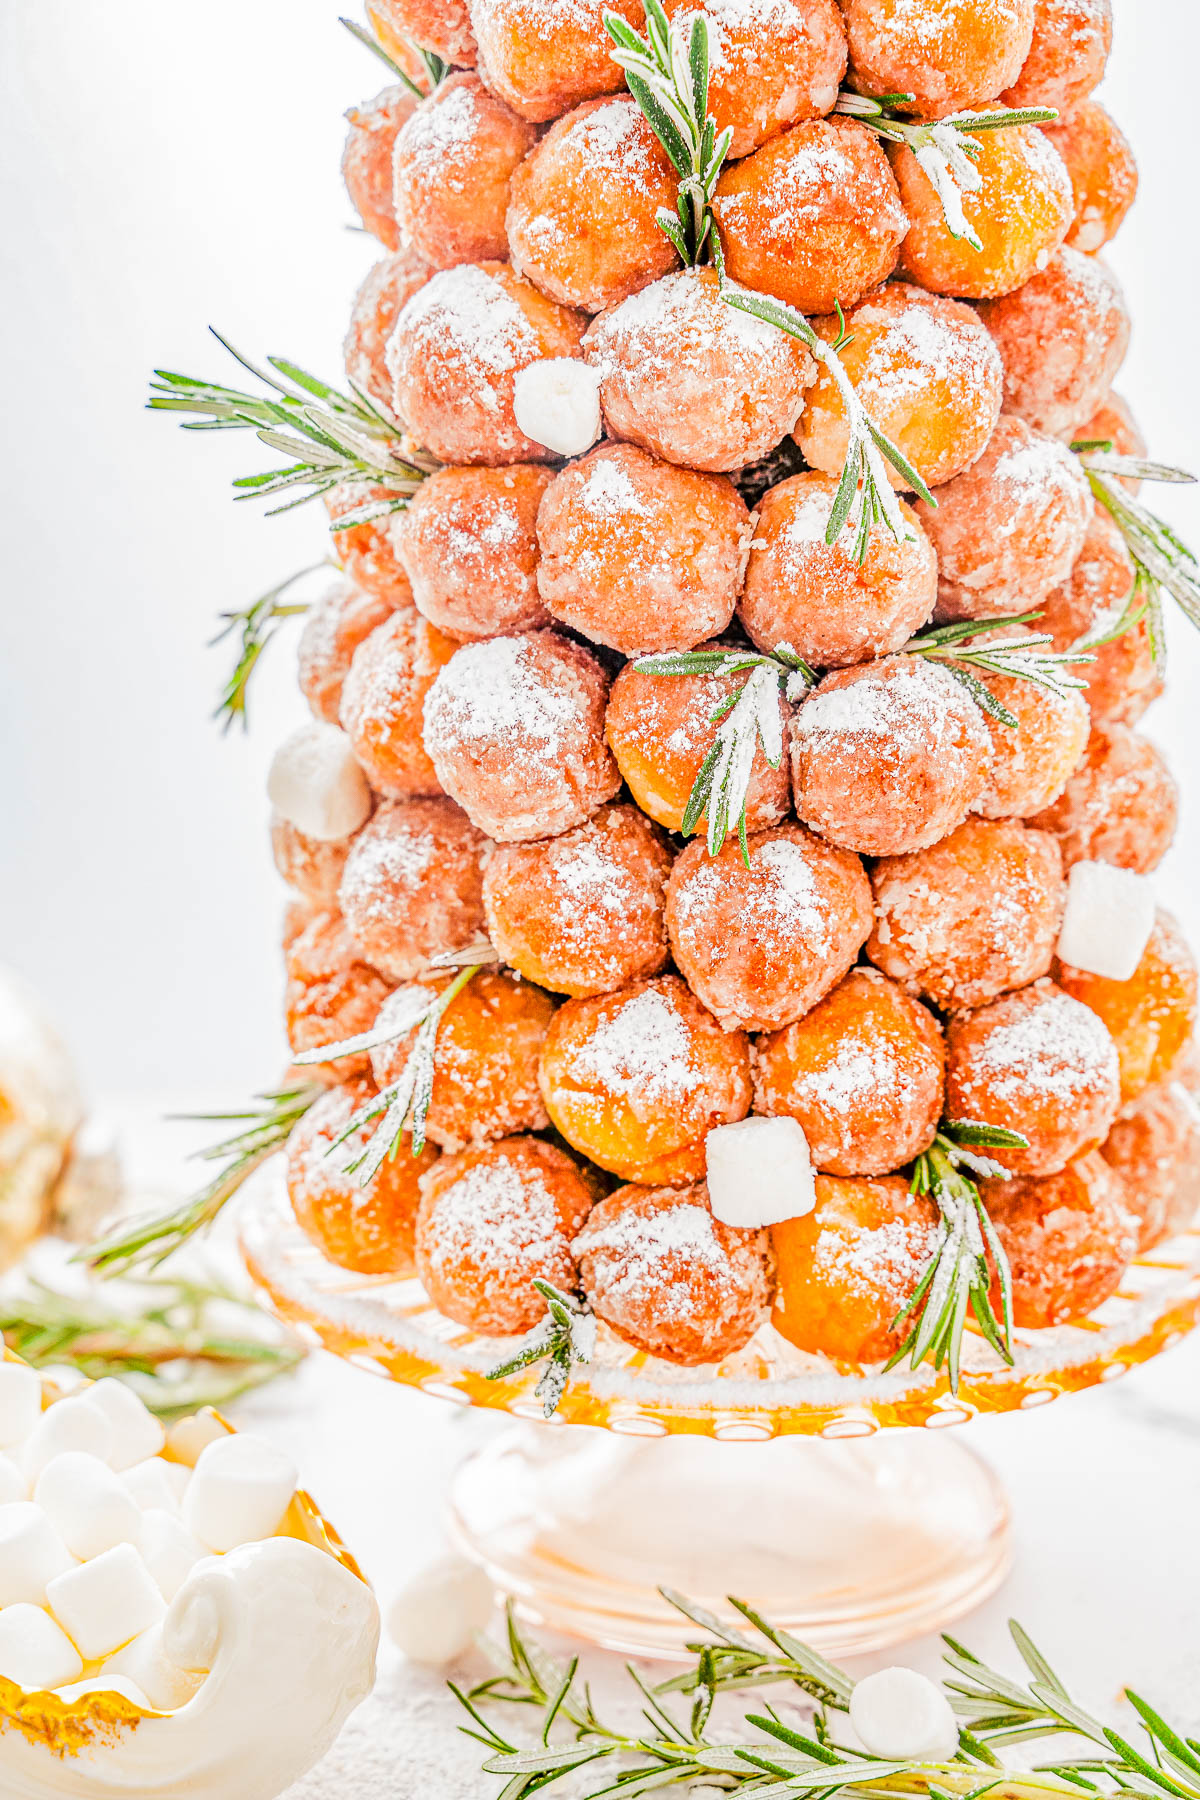
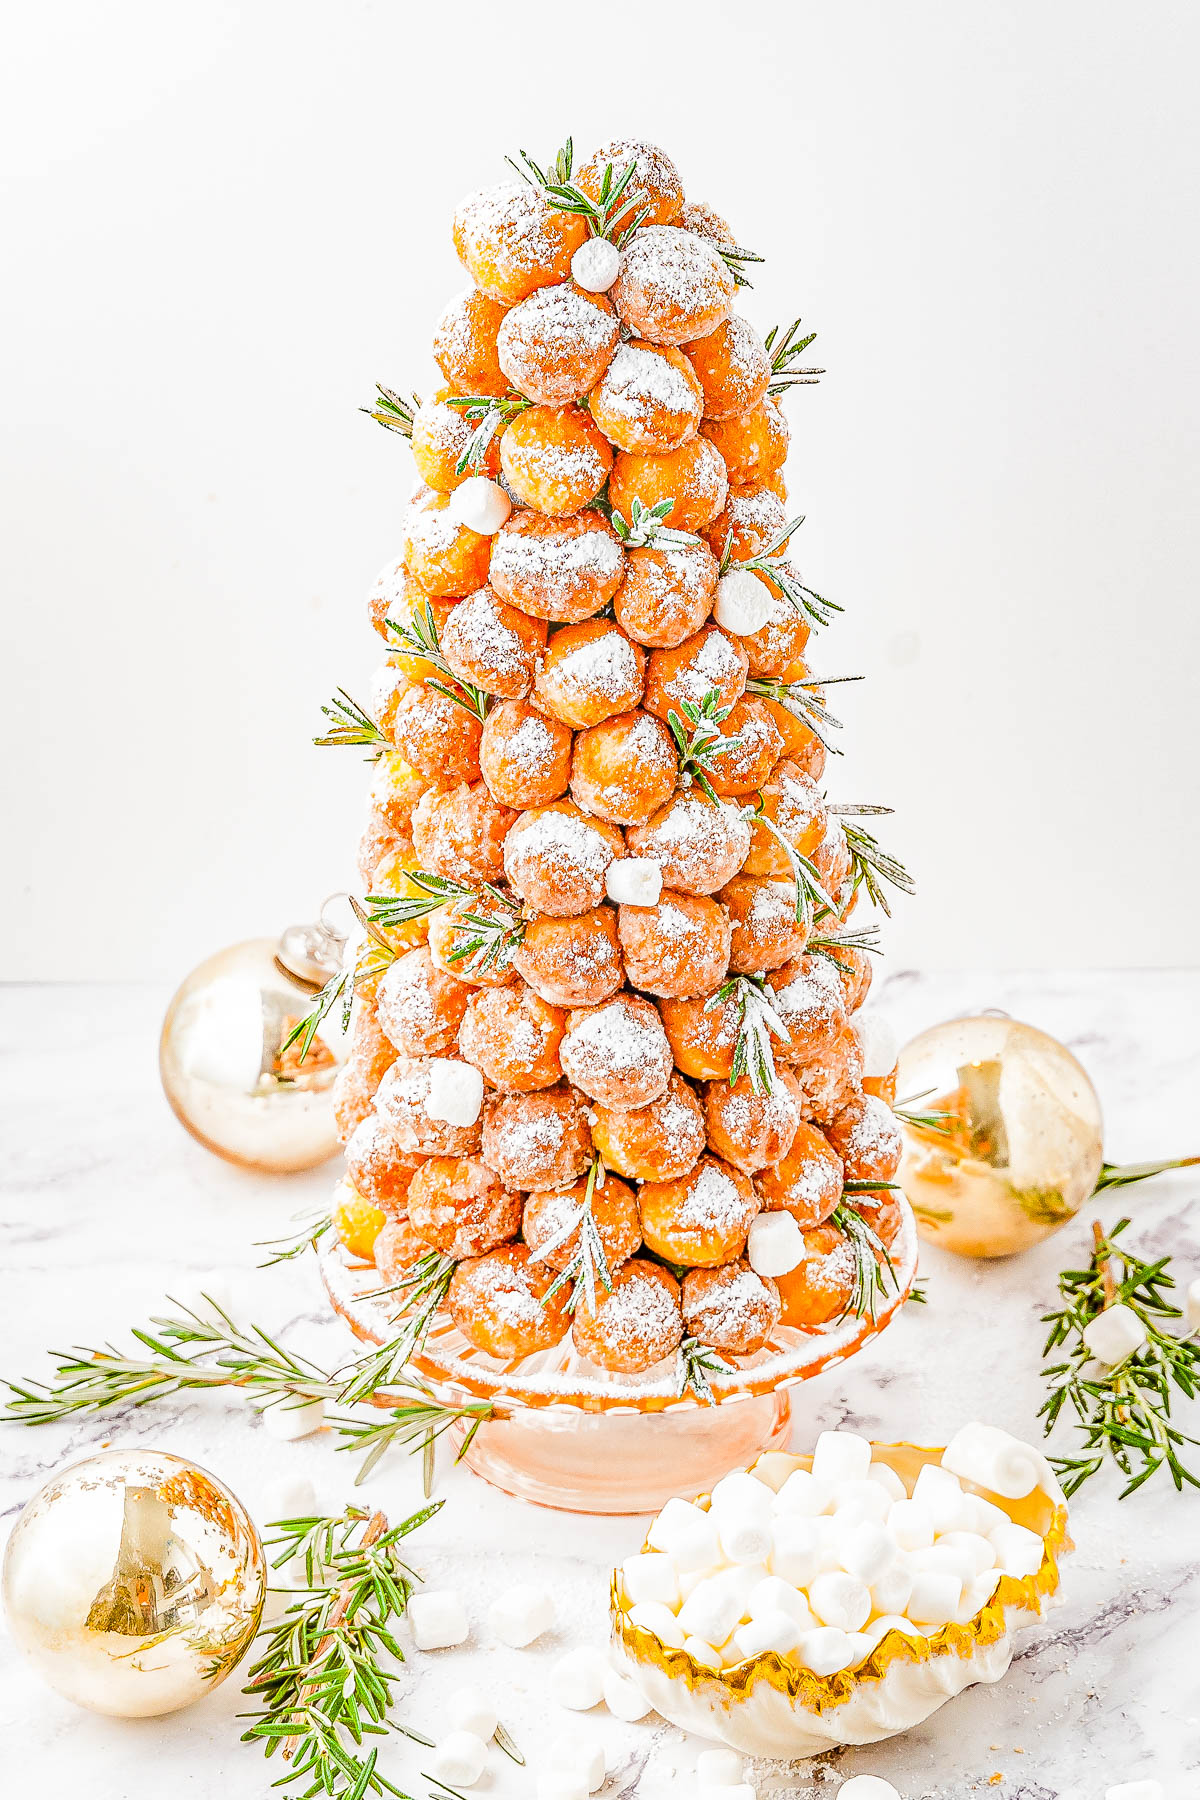
The “tree” is made by sticking toothpicks into a styrofoam cone, which is easy to find at any craft store or online. Then, store-bought donut holes are placed on the toothpicks to form the tree.
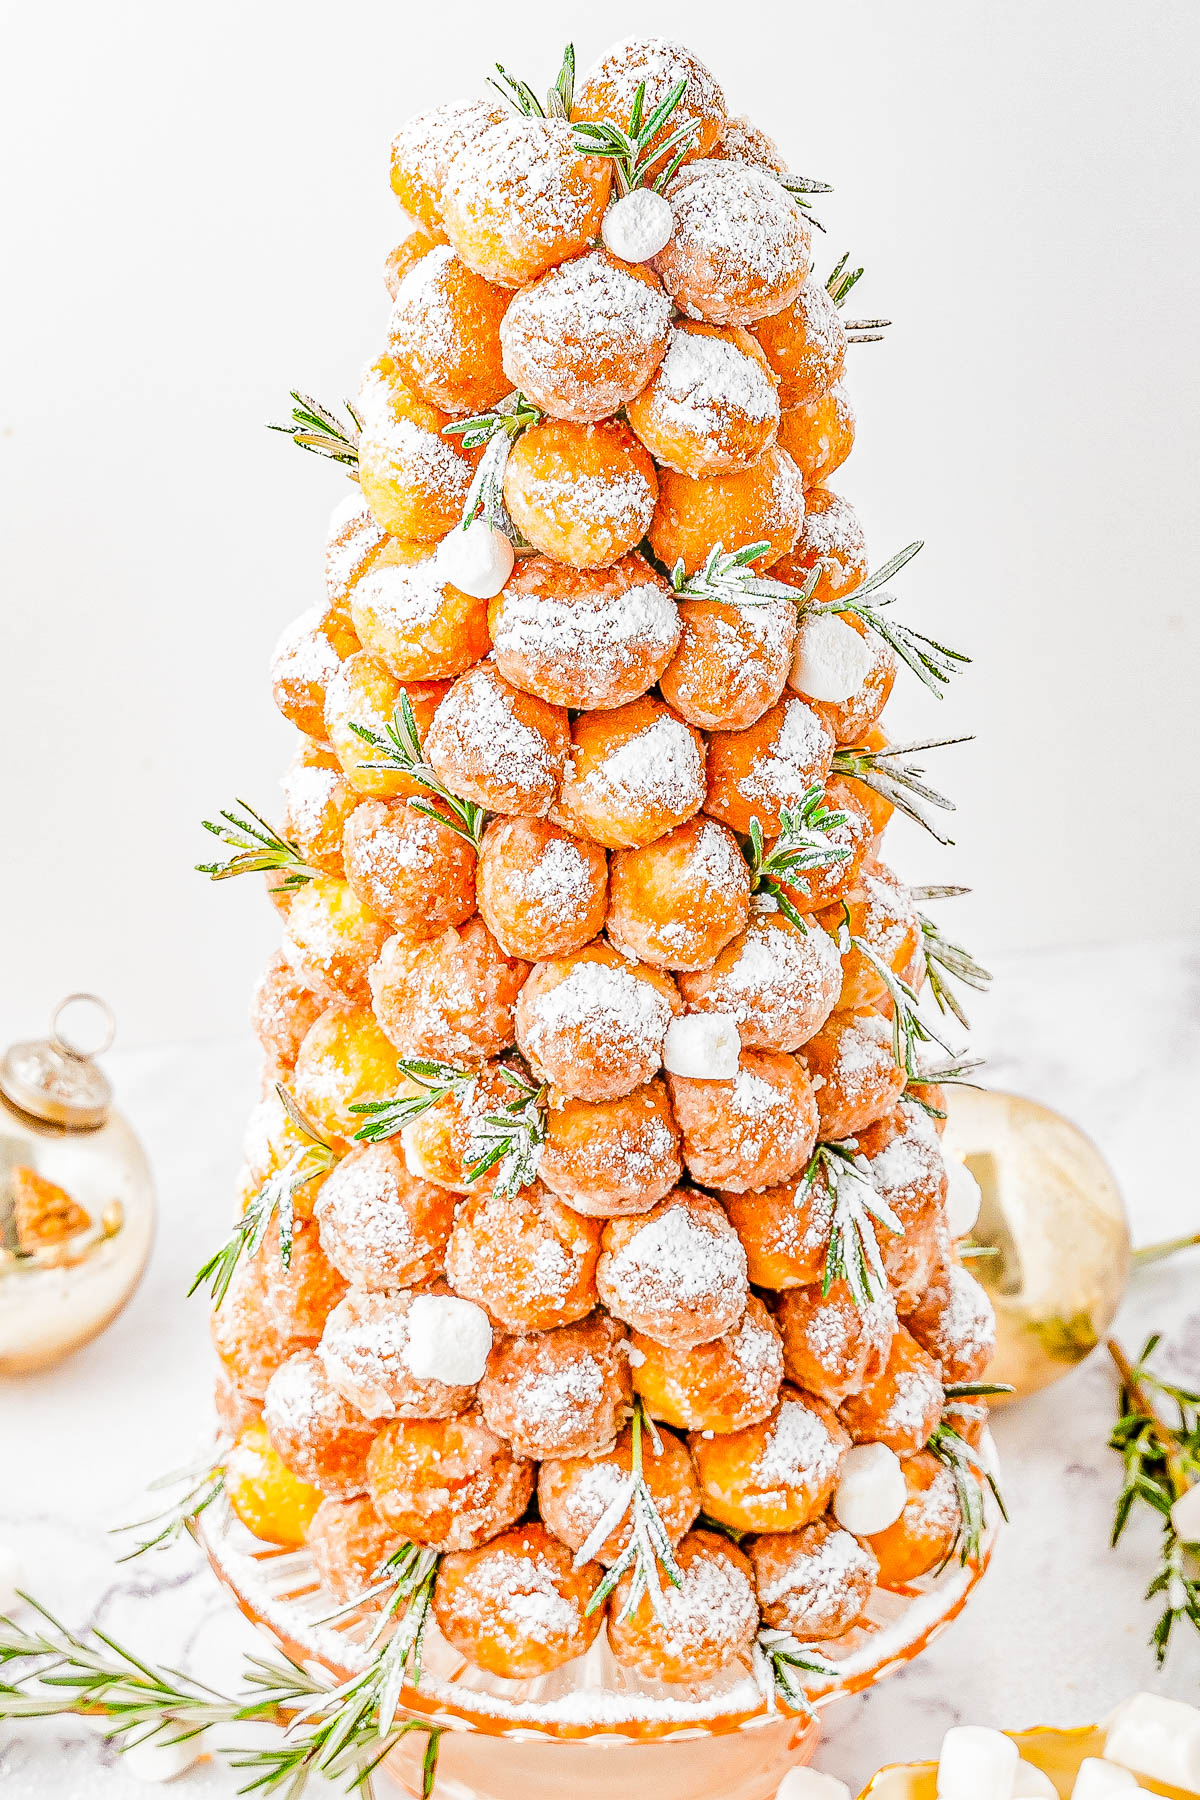
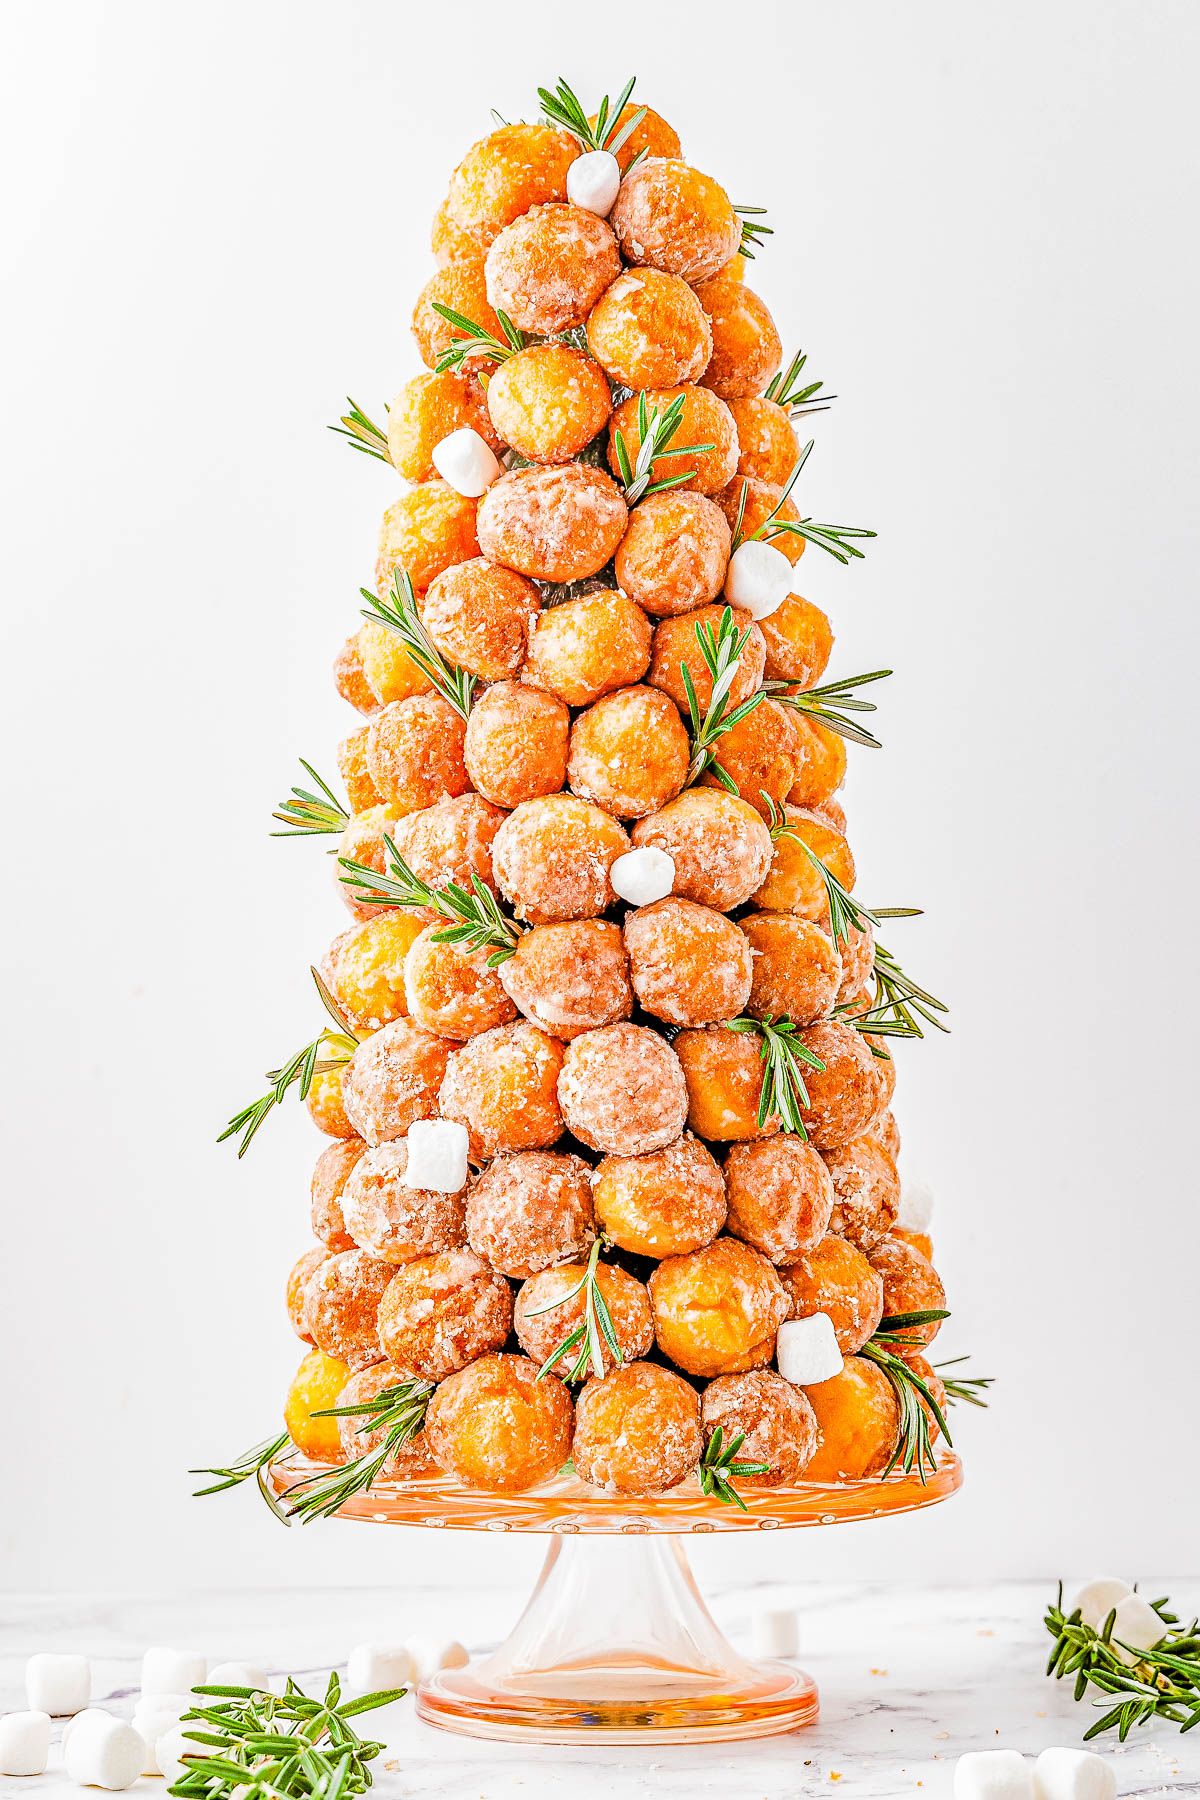
From there, you can decorate your Christmas tree however you like! Fresh rosemary sprigs are pretty to look at and also fragrant, and you can also skewer mini marshmallows or fresh cranberries onto the ends of additional toothpicks to act as ornaments.
I love the idea of a donut Christmas tree because it’s cute and festive, but there’s no baking involved!
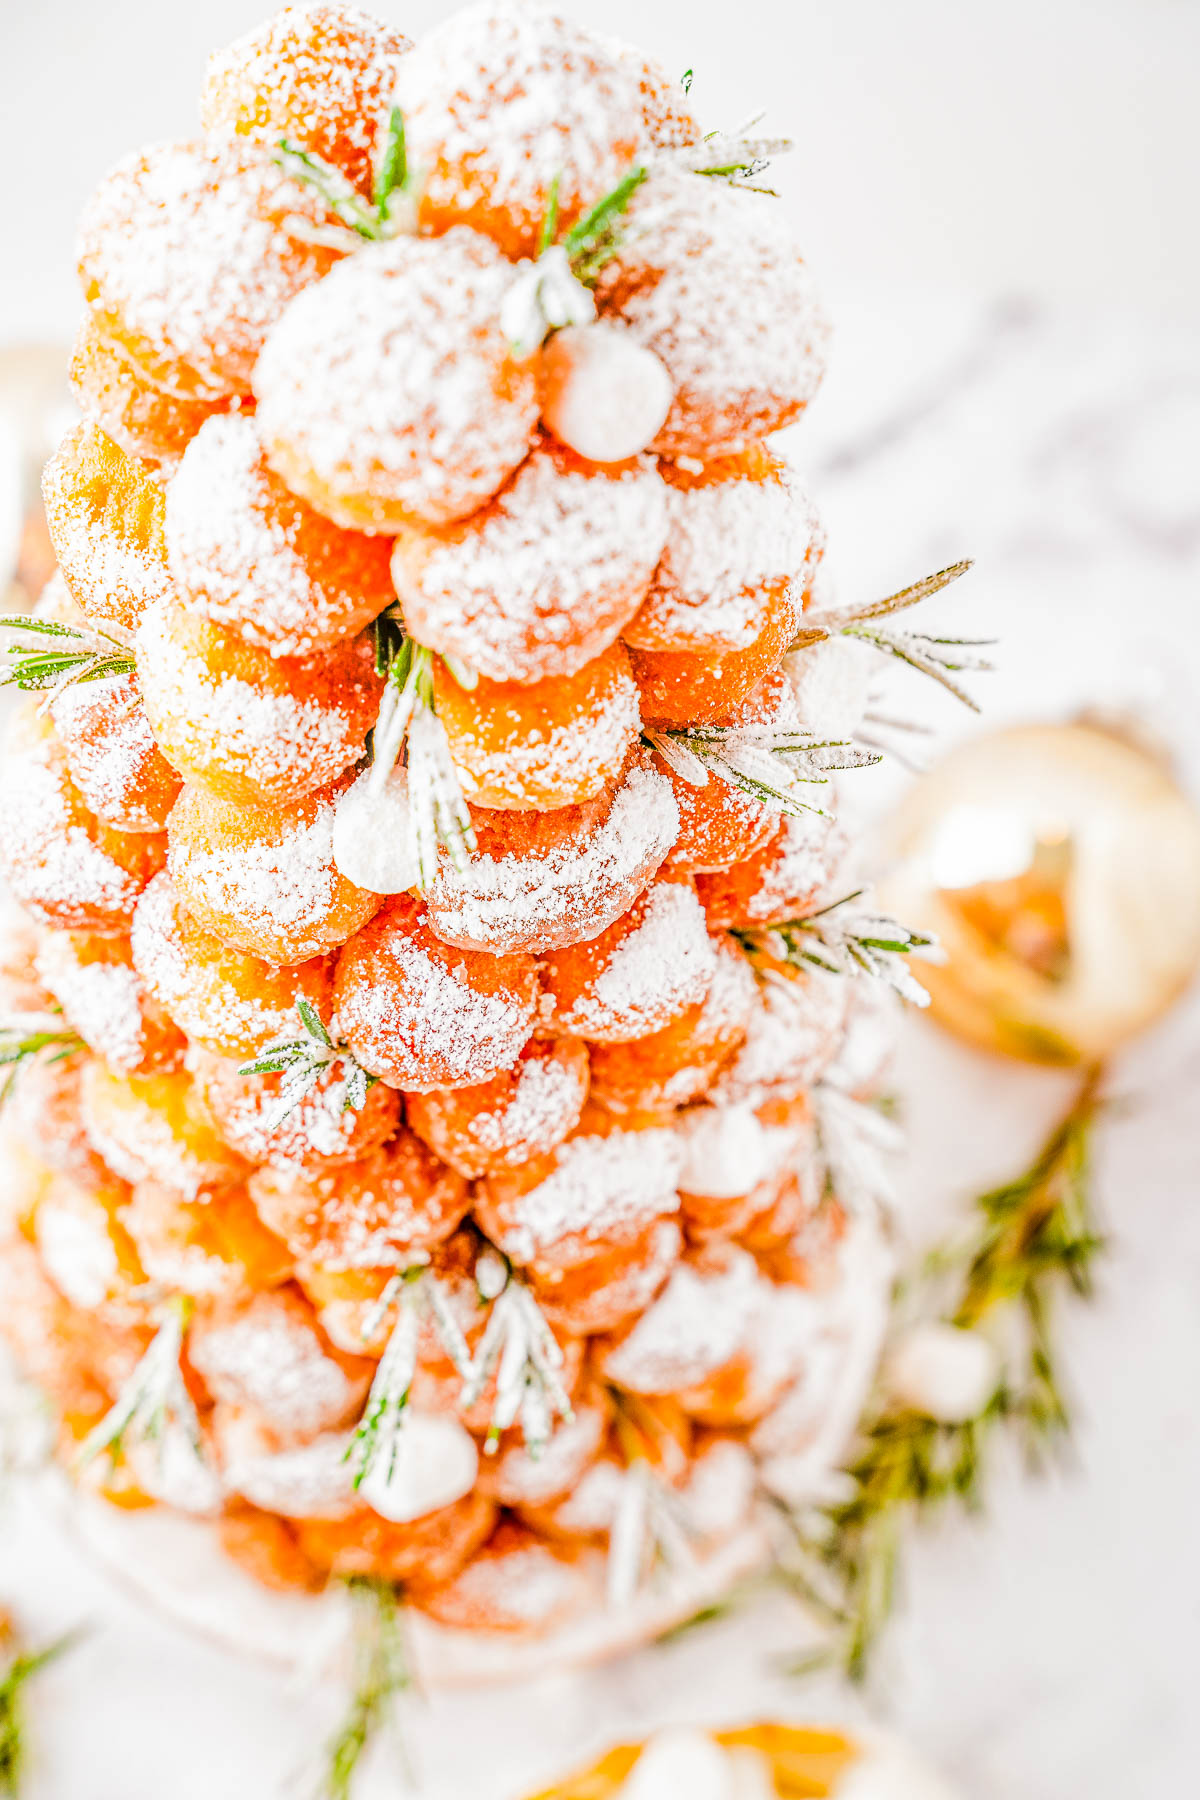
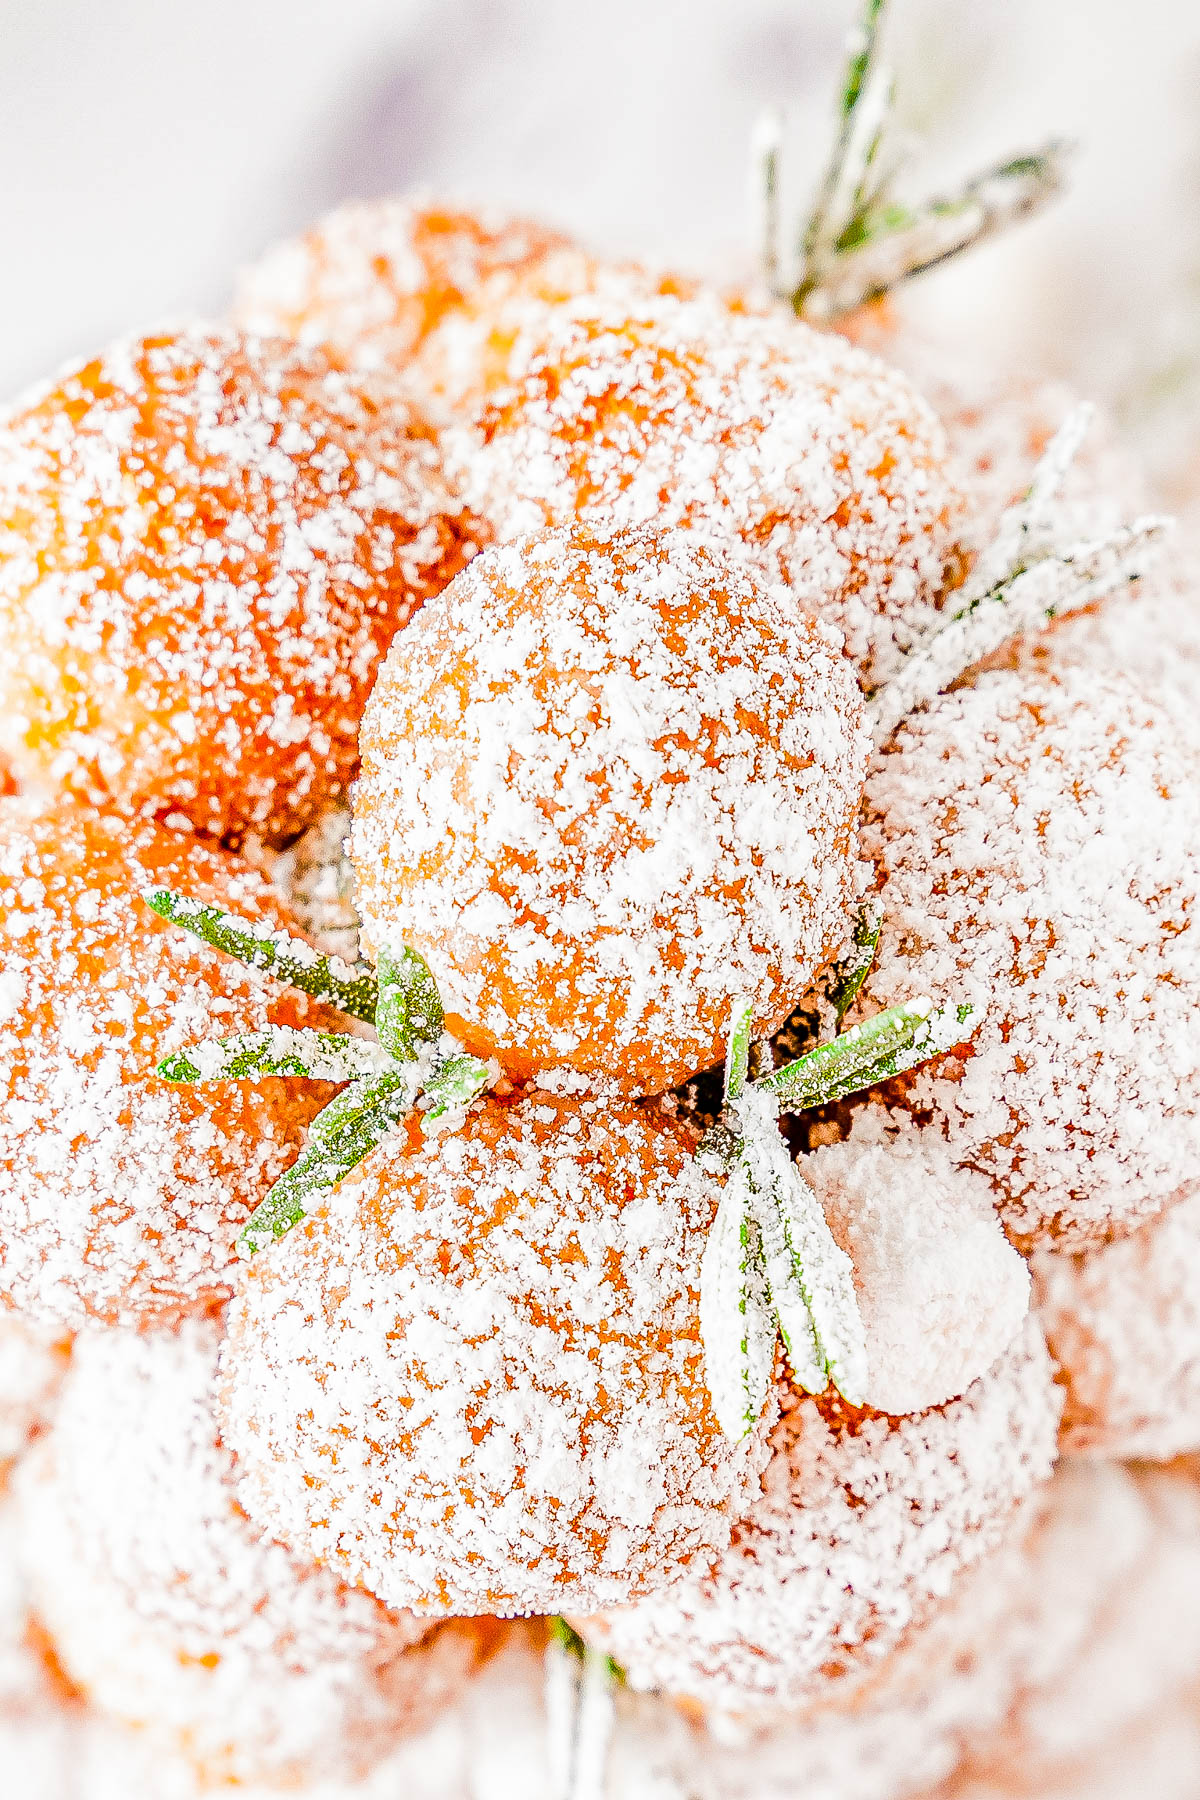
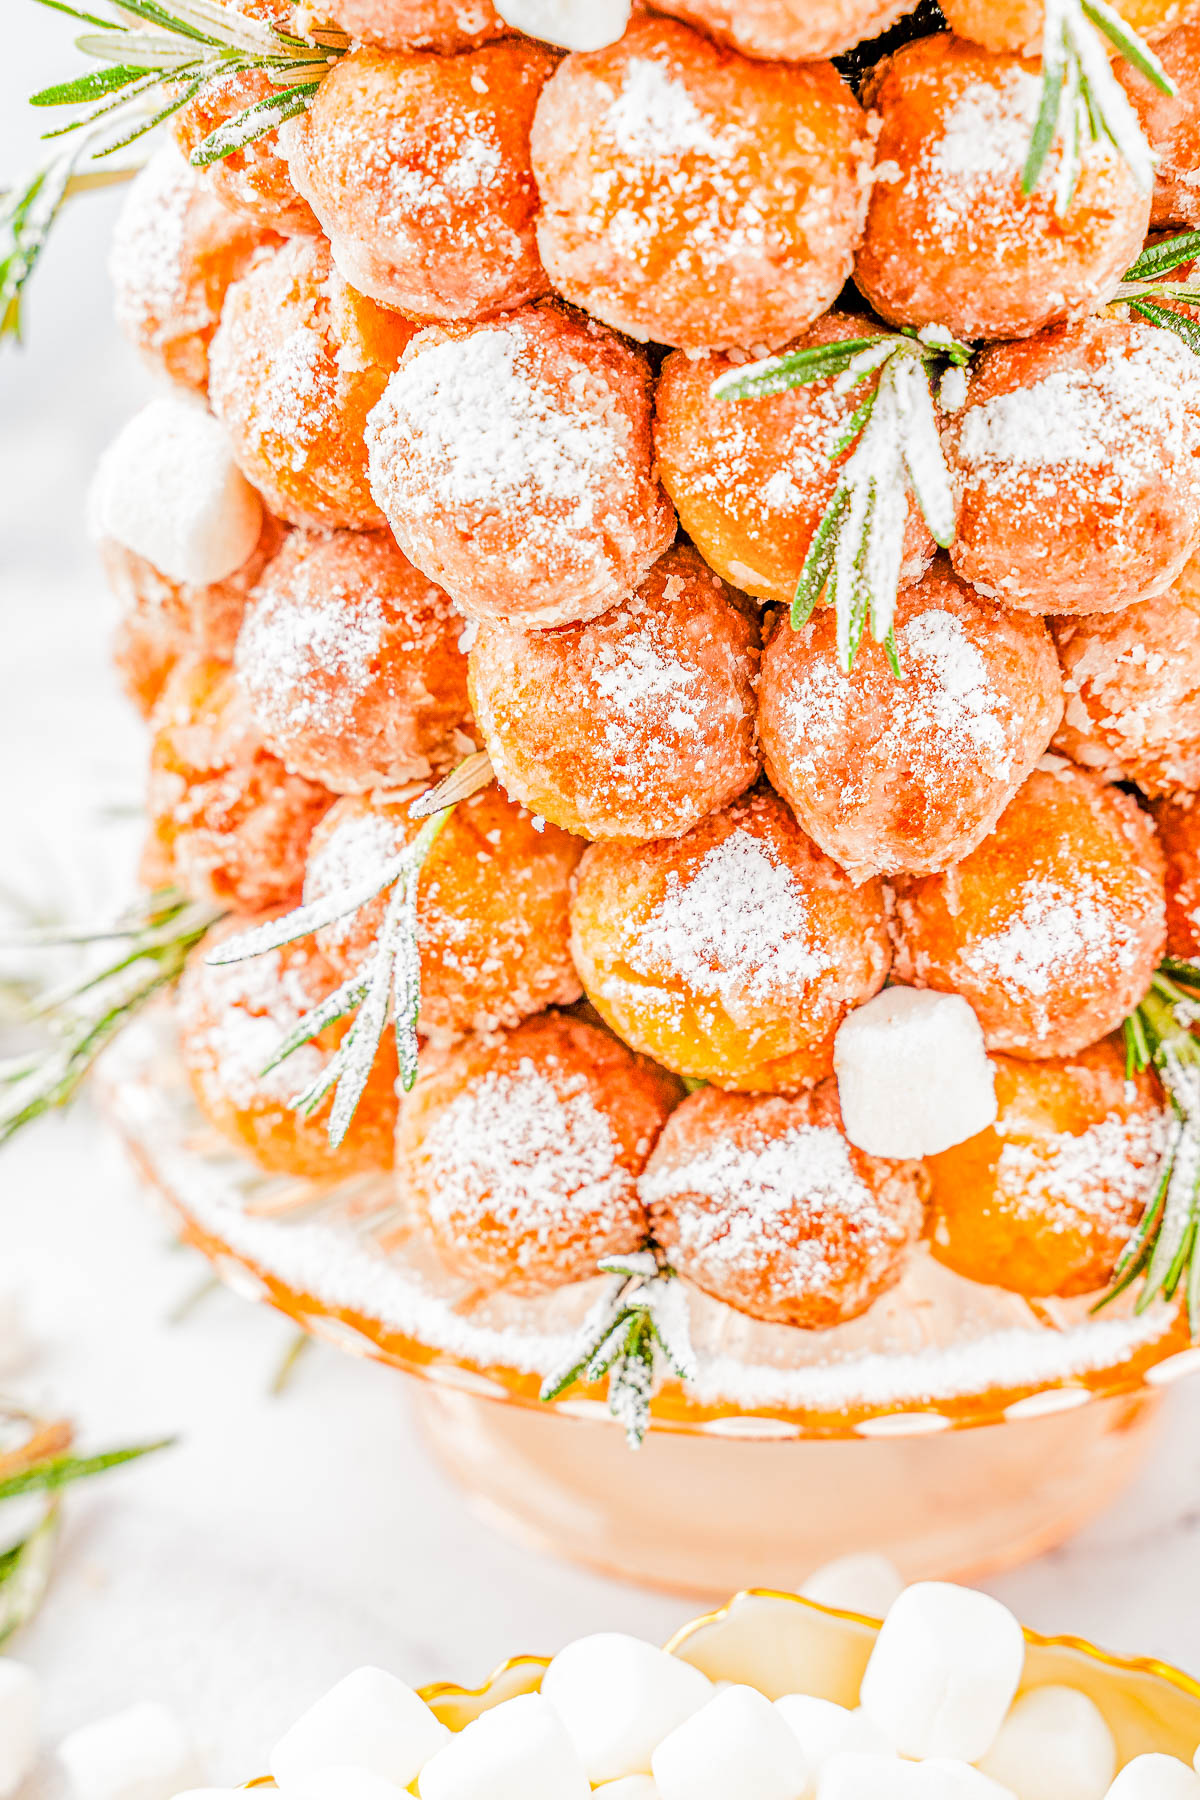
Pick up a few boxes of donut holes at your grocery store or your favorite local bakery. I prefer using donut holes that are coated in powdered sugar, because they look like they’re dusted with snow, but use any kind you like!
Making a Christmas tree out of donut holes is incredibly easy — anyone can do it! It takes just 10 minutes to put together and earns plenty of oohs and aahs whenever I make one for Christmas parties!
Looking for More Christmas Tree Desserts?
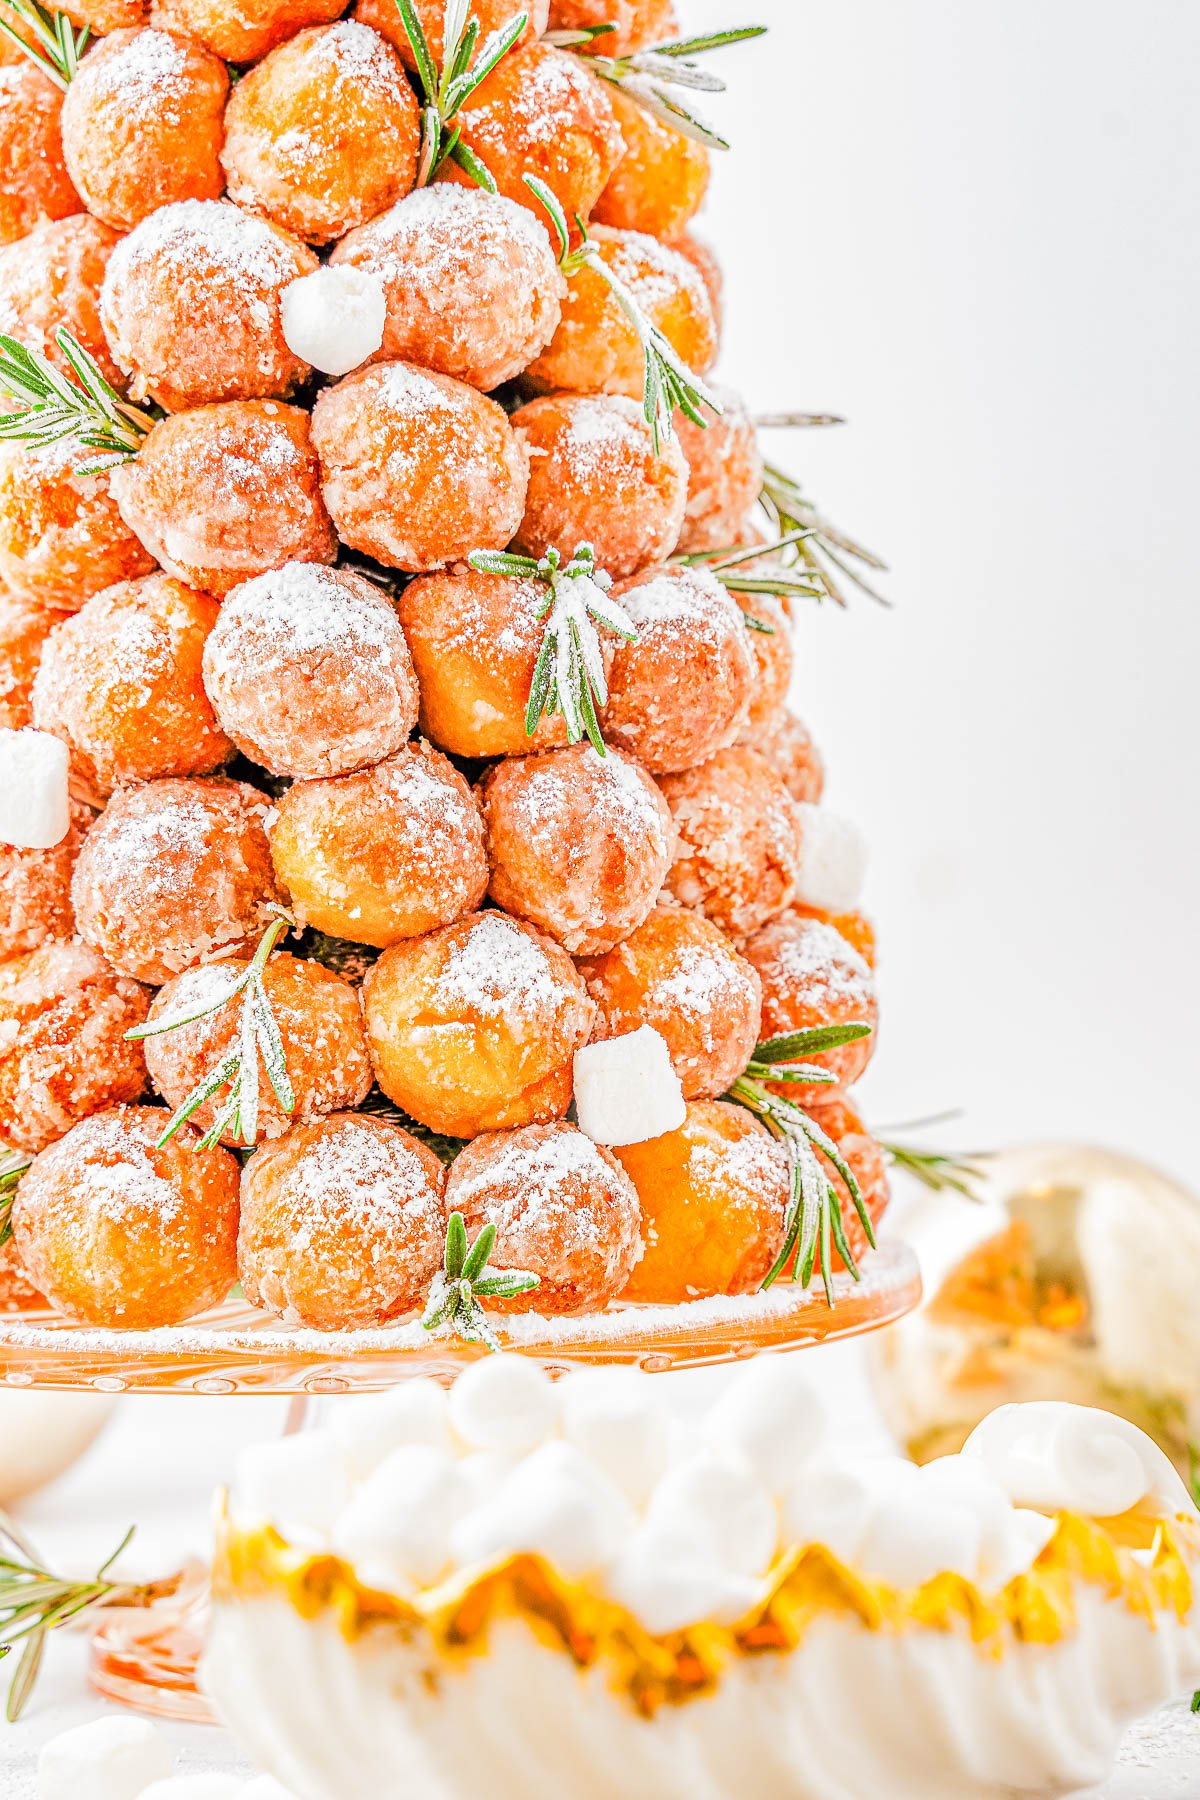
If you’re looking for Christmas tree-shaped desserts, try these Christmas Tree Cupcakes or Christmas Tree Cookies next!
Tools & Ingredients You’ll Need
The best part about this Christmas donut tower is that everything can be purchased in advance and nothing has to be chopped, measured, or baked.
This means you can spend more time outside of your kitchen, doing things like setting out decorations and talking to guests, and you might have time to actually sit down and relax! What a concept around the holidays, I know!
Gather the following items to make the donut hole tree:
For the Christmas donut hole tree:
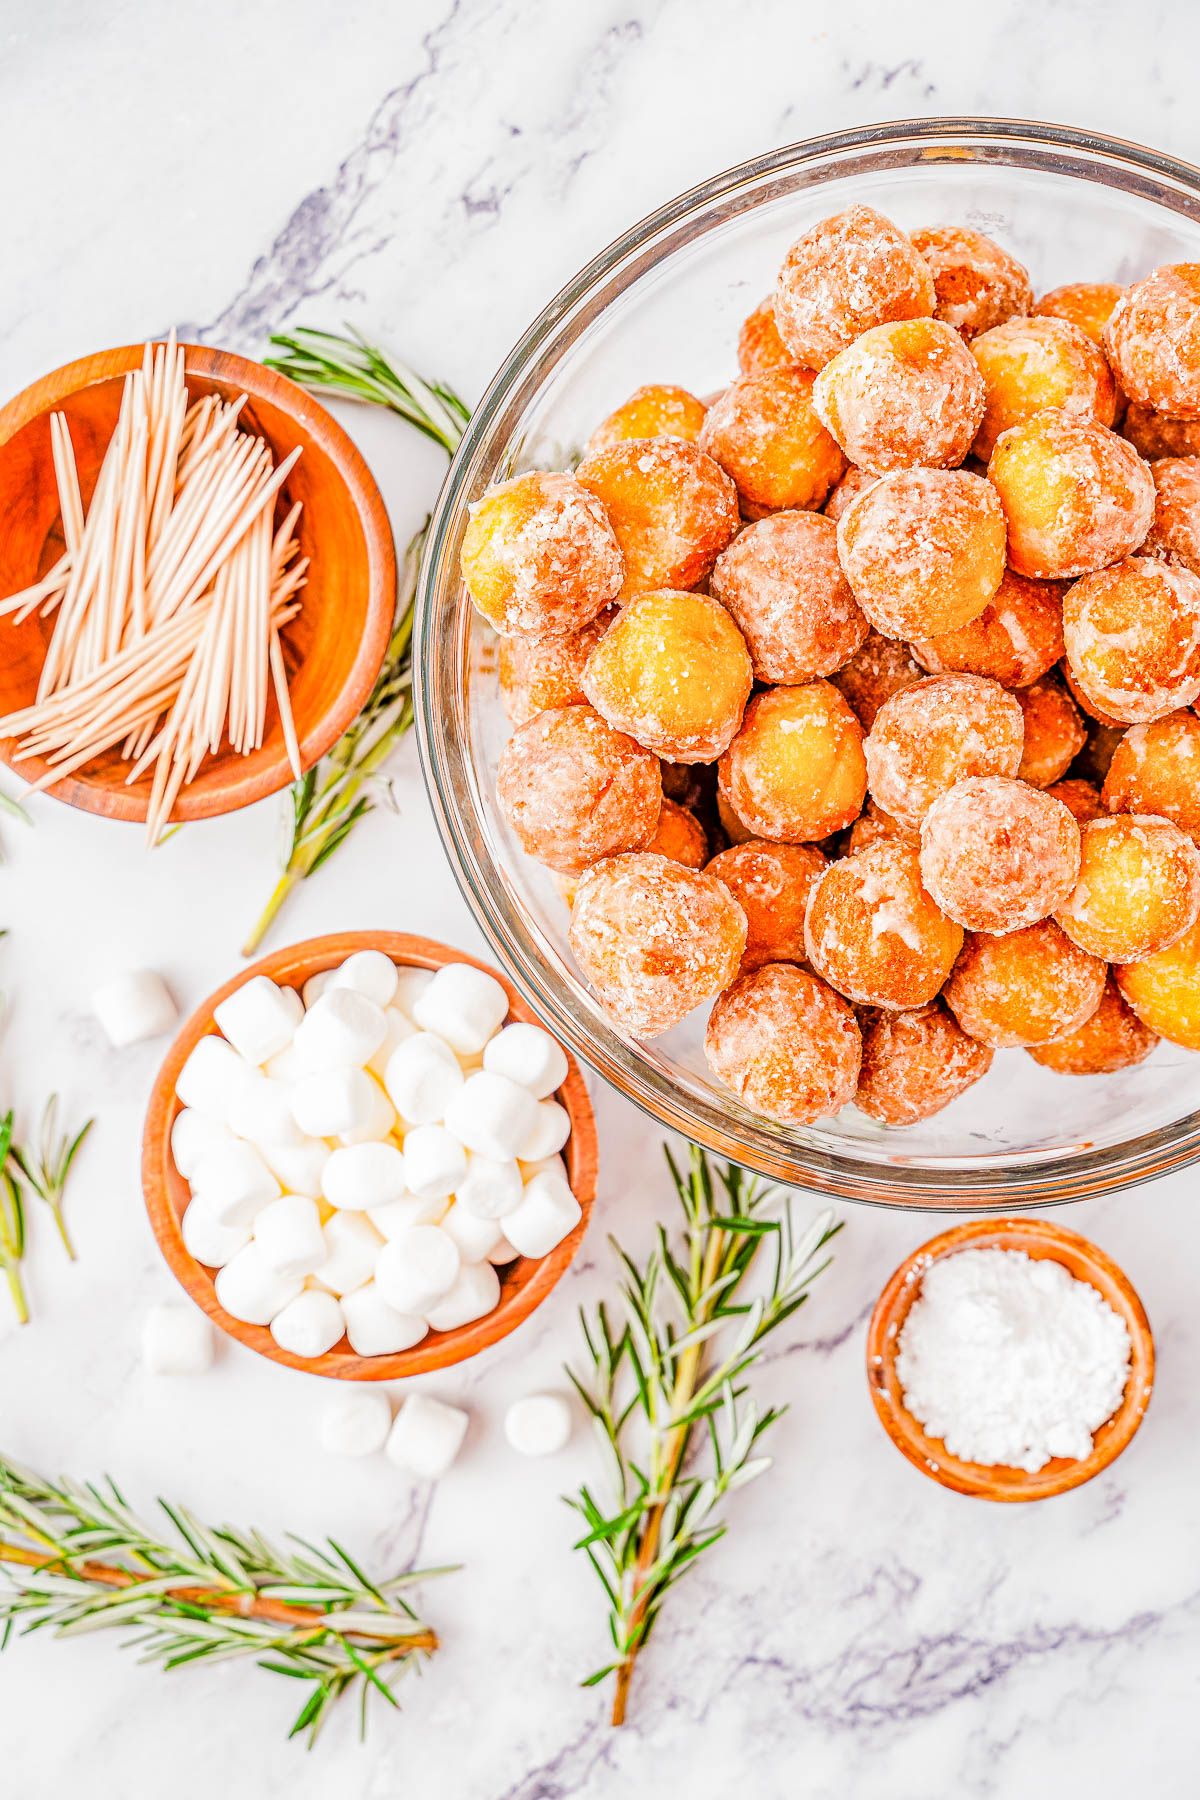
- Sour cream donut holes – You can use any flavor you like, or opt for gluten-free varieties if needed. You need three 15-ounce boxes of donut holes. Just note that if your donut holes are not coated in powdered sugar already, you’ll need to liberally dust the entire tree with powdered sugar to achieve the same snowy appearance
- Mini marshmallows
- Fresh rosemary
- Confectioners sugar
For the base:
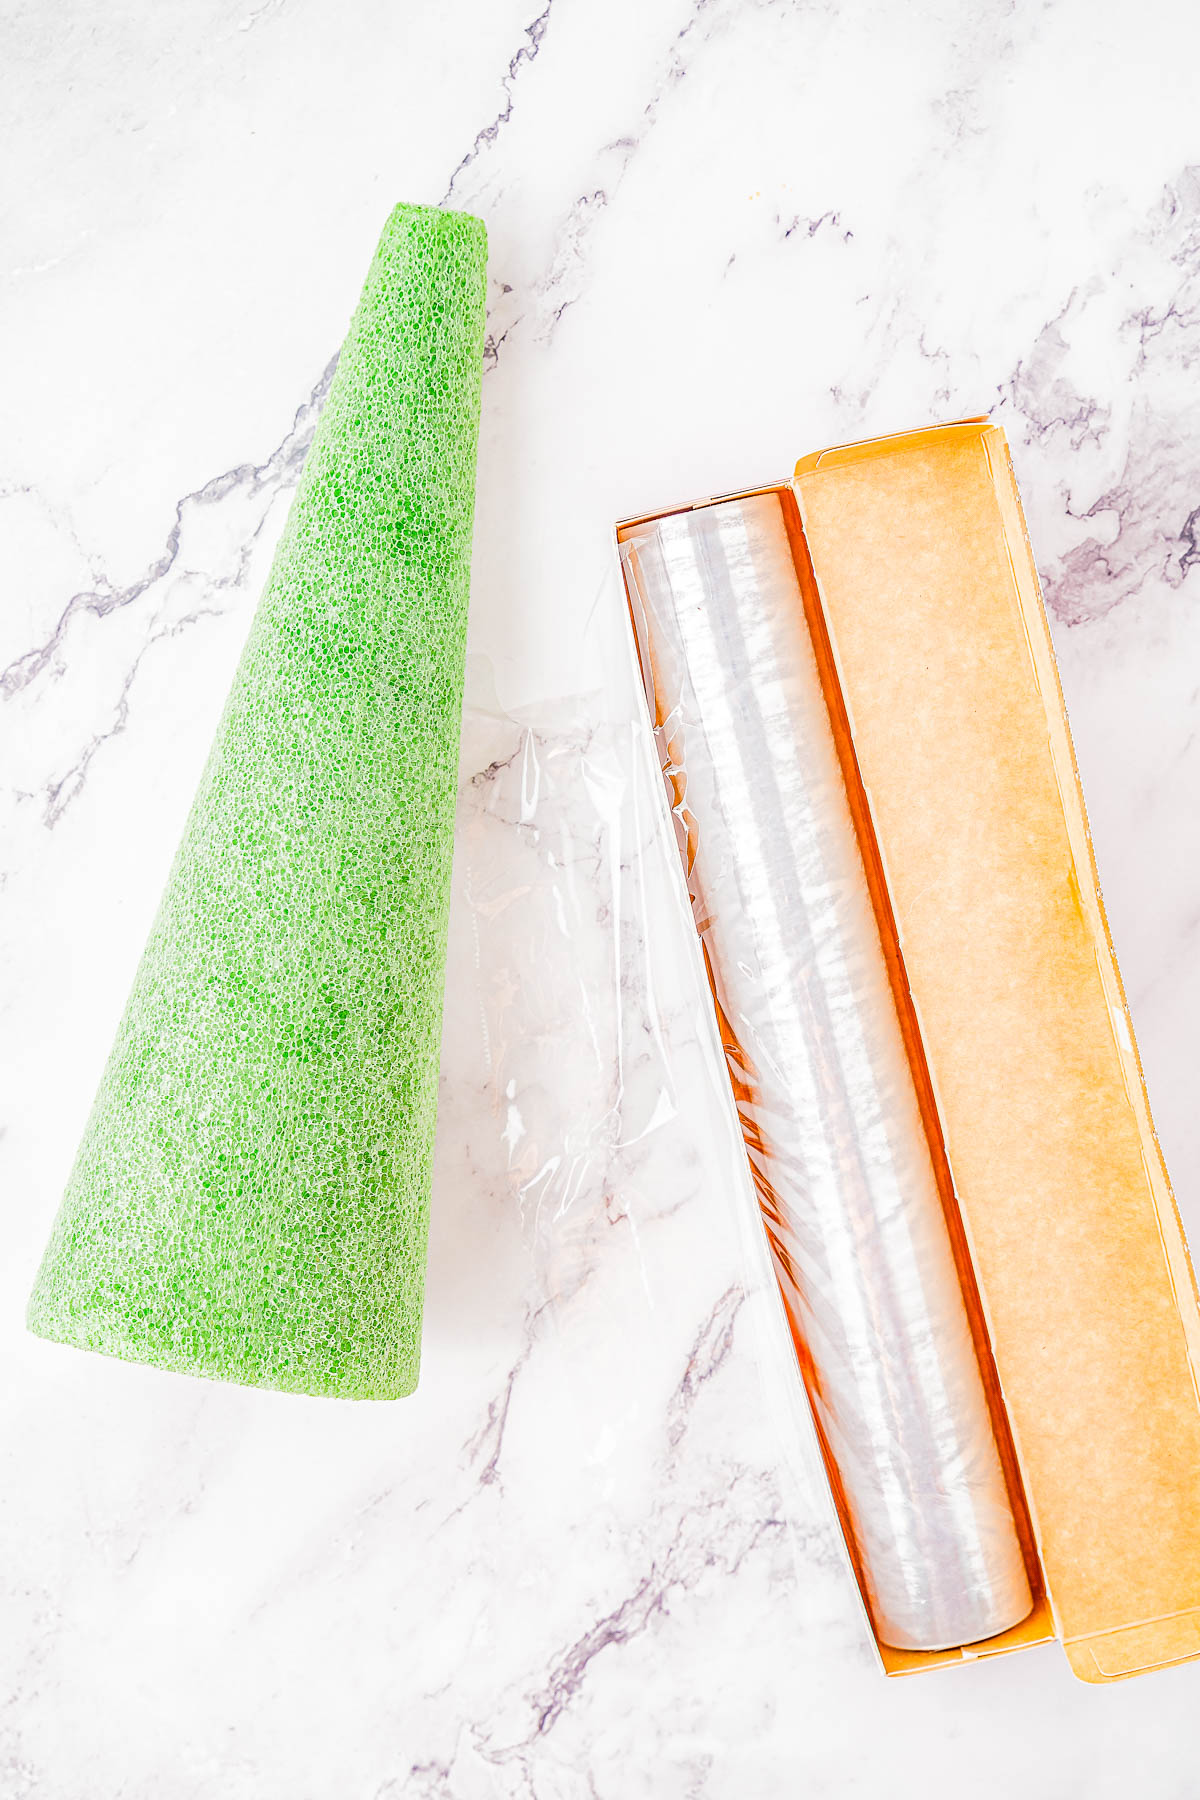
- 12-inch styrofoam cone
- Plastic wrap – You MUST wrap the styrofoam cone in plastic wrap! The styrofoam isn’t food-grade. So, you don’t want the donut holes to come into contact with it. Plus, the plastic wrap keeps the cone clean and means you can reuse it for future donut trees or other craft projects
- Toothpicks
Note: Scroll down to the recipe card section of the post for the ingredients with amounts included and for more complete directions.
How to Make a Christmas Donut Tree with Donut Holes
This beautiful DIY donut tree looks complicated, but is secretly so simple to assemble! If desired, you can prep the styrofoam cone as instructed and stick the toothpicks into it. Then, let your kids, grandkids, or guests pop the donut holes onto the tree and decorate it. This is a fun activity for Christmas morning!
You might want to let an adult add the powdered sugar on top of the tree though, or else you’ll wind up with “snow” all over your kitchen!
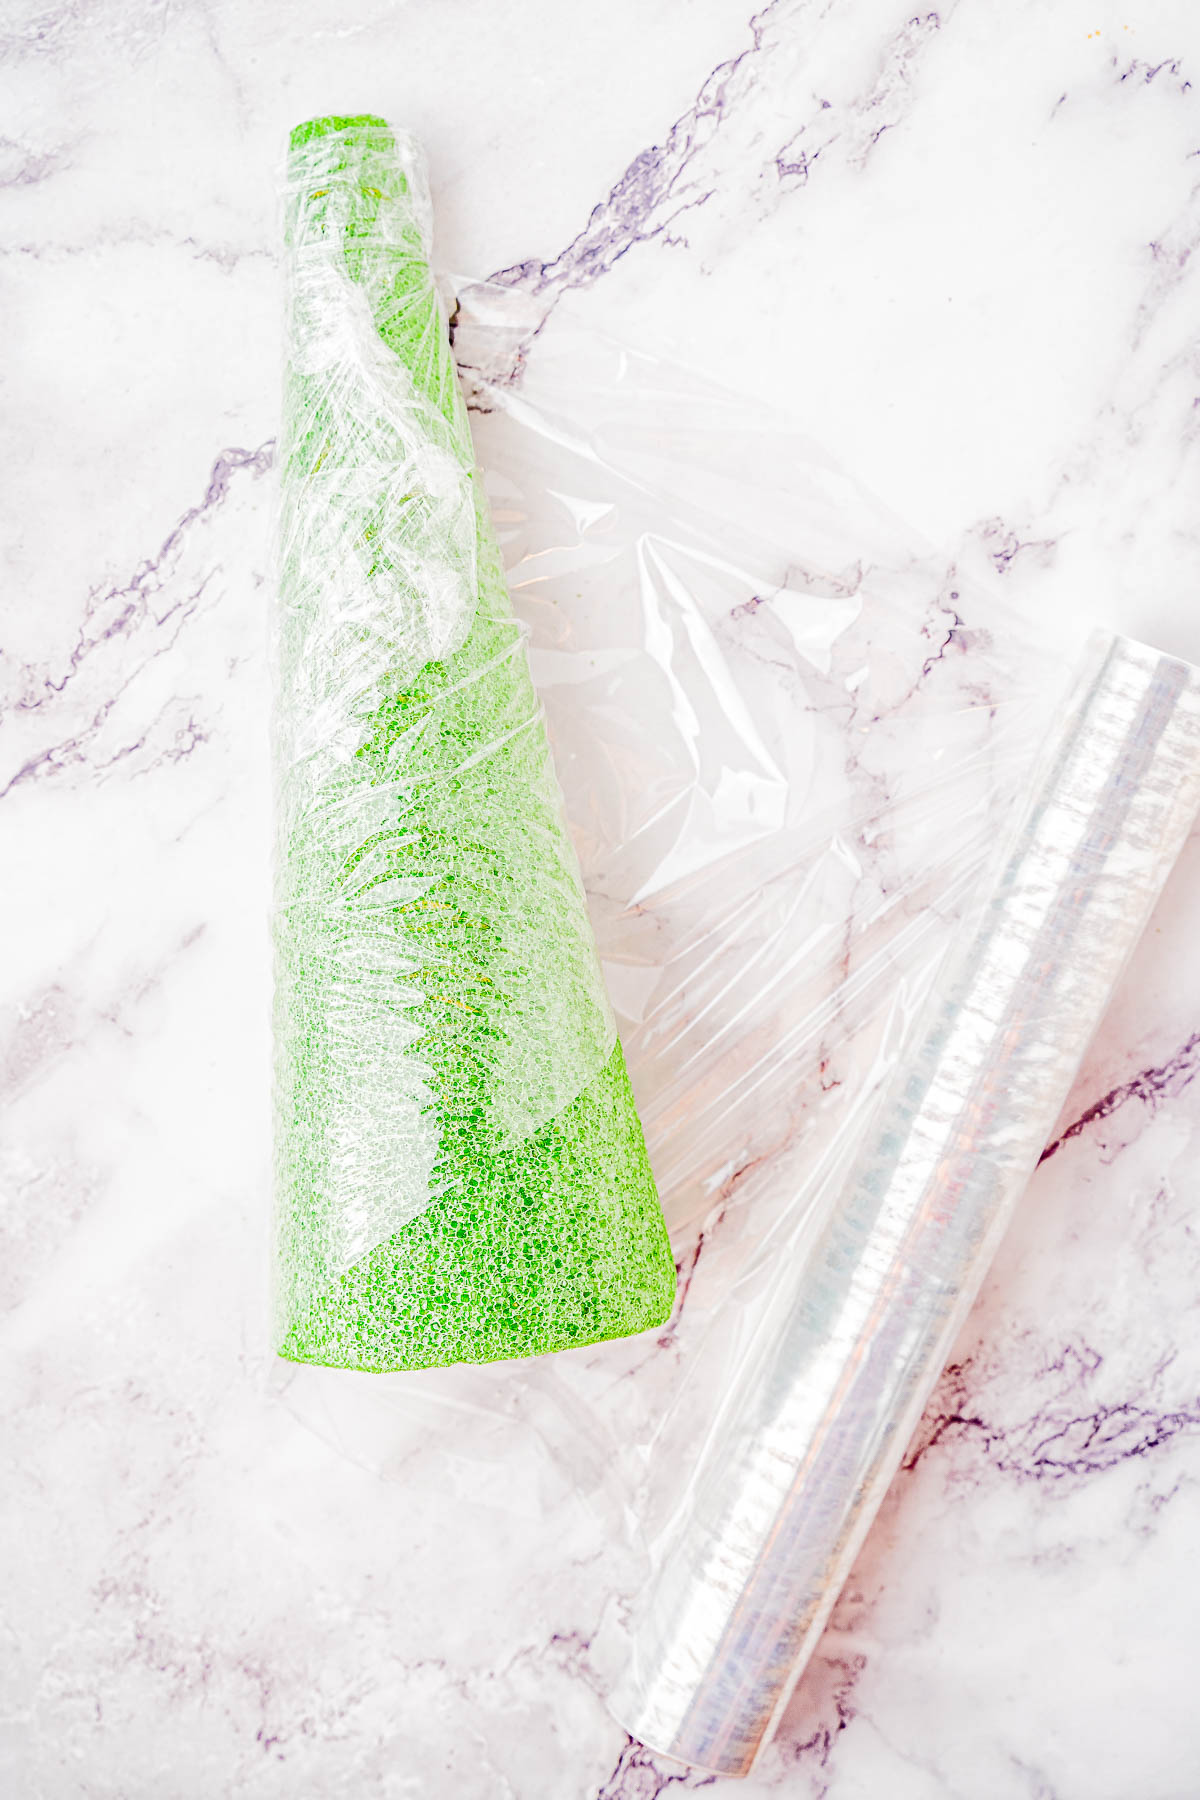
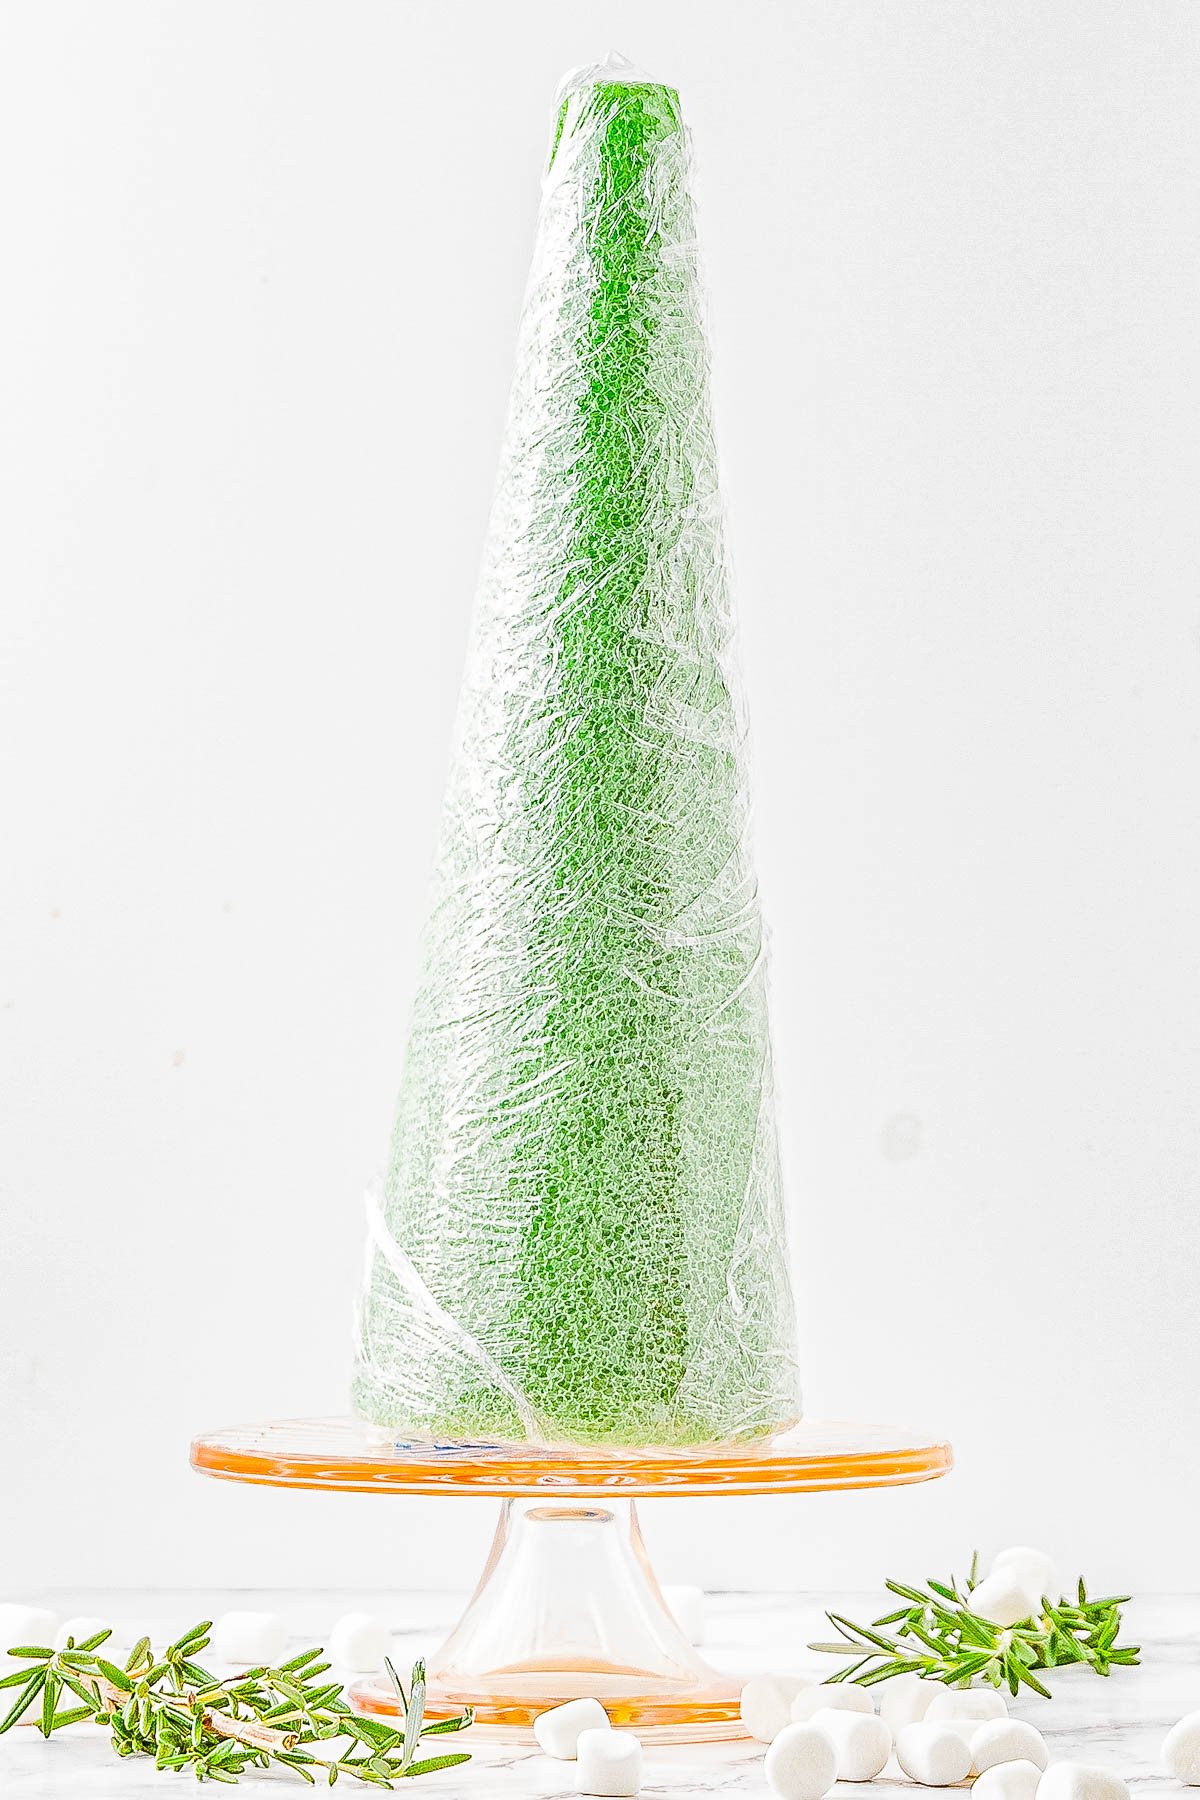
Step 1: Place the styrofoam cone on a large piece of plastic wrap. Fold the plastic wrap up over the cone to completely cover it, using as many layers of plastic wrap as necessary. This ensures the donut holes don’t touch the styrofoam and you have edible decorations. I like to also take the bottom of the cone to the cake stand or serving platter I am going to use.
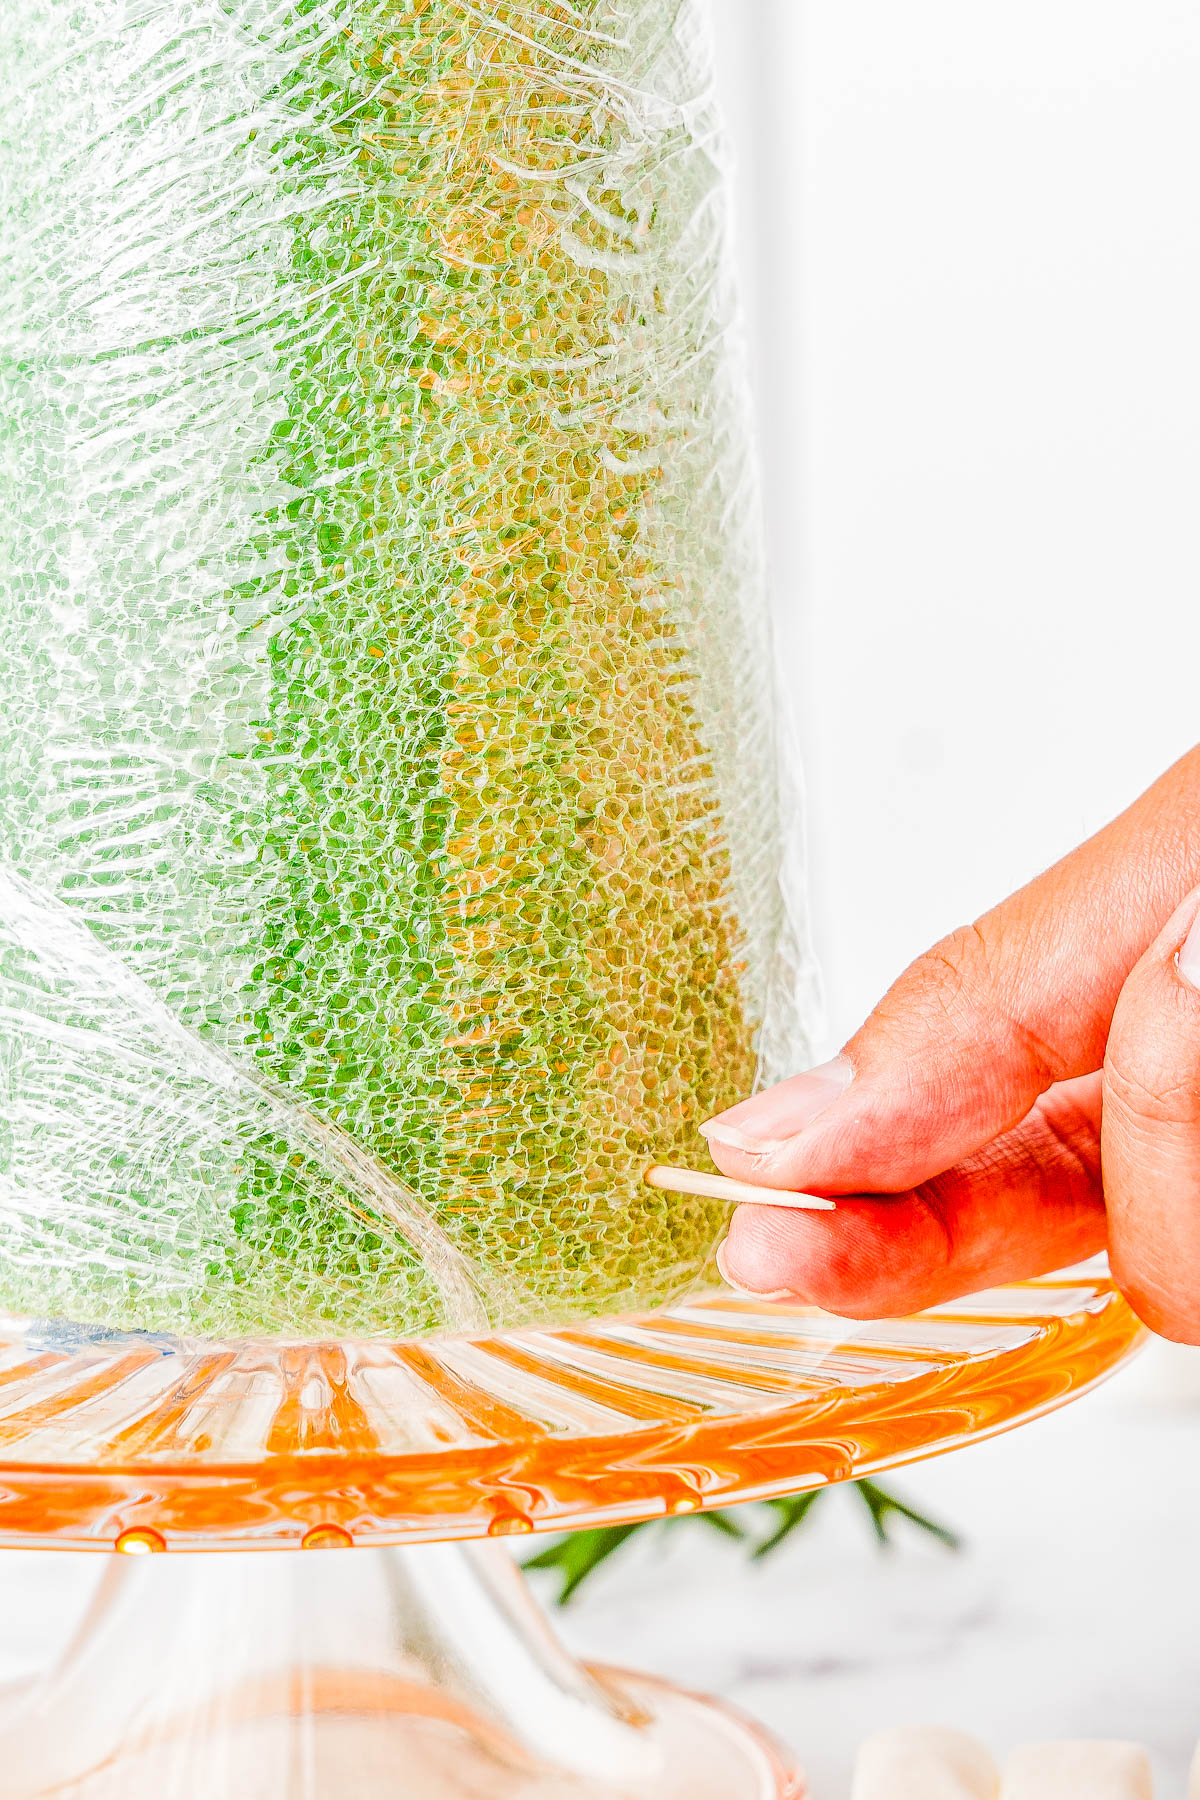
Step 2: Starting at the bottom of the large styrofoam cone, push a toothpick about halfway into the styrofoam. Then, put a donut hole onto the toothpick. Make sure none of the toothpick is sticking out of the donut hole!
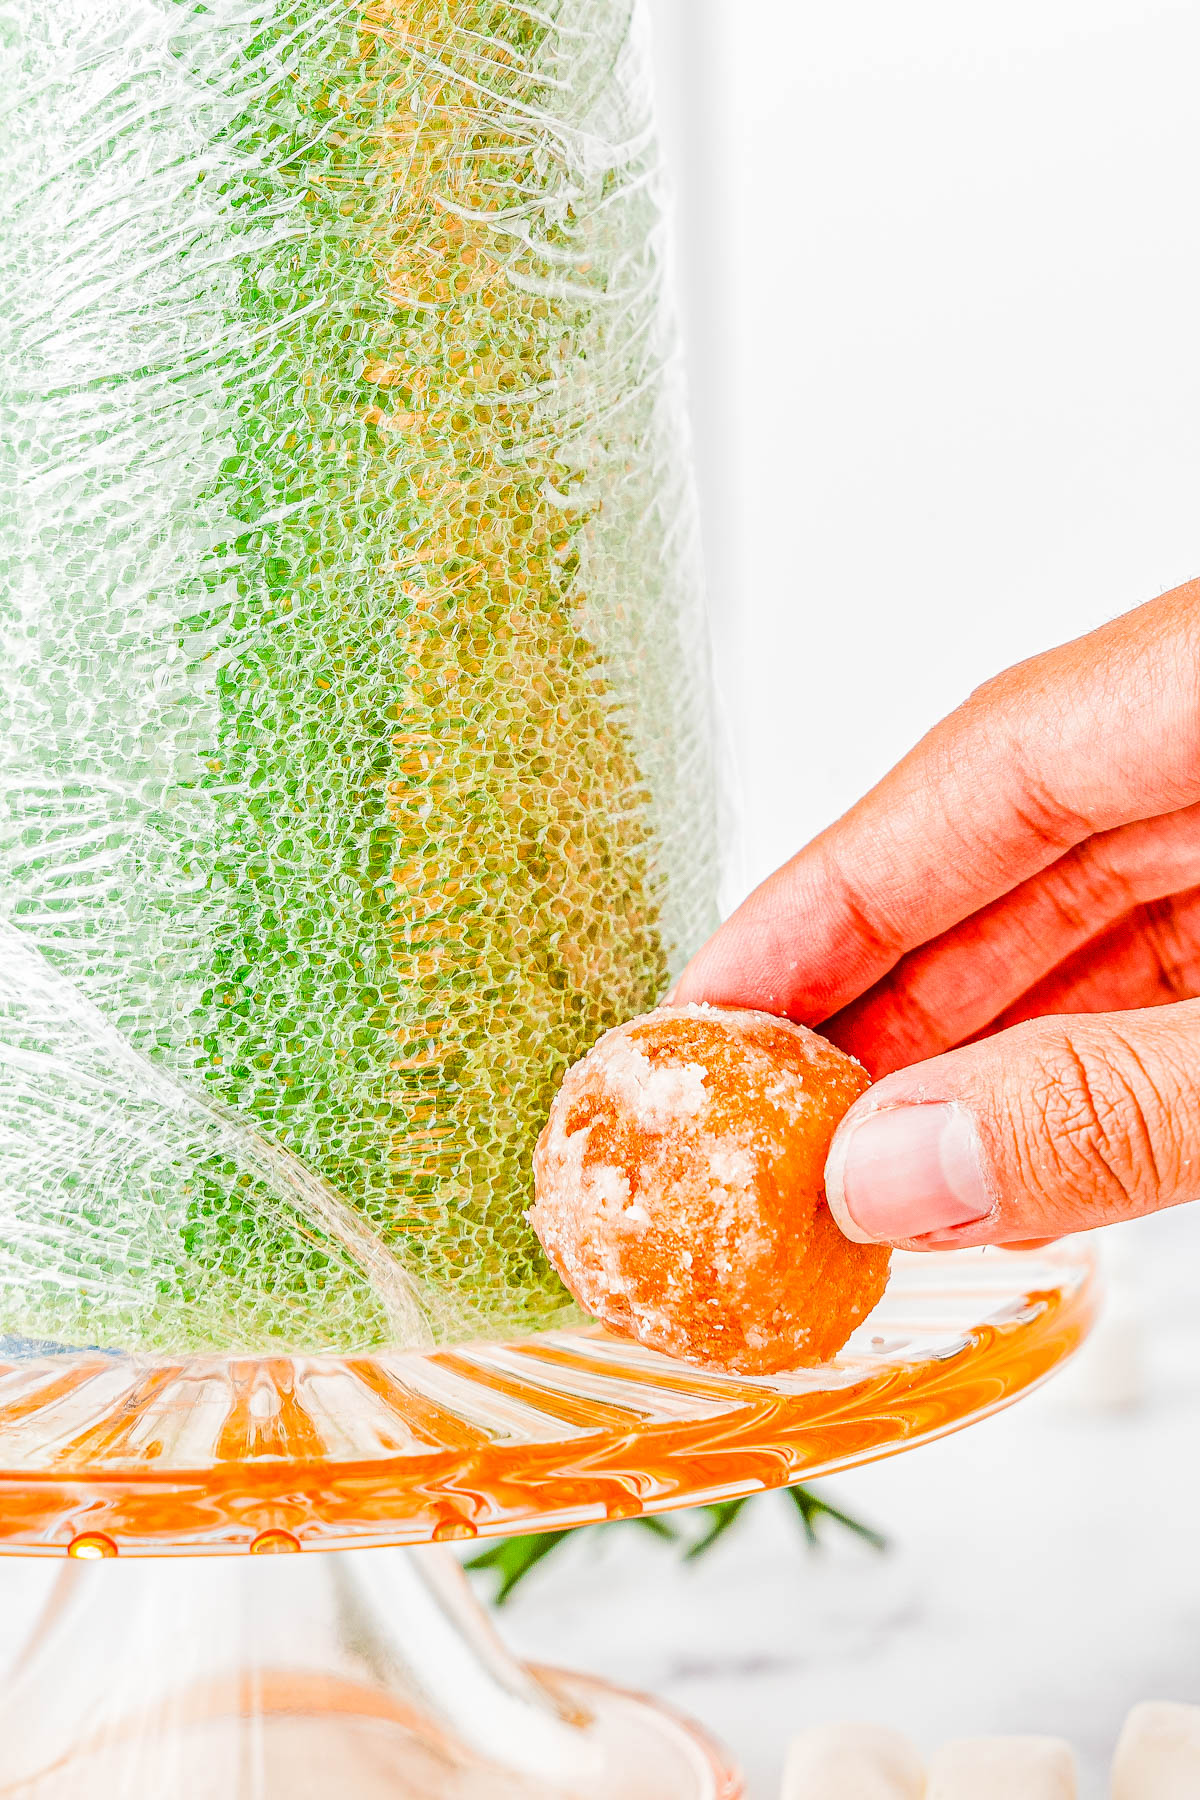
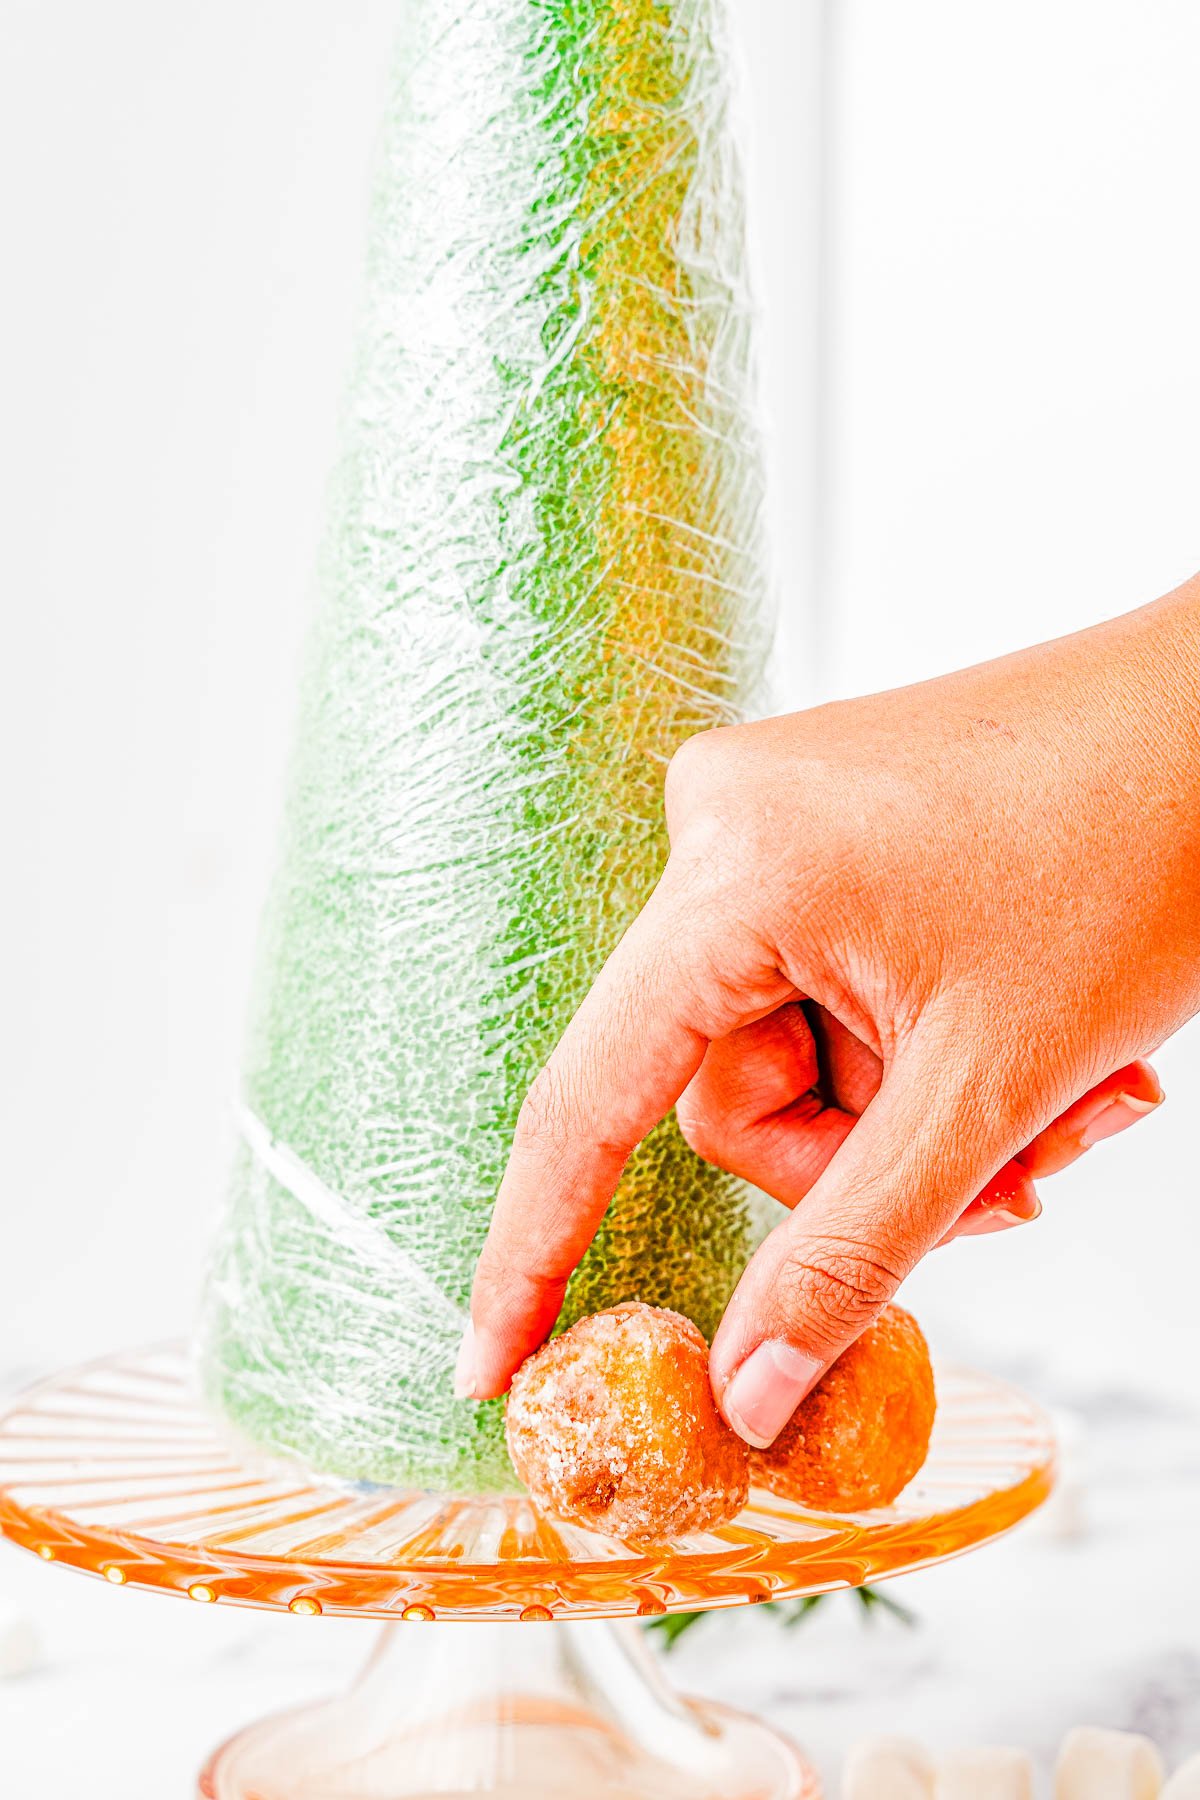
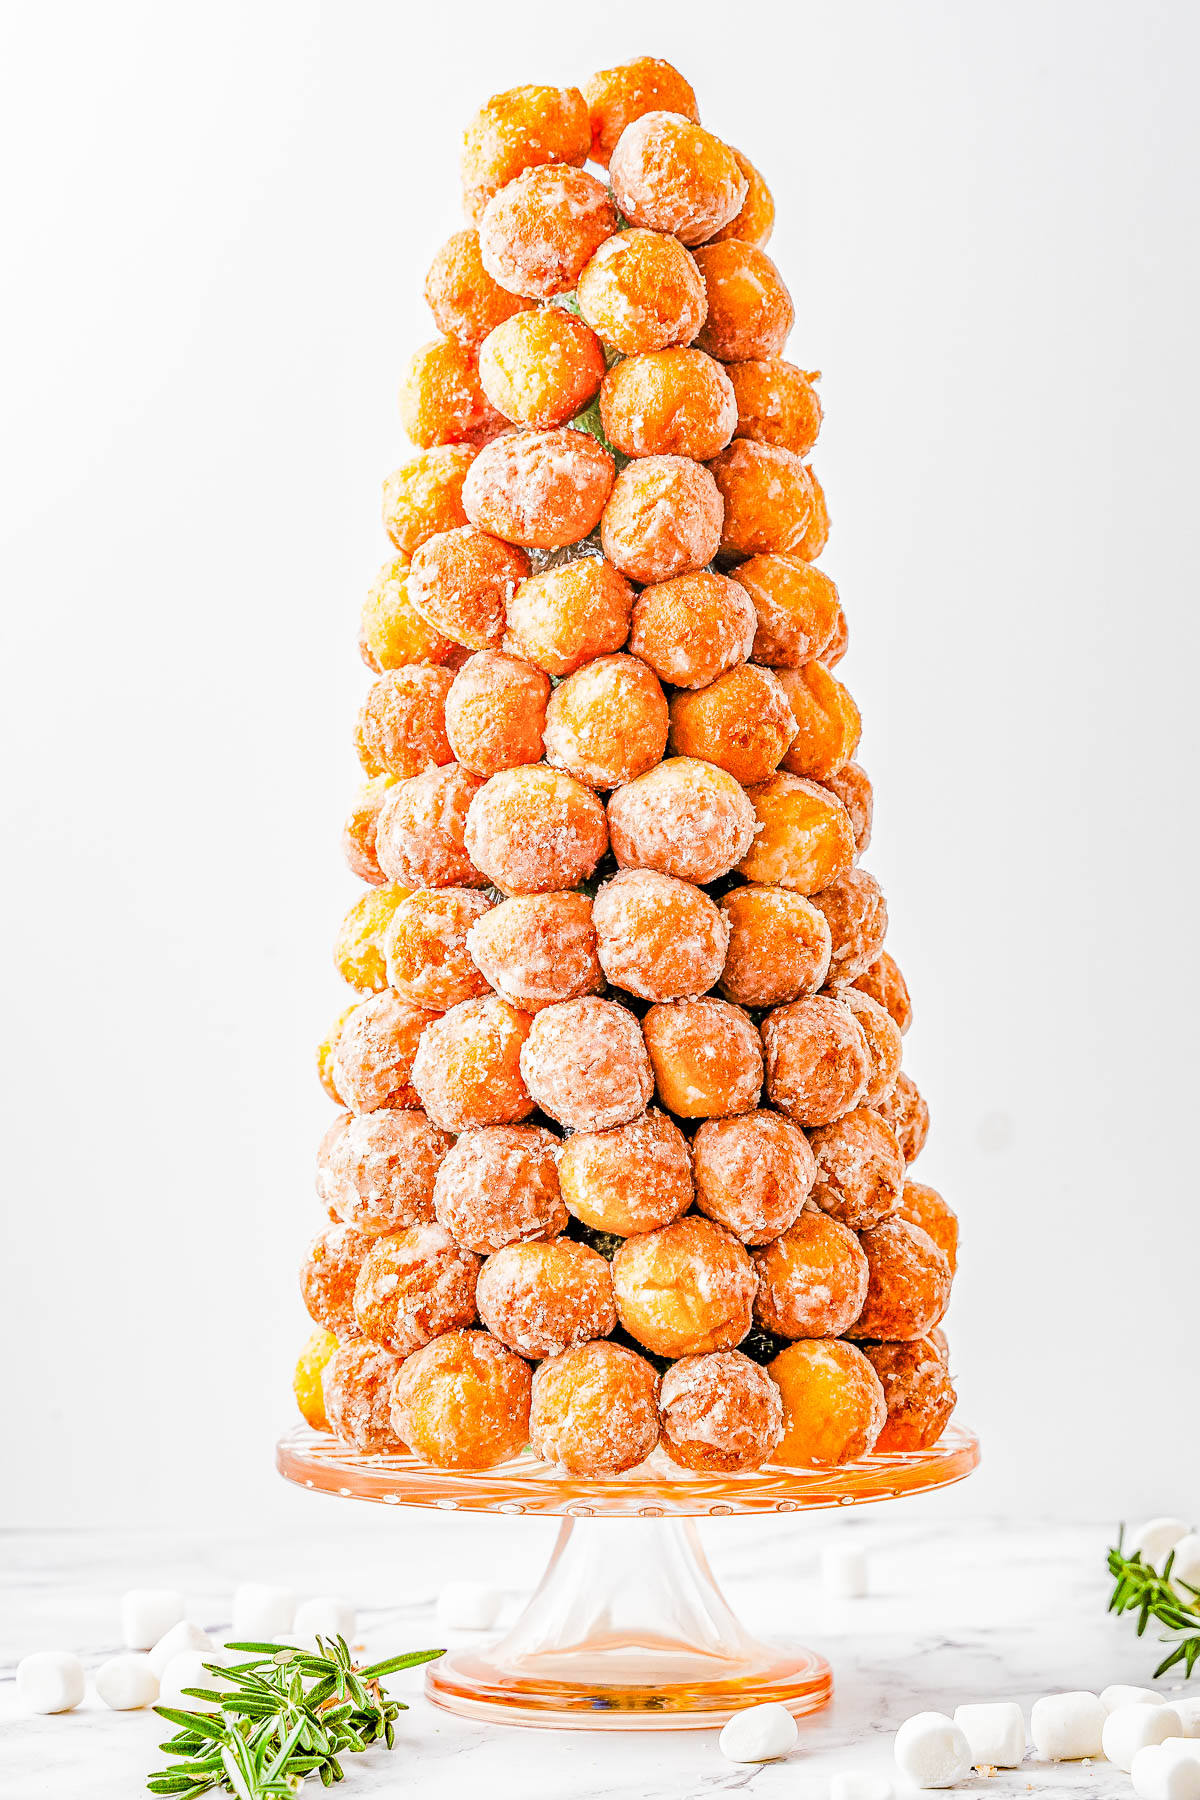
Step 3: Repeat this process until you have a row of donut holes all around the base of the cone. Continue this process until you’ve filled the entire tree with donut holes.
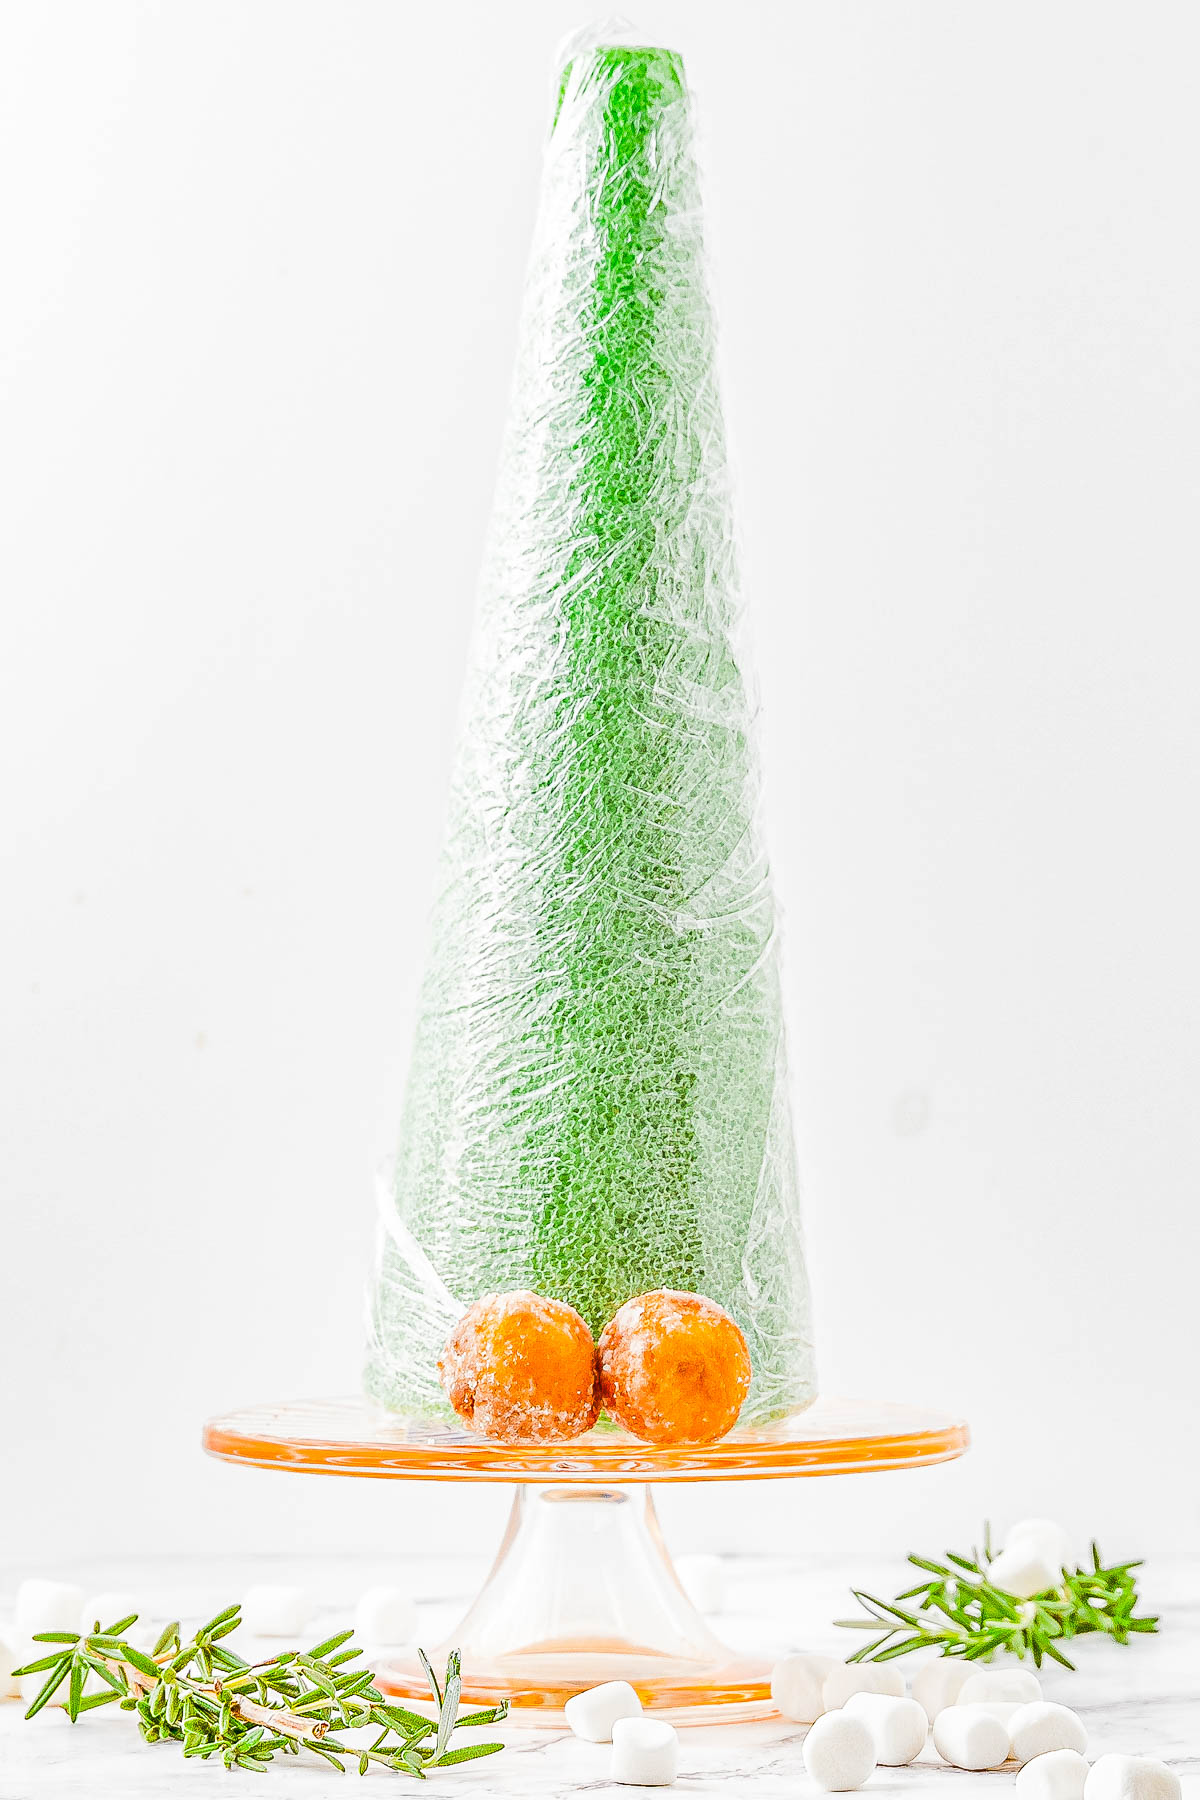
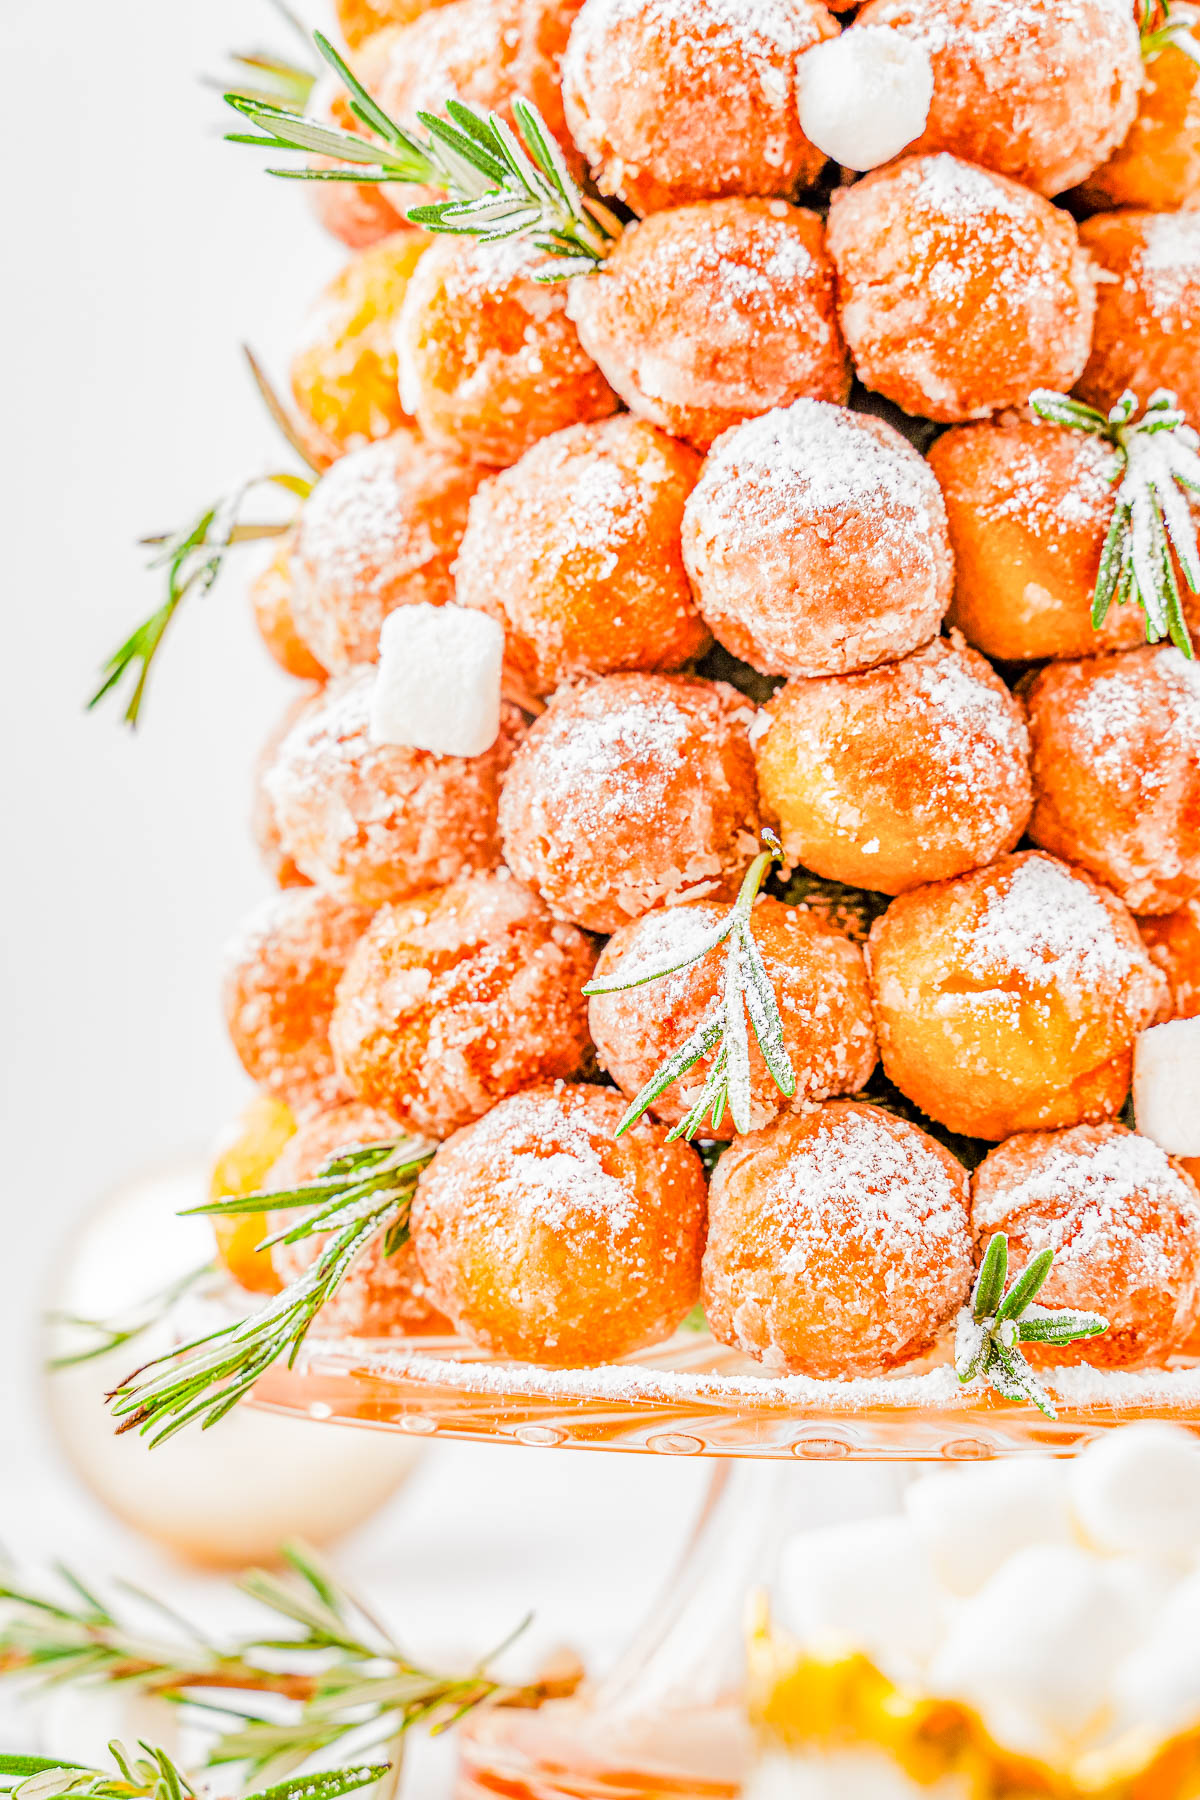
Step 4: Next, you get to decorate your “tree!” Anywhere you see a gap between the donut holes, you’ll want to stick in a toothpick and then top with a mini marshmallow. As a finishing touch, tuck as many small sprigs of rosemary in between the donut holes as you like.
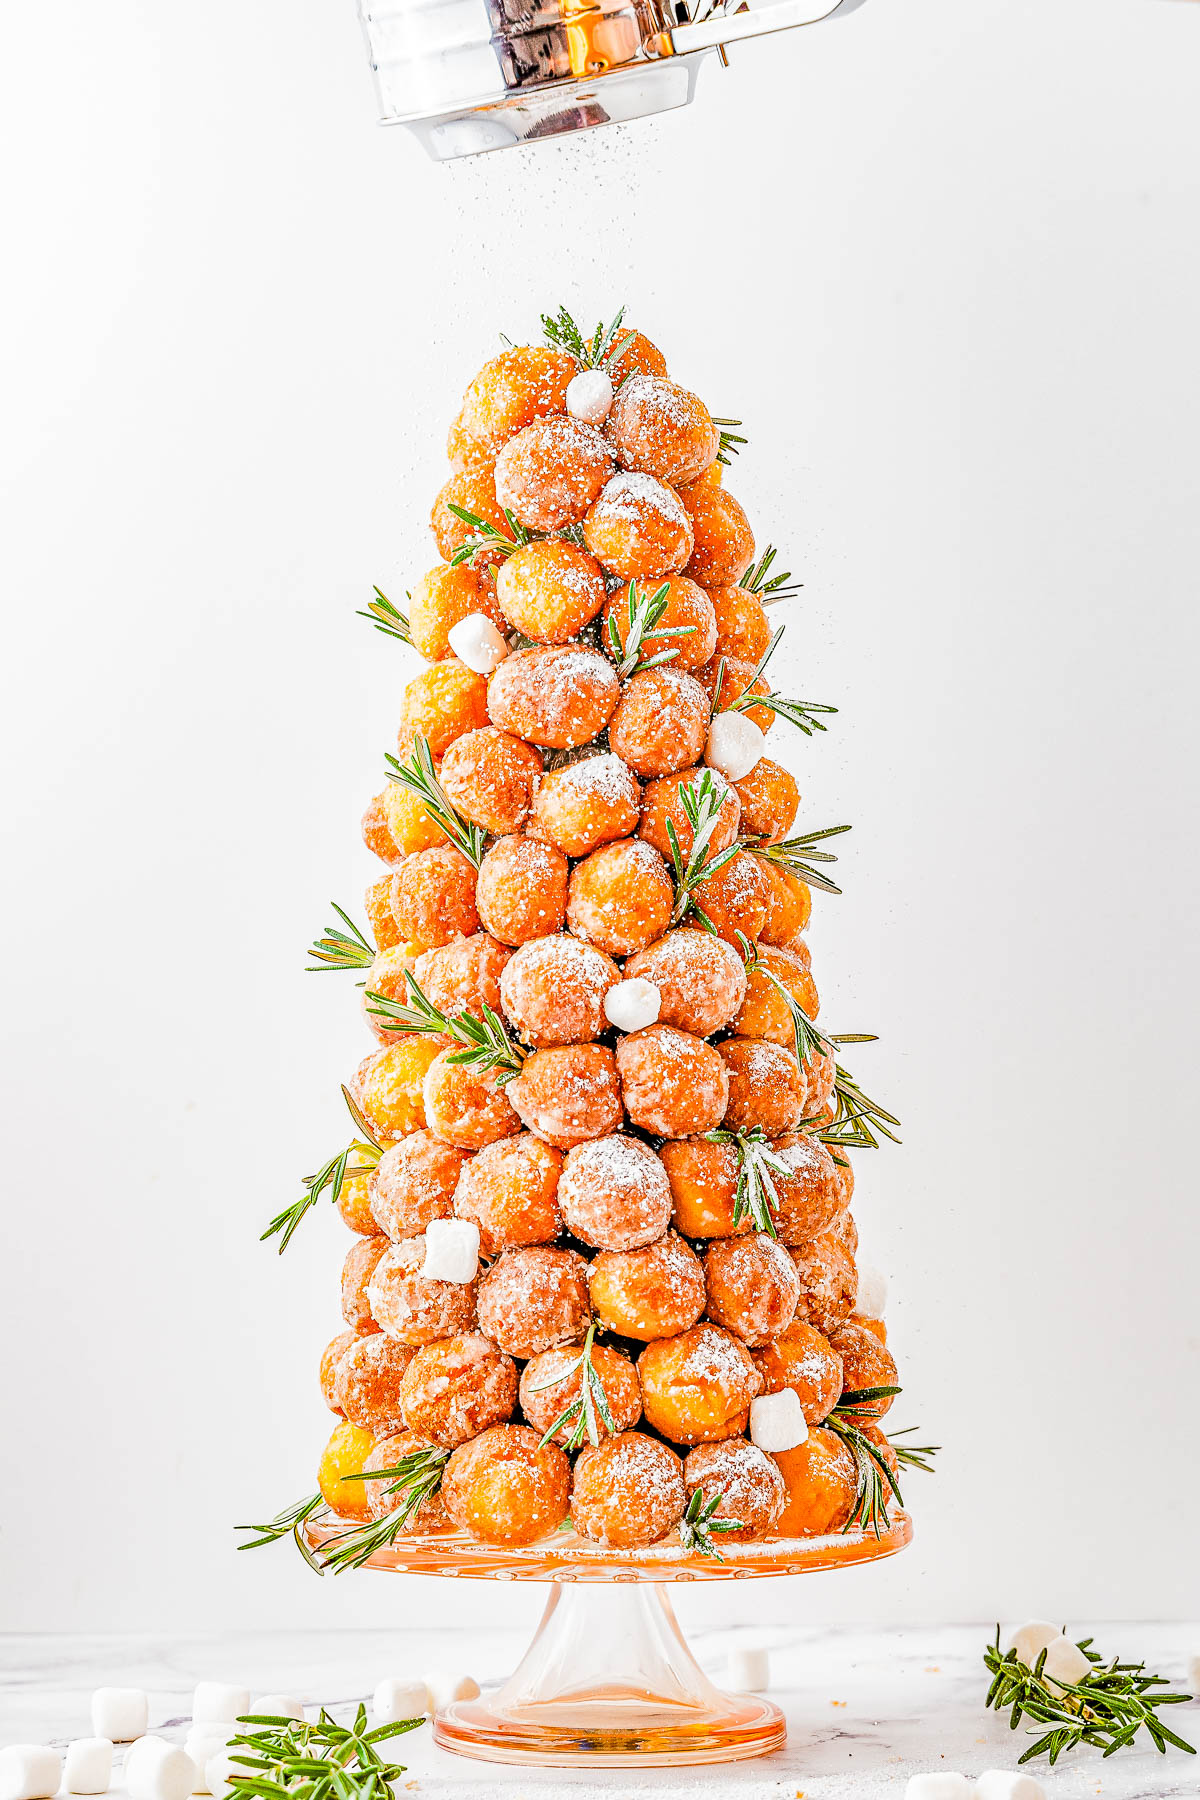
Step 5: Using a powdered sugar sifter or fine mesh sieve, give the donut hole tree a dusting with powdered sugar to create a snowy effect.
What to Serve with this Festive Donut Tree
Make-Ahead Instructions
Unlike homemade fudge and Christmas candies, this Christmas donut hole tower can’t be assembled too far in advance.
The donut holes are best plucked off and eaten the same day (ideally within a few hours) as you construct your tree as they go stale quickly.
To prep this Christmas tree in advance of a holiday brunch or party, assemble the entire tree as instructed — minus the powdered sugar — up to 3 hours before serving.
Wrap the entire tree in plastic wrap to keep it fresh, place it on your Christmas dessert table, and just before your guests arrive, remove the plastic wrap and dust the tree with powdered sugar
If you have leftovers, remove the donut holes from the tree and store them in an airtight container to keep them fresh.
Storage
If you have leftovers, remove the donut holes from the tree, and store them in an airtight container to keep them fresh. Donut holes are best eaten within 24-48 hours!
Holiday Season Donut Tree Recipe FAQs
I bought my styrofoam cone online because I try to avoid shopping center parking lots this time of year!
But your local craft store, such as a Michaels or Hobby Lobby, should have them. You can use a green foam core cone or a white one. It really doesn’t matter since it’s getting covered up with donuts!
Larger box stores like Walmart and Target might also carry the cones in the craft section, but it’s more of a sure thing on their websites.
I used a 12-inch cone, but if you find an 11-inch or 13-inch cone, that’s just fine. This is a fun little project and you don’t need to measure things down to the half inch! Note that you may need more or less toothpicks and donuts, depending on the size of your cone.
The styrofoam won’t be food-grade so you don’t want the donut holes to touch it before eating them. The plastic wrap also keeps the cone clean and means you can reuse it in the future.
Yes, although in my experience aluminum foil isn’t as pliable as plastic wrap and the darker foil will also peek through the cracks between the donut holes.
Guests can either pick the donut holes off of the tree using their hands, or you can set a small pair of serving tongs next to the tree for serving.
Of course! You’ll also need to buy more donut holes and longer toothpicks to fully cover the larger cone.
Using store-bought doughnut holes keeps this project super easy! However, you can use my Mini Donut Muffin recipe as a jumping-off point. Remember you’ll need to buy donut hole pans, too.
I decorated my tree with marshmallows and rosemary sprigs, but you could also skewer fresh cranberries onto the toothpicks for a pop of red. Pomegranate seeds (arils) may also work, but the juice from the seeds could stain or moisten the powdered sugar. So, be very precise if using pomegranate arils.
Pin This Recipe
Enjoy AverieCooks.com Without Ads! 🆕
Go Ad Free
Donut Hole Christmas Tree
Equipment
Ingredients
- 3 (15-ounce) boxes donut holes, about 80-90 donut holes*
- ½ cup mini marshmallows, or as desired
- 6 fresh rosemary sprigs, sliced into 1 to 2-inch segments, optional and as desired
- ½ cup confectioners’ sugar, or as necessary
Instructions
- Unroll a 2 foot sheet of plastic wrap or saran wrap, place the foam core** (see Notes) on one end of it, and roll up your foam core. Tip – This is done to keep the donut holes from directly touching the foam core so it doesn't have to be perfect, just get your foam core covered.
- Place the wrapped foam core onto the serving platter or cake stand you plan to use. Tip – I also recommend taping it down. Make a tape knot and place it underneath the foam core to adhere the foam core to your cake stand.
- Insert a toothpick about 3/4-inch above the base of the foam core, pushing it in halfway.
- Press a donut hole onto the toothpick.
- Repeat this process around the perimeter of the foam core, then move up a layer, going in a circular pattern up the foam core, adding toothpicks + donut holes to each. Repeat until the total tree is covered. Make Ahead – If you want to get this 'prepped' for kids or grandkids so all they have to do is stick the donut holes on, you can add the 80-90 toothpicks strategically around the foam core tree, noting that there is a bit of guesswork involved with where exactly to stick the toothpick in, based on the size of the donut holes, the previous layer's exact height, and so forth. But you can play around with it and get a decent approximation so that once the kids or helpers come along – or for you if you're setting this out for a holiday brunch, you can do the toothpick insertions the night before – that come showtime all that's needed to be done is stick on the donut holes.
- After your tree is totally covered with donut holes, where there are gaps and/or as desired, insert about 12 toothpicks about three-quarters of the way for marshmallows.
- Add a marshmallow to each of these toothpicks.
- Optionally, and as desired, tuck small segments of fresh rosemary on the tree, especially where the tree may look a bit sparse. Note – Fresh rosemary is very fragrant and aromatic, and if you think that you will not enjoy any trace of rosemary aroma with your donuts, then skip this step. It's festive looking, but it's also aromatic.
- Using a small sifter, mesh strainer, or fine mesh sieve, evenly dust the tree with confectioners' sugar, as desired.
- Serve immediately. Because donut holes will lose their freshness and go hard or stale within a few hours of being exposed to the air, I recommend making and consuming on the same day, ideally within 3-4 hours or so. If you want to save the donut holes, put them into an airtight container or somehow wrap the tree in plastic wrap if you want to preserve it.
Notes
Nutrition
Nutrition information is automatically calculated, so should only be used as an approximation.
©averiecooks.com. Content and photographs are copyright protected. Sharing of this recipe is both encouraged and appreciated. Copying and/or pasting full recipes to any social media is strictly prohibited.
More Easy Christmas Recipes:
12 Easy No-Bake Holiday Desserts – No time to bake? Here are 12 FAST and EASY no-bake recipes! Whether you want chocolate, peanut butter, cheesecake, bark, or truffles, these recipes have you covered!

Christmas Tree Cupcakes — Vanilla cupcakes are turned into festive Christmas trees with the help of inverted ice cream cones that are decorated with green whipped cream! A no-mixer, one-bowl cupcake recipe that’s so EASY! Perfect on your holiday dessert table or served at your next Christmas party. Detailed instructions provided to help make these Christmas tree cupcakes suitable for even novice bakers.

Stacked Christmas Tree Sugar Cookies — Soft, chewy, buttery sugar cookies are stacked in the shape of Christmas trees and layered with buttercream frosting!

Christmas Red Velvet Poke Cake – The EASIEST and most impressive Christmas cake! You’ll have your friends and family thinking you’re a rock star pastry chef!

Christmas Cut Out Cookies — These traditional cut out sugar cookies taste just like Grandma used to make! They’re thin but still soft, topped with a simple 2-ingredient royal icing, and loaded with sprinkles! So festive and perfect for cookie exchanges or hostess gifts!

Layered Cranberry Jello Salad – A festive holiday layered recipe with cranberries, pineapple, cream cheese, pecans, and pretzels! A little bit creamy, crunchy, sweet, and a little salty. A nostalgic family favorite with an impressive presentation to wow your holiday guests!

Chocolate-Covered Sponge Candy — A classic homemade Christmas candy that’s light and airy candy inside and chocolate-dipped on the outside. Easy to make! Great for cookie exchanges and hostess gifts because it keeps fresh for a long time!

Chocolate Covered Christmas Oreos – Oreo cookies dipped in chocolate and loaded with sprinkles are an irresistible holiday treat! Fast, EASY, no-bake, can be made in advance! Perfect for cookie exchanges and hostess gifts. Get ready to break out the sprinkles and have fun making and then eating these family favorite Christmas cookies!

Reindeer Chow — A holiday twist on classic Muddy Buddies that’s EASY, ready in 15 minutes, and perfect for hostess gifts or cookie exchanges! Chex, chocolate, peanut butter, pretzels, M&M’s, and sprinkles make this dessert snack mix totally IRRESISTIBLE!

Loaded Christmas Puppy Chow – This fast, easy, no-bake holiday treat is LOADED with all the good stuff! Chocolate, peanut butter, sugar, M&Ms, peanut butter cups, and pretzels for a salty-sweet, crunchy, and addictive snack! Makes great little gifts because it keeps well and everyone LOVES it!

Melt in Your Mouth Homemade Toffee — Irresistible, buttery, ADDICTIVE, and just melts in your mouth! EASY and perfect for holiday parties, gift-giving, or cookie exchanges!

Chocolate Peanut Butter Stacks – Easy, no-bake treats that are a holiday favorite! They have it all: Salty, sweet, crunchy, and gooey with chocolate and peanut butter! Great for cookie exchanges or impromptu parties!

White Chocolate Truffles – Made with real butter, heavy cream, and a double dose of white chocolate in both the filling and the coating, these EASY truffles are CREAMY, decadent, and perfect for the holidays! Make this festive no-bake candy recipe for your next Christmas party, holiday entertaining, gift them to a special friend, or bring them along as a hostess gift. Everyone will appreciate these decadent little treats!

Rum Balls — A traditional rum balls recipe made with crushed ginger snaps cookies, toasted pecans, melted butter, and spiced rum! Roll these FAST and EASY NO-BAKE treats in confectioners’ sugar, cocoa powder, coconut, or dip them in melted chocolate! Great for gift-giving and cookie exchanges because you can make them far in advance!

