Lightroom 3 is one of the best things that ever happened to my life. It’s better than sliced bread.
It’s almost better than chocolate chip peanut butter cookies but you can’t really compare cookies and software.
Cookies will always win.
I use Lighroom 3 multiple times per day for editing my photos.
More info about What Is Lightroom, here.
Like a Vita-Mix, it’s worth every penny, you get what you pay for, it’s 100% worth it, and you will look back and wonder why you didn’t find a way to buy it sooner.
If you’re a student, there are ways to get it for about $79 and if you’re not a student, it’s generally between $199 and $299 depending on time of year, promotions, coupons, and various internet specials. I paid about $170 from Buy.com about one year ago.
Adobe is coming out with a new version, Lightroom 4, and there’s a free download to trial the new Beta Version of Lightroom 4
It expires March 31, 2012 but for those of you on the fence about popping for Lightroom, not only do you get to play with Lighroom for free for a couple months, you get to try the newest version.
As I have posted about many, many times, I love LR 3 and it’s been worth it’s weight in gold and then some.
Here are a few posts from my Photography Page about Lightroom:
Examples of Adobe Photoshop Lightroom 3 images
Lightroom 3 Examples & Samples of Editing
Photo Editing: Before & After, Truths & Trickery
Amanda recently wrote a fabulous post on Why Lightroom May Be the Only Photo Editor You Need and had a plethora of amazing photography-related resources and tutorials on her site.
Here are some before and after shots because a picture does speak a million words:
SOOC (Straight Out Of Camera) Strawberry Cake Mix Cookies with Vanilla Cream Cheese Frosting
After Lightroom 3 edits
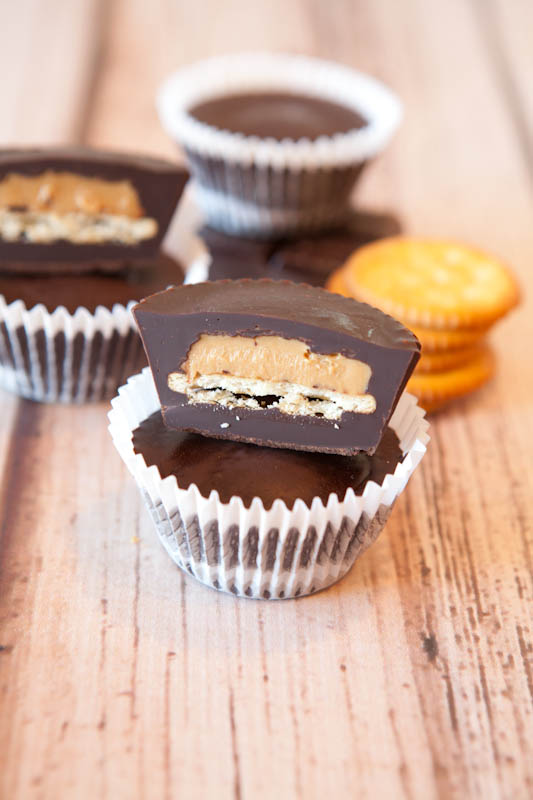
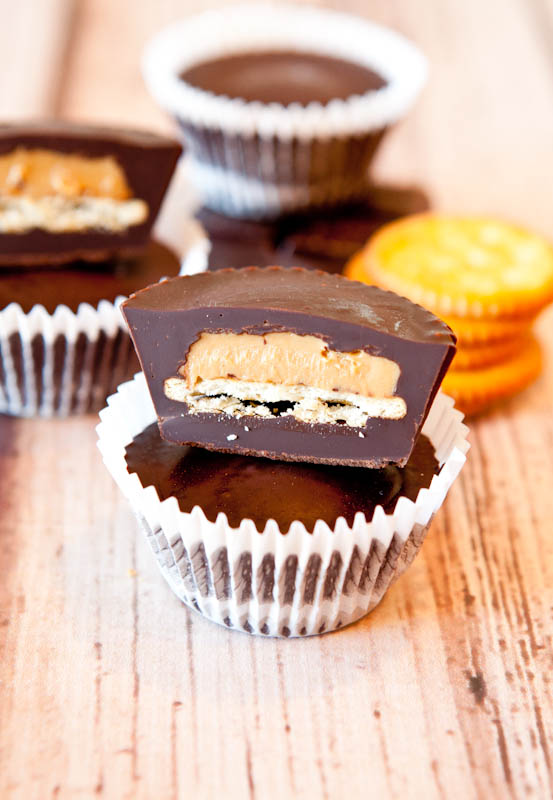
SOOC Ritz-Stuffed Peanut Butter Cups
After Lightroom 3 edits
SOOC Baked Savory Cream Cheese & Herb Donuts
After Lightroom 3 edits
And one of my favorite desserts of 2011…
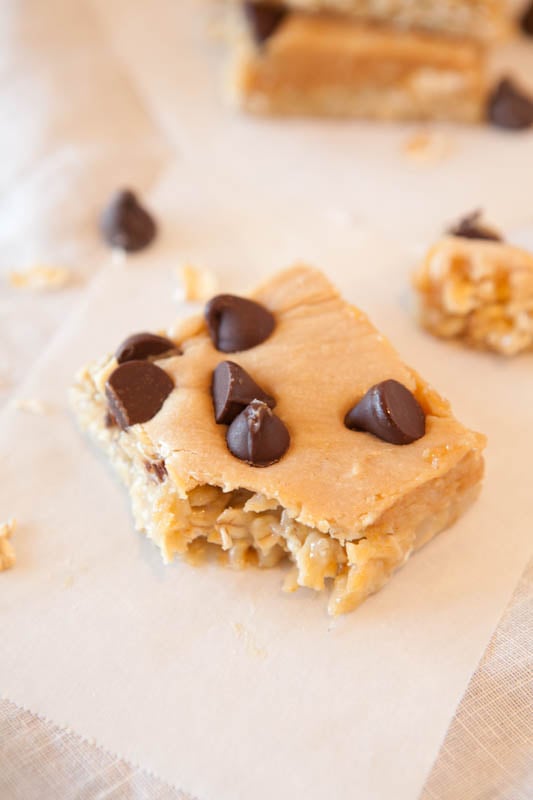
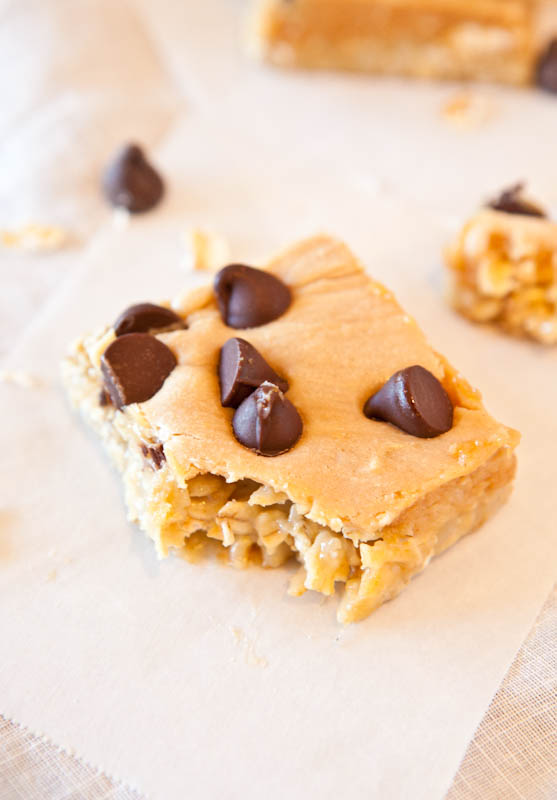
SOOC Marshmallow Peanut Butter Double Chocolate Pillowtop Bars
After Lightroom 3 edits
In general, I try to use editing to bring out the beauty of the food so that when it’s viewed on a computer screen, it looks like it did when it was on my countertop or table with the same detail, vibrancy, lightness, brightness, and the overall characteristics it had.
The camera can strip away the details we see with our eyes in real life, and make things things look lackluster, flat, or just blah. I try to un-blah the images with editing.
Because I shoot in RAW format, I also need to use editing tools to put those details back in.
With my food photography editing, I do not remove things that were there or add things that weren’t. For example, I have no idea how to make a new chocolate chip appear on top of a bar that didn’t have one or place a perfect M & M on top of a cookie. Conversely, if there was an ugly crumb on a donut or I hated a streak in the frosting I made, I don’t remove those things. I either live with them, or find a new photo without ugly crumbs or streaks.
Do you edit your photos? If so, with what?
Do you have specific thoughts on photo editing?
I wrote this post with my thoughts on everything from editing food photos to editing photos of Hollywood celebrities.
I think that it’s fundamental that the images coming SOOC are as good as you can possibly make them and that you don’t try to use editing software to fix mistakes that should have been addressed when shooting such as poor photo composition, or food staging issues if you’re shooting food.
That said, sometimes it’s cloudy, sometimes you have to shoot food after the lighting is ideal and no matter what you do, you can’t get a fabulous SOOC image and that’s where the little slider dial on LR that turns up brightness, exposure, or fill light is invaluable.
Tip for those of you thinking of making a lightbox (i.e. a cardboard box you put food in and put lights around it and shoot the food that way): Don’t.
If that’s what you’re resorting to in order to get better lighting, you’d do better with just editing the crap out of your photos in post-processing. My opinion only, of course.
I have Photoshop on my computer but need to google away and teach myself how to use it but I become overwhelmed by it and quickly shut the program down as fast as I open it. Lightroom was easy for me to get started with compared to Photoshop.
Before Lightroom, I used iPhoto that came on my Mac, and for free software that is easy to learn and get started with, it was fine but I outgrew it.
I know there are many free programs out there such as Picnik and more that many people are fond of.
The type of camera and lens I use is all linked in my photography section and one other point to mention on this and I have said it many times in the past is that a fancy camera and lens will not make you a better photographer.
A fancy camera and lens will only capture everything (the good, the bad, and the ugly) in higher resolution and detail. Think about food styling and staging and composing your shot rather than the kind of camera or lens you’re using and that way when you do upgrade to a fancier camera, you’ll be a pro at making your food look great because you know how to shoot, stage, and set up your shots.
And when all else fails, edit.
With a free trial. I have compared version 3 and 4 very quickly and although there are a few things here and there that are different, the changes made after my very cursory glance don’t appear to be too major.
Note: All thoughts expressed are my own opinions and I am not being compensated in any way to plug this; I wanted to pass on what I believe is a great download.





Woah this is definitely something to look into! I currently use Corel Paint Shop Pro X4 and I’m very pleased with it! Have you ever experimented with it before?
I love LR so that’s what I use!
I use Aperture. Used to use iPhoto, but once I got my first DSLR…I needed more than what iPhoto could do. My wife forwarded me thos email as she loves your blog. I’m definitely gonna try Lightroom, even though I’ve established a workflow with Aperture.