Growing up, and as an adult, there are foods that I absolutely adore and that have virtually no nutritional value, but taste amazing and that I can polish off in record time. Twinkies are one of them.
Others include: Girl Scout Thin Mints, Girl Scout Samoas Cookies, Little Debbie Oatmeal Cream Pies, Hostess Chery Pies, Dairy Queen Heath Bar Blizzards. Shall I continue?
Twinkies and their spongy, yellow cakey goodness, their ability to stay fresh while wrapped in cellophane for years and years, are just amazing little logs of preservatives.
And that marshmallow fluffy filling. It’s so sweet and smooth; airy yet oddly dense. I wish I could figure out how the Hostess people make it or at the very least, I wish I could hook up an IV drip and mainline it.
When making the homemade Twinkies, I was tempted to let them bake completely and then inject them at the end with marshmallow fluff from a pastry bag using a wide-tipped pastry tip in an effort to recreate the Hostess fluffy marshmallow filling. However, that sounded like a lot of work, messy, and worst of all, there would be Fluff stuck to the inside of a pastry bag and wasted. I wouldn’t want to waste a drop of that precious nectar HFCS.
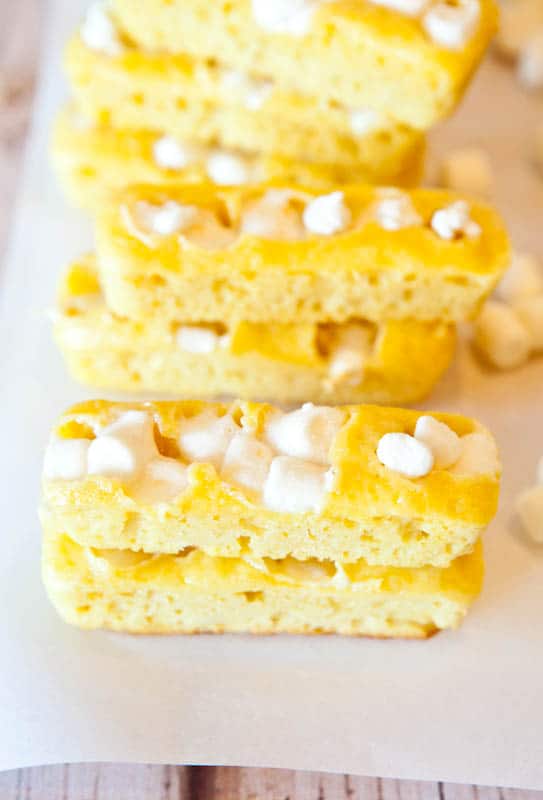
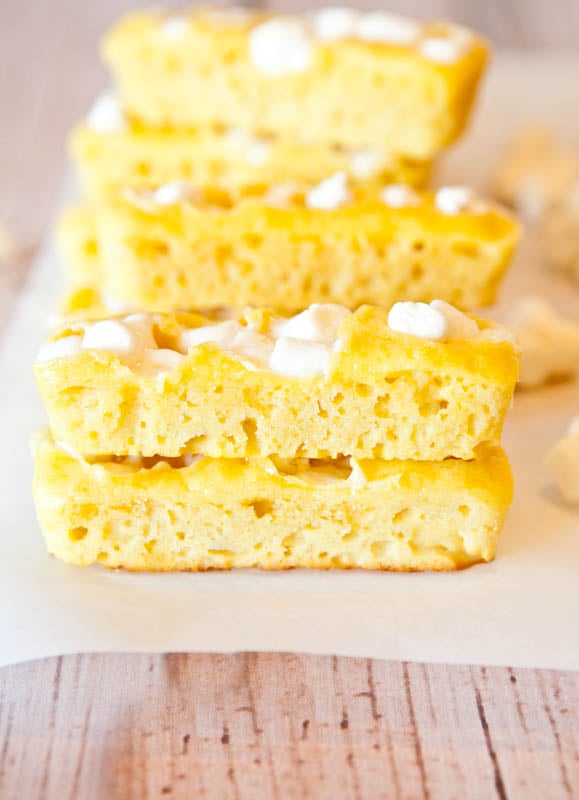
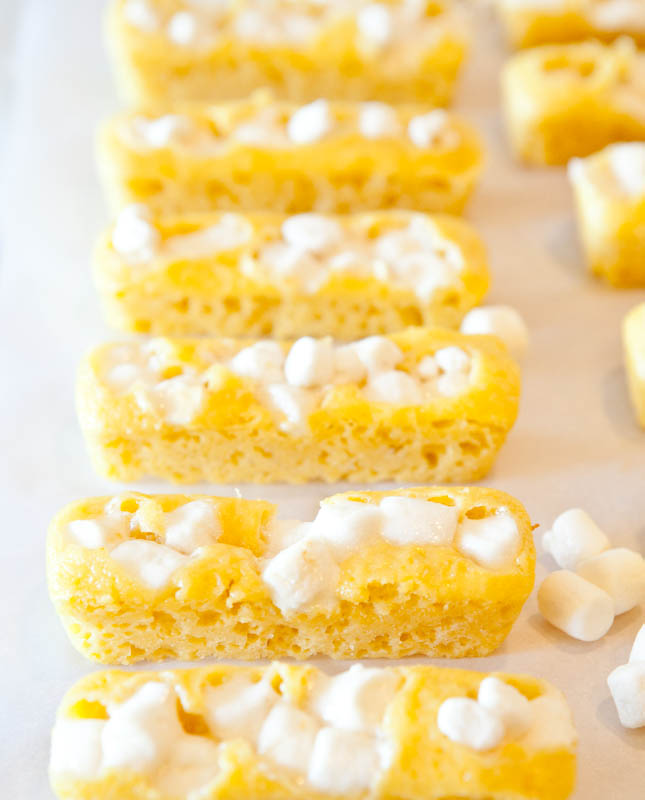
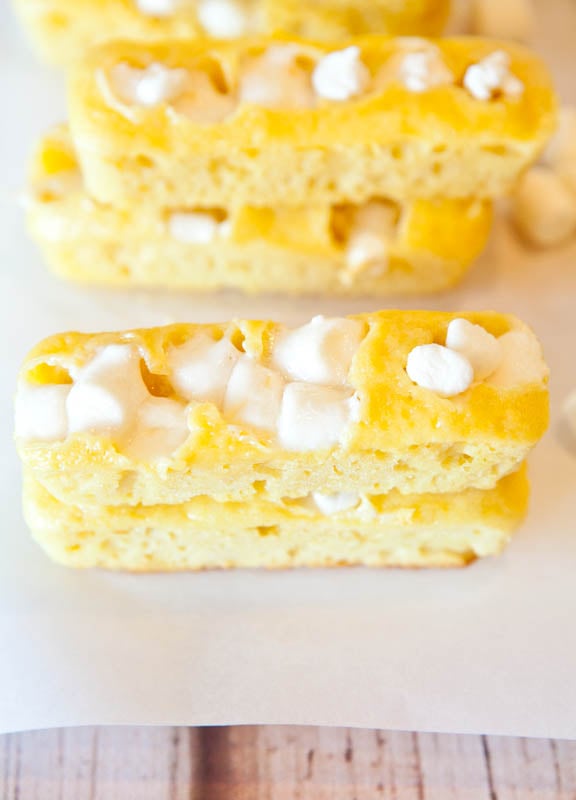
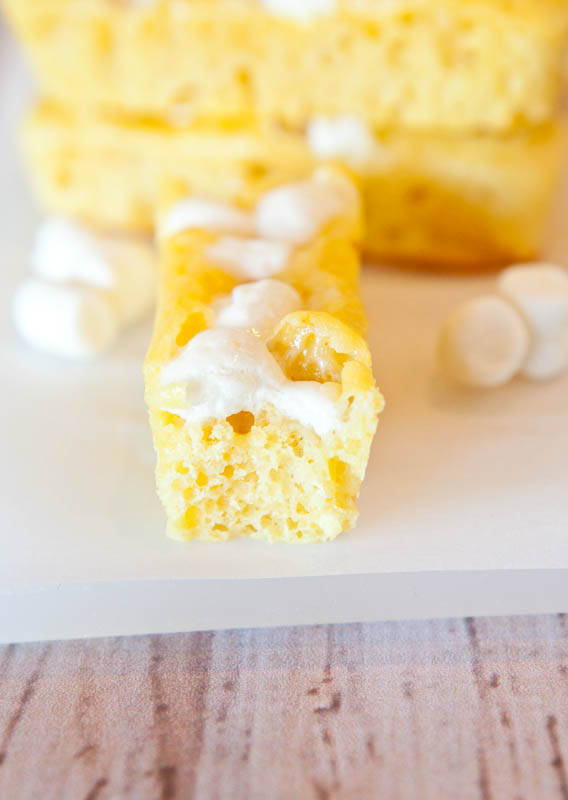
Strategically placing a few marshmallows down the center of each Twinkie, halfway through the baking period, seemed much more realistic for my ambition level. As long as I was unnecessarily reinventing the wheel, I thought I’d make it as easy on myself as possible, and I just stuck with whole marshmallows, dropped in.
Homemade Twinkies, anyone?
[print_this]
Homemade Twinkies (with Gluten Free Suggestion)
Makes 1 dozen
1 cup of yellow cake mix
1 large egg
1/2 teaspoon vanilla extract
1/3 cup vanilla or plain Greek yogurt
2 tablespoons white sugar, optional and to taste (the batter was a tiny bit tart after adding the Greek yogurt; taste your batter and add a bit of sugar as desired)
1 cup mini-marshmallows, reserved
Preheat oven to 350F degrees. Spray Twinkie pan with cooking spray extremely well (I used this Chicago Metallic silicone metallic dessert bar pan that I bought at Bed Bath & Beyond or order online, or try this Norpro Canoe Pan), or make the Twinkies as muffins in a 12-cavity muffin pan and either use liners or spray extremely well with cooking spray. In a medium bowl, combine all ingredients, except marshmallows, and stir by hand until smooth. The batter will be fairly thick (thicker than brownie batter or cake batter, not as thick as cookie dough) and fill each cavity half-way full with batter. I did this by taking my time and doing it with a spoon rather than bothering with a pastry bag. Do not fill the cavities more than halfway full (if making as muffins, fill only halfwa); do not overfill.
Place Twinkie pan on a cookie sheet for stability, and bake for 7 minutes, or until the surface of the Twinkies (or muffins) appears to be just setting up. If the surface has not begun to set up, cook for 1 or 2 more minutes until it has. Remove Twinkies from the oven, add 8 to 10 mini-marshmallows to each Twinkie, by lightly and carefully pressing the marshmallows into the barely-set surfaces with your fingers or by very lightly tapping them down with a fork. Return the Twinkies to the oven and bake for another 8 to 10 minutes, or until they have risen, marshmallows have begun to barely melt, and a toothpick comes out clean from the cake part. Do not overbake as they will continue to firm up while cooling. Allow the Twinkies to cool completely and extremely well in their pan before attempting to remove them. The tops may fall and the marshmallows may fall a bit, that’s okay. Serve upon cooling and store extras in an airtight container on the countertop for up to one week or wrap them individually in plasticwrap for storage, snacks, or lunch boxes.
Tip: Don’t try to flip the pan over and invert to remove the finished Twinkies. Instead, take your finger and push up on the underside of the silicone pan to help loosen them. After my Twinkies were completely cooled, they popped out very easily using this method and none of the marshmallow on the tops was marred or wasted.
Notes: I used Greek yogurt which is thicker than regular yogurt and I don’t know how regular yogurt will work. I don’t know if soy or coconut milk yogurt will work either, since the dairy protein in cow’s milk-based yogurt likely had an effect on the finished product (same principle that pudding will not set up using soy milk and “real” cow’s milk is required); therefore I cannot confidently make suggestions for a vegan version but feel free to experiment.
You could try this with a gluten-free cake mix, and I suspect you will have good results, but I have not experimented. Take care to make sure the marshmallows are gluten-free if attempting to keep the recipe gluten free.
If making as muffins, I’d suspect the muffins would be done after approximately 18-20 minutes total, and about 9-10 minutes into baking, add the marshmallows, and complete baking them.
[/print_this]
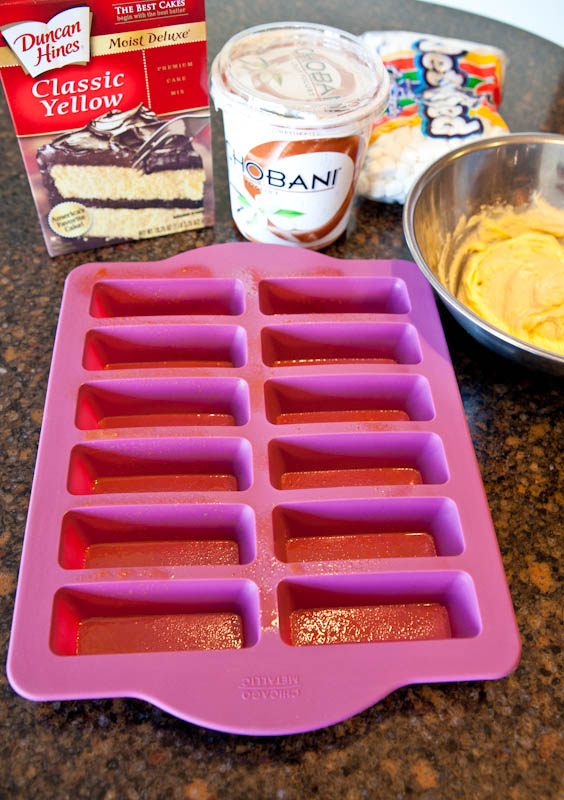
Gather your ingredients, all five of them, and mix the batter with a spoon in a bowl. You don’t need to dirty a mixer for this.
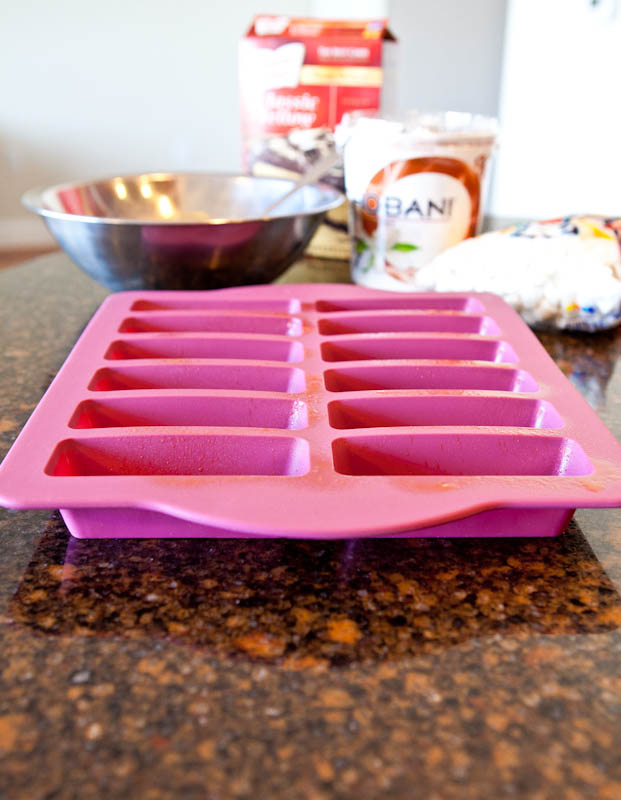
Spoon it carefully into your Twinkie pan which was $14.99 at Bed Bath & Beyond. The intended usage is for biscotti but when I saw it I had Twinkies on the brain. I also plan to use it for Rice Krispies Treats bars, No-Bake Peanut Butter Granola Bars, other bar and candy-making projects. You could also use a muffin tin.
Do not overfill the cavities; filling no more than halfway full. I repeat, no more than halfway full, because 1. the batter will expand quite a bit and 2. after inserting the marshmallows, the “water level rises” dramatically, so to speak.
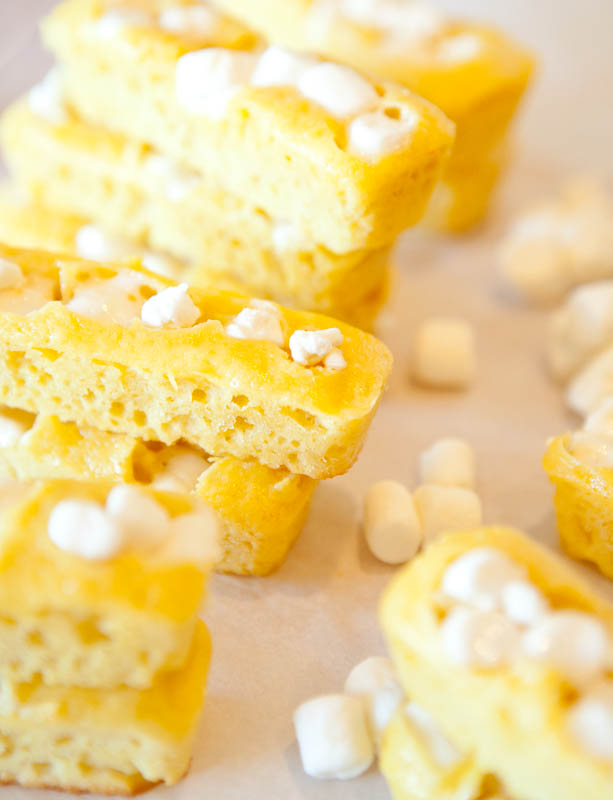
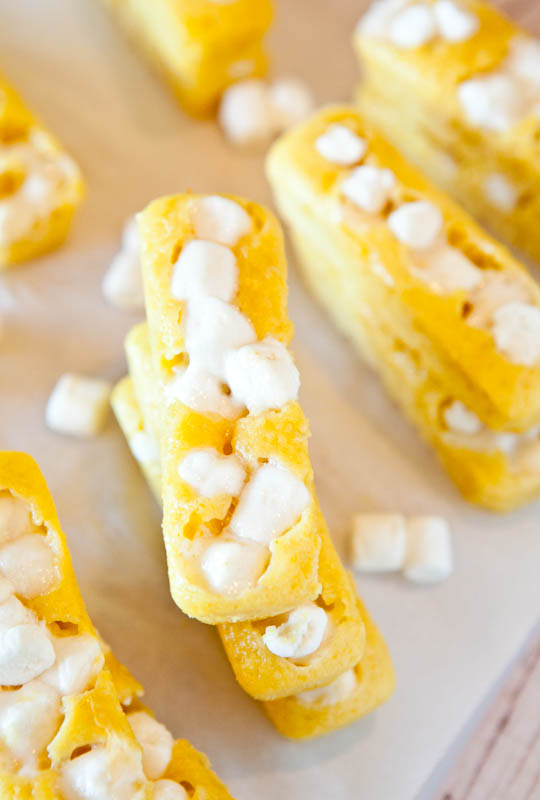
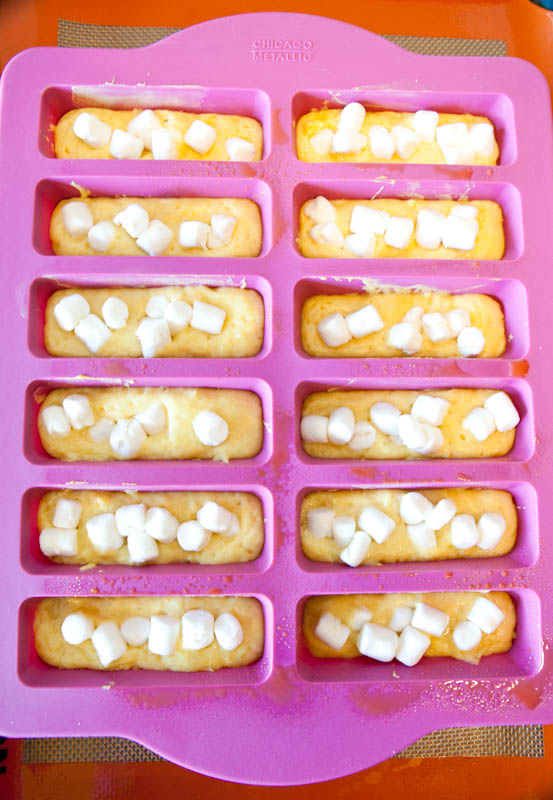
Halfway through the baking process, after about 7 minutes, I carefully placed 8 to 10 marshmallows in each cavity, lightly tapping them down, and then baked for another 8 minutes.
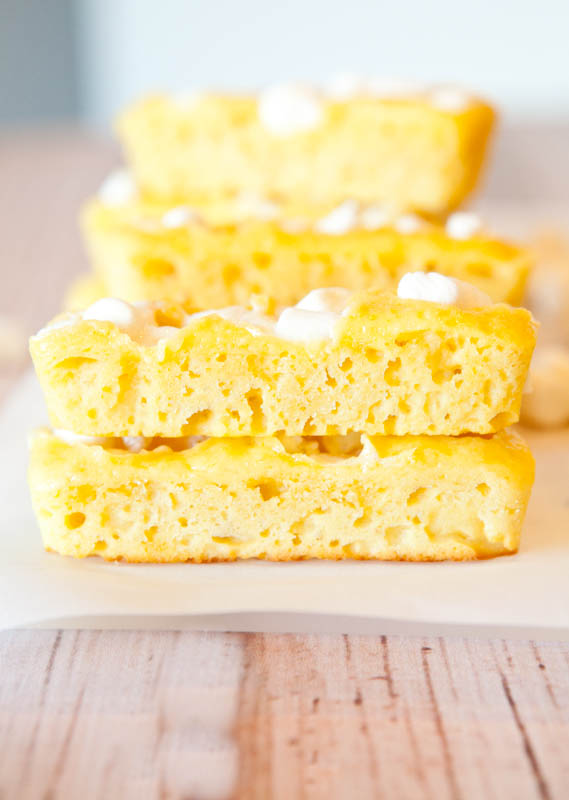
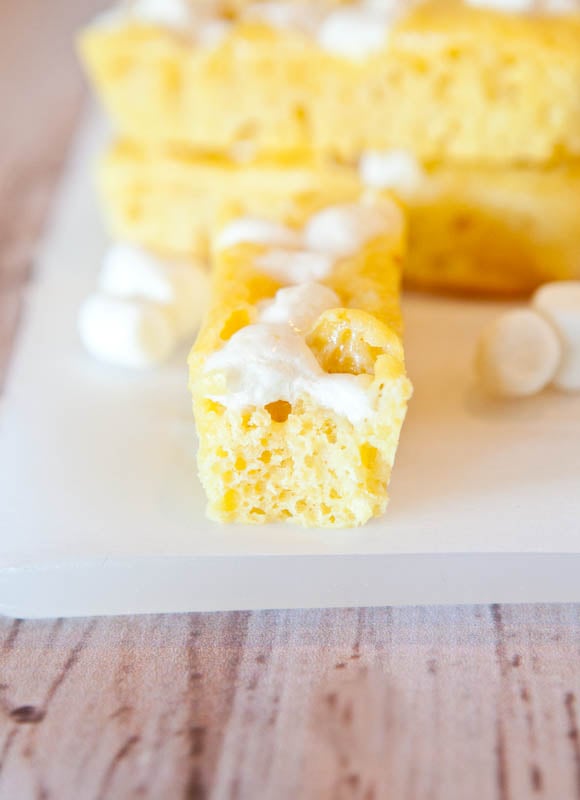
Are these a dead ringer for Twinkies? No, not a dead ringer. Are they pretty flippin’ close? Yes. For a five-ingredient recipe, with no added butter or oil and a mere two optional tablespoons of added sugar, they’re really close to Twinkies. And dare I say “healthier” than Twinkies, although that was not my intention when I embarked on this project.
I embarked on the project as a “just because”. Just because I wanted to reinvent the wheel just to see how close I could get to factory-made Twinkies at home because I like a good kitchen challenge.
And truth be told, I wanted to surprise Skylar with these for her fifth birthday!
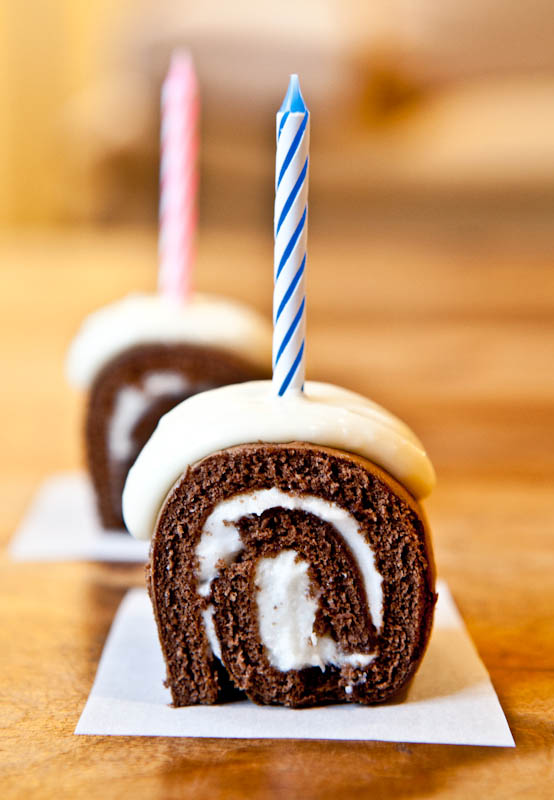
Scott got homemade Ho-Ho’s for his birthday. Skylar got homemade Twinkies. Maybe I’ll make some Ding Dong’s for mine since knockoff Hostess products on birthdays has been a trend this year.
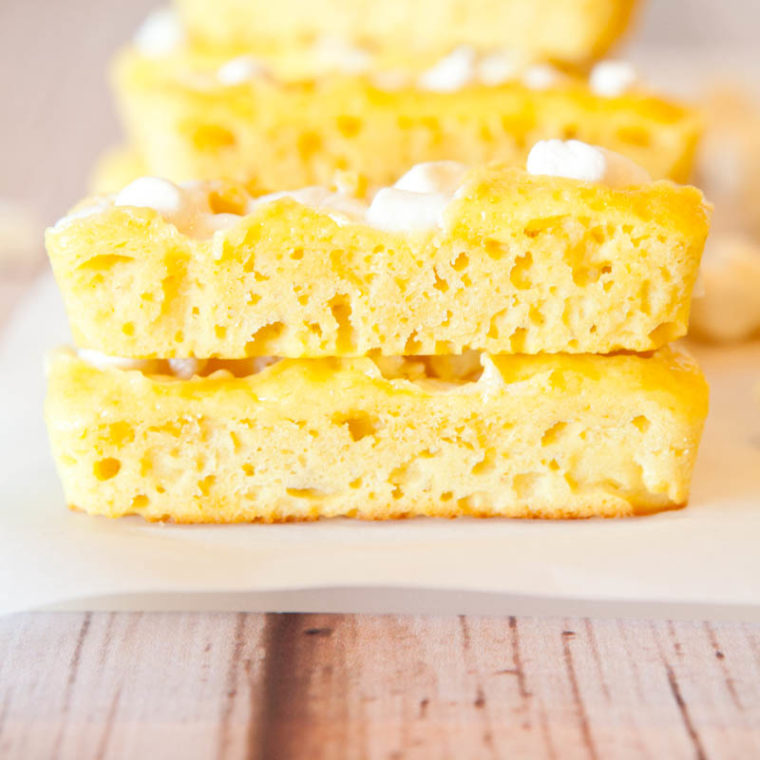
The yogurt kept them very moist and spongy, and I suspect, that’s also what gave them a bit of a dimpled appearance. I’m sure there are ways to make these much more authentic-tasting, or professional-looking, but at that point, just go buy a box of Twinkies.
One-half dozen were inhaled seconds after the photos were completed and the other half got wrapped in plasticwrap and tossed into lunches.
For something that will definitely be a conversation piece at the dinner table or at a birthday party, make these.
For a It’s a Tuesday night and I’m going to have a party in my mouth party, make these.
They’re a 20 minute project, start to finish, and only dirty one bowl.
I love that almost as much as I love Twinkies.
Do you like Twinkies? Any childhood favorites that you loved then, or maybe still love now, completely devoid of nutrition but completely full of happy memories?
Have you re-created any store bought favorites at home?
I’ve done plenty…
Raw Vegan Girl Scout “Thin Mint”-Inspired Fudge
Samoas Bars (Vegan & GF options)
Butterfinger Bars (No Bake, Vegan & GF options)
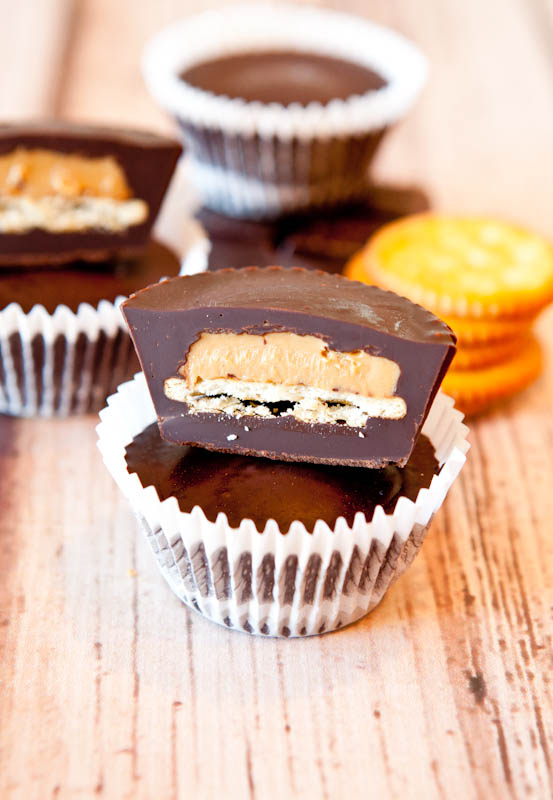
Ritz Cracker Stuffed Peanut Butter Cups (No Bake)
Have a great week!
Comments