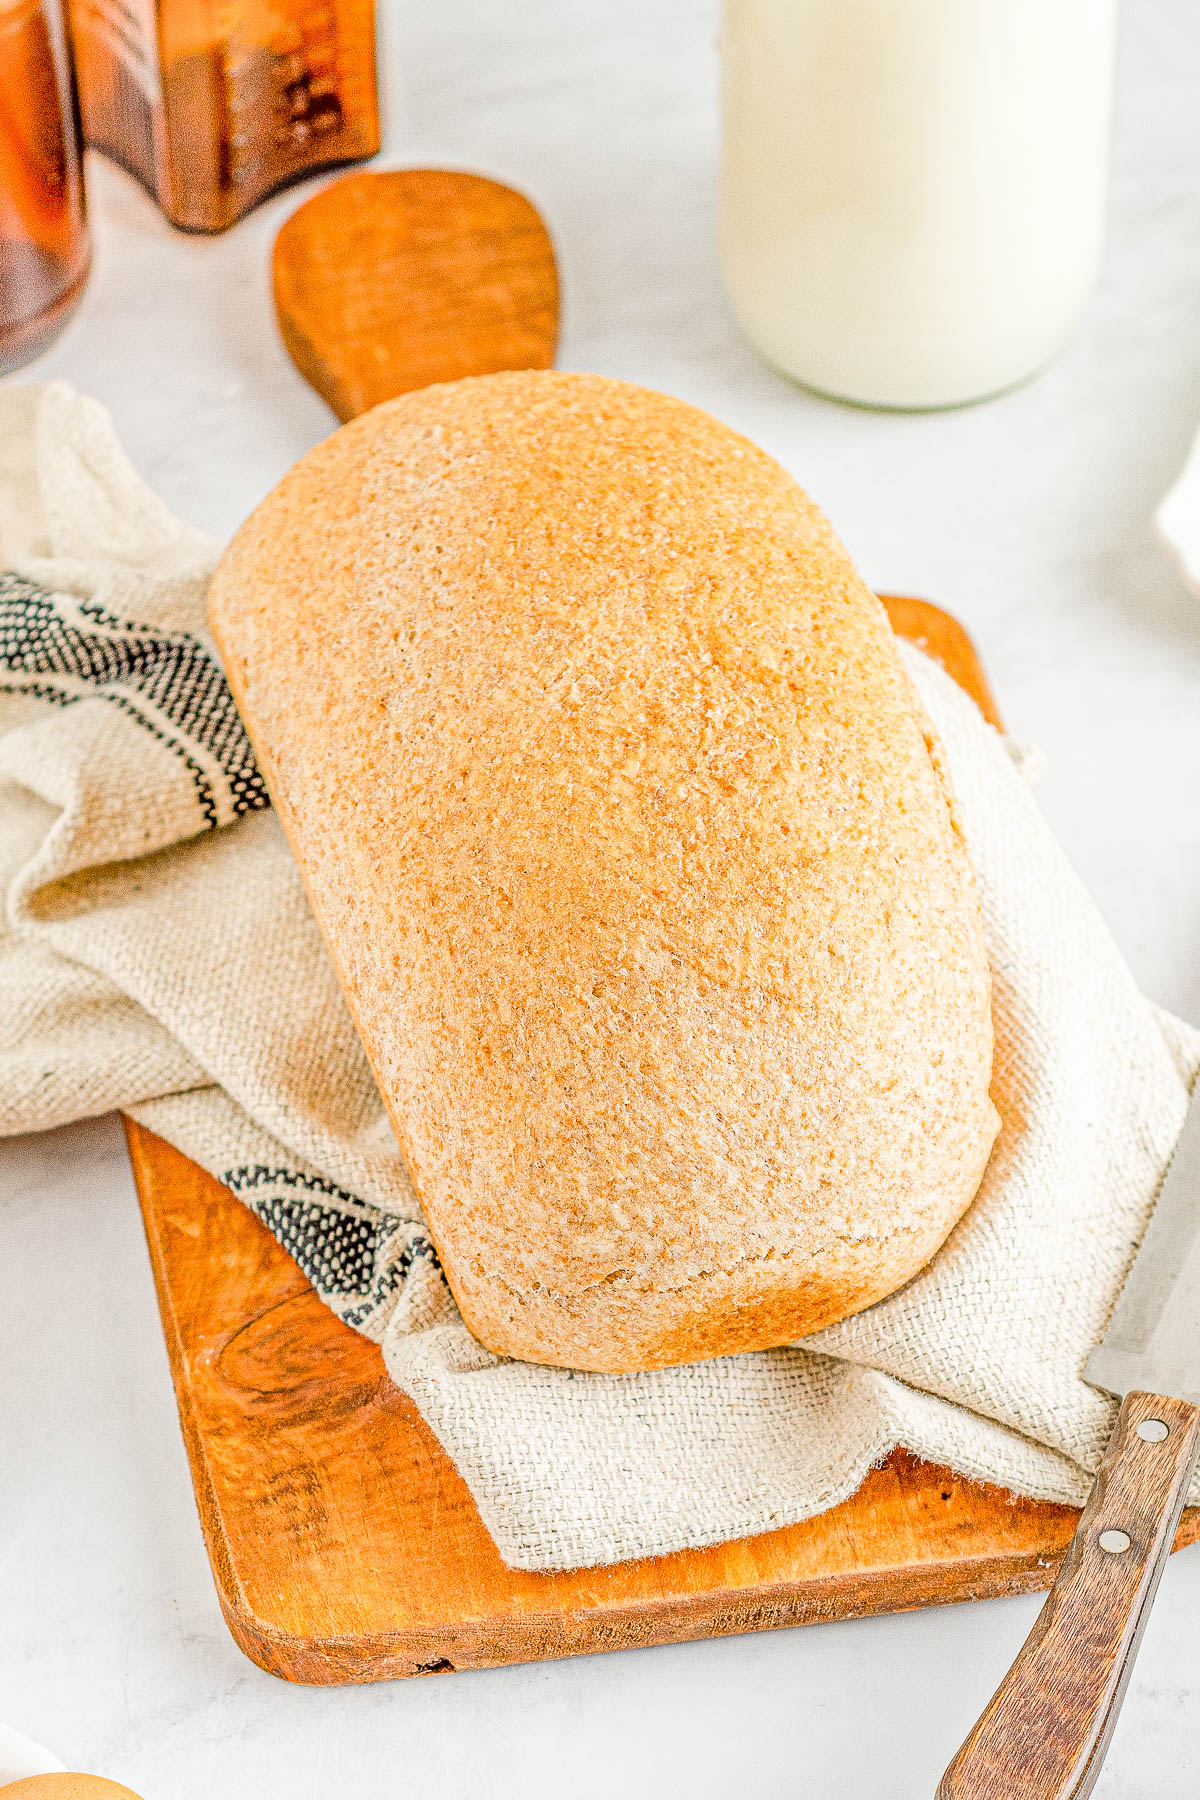
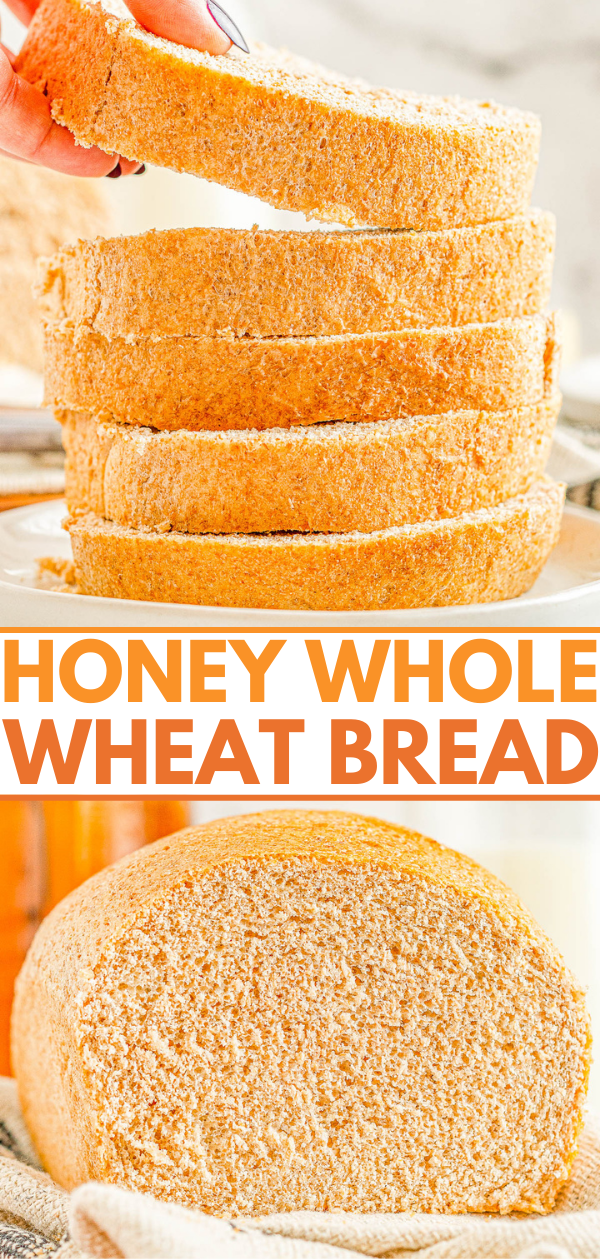
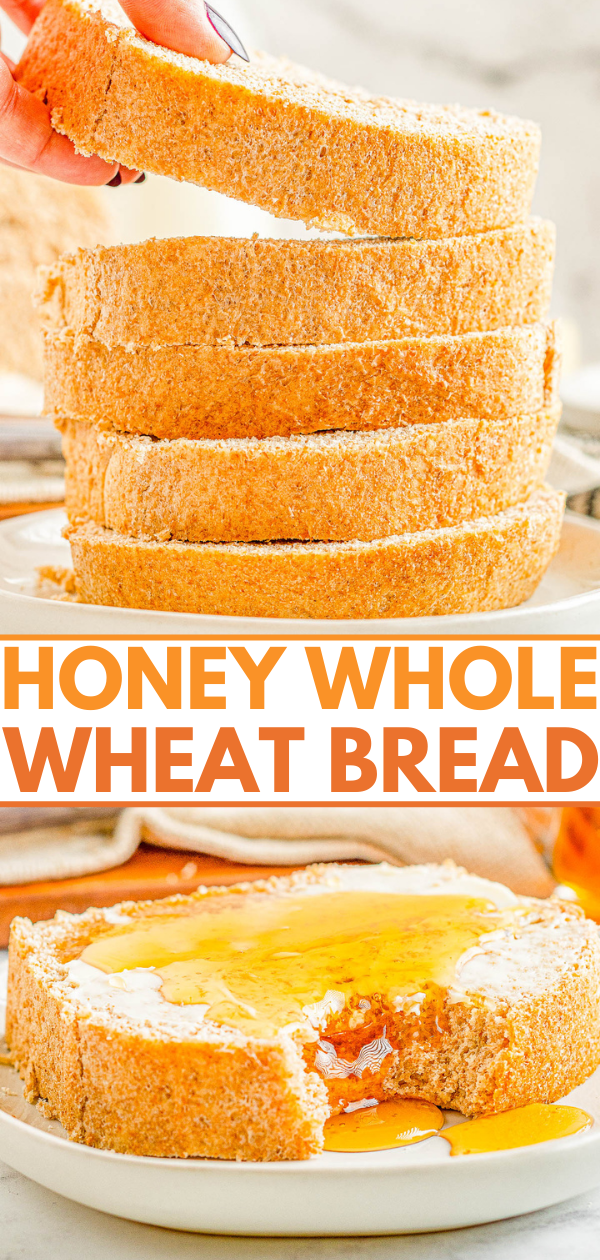
Honey Whole Wheat Bread — An EASY and foolproof homemade bread recipe for honey-sweetened whole wheat bread! It’s soft, thick, and scrumptious! Serve it plain, toast it, make sandwiches with it, or serve it with honey butter which is my favorite! Even if you’re never made bread before, my recipe is straightforward and do-able.
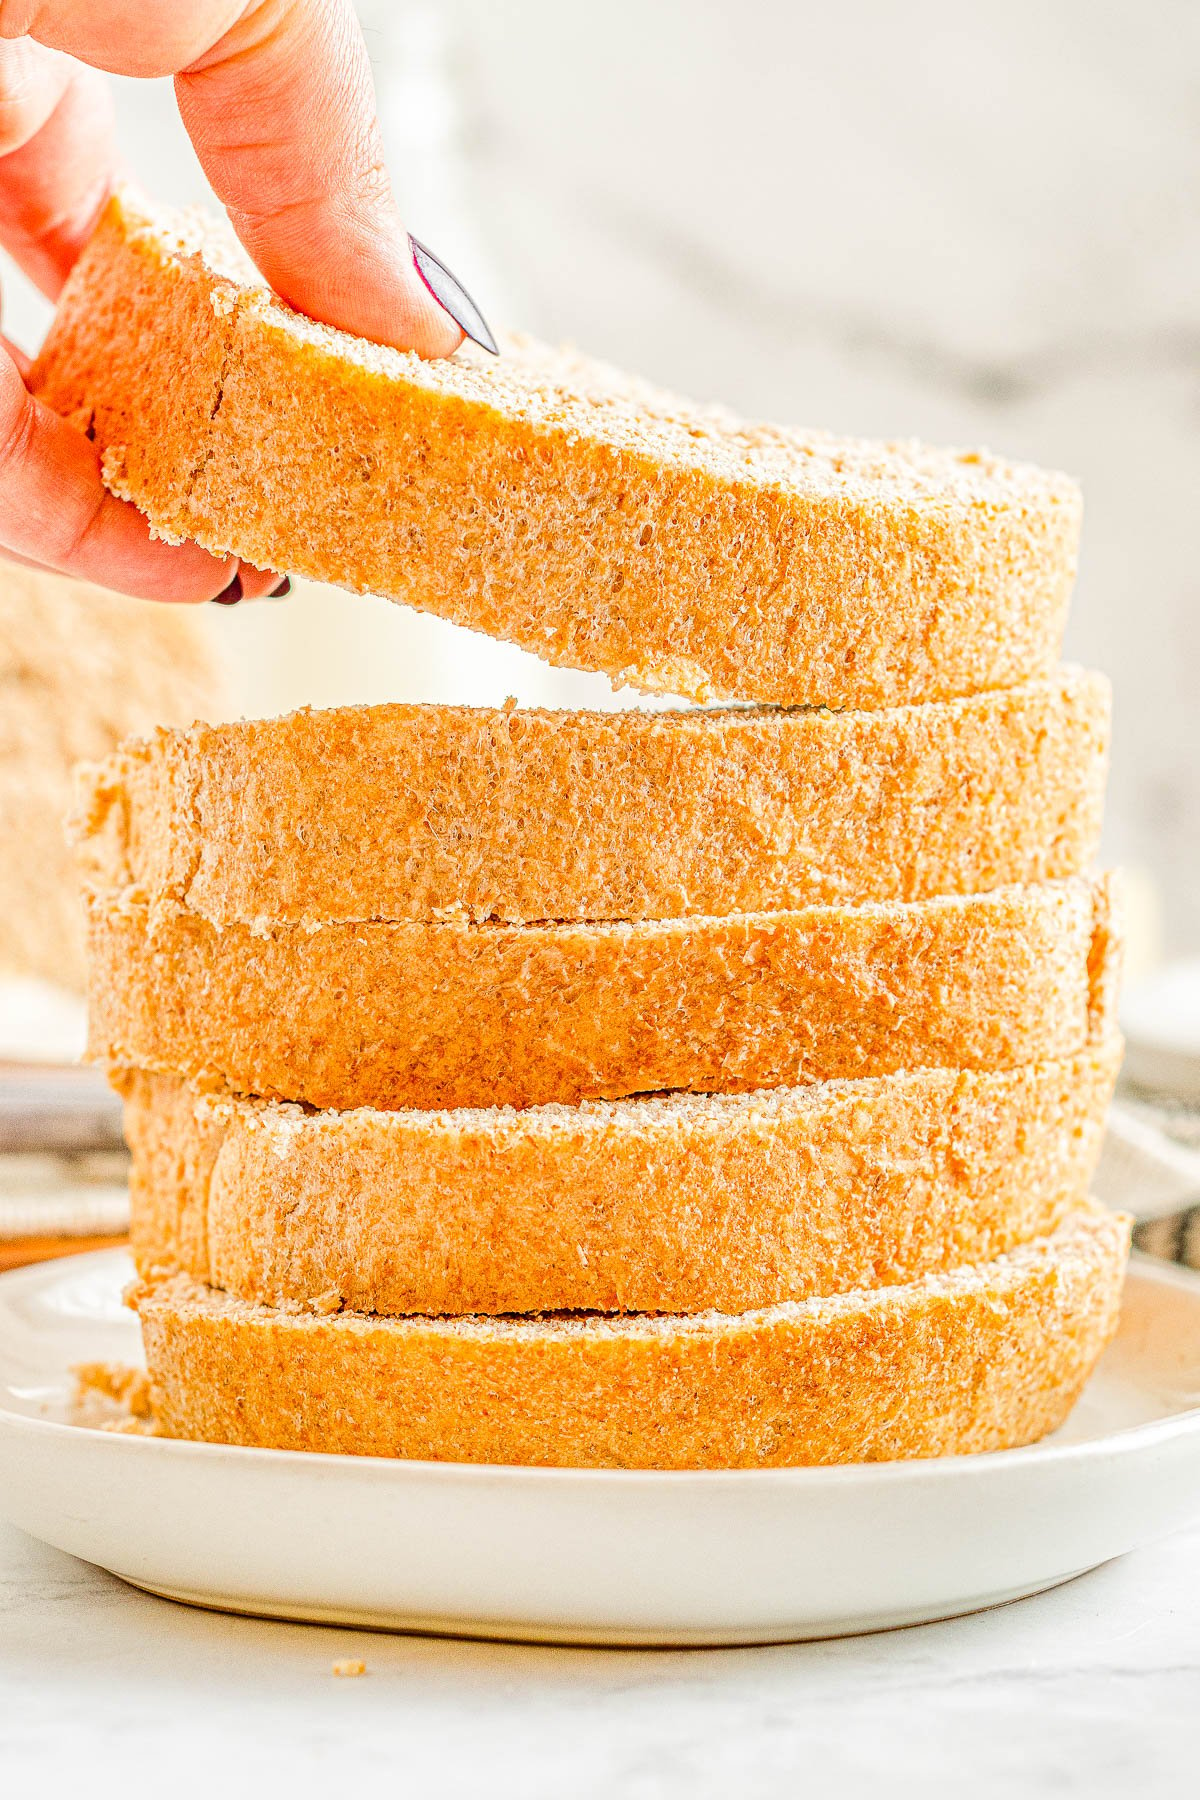
Table of Contents
If you’re the type of person who likes a nice thick slice of bread, this homemade honey wheat bread recipe is just for you.
Even if you’ve never made bread before or are new to working with whole wheat flour, I assure you that this is a very straightforward and do-able bread recipe.
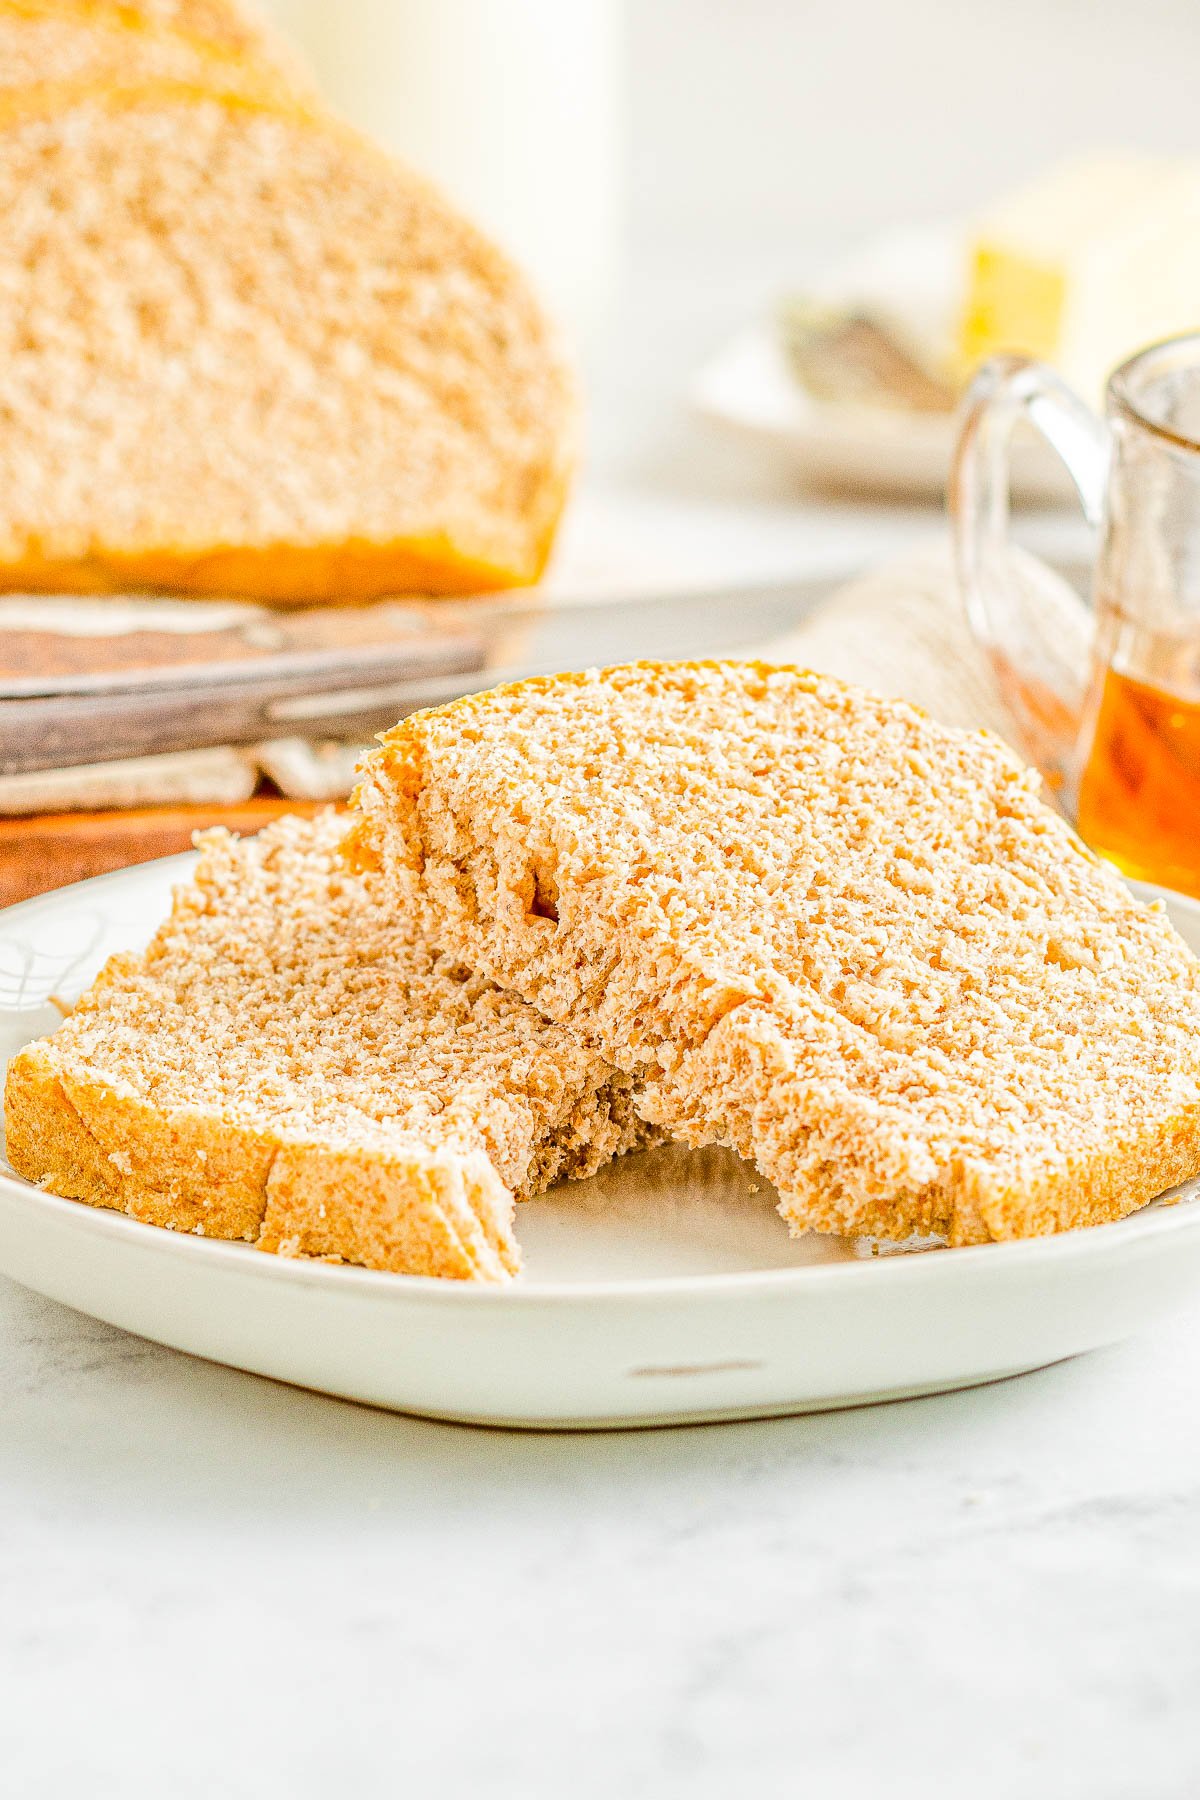
This honey wheat bread has a slightly dense texture but it’s very soft. Whole wheat bread is always a little heavier and denser than white bread since it’s just the nature of ground whole wheat.
This honey whole wheat bread recipe makes two loaves. One to eat now and one to either give away to lucky friends and neighbors or coworkers. Or pop it in the freezer for a rainy day.
Ingredients for This Recipe
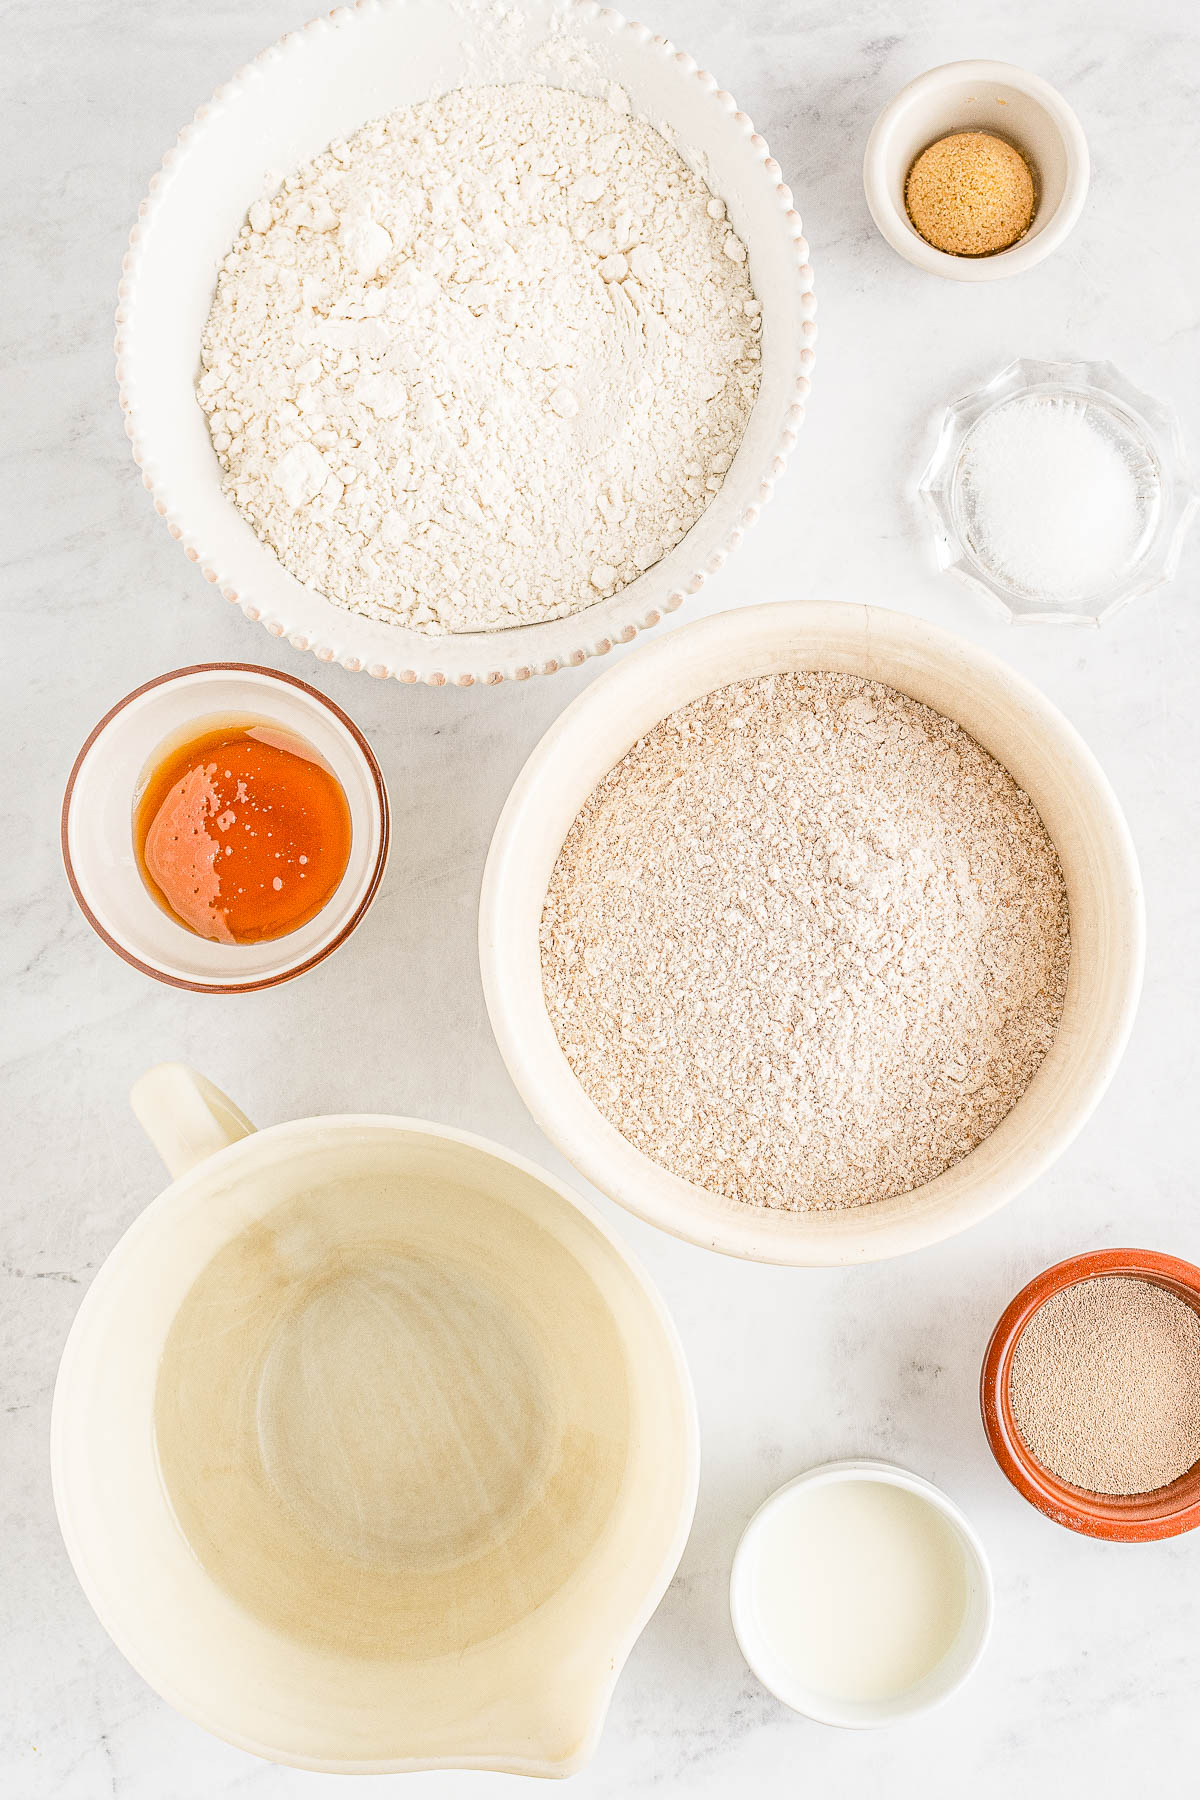
There are only 8 ingredients (7 if you don’t count water) in this recipe for whole wheat bread with honey!
You’ll need the following fridge and pantry staples to make this bread:
- Warm water
- Milk
- Honey
- Active dry yeast
- Light brown sugar
- Whole wheat flour
- All-purpose flour
- Salt
Note: All ingredients amounts are listed in the recipe card section when you keep scrolling down.
A Note About the Types of Flour Used
This recipe was designed and developed specifically to use a mixture of both whole wheat flour and all-purpose flour. If you don’t have whole wheat flour on hand, make a classic Sandwich Bread instead.
Note that you CANNOT use all whole wheat flour in this recipe. If the bread is made with only whole wheat flour it will be a very, very dense and rubbery bread. It’s difficult to get the bread to rise properly due to the lack of sugars in the flour to help develop the gluten.
My grandma was one of the only people I knew who can pull off whole wheat bread without any white flour. However, she ground her own whole grains fresh and added other grains to it such as quinoa, oats, and millet. This isn’t for the average person, that’s for sure.
How to Make Honey Wheat Bread
Don’t be intimidated by making bread, even if you never made bread before. Follow my very straightforward steps. Let’s get started.
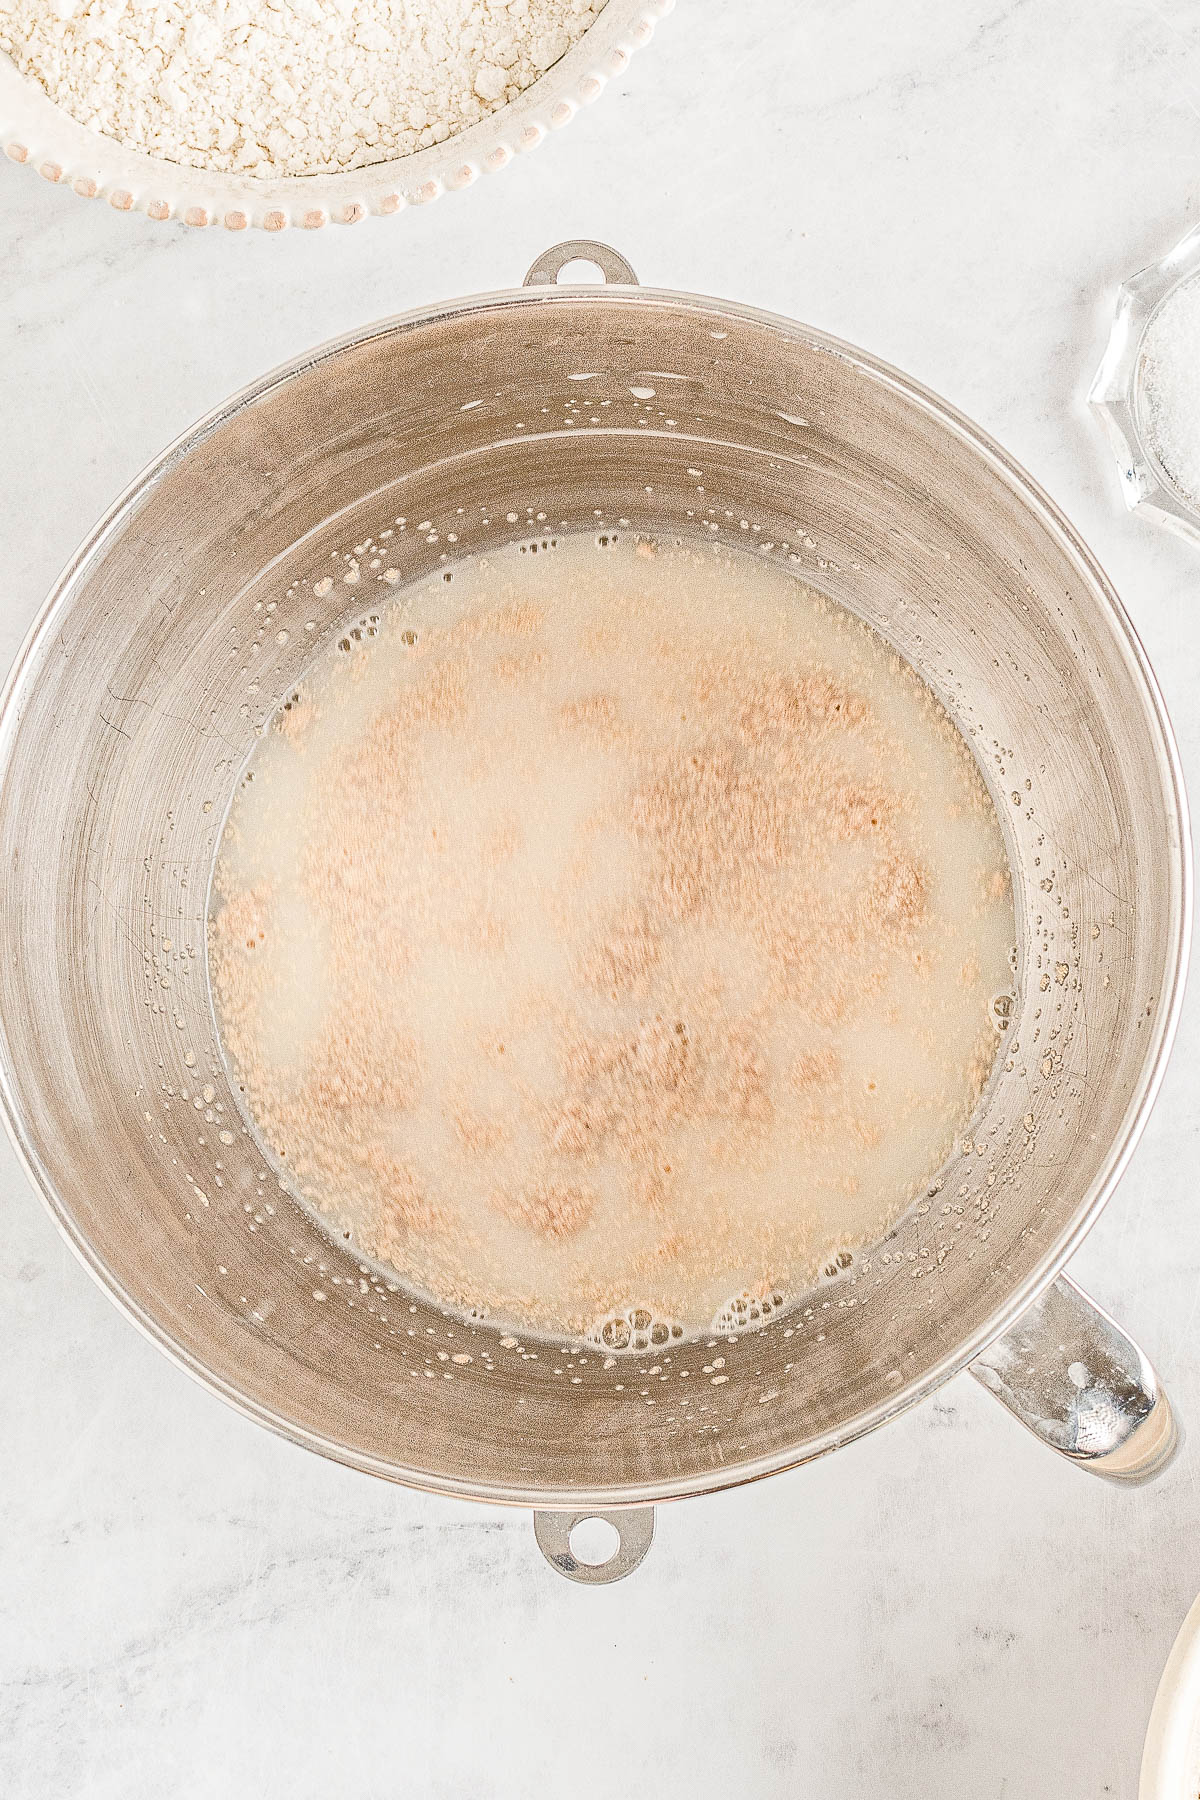
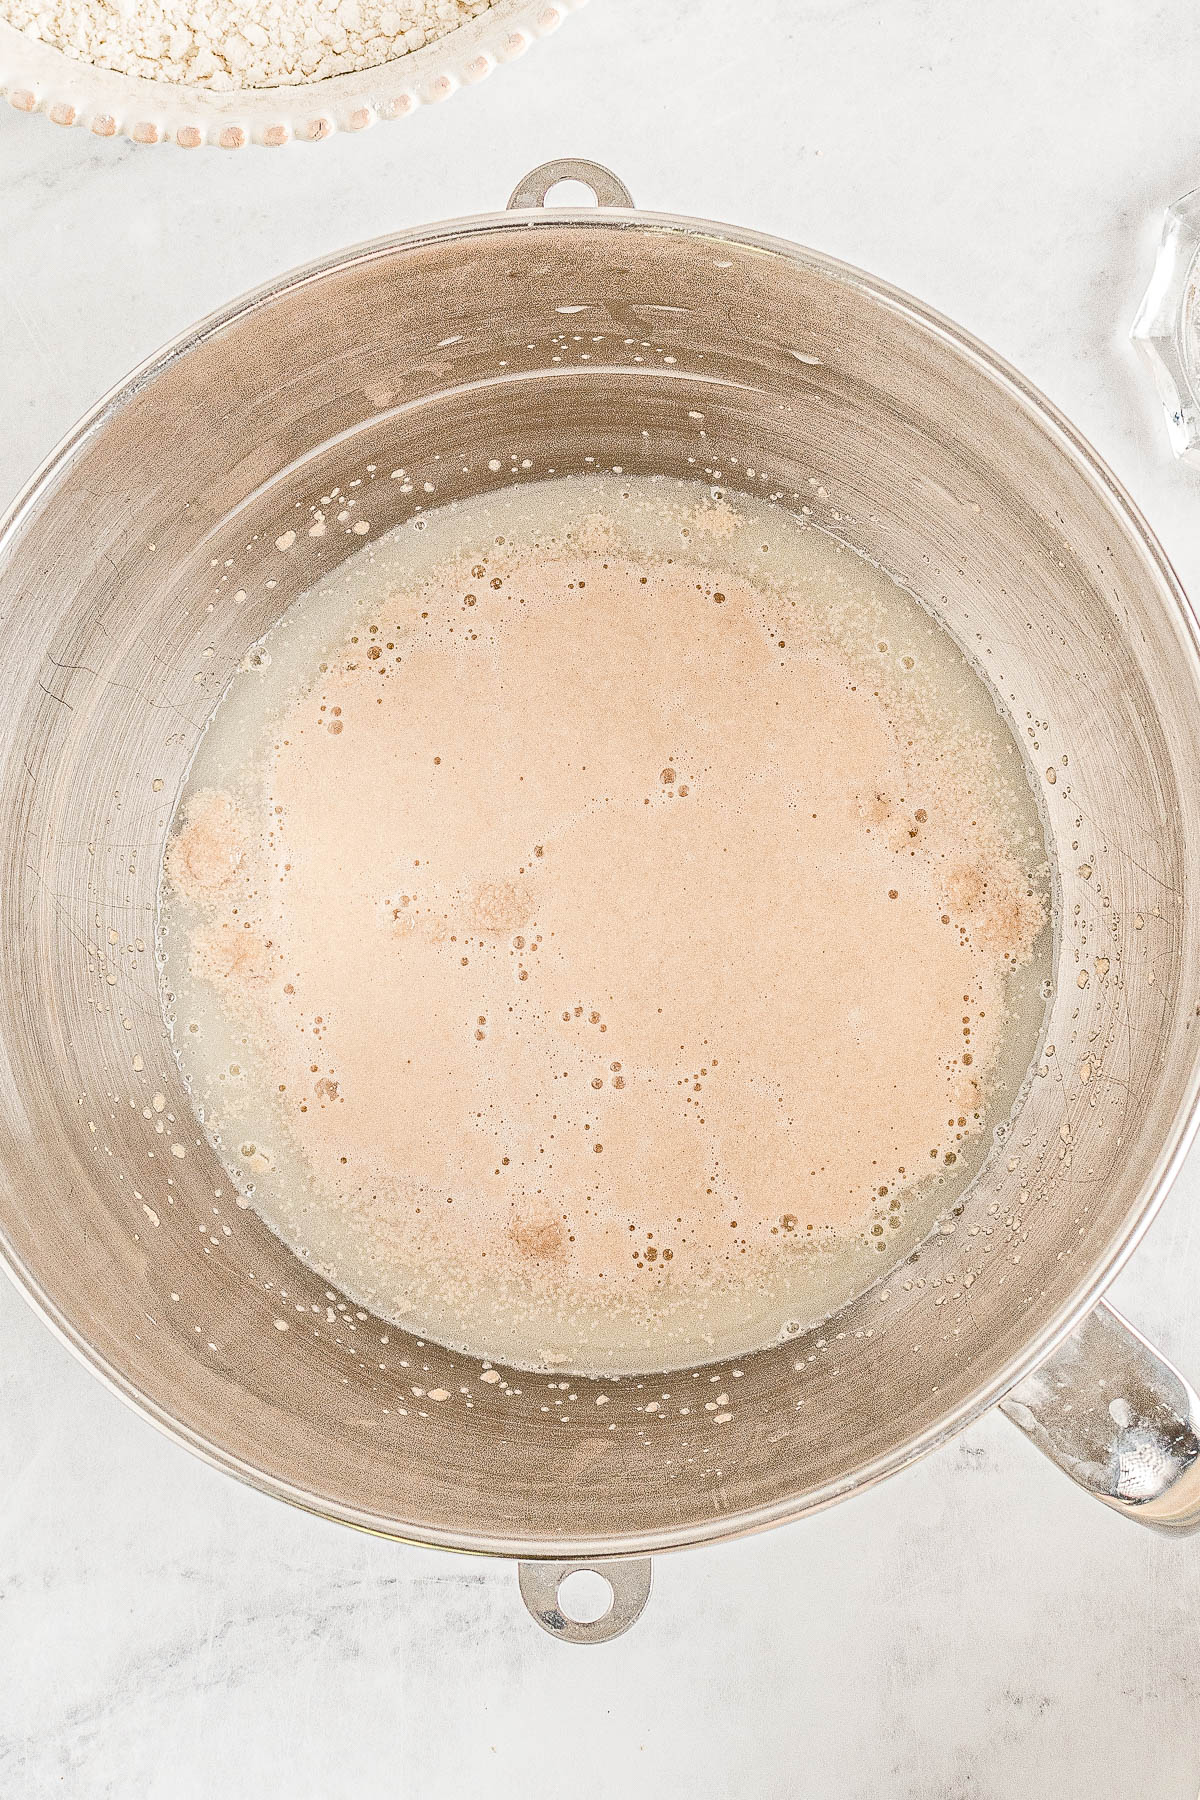
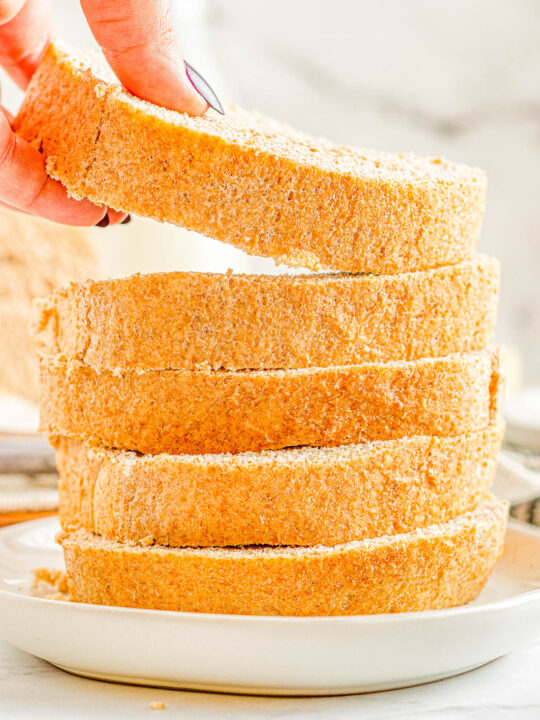
- To the bowl of a stand mixer fitted with the dough hook, add the water, milk, honey, yeast, and brown sugar.
- Proof for 5 minutes. This means check for proof that the yeast is alive and well, meaning it’s bubbly looking.
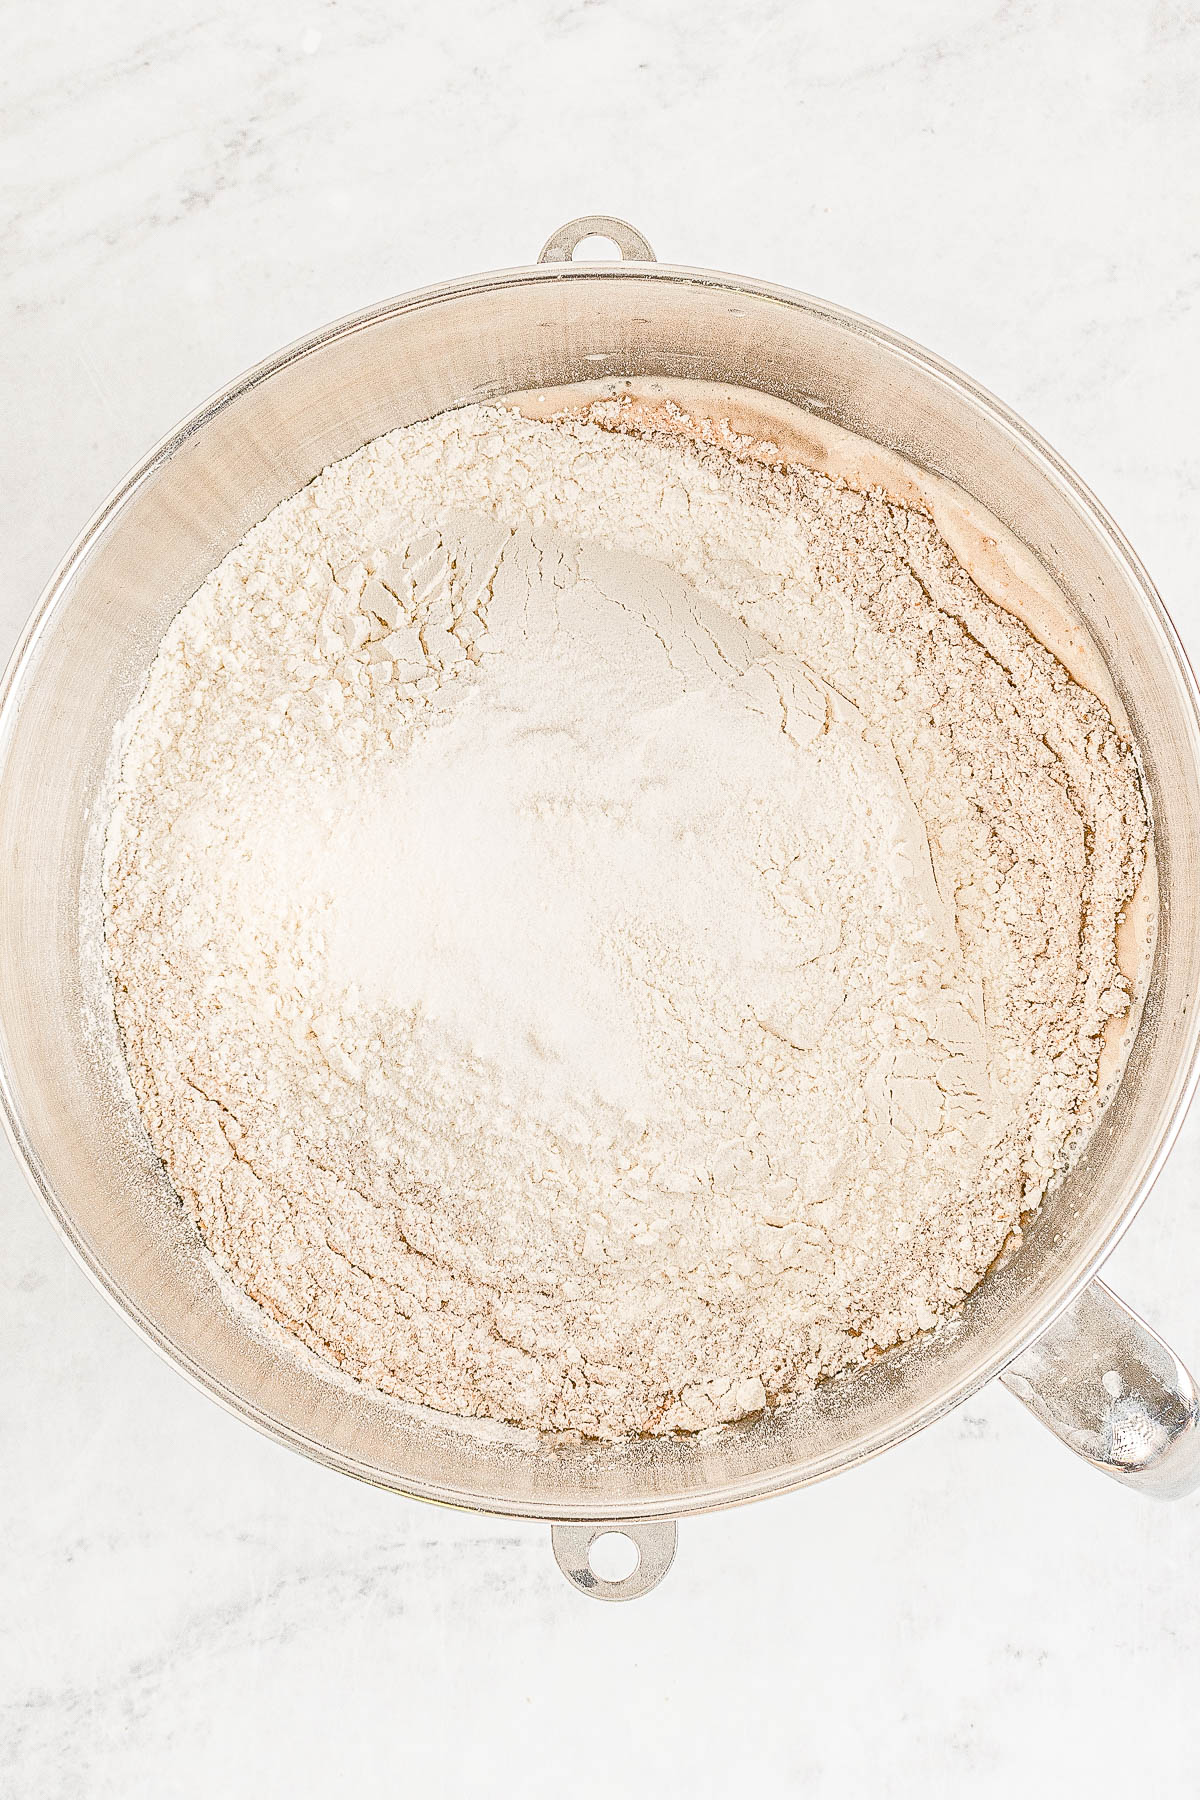
- In a separate large bowl, stir together the whole wheat flour, all-purpose flour, and salt.
What If My Yeast Didn’t Turn Foamy?
If the active dry yeast does not become foamy during the initial proof time, it may be dead due to being expired. Or due to the milk or water being too hot. If it doesn’t froth, start over.
Note that I always use a digital thermometer and take the temperature of the liquids and make sure the temperature is where it should be and don’t guess. You shouldn’t guess either.
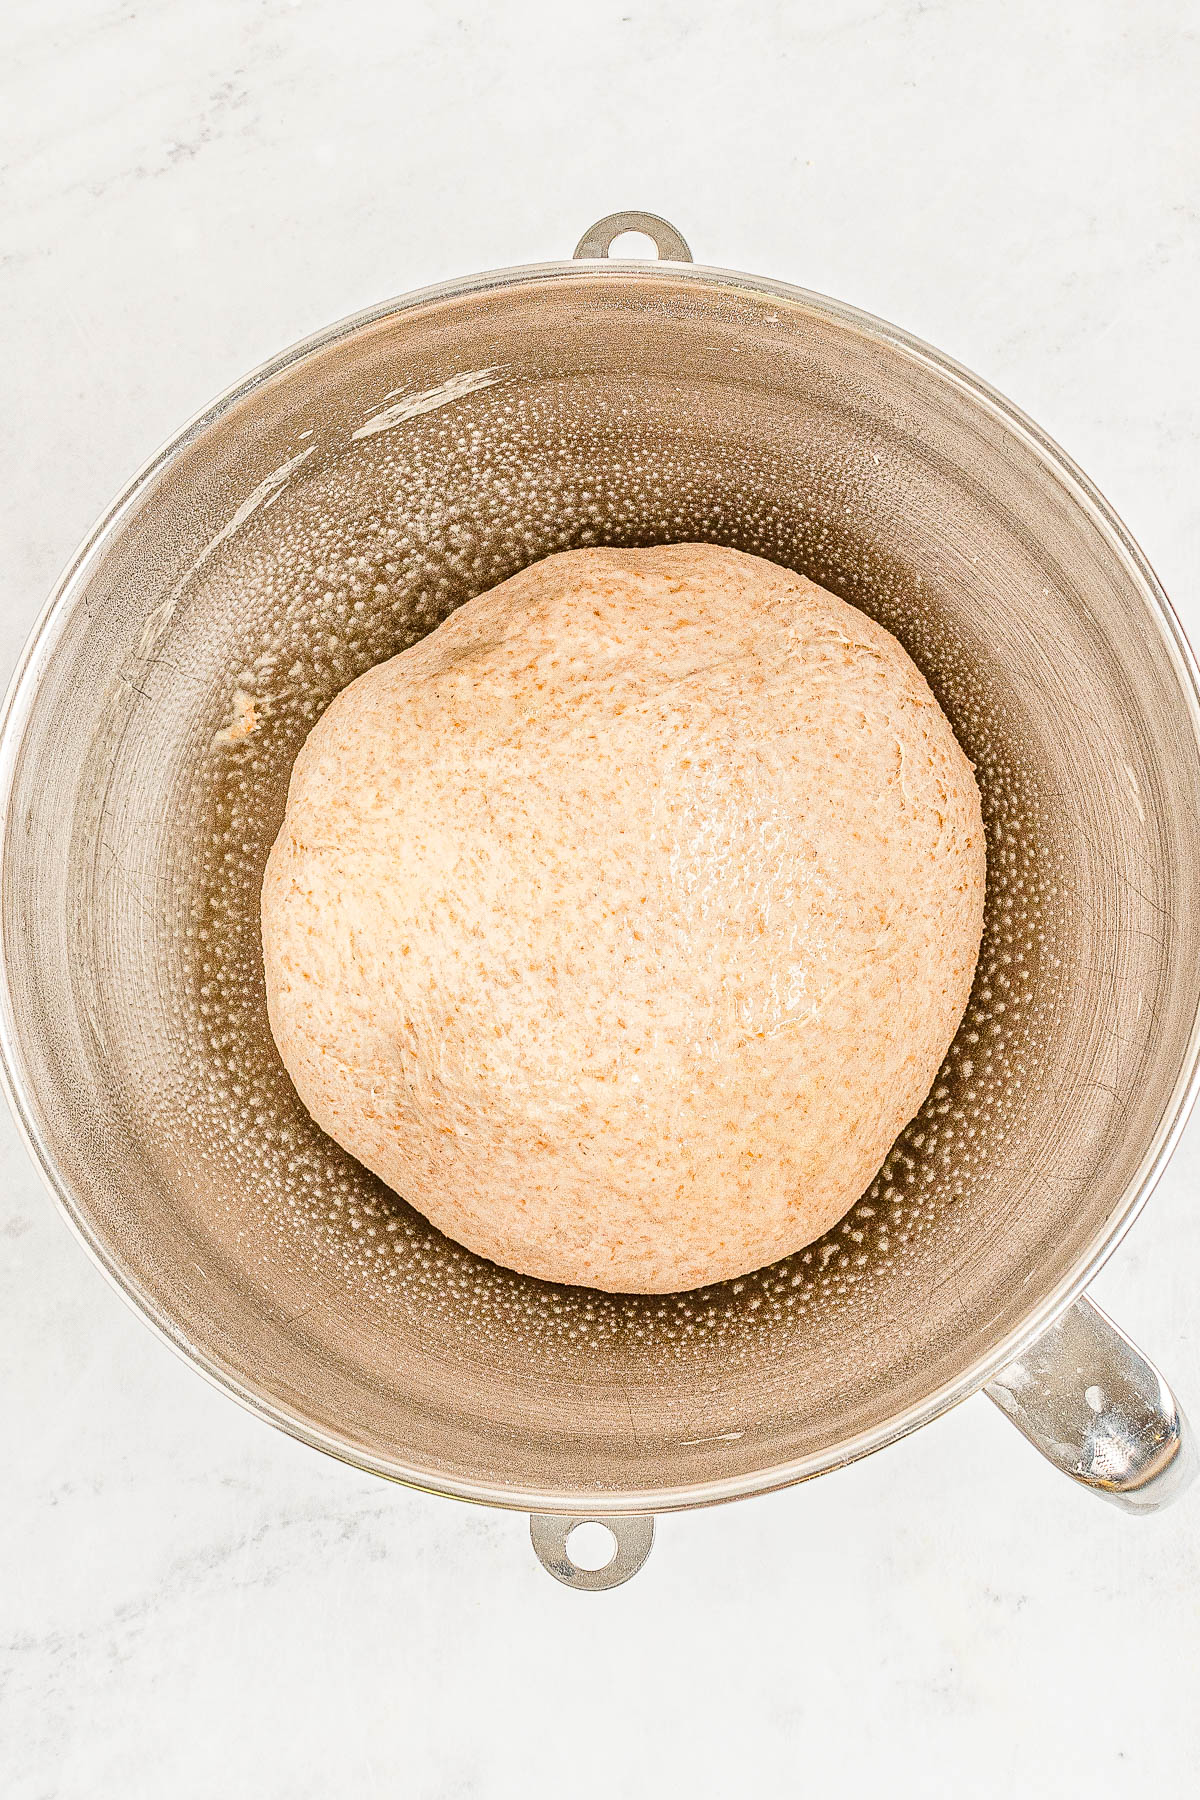
- Slowly add the flour mixture to the wet yeast mixture ingredients while the mixer is running.
- Knead for 4 to 5 minutes or until the dough becomes elastic.
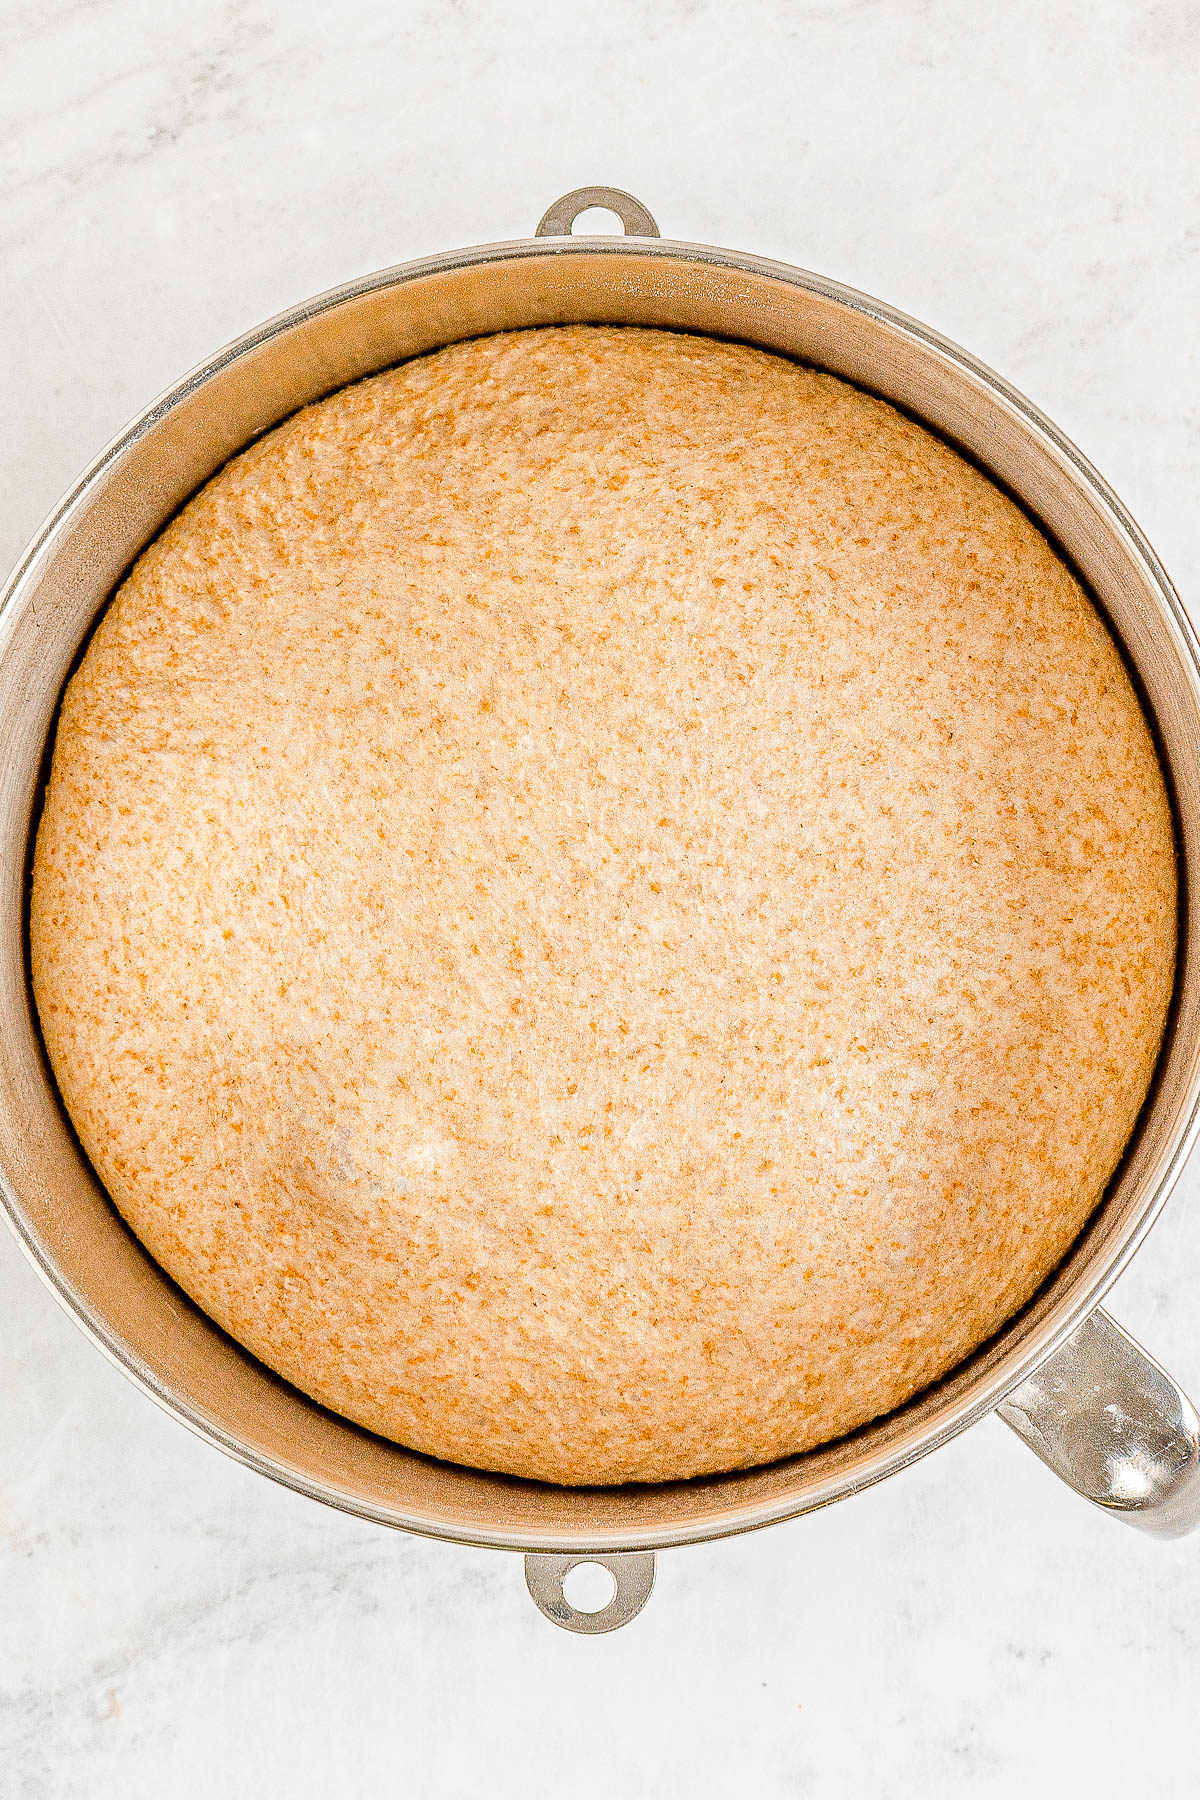
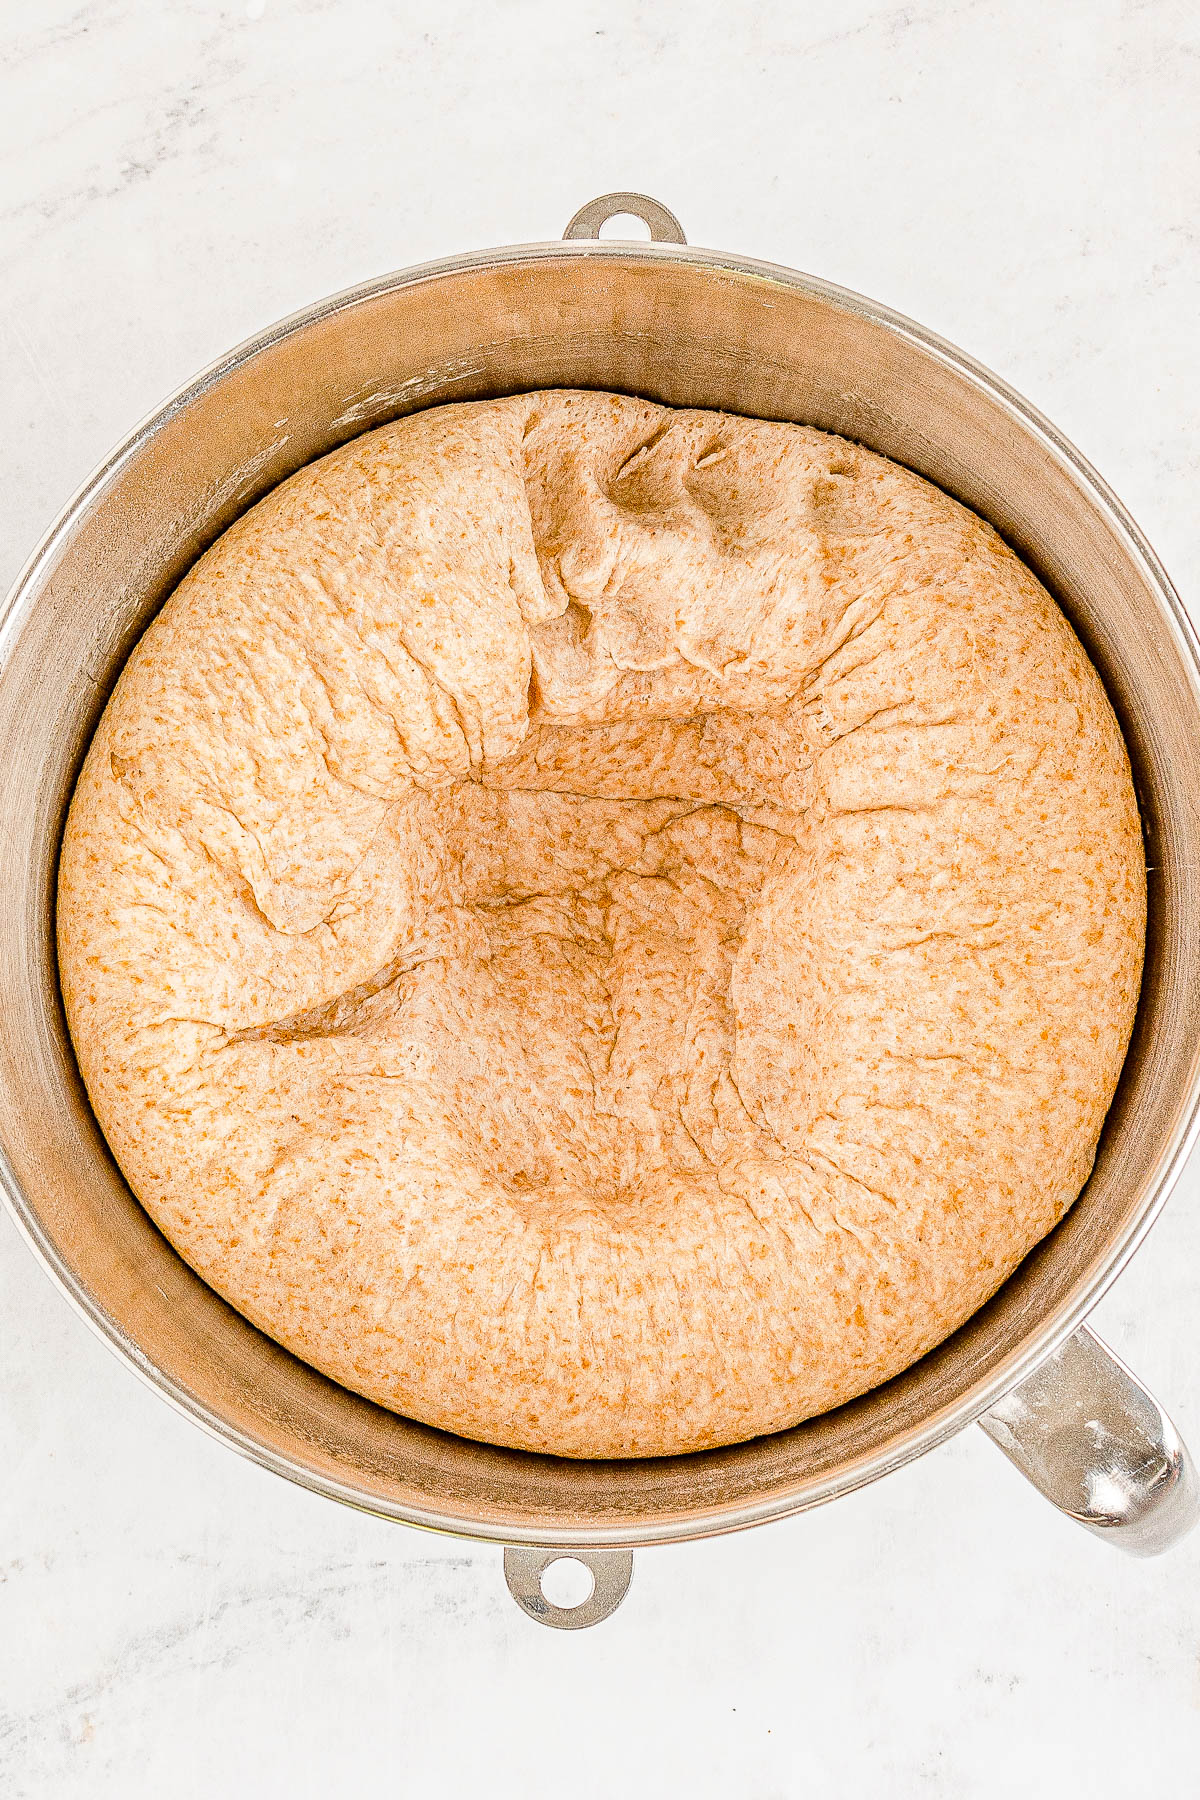
- Remove the dough, spray a large mixing bowl with cooking spray, place the dough into the bowl, cover with plastic wrap, and allow it to rise for 90 minutes, or until doubled in size.
- Punch down the dough.
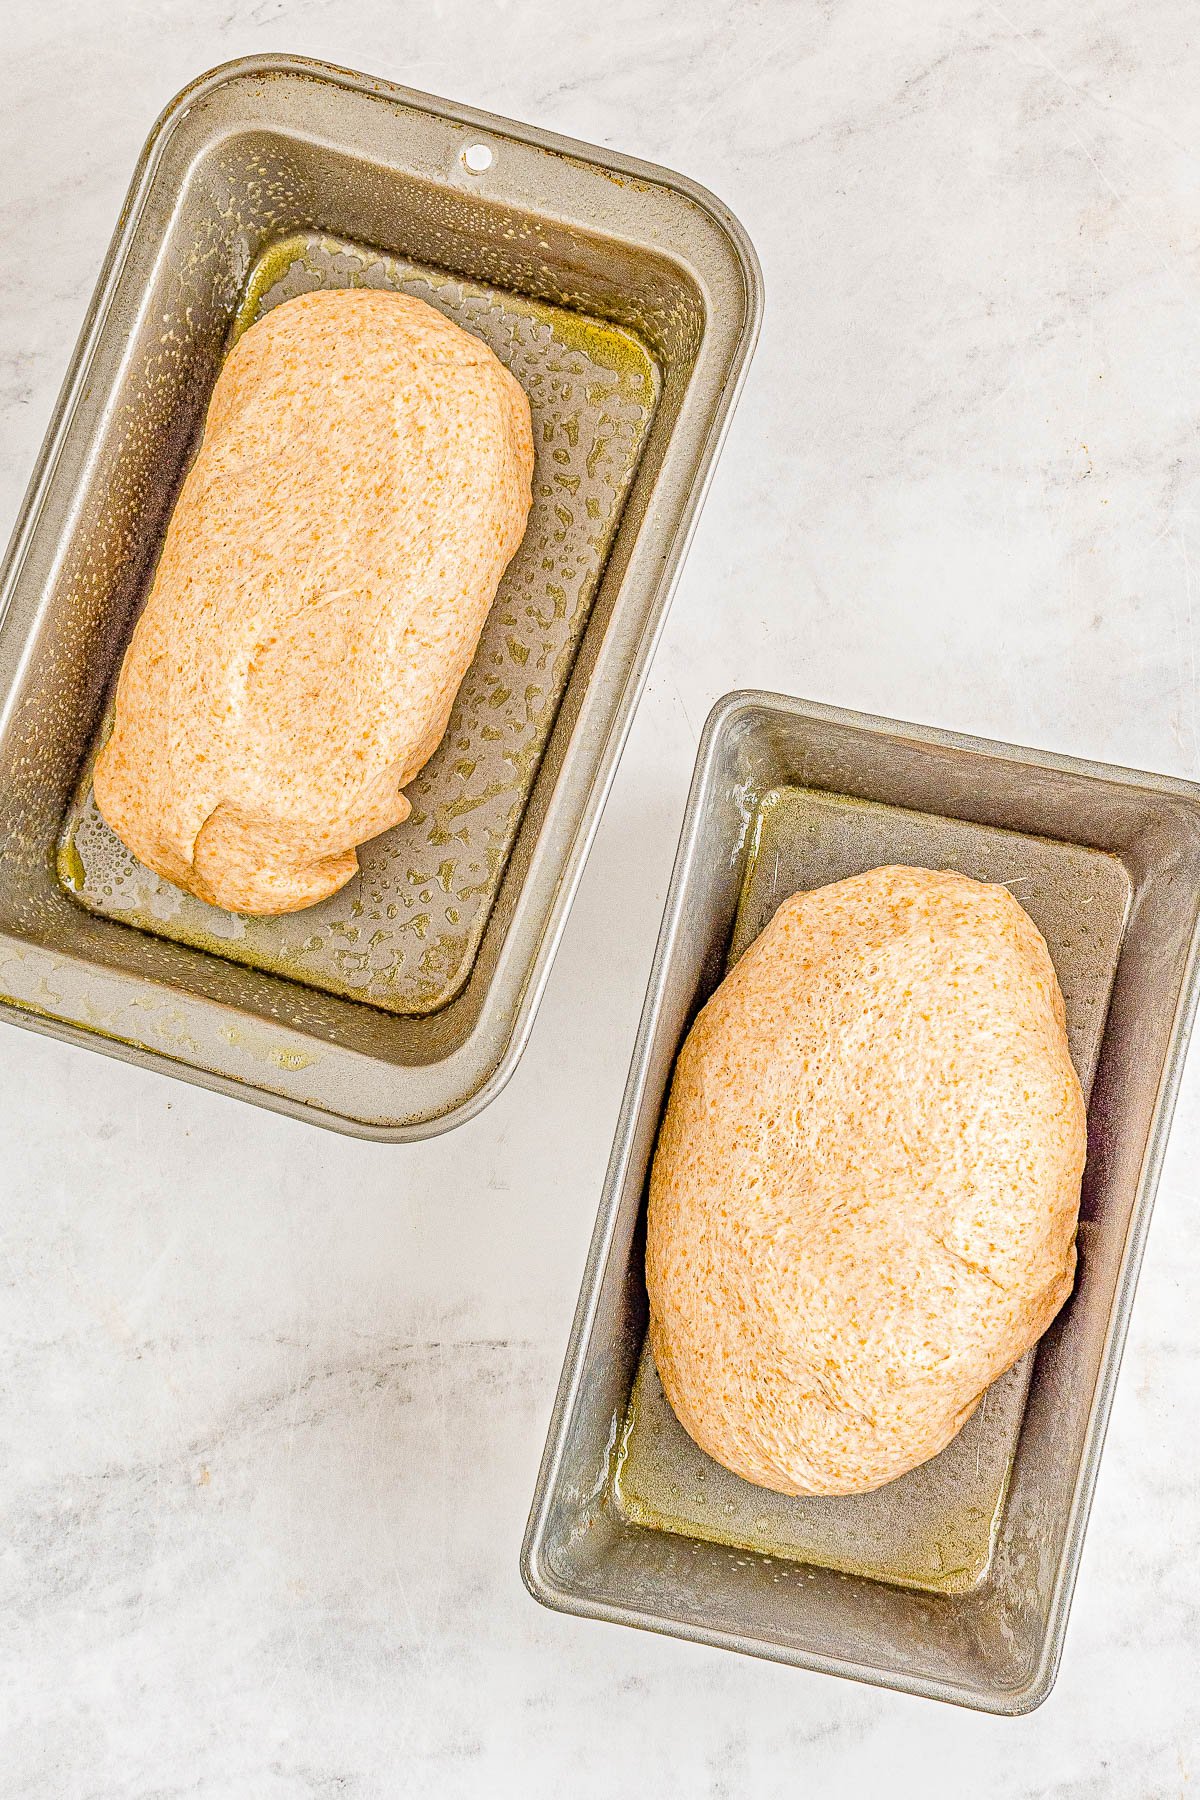
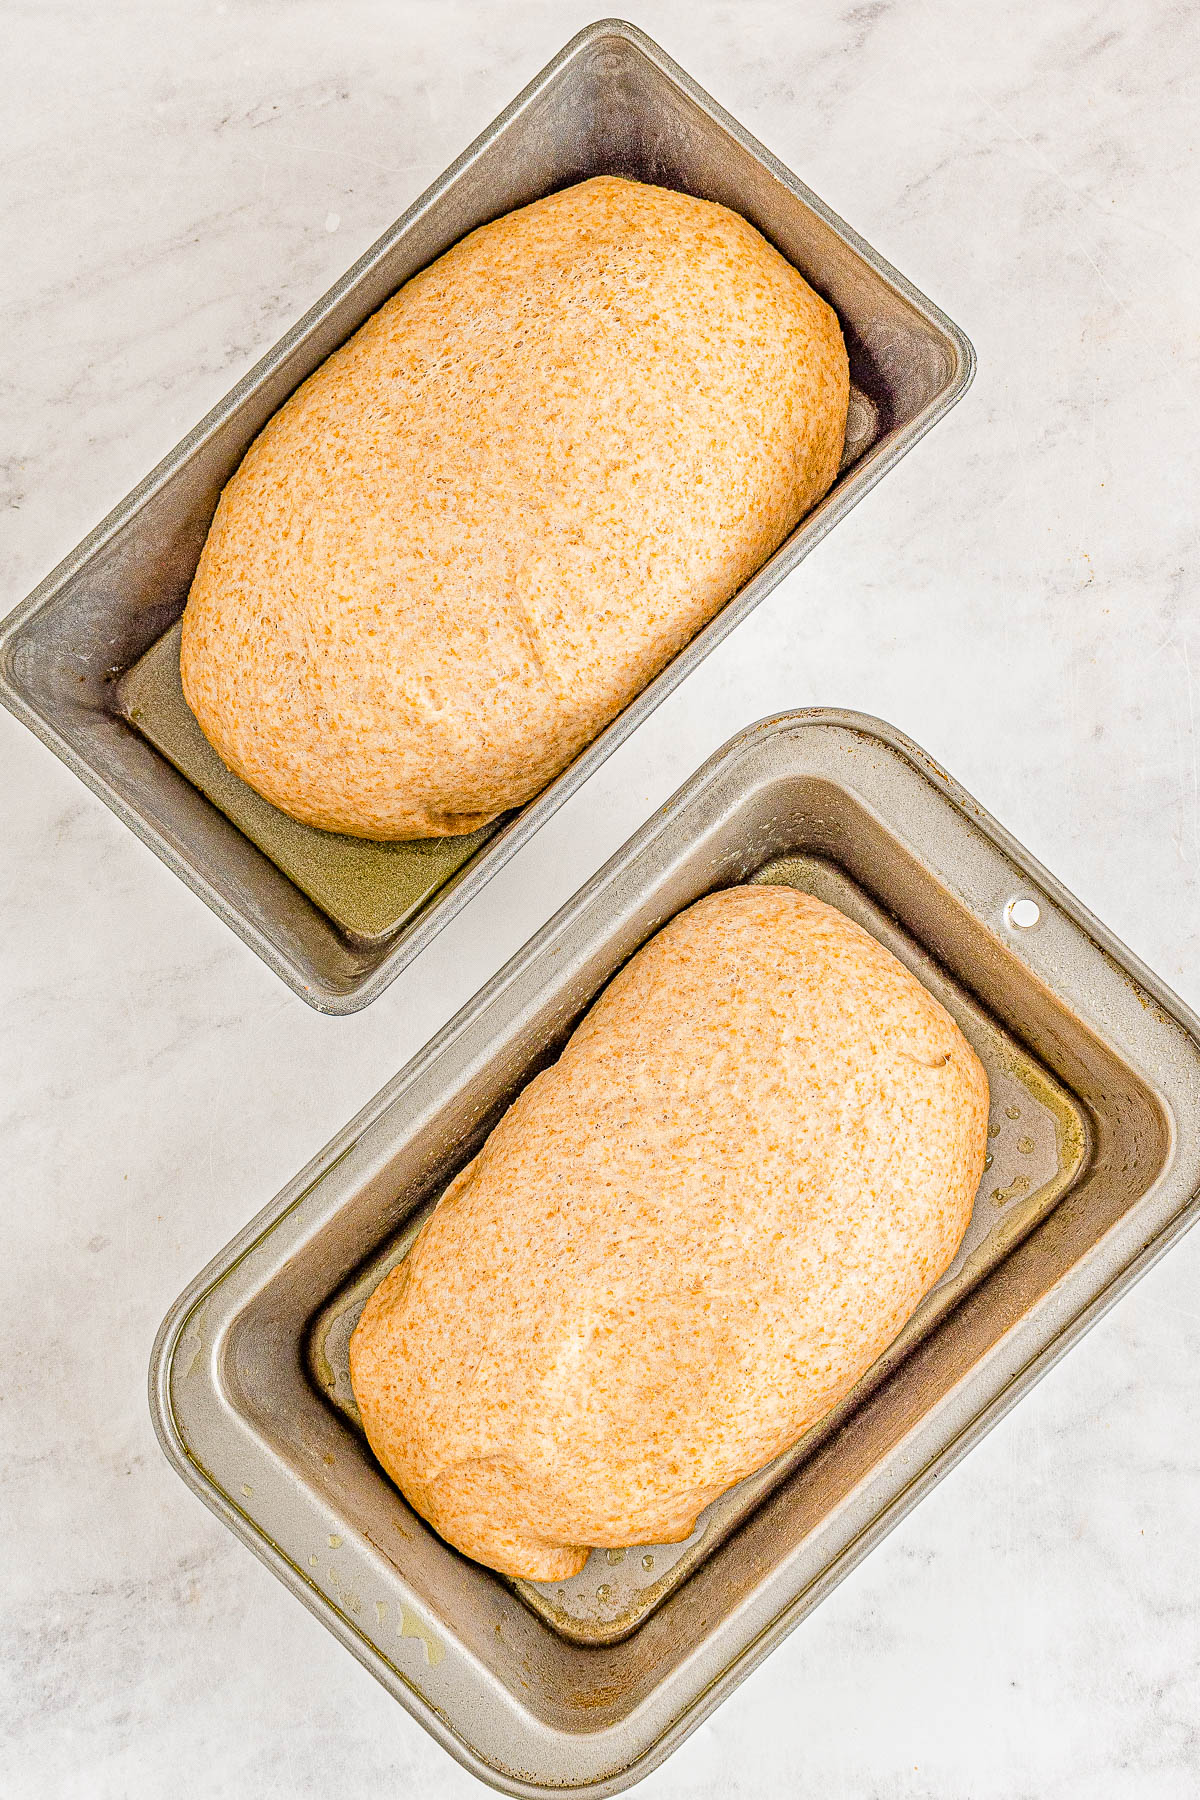
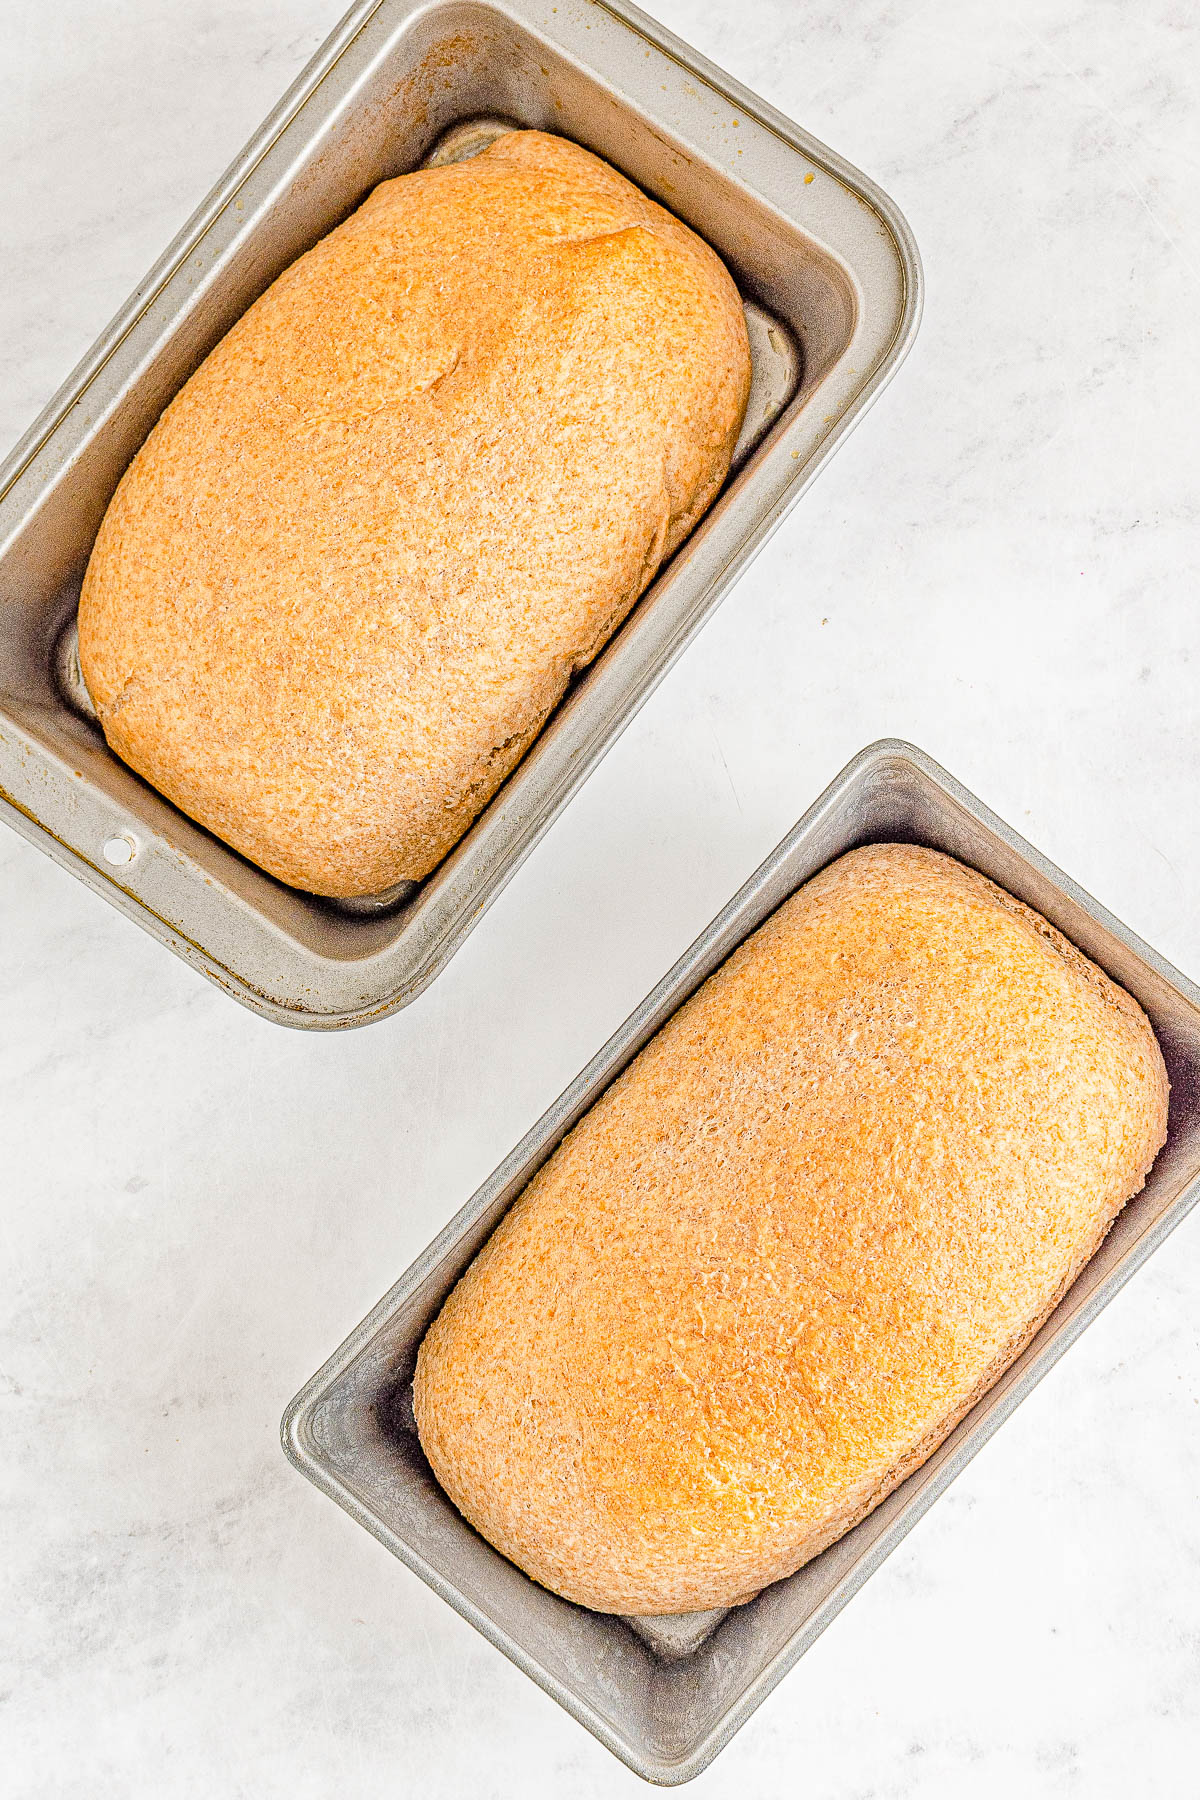
- Divide it in half on a lightly floured surface, shape it into two loaves, and place one loaf in each of your two 8×4-inch pans.
- Allow it to rise again for 20 to 30 minutes.
- Bake it for 37 minutes or until the crust is lightly golden browned, cool completely on a wire rack, slice, and serve.
Topping Ideas
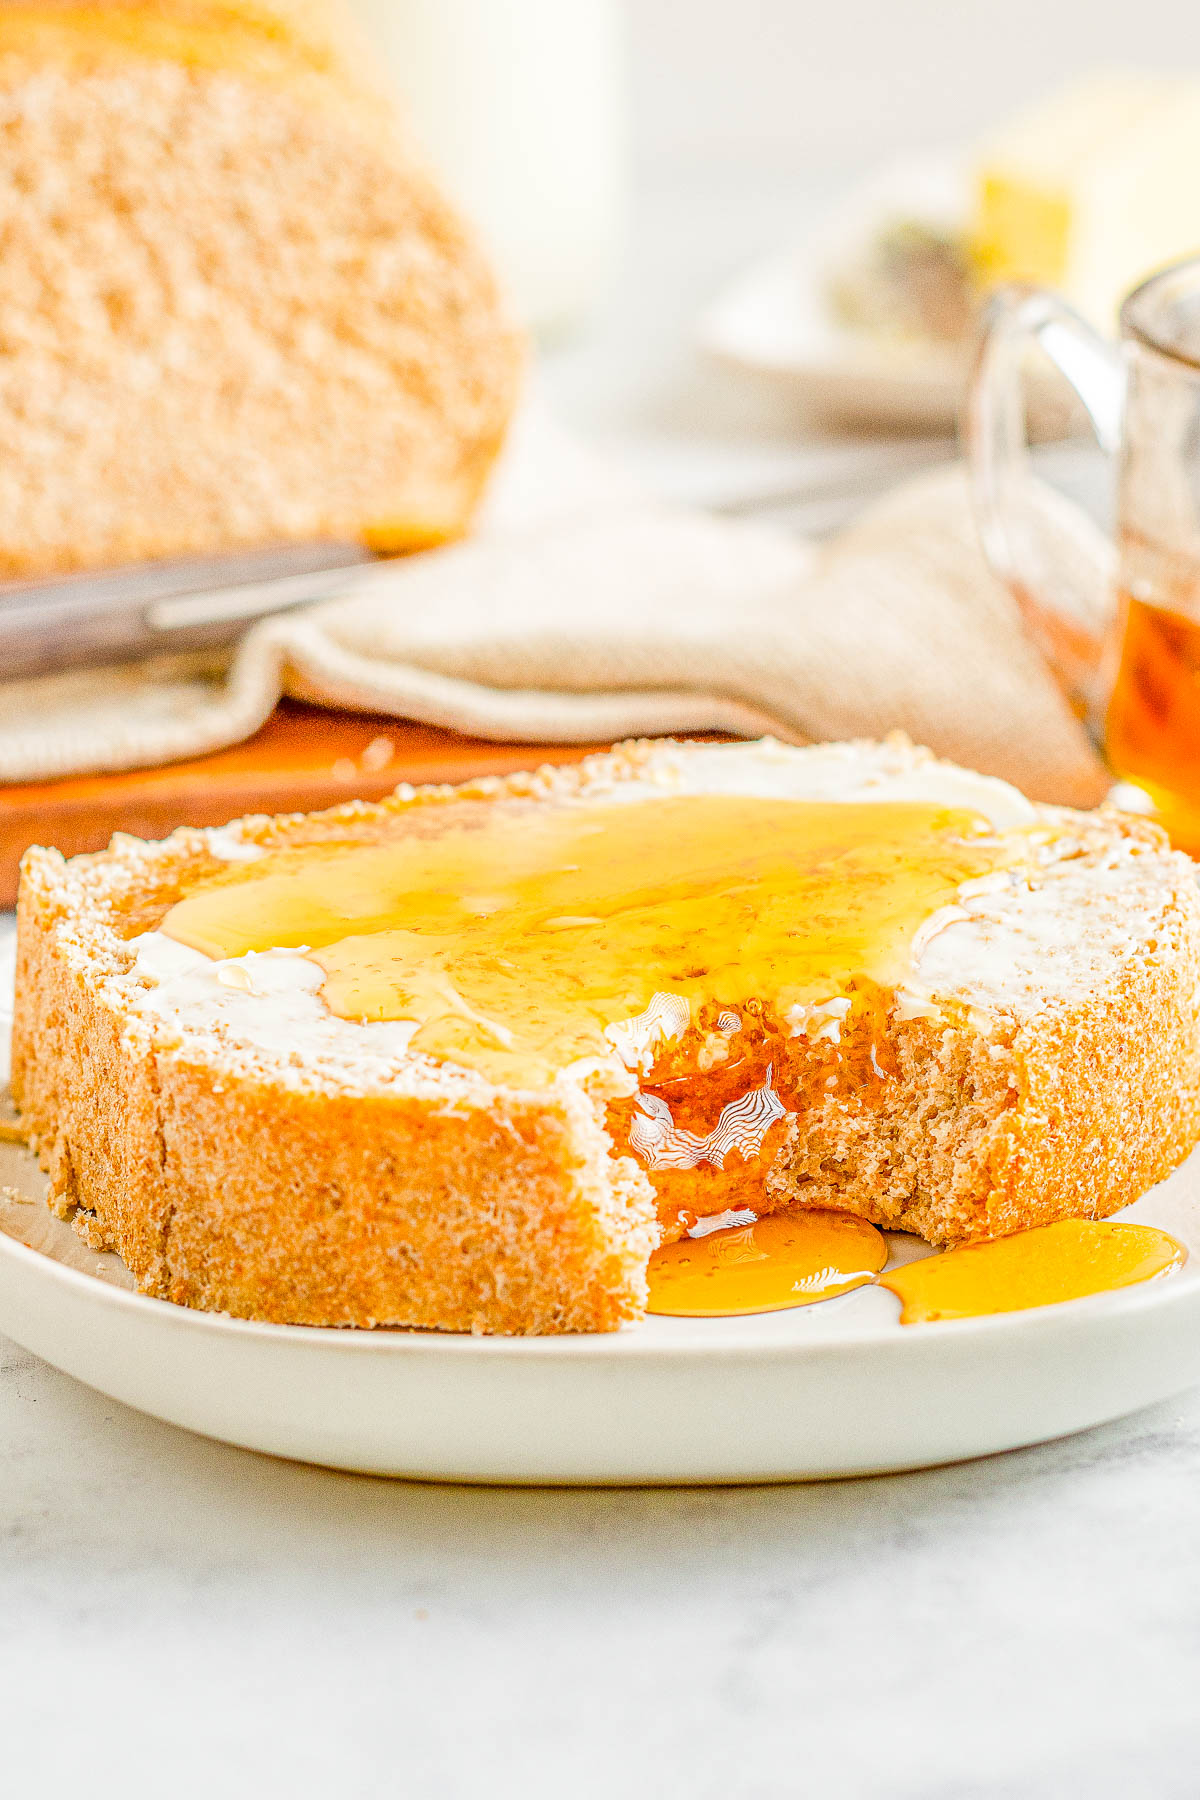
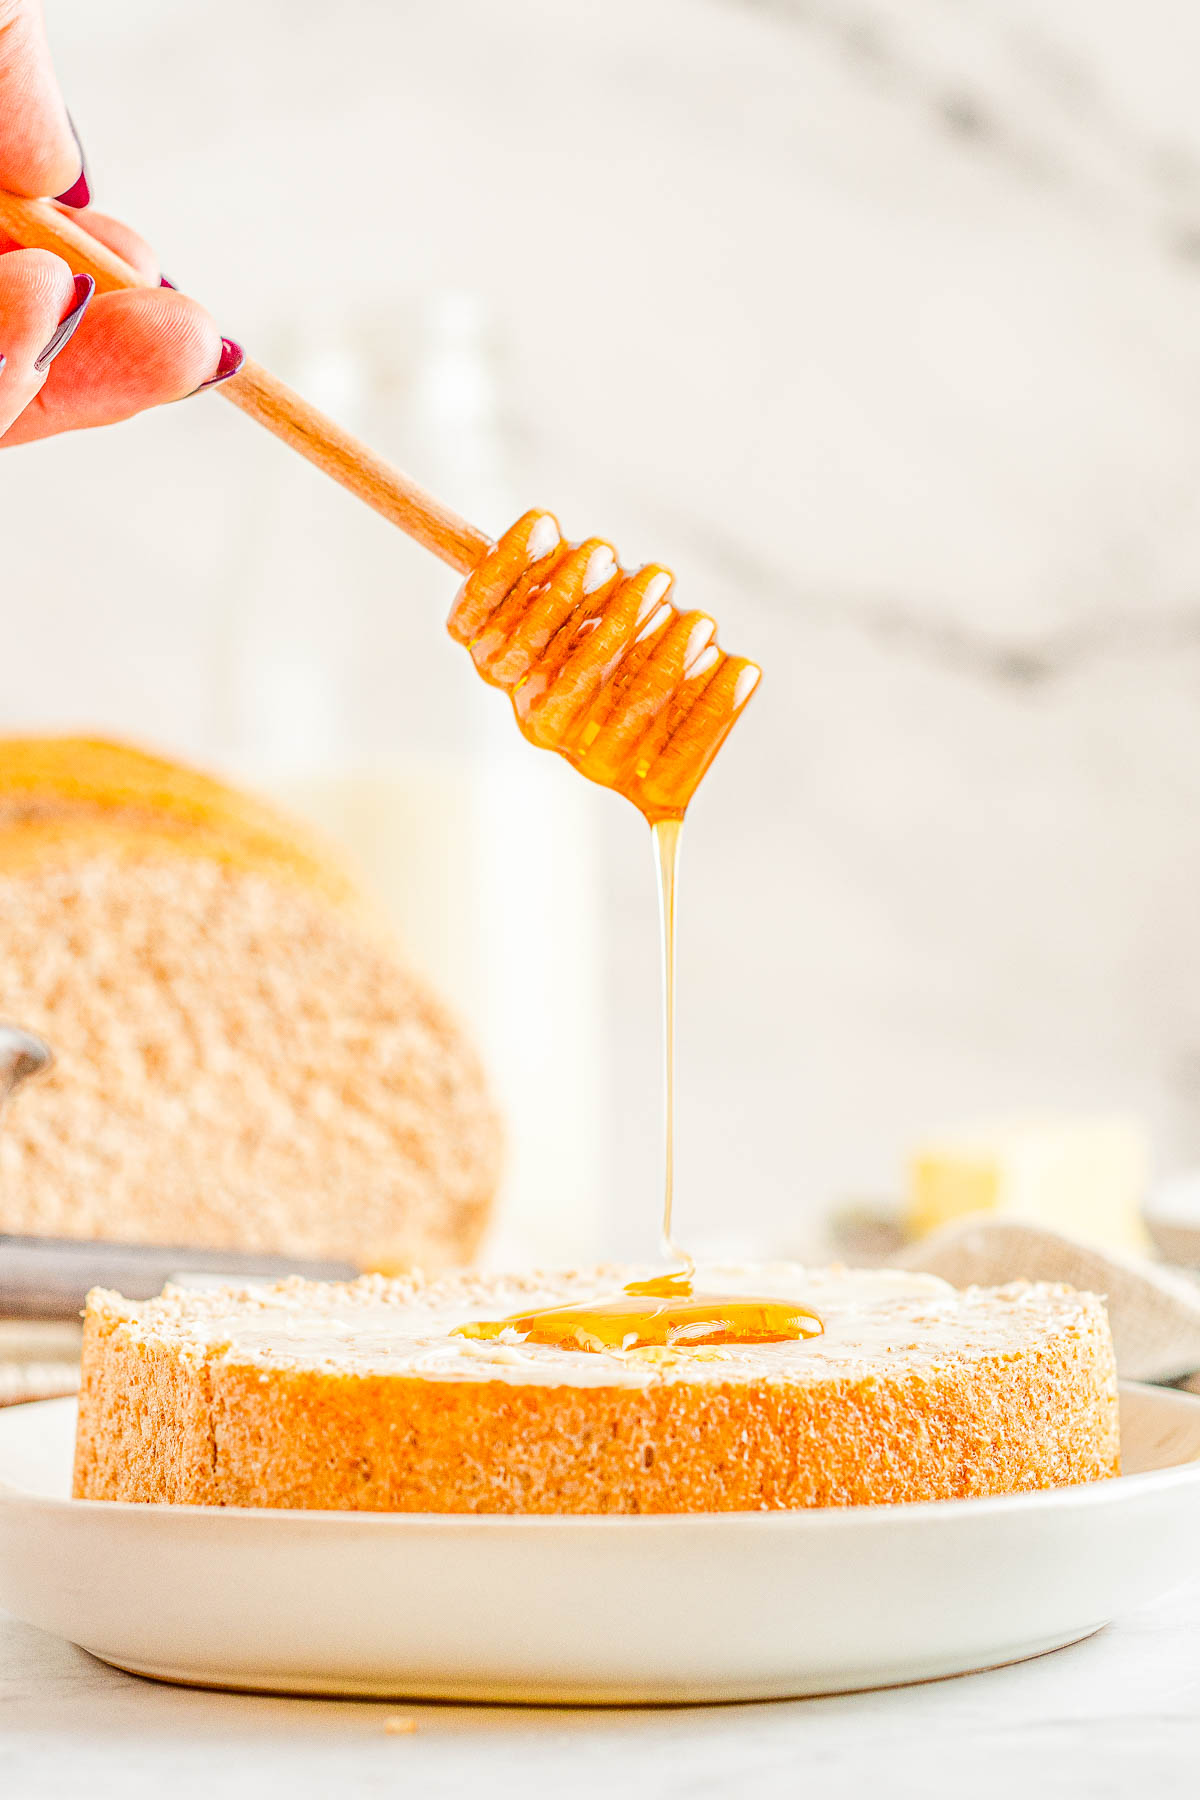
Allow the bread to cool properly and fully on a cooling rack before using a serrated knife to slice the bread. Then, I love to serve this honey whole wheat bread with butter and honey to really accentuate the honey flavor profile.
Honey Butter rather than plain butter is an excellent touch, too! I also have a great Strawberry Butter recipe. Or try adding your favorite jam or jelly.
If you want to use it for sandwiches, French toast, or whatever you have in mind, it’ll be great.
How Should the Raw Bread Dough Feel?
Here are some helpful tips on working with yeast bread dough:
- This dough isn’t meant to be so wet and tacky. If it’s sloppy and you are struggling to get the dough to come together, add a couple tablespoons of additional flour.
- If you’re struggling to knead it, throw a few more tablespoons flour out on your work surface. It should not be a hard dough, but it will feel dense.
- When kneading the dough you can test to see if the dough has enough elasticity by pressing it. If it springs back it’s ready. If it stays pushed in, keep kneading. (If it is hard to make an imprint, that indicates that too much flour has been added.)
Tip for Making Bread on Humid or Rainy Days
Sometimes if you’re making bread on a very humid day or it’s raining and there’s more moisture in the air, you’ll also need a bit more flour. However, the flour will only vary by 1/4 cup MAX. And that will only be due to the fact that we’re not measuring on a scale in grams. If you were, scales make it right on the money every time.
Recipe FAQs
There are so many types and variations of flour within the overall category of whole wheat flour including white whole wheat flour, whole wheat pastry flour, and on it goes. Something like Gold Medal Whole Wheat Flour is easy to find and inexpensive. If you want an organic or a bit of a fancier whole wheat flour, King Arthur Whole Wheat Flour or Bob’s Red Mill Stone Ground Whole Wheat Flour are good options.
For the all-purpose flour, I only use and bake with King Arthur Flour All-Purpose Flour, no exceptions. Cheaper flours never yield the same results and that’s because King Arthur brand has a slightly higher protein content in their flour, which means the gluten content is slightly higher.
I use and recommend active dry yeast. This is sold in a large package, like buying a pound of coffee. If you’re a bread maker, this is the way to go! If you’re using packets of yeast, you’ll use just a bit more than 2 packets – but will need to break into that third packet. Each packet of yeast contains 2 1/4 teaspoons yeast.
Two packets = 4 1/2 teaspoons, but the recipe calls for 5 teaspoons so you will need 1/2 teaspoon from a third packet.
If you want to use instant dry yeast, you will need to adjust and monitor the rising time more closely because instant yeast causes bread to rise quite a bit quicker.
You need 2 1/4 cups total liquid. I use 2 cups water and 1/4 milk since frankly water is cheaper to use than milk. However, you can use more milk than water, or use all water, or use all milk. The bread will taste a bit richer as you increase the amount of milk and reduce the amount of water.
Note that if you do use a higher percentage of milk, that because of the sugars in milk, it may cause the bread to rise a bit faster. Something to be mindful of but we’re talking minutes, not hours, faster.
Not everyone has a stand mixer and that’s fine. You can certainly make homemade bread without a stand mixer. If mixing it up by hand and then kneading it by hand, the dough needs to come together, and needs to reach a point where it springs back when pushed on. It shouldn’t be sticking to your hands. If it’s still sticking after kneading it, throw a little extra flour at it and knead for a few more minutes.
I don’t have a bread machine and don’t know how they work or how they vary from brand to brand. This recipe wasn’t developed for use in a bread machine. And I don’t know what to suggest to convert the recipe for a bread machine since that’s one appliance I don’t own.
Yes it’s possible to halve the recipe. Just divide the ingredients in half and use one 8×4-inch loaf pan.
8×4-inch pans are what I used and are ideal. However, if you only have two 9×5-inch pans, you can use them, noting that the bread will be longer, and not as ‘tall’ of a loaf. Remember to use TWO 9×5-inch pans (or ideally two 8×4-inch pans) and not just use one 9×5-inch loaf pan.
Storage Instructions
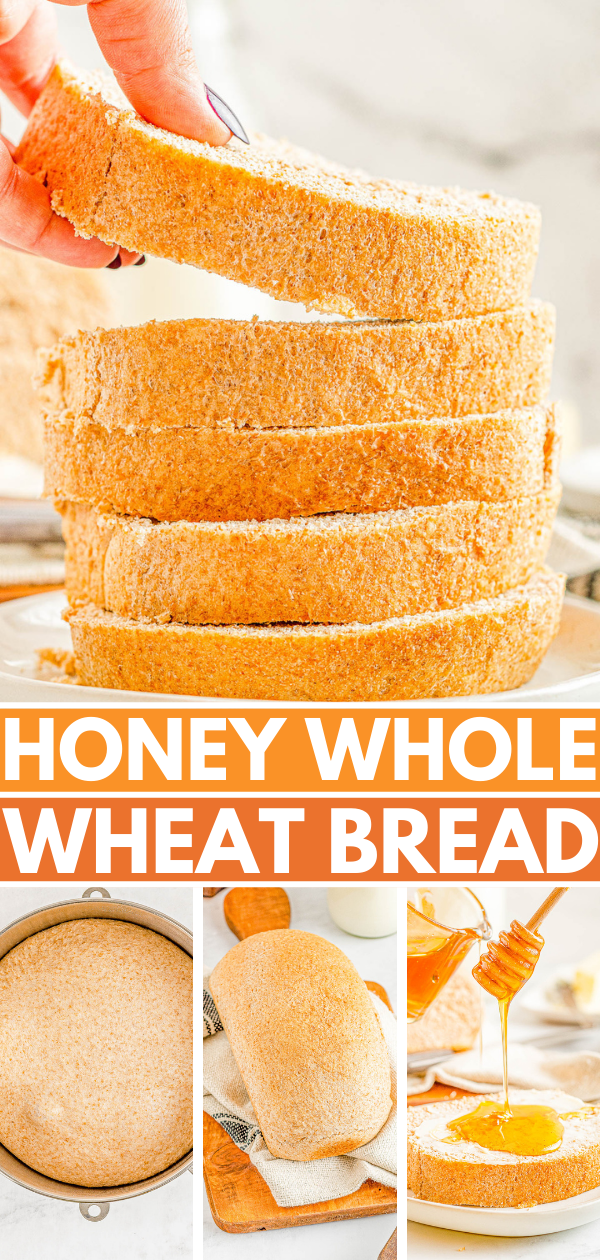
At room temp: Your homemade bread will keep airtight at room temp for up to 3 to 4 days. Don’t store it in the refrigerator. It will just serve to dry it out and harden it.
In the freezer: Since the recipe makes two loaves, you can also freeze one of the loaves. Bread in general freezes very well and this honey whole wheat bread will keep airtight in the freezer for up to 4 months.
Do not freeze unbaked bread dough. Freeze only baked and properly cooled bread.
Pin This Recipe
Enjoy AverieCooks.com Without Ads! 🆕
Go Ad Free
Honey Whole Wheat Bread
Ingredients
- 2 cups warm water*
- ¼ cup warm milk*
- ¼ cup honey
- 5 teaspoons active dry yeast
- 1 tablespoon light brown sugar, packed
- 3 ½ cups whole wheat flour
- 2 ½ cups all-purpose flour
- 2 teaspoon salt
Instructions
- To the bowl of a stand mixer fitted with the dough hook, add the warm water, warm milk (Tip – Warm them according the temperature on the package directions on the brand of yeast you're using. The temp can vary from brand to brand. Check the temp with a digital thermometer and do NOT guess), honey, active dry yeast, brown sugar, and proof for 5 minutes. Tips – Proof means "to prove" that the. yeast is alive and well. You will know this if the mixture turns bubbly and frothy looking. If it does not, it means that the yeast isn't alive and your bread won't rise later on. So you need to start over until you see bubbles and a frothy looking mixture.
- While waiting, in a separate large mixing bowl, whisk together the whole wheat flour, all-purpose flour, and salt.
- After it's clear that the yeast has proofed, turn on the mixer to low speed, and slowly add the dry ingredients with the mixer running.
- After all the dry ingredients have been added and a dough is beginning to take shape, you can increase the speed slightly of the mixer and allow it to knead the dough for 4 to 5 minutes, or until it's smooth and elastic. Tips -When kneading the dough you can test to see if the dough has enough elasticity by pressing it. If it springs back it's ready. If it stays pushed in, keep kneading! If you're doing this by hand, simply add a few tablespoons of flour to a clean work surface, and knead the dough by hand for 6 to 8 minutes, or until smooth and elastic. If for some reason your dough is very sticky and hasn't come together, you can add up to 4 tablespoons additional flour (I suggest all-purpose). However, you really shouldn't need to.
- Spray a large mixing bowl very well with cooking spray, and place the dough into the mixing bowl, and cover with plastic wrap (spray the surface that the dough will come into contact) and allow the dough to rise for about 90 minutes, or until doubled in size. Tips– The warmer your kitchen is, the faster the dough will rise. If you're making this in the dead of winter in a cold kitchen, it may take 2 hours for your dough to double in size; just be patient this is fine. Also if you're using more milk than water, the dough may rise slightly faster due to the extra sugar content in milk. Although we're talking a few minutes, not more.
- After about 90 minutes, punch down the dough.
- Divide it into two pieces, and form loaf-like shapes with it.
- Place one mound of dough into two 8×4-inch baking pans, well sprayed with nonstick cooking spray.
- Allow the dough to rise in the loaf pans, uncovered, for 20 to 30 minutes. While waiting, preheat your oven to 350F.
- Bake the bread for about 37 minutes, or until lightly golden brown, set, and done. Tip – Rotate each loaf pan once midway through baking to ensure even cooking and browning.
- Allow the bread to cool momentarily in the loaf pans until it's cool enough to handle and you can turn it out onto a wire rack to cool completely before slicing and serving. Bread will keep airtight at room temp for up to 3 to 4 days, or in the freezer for up to 4 months. Do not store baked bread in the fridge as it just dries out and gets hard. And do not freeze unbaked bread dough.
Notes
Nutrition
Nutrition information is automatically calculated, so should only be used as an approximation.
©averiecooks.com. Content and photographs are copyright protected. Sharing of this recipe is both encouraged and appreciated. Copying and/or pasting full recipes to any social media is strictly prohibited.
More Easy Yeast Bread Recipes:
Herby Garlic Rolls – Indulge in the perfect holiday side dish with a basket of homemade garlic and herb rolls! Made with plenty of garlic, fresh rosemary and herbs, these soft dinner rolls are a must-have for family dinners or celebration meals like Thanksgiving and Christmas.

Angel Biscuits — The lightest, fluffiest, flakiest, melt-in-your-mouth biscuits you’ll ever eat! Thanks to a trio of leavening agents, plenty of butter, and buttermilk, these EASY biscuits will become a family FAVORITE in no time!

Parker House Rolls — The BEST homemade dinner rolls because they’re so light, airy, fluffy and practically melt in your mouth! They have a wonderful buttery flavor that will make them an instant family favorite at your next holiday gathering or make them for a special meal!

Better-Than-Texas Roadhouse Rolls — Soft, buttery, fluffy, and light this easy COPYCAT recipe for Texas Roadhouse rolls with cinnamon honey butter is INCREDIBLE!

No-Knead Dinner Rolls with Honey Butter – These soft, light, fluffy yeast dinner rolls are so easy to make! They’re practically work-free because there’s no-kneading involved.

An easy-to-follow and very successful recipe. Thank you!!
Thanks for the 5 star review, Cathy, and I am glad it was easy to follow and very successful! Anytime someone says this about a yeast/bread recipe, it makes me super happy!
Hi, Any chance when you post a bread recipe or any recipe using flour you could include the weight of the flour in grams, along with the volume cups? Many home bakers now have inexpensive kitchen scales and prefer the accuracy of this method or measuring flour to the inconsistent and varying method of spooning or scooping flour. Once you determine the weight of your flour per cup it would be easy to calculate it for any recipe. Many baking sites do this already. I’d like to try your Honey Whole Wheat Bread but since it is in cups only I don’t want to waste my time finding out I had too much or to little flour.
Possibly one day I may. It’s simply not the way I tend to bake/cook, by nature.
However, there is a TON of info, including tactile and visual cues, in this nearly 3000 word post and 25+ photos including step shots, about how to make this bread successfully.
I am sure that if you follow the recipe, and read the post, you will come out successful in your endeavors!
The approximate weight is about 150 grams per cup.
I don’t have a stand mixer. Can I use a food processor with a dough hook?
I don’t know. I have never heard of making bread in a food processor with a dough hook nor tried but if you have done it before successfully then perhaps but I cannot say.
Do you have a standard weight per cup of flour? You’ve given excellent clues as to how the dough should feel, but I am always more confident when I start out with measuring by weight.
It’s approximately 150 grams. BUT….I would go by feel, not weight, even though many bakers may disagree. But you do sometimes just have to go by how the dough feels. Enjoy the rolls!