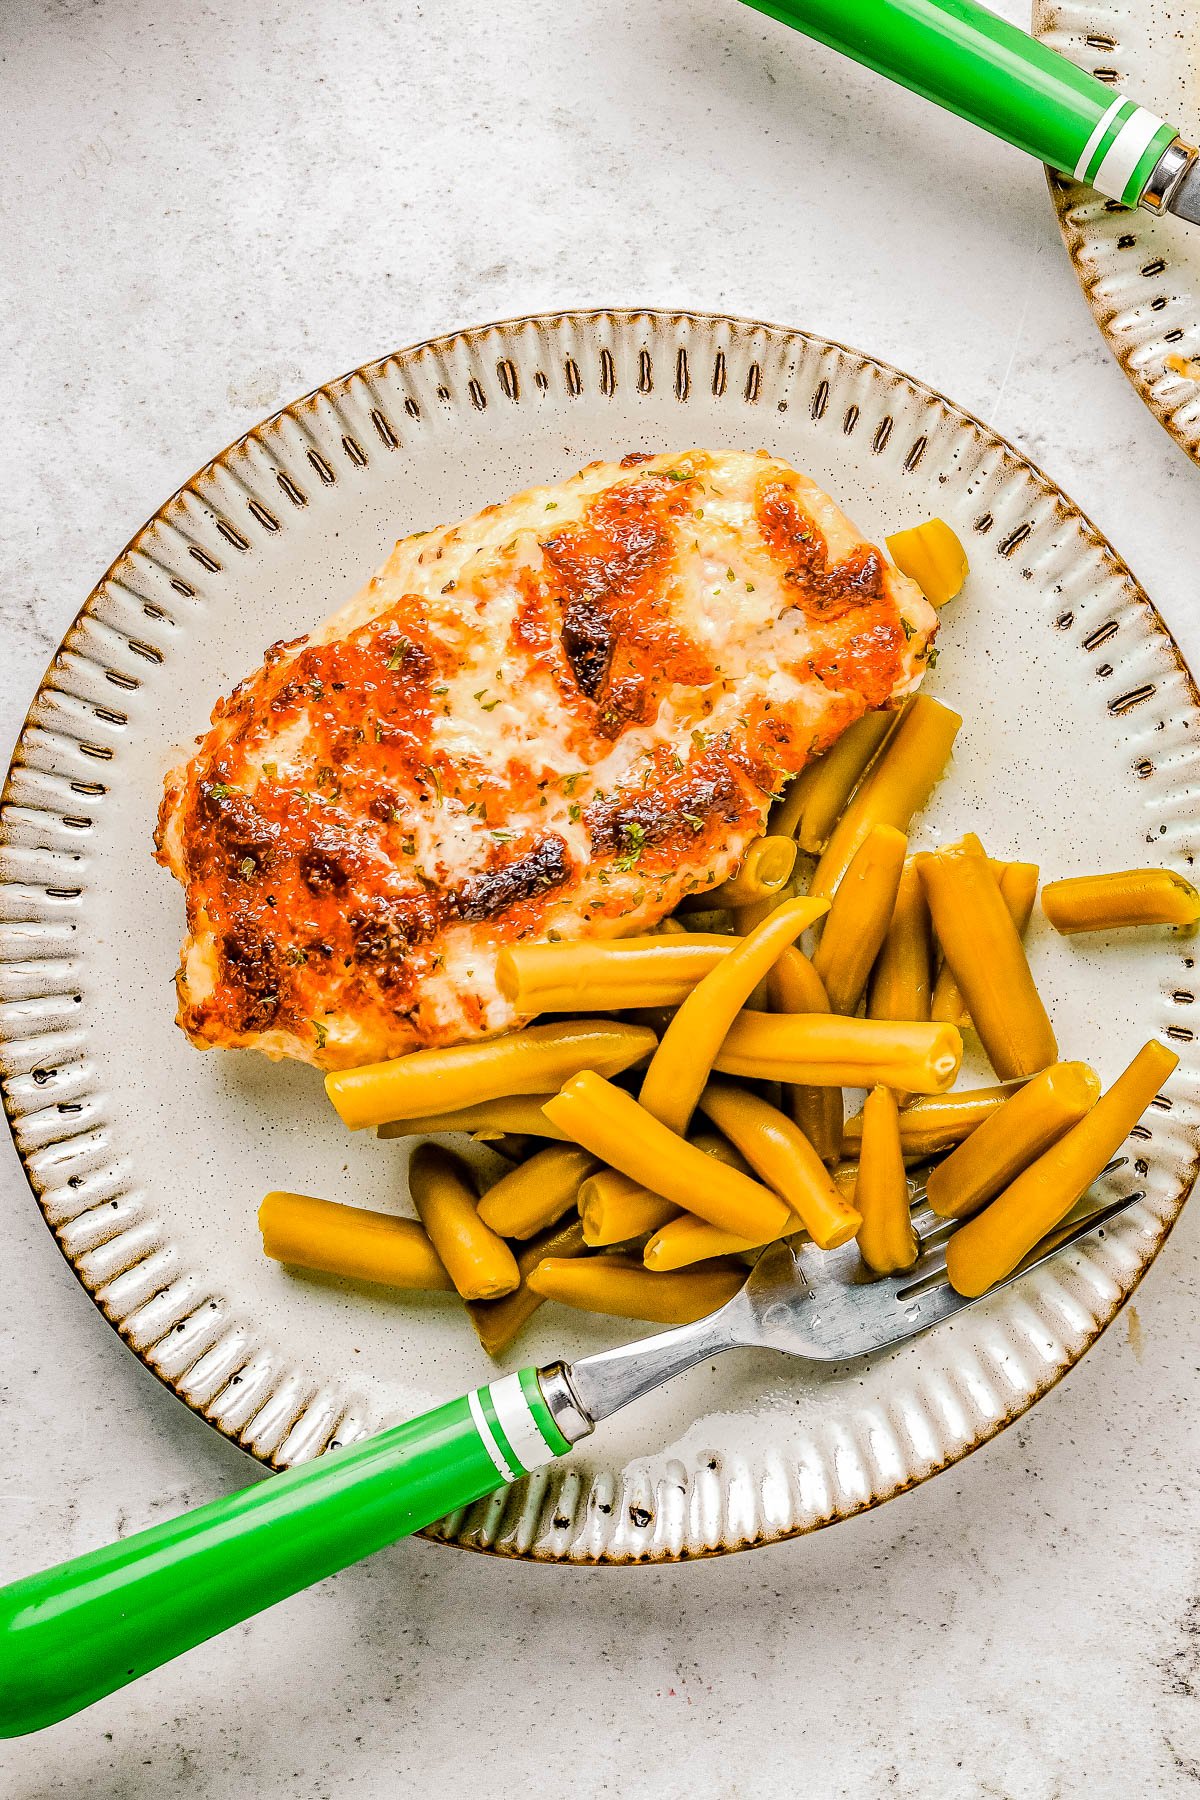
Melt In Your Mouth Chicken — 🤤🙌 This FAST and EASY baked chicken recipe transforms chicken breasts into a new dinner time FAVORITE! Tender, juicy, saucy chicken with a Parmesan topping that is incredibly flavorful and made with just FIVE main ingredients! This chicken is sure to literally melt in your mouth!
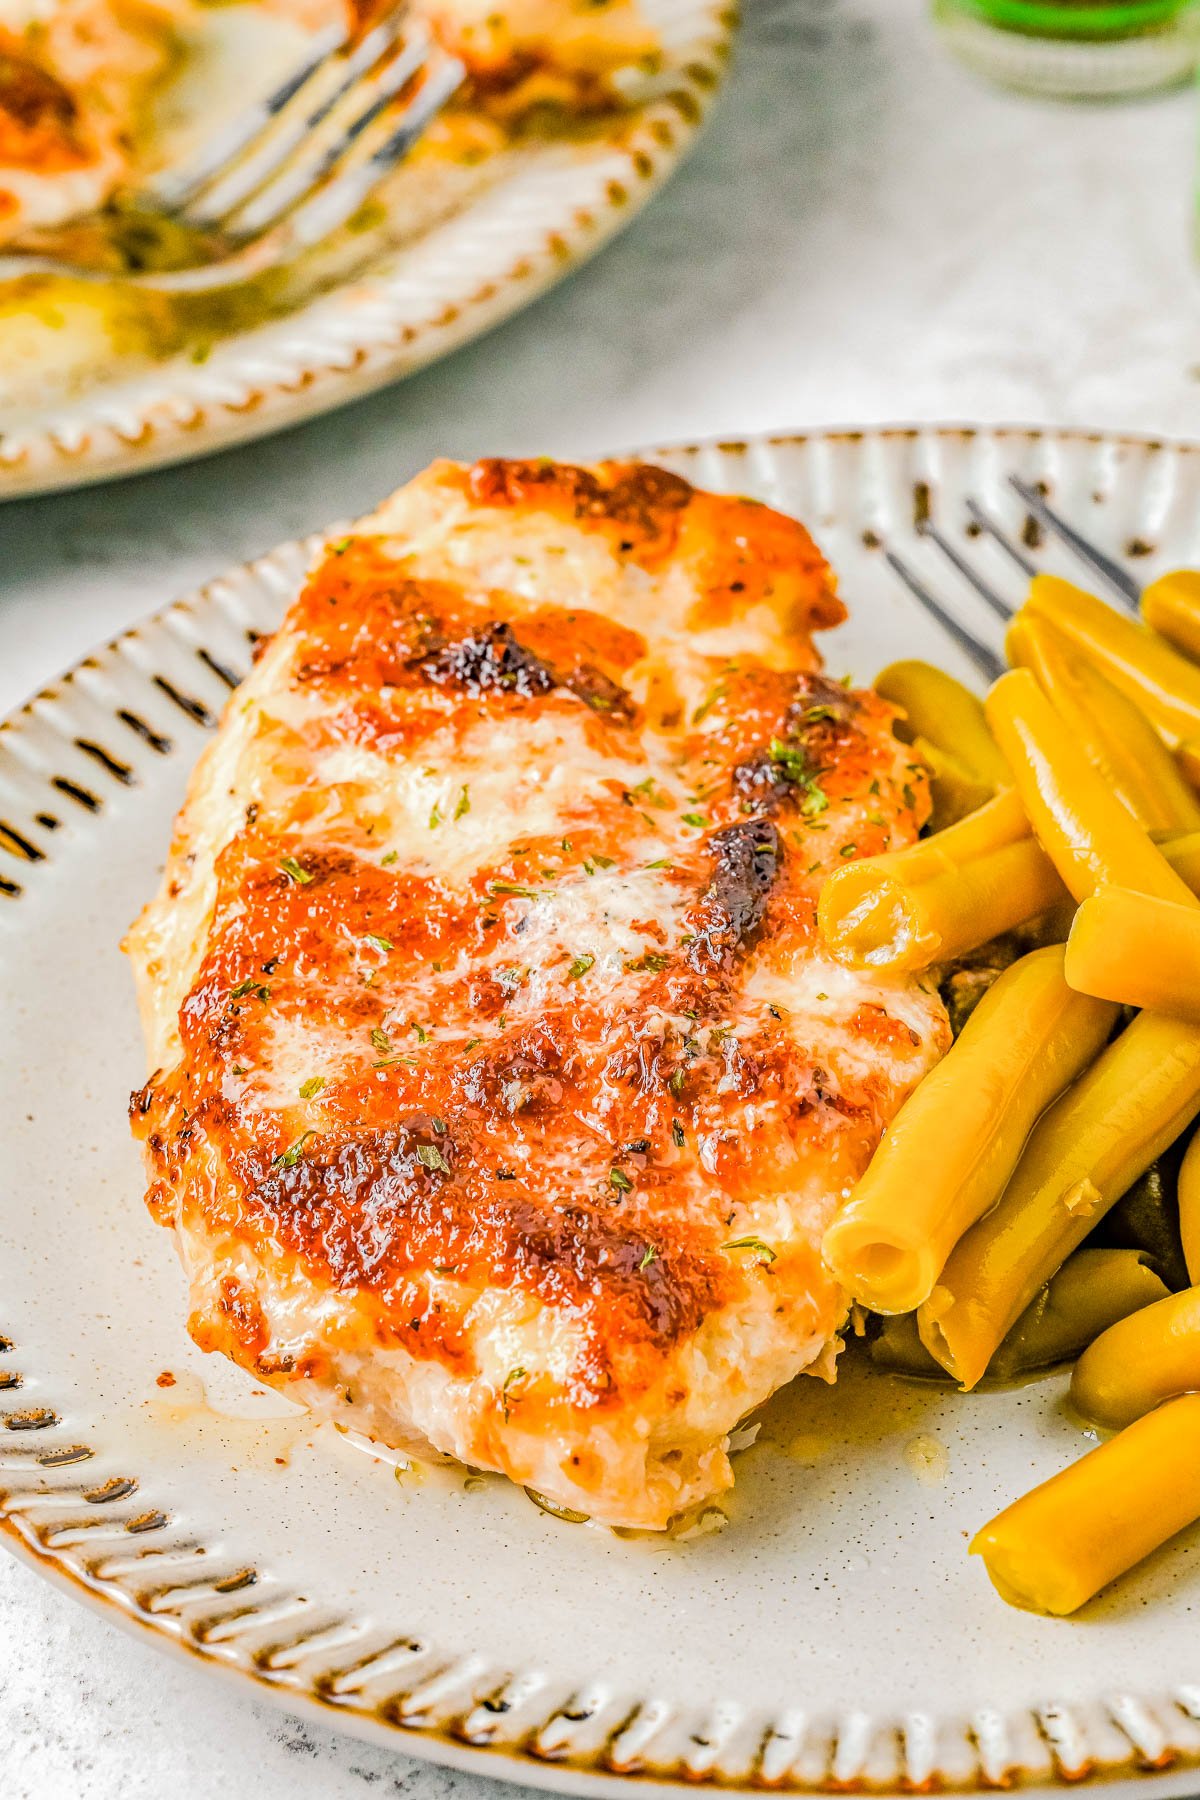
Table of Contents
This is one of those easy chicken dinner recipes to turn to when you need a fast and easy dinner that the whole family will love.
It takes just a few minutes of prep time and then bakes in the oven until golden brown and juicy. I promise when I tell you that this chicken melts in your mouth, it really does!
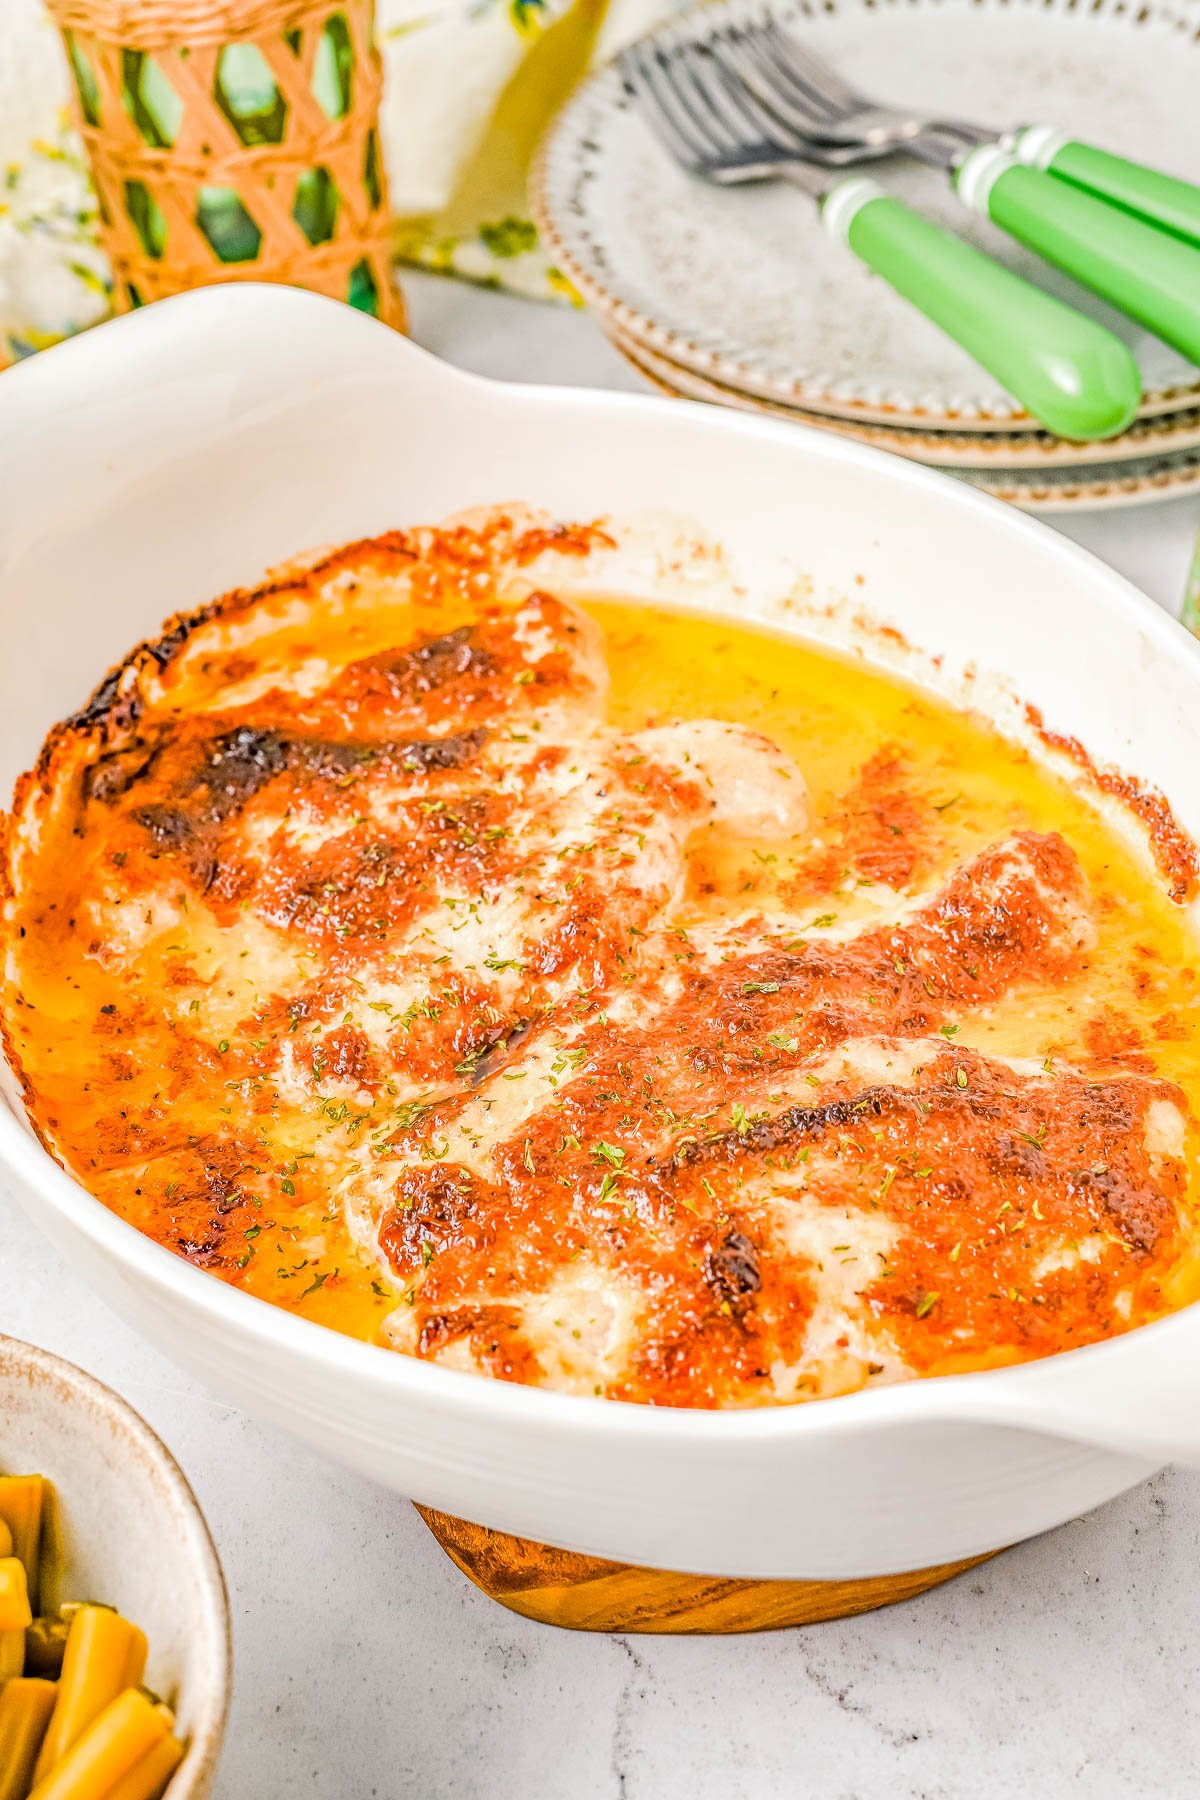
One of the secrets to this dreamy chicken is that there is creamy mayonnaise and Parmesan cheese to coat the chicken as it bakes. This is what gives it that deep orange, almost red, hue.
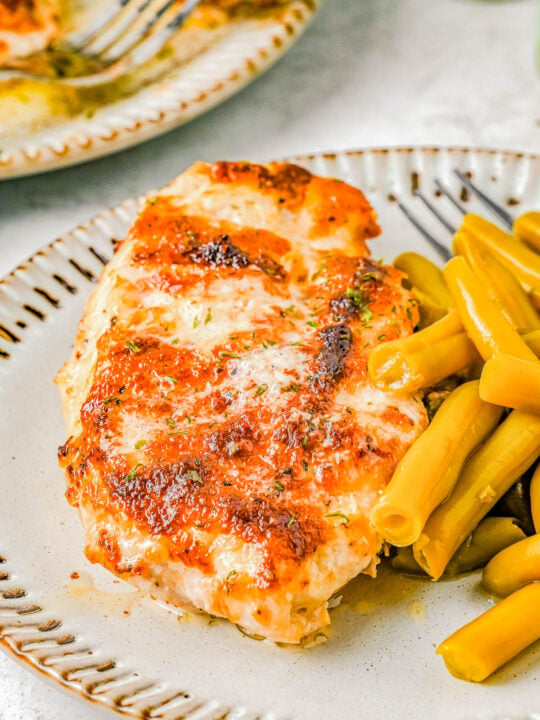
The coating also acts as a tenderizer resulting in such a soft texture, you can cut it with a fork. It may be cliche but ‘winner, winner, chicken dinner!
As a bonus, this is a 5-ingredient recipe (I don’t count salt and pepper). And who doesn’t love that!
Ingredients in Melt In Your Mouth Chicken
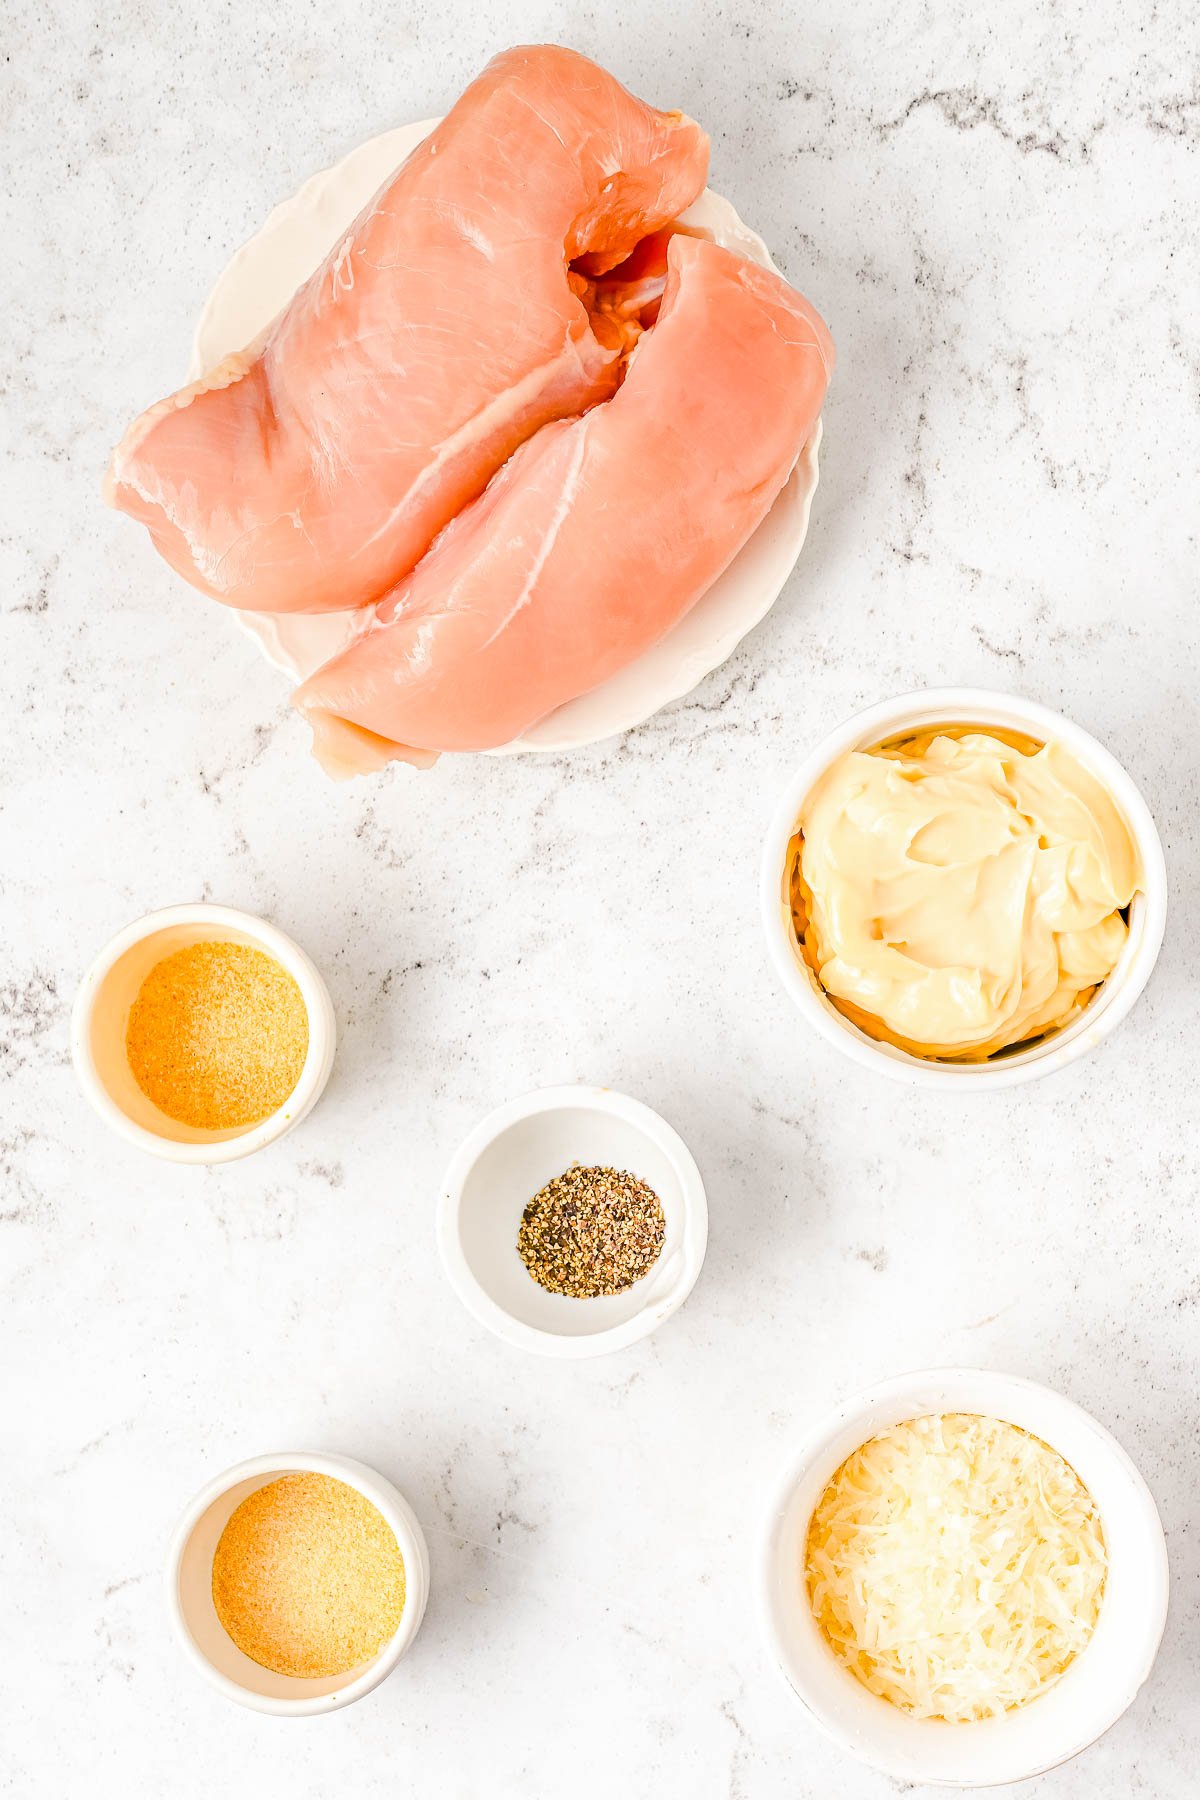
To make this classic recipe for mayo Parmesan chicken, all you need are 6 simple ingredients from the fridge and pantry:
- Chicken breasts
- Mayonnaise
- Parmesan cheese
- Garlic powder
- Onion powder
- Ground black pepper
Note: Scroll down to the recipe card section of the post for the ingredients with amounts included and for more complete directions.
How to Make Melt in Your Mouth Chicken
MIYM chicken is so easy to make in a few simple instructions!
Here is what you need to do:
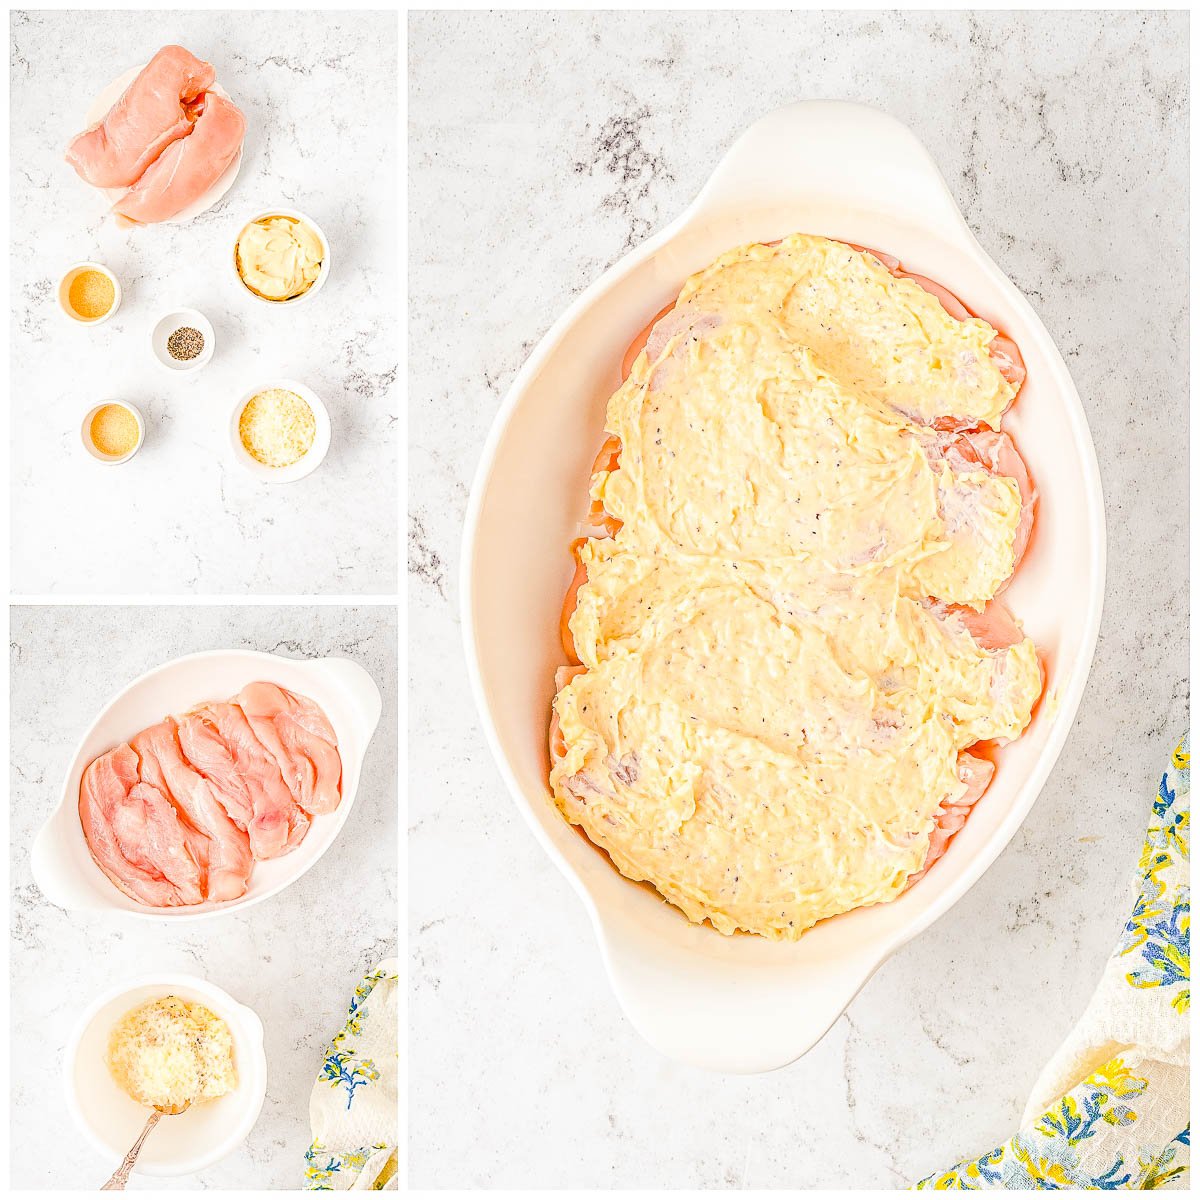
- In a single layer, place chicken breasts in an oven-safe baking dish coated with cooking spray.
- In a medium bowl add the mayonnaise, Parmesan cheese, garlic powder, and other seasonings to a small bowl and then stir to combine.
- Spoon the mayonnaise mixture generously over the top of the chicken breasts in the pan.
- Bake chicken at 375°F for 25 minutes until it is cooked through and the top is golden brown. (If you like your topping even browner, place it under the broiler for a couple of minutes.)
- Allow the chicken to rest and cool momentarily before slicing and serving!
Recipe FAQs
Mayonnaise plays a crucial role in this juicy chicken breast recipe. It not only adds flavor but acts as a marinade to keep the chicken from drying out while it bakes in the oven. It’s the best way to keep it moist and tender so you don’t end up with dry and tough meat. It’s simply what creates the best result.
I like Duke’s Real Mayonnaise as the higher ratio of eggs in it makes it less likely to separate when heated, plus it is tangier in taste, although any full-fat mayo such as Hellman’s (or Best Foods) Mayonnaise will work.
Do not use fat-free, lite, or reduced fat mayo. Do not use Miracle Whip.
Yes, I highly recommend using a meat tenderizer to pound chicken to an even thickness. Chicken breasts are sold in different shapes and sizes and pounding them to the same size not only tenderizes them but will help them cook evenly. This is slightly less necessary if you are using fatter chicken breasts that you slice in half.
As with any chicken recipe, when it is done depends on the thickness of the boneless chicken breast. A thick chicken breast will have a longer baking time and vice versa a thin breast will cook faster.
While you can eyeball your chicken to determine if the juices are running clear, the best way to ensure doneness is to check it with a meat thermometer. When inserted into the thickest part of the chicken breast, the internal temperature should read 160°F and then it’s mandatory to let it rest 5-10 minutes so that the temp comes up to 165F.
I prefer a baking dish, casserole dish, or baking to prevent the juices from the chicken dripping over the sides and into the oven. Something in the range of about 2 to 3-quarts, 8×11, or 9×13 is great. This isn’t a recipes where a sheet pan is my recommendation. However, if that is all you have, make sure it has raised edges.
You can but honestly it’s not necessary. Chicken breast recipes are often covered with foil to prevent the oven heat from drying them out. The coating in this recipe acts as a barrier to prevent that from happening, plus covering your chicken will prevent it from getting golden brown on top.
If you baked the chicken as directed, it will naturally brown up very nicely in the oven, thanks to the Parmesan cheese which will naturally help that process. If for some reason you want it even more golden, you can broil it for a couple of minutes. The risk here is that you burn it and it’s ruined.
If you’re not familiar with broiling food, you may want to just forget about this step.
If you do want to broil it, turn your broiler to high and just keep the baking pan where it is in the middle of the oven, you don’t need to move it up higher, the broiler heat is intense enough that it’ll reach the chicken. Watch it like a hawk – a couple minutes is all it will take!
As chicken bakes it releases natural juices and since this recipe uses a baking dish, those juices have nowhere to go except to pool at the bottom of the dish. You can try these tips to prevent this from happening:
Searing the chicken first will help lock in the juices. While this is not a necessary step for this recipe, if the pan juices bother you, you may want to try it.
Prevent overcrowding your baking dish by spreading the chicken pieces out. This will help create a thinner layer of liquid which will evaporate more quickly while the chicken bakes.
If the Parmesan mayo chicken is still runny after those tips, just simply drain the juices. However for me, the juicier and saucier, the better when it comes to chicken.


Storage and Make-Ahead Instructions
In the fridge: Leftovers can be stored in an airtight container in the refrigerator for up to 5 days.
In the freezer: I have never frozen extra chicken because the mayo-based sauce may not make it through the freezing and thawing process in a visually appealing manner.
To reheat: Reheat in the microwave until warmed through.
Make ahead: Assemble, cover, and refrigerate up to 24 hours before you bake it.
What to Serve with Melt in Your Mouth Chicken
Pin This Recipe
Enjoy AverieCooks.com Without Ads! 🆕
Go Ad Free
Melt In Your Mouth Chicken
Ingredients
- 2 large chicken breasts about 1 pound each, halved*
- ⅔ cup real mayonnaise**
- ½ cup Parmesan cheese, shredded
- 1 teaspoon garlic powder
- 1 teaspoon onion powder
- 1 teaspoon salt, or to taste
- 1 teaspoon freshly ground black pepper, or to taste
Instructions
- Preheat the oven to 375F and spray a baking dish with cooking spray and place the chicken in the baking dish. Tips – I recommend a baking dish in the range of 2 to 3 quarts, or an 8×11 or 9×13-inch baking pan. I do not recommend baking this recipe on a sheet pan unless it has a noticeably high raised lip because the juices will likely run off an make a mess of your oven.
- To a medium bowl, add all the remaining ingredients, and whisk well to combine.
- Using a spoon or rubber spatula, evenly spread the mayonnaise mixture over the chicken.
- Bake for about 25 minutes on the center oven rack, or until a digital thermometer reads 160F. Then remove the baking pan from the oven, and allow the chicken to rest in the pan for 5 to 10 minutes during which time the internal temp will raise to 165F, which is the safe temperature needed for poultry.
- Optionally – If you want your chicken to have an extra golden browned top, you can turn your broiler to high in the last few minutes of baking, and just keep the baking dish on the center oven rack. The heat intensity from the broiler will still be able to penetrate the chicken, and broil for 2-3 minutes, or as desired. Tips – Remember, this is optional, and if you are not familiar with broiling, you may wish to just skip this step. Always remember to never turn your back on anything while it's broiling because it can go from underdone looking to charred and burnt in one minute flat!
- After the chicken has rested, slice and serve. Extra chicken will keep airtight in the fridge for up to 5 days. I have never frozen this recipe so I cannot speak to how it will do in the freezing/thawing/reheating process.
Notes
Nutrition
Nutrition information is automatically calculated, so should only be used as an approximation.
©averiecooks.com. Content and photographs are copyright protected. Sharing of this recipe is both encouraged and appreciated. Copying and/or pasting full recipes to any social media is strictly prohibited.
More Easy Baked Chicken Recipes:
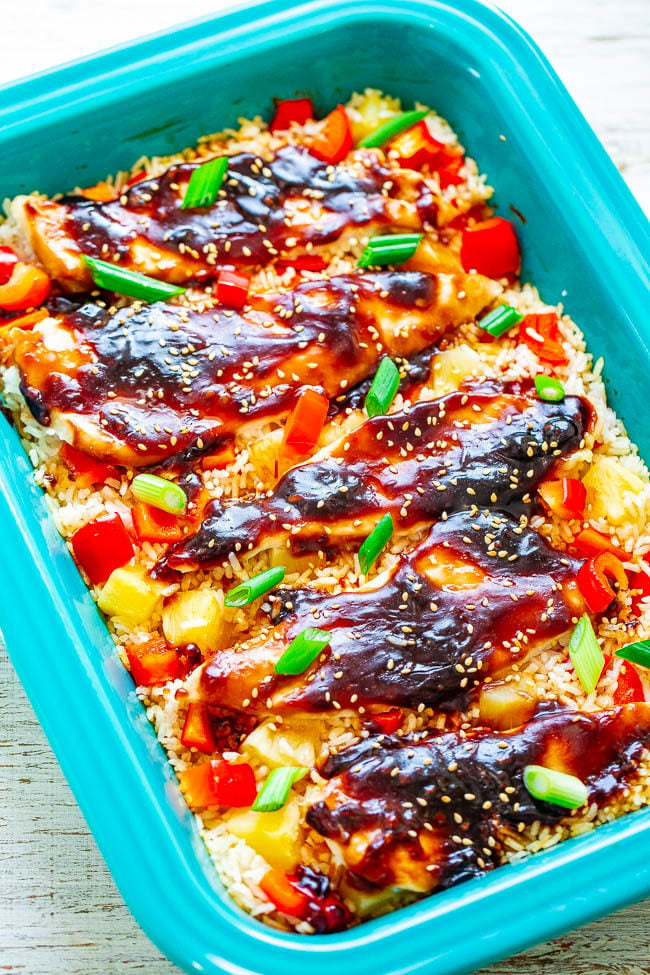
Baked Teriyaki Chicken and Rice — Chicken, rice, pineapple, and red peppers cook together in one pan for an EASY weeknight dinner that tastes like you’re in Hawaii! The homemade teriyaki sauce adds so much INCREDIBLE flavor!
Perfect 20 Minute Oven Baked Chicken Breasts – Super juicy, flavorful, EASY, and tender baked chicken breasts that are ready in 20 minutes and made on ONE sheet pan!! Nothing complicated or fussy about this PERFECT chicken that everyone LOVES!!

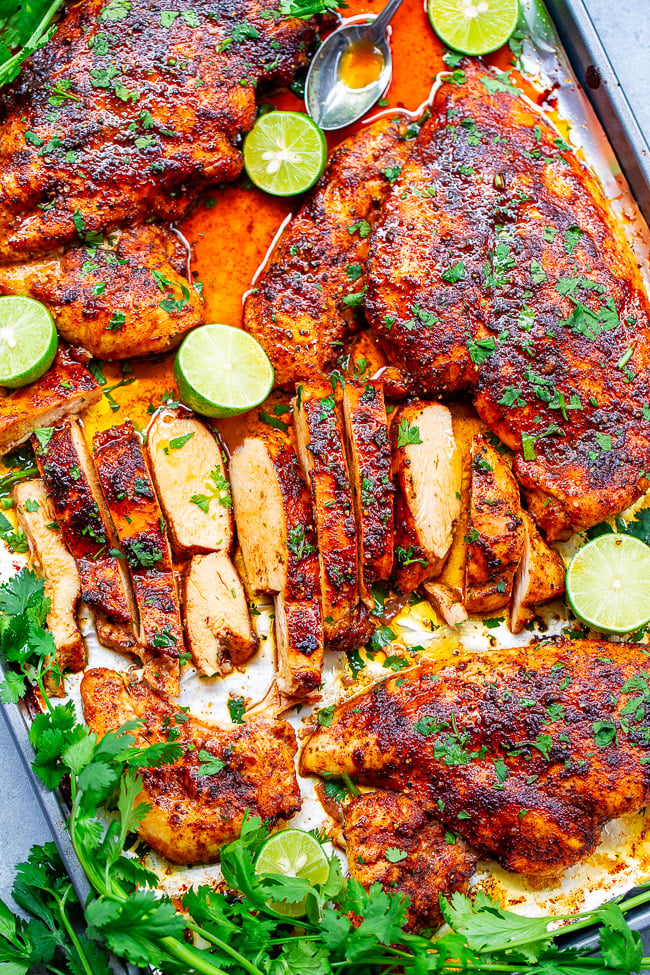
20-Minute Baked Lime Cilantro Chicken Breasts – Super juicy, EASY, tender chicken that’s ready in 20 minutes and made on ONE sheet pan!! Bursting with robust Mexican-inspired lime cilantro flavors that will make this an automatic family FAVORITE!!
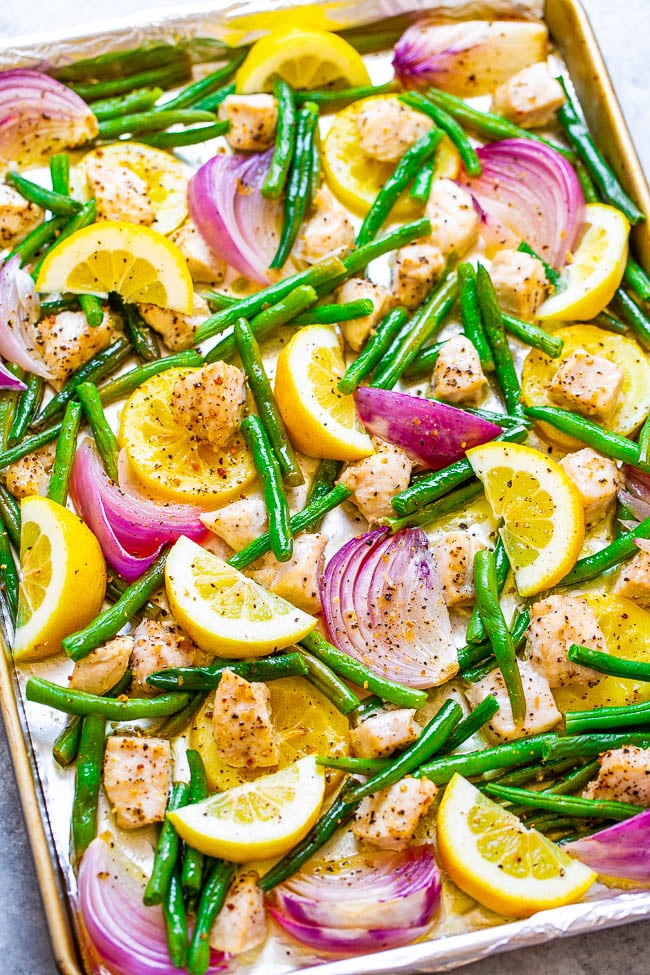
15-Minute Sheet Pan Lemon Pepper Chicken — Fast, EASY, HEALTHY, and loaded with great lemon pepper flavor!! A DELISH one-pan meal with zero cleanup that’s perfect for busy weeknights!!
15-Minute Sheet Pan Pineapple Teriyaki Chicken — Fast, EASY, and loaded with fabulous teriyaki flavor! Tender chicken, juicy pineapple, and crisp-tender veggies make make for a DELISH one-pan meal with zero cleanup.

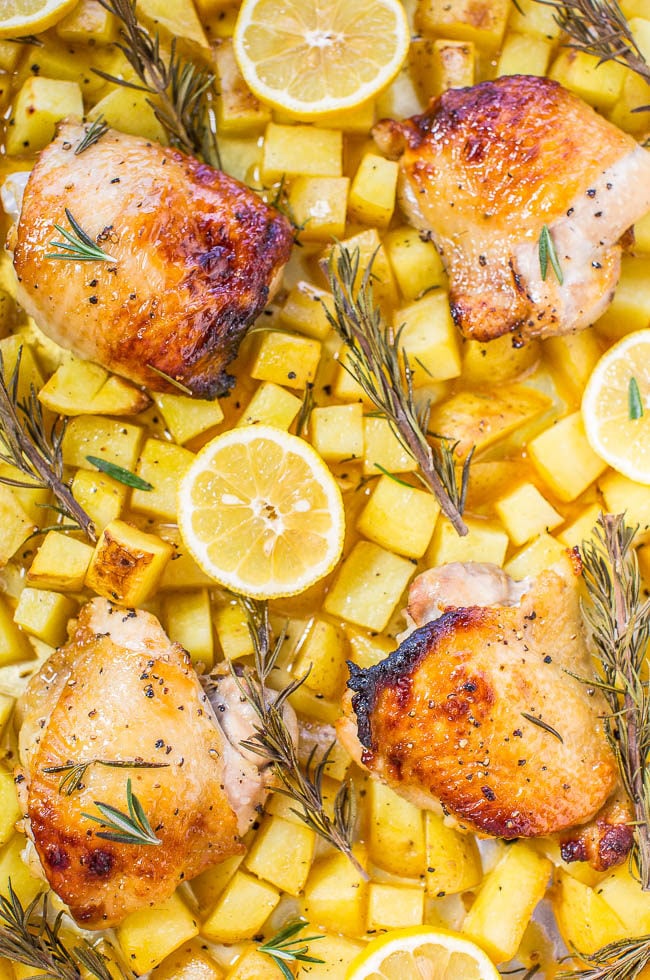
One-Pan Honey Lemon Chicken and Roasted Potatoes – Juicy chicken with a honey lemon glaze that’s tangy-sweet and so good! Healthy, fast, so easy, and cleanup is a breeze!
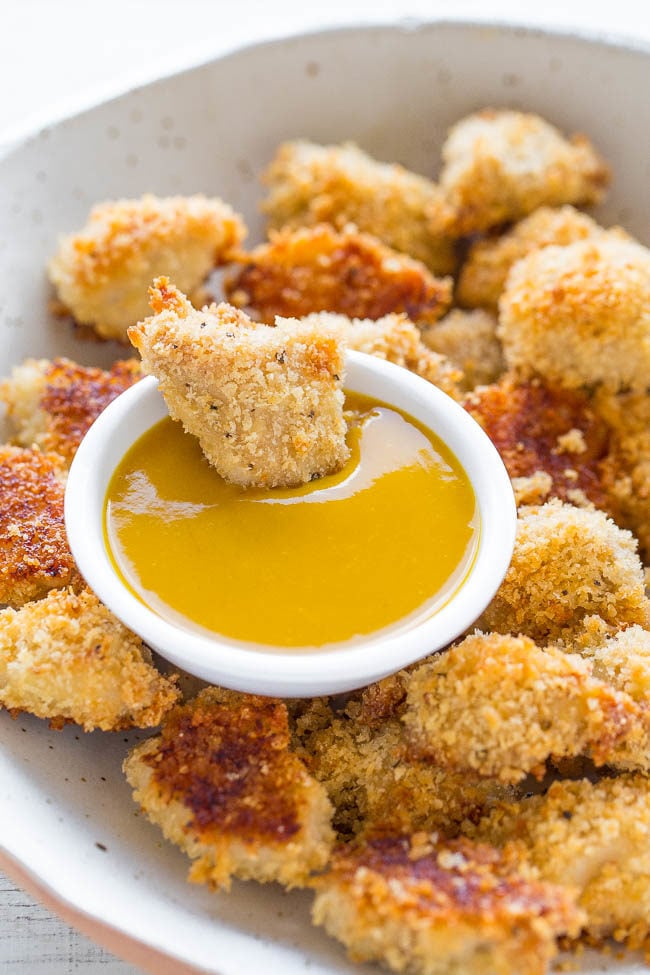
Baked Chicken Nuggets with Honey Mustard — These chicken nuggets are coated in a mixture of Panko breadcrumbs and grated Parmesan, which makes them extra flavorful and crispy! Dunk them in homemade honey mustard or your dipping sauce of choice.
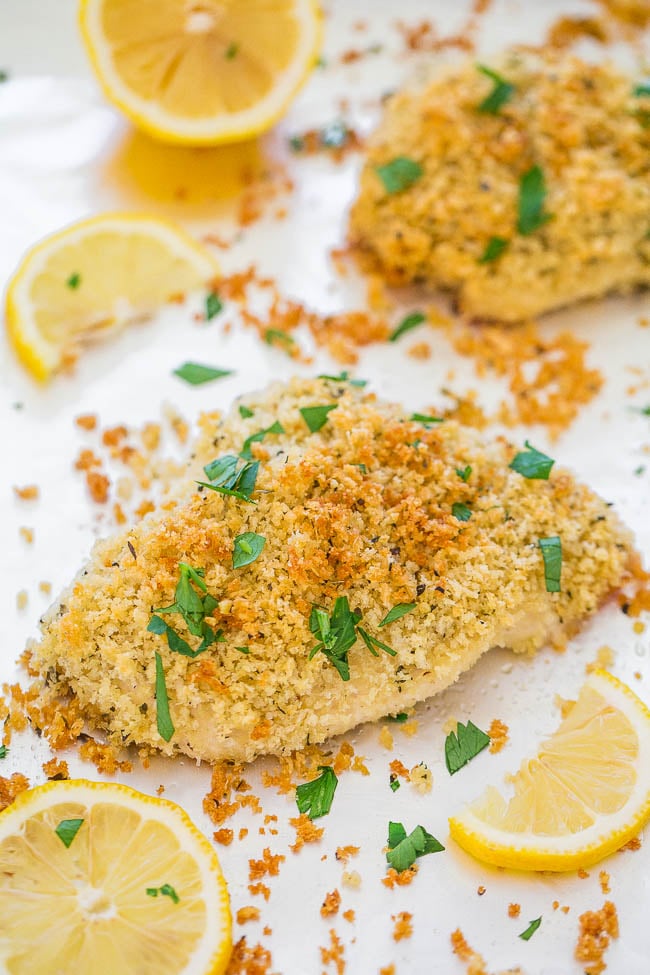
Parmesan Crusted Chicken – Tastes like it’s been deep fried, but it hasn’t! Even better, it’s ready in under 30 minutes and is easy to whip up at the last minute!
This was a delicious dinner, my family devoured it! Sprinkled with some fresh thyme after it came out of the oven. Definitely recommend the broiler step, my son was picking the crispy broiled bits out of the baking dish after dinner. Loved the ease of making this, and the limited ingredients. Will make over and over!
This was a delicious dinner, my family devoured it! Sprinkled with some fresh thyme after it came out of the oven. Definitely recommend the broiler step, my son was picking the crispy broiled bits out of the baking dish after dinner. Loved the ease of making this, and the limited ingredients. Will make over and over!
Thanks for the 5 star review and glad this a hit and that you recommend the broiling portion – I agree, those little crispy bits are scrumptious! Glad you will make it over and over and loved the ease and limited ingredients. I also appreciate you making it the day I posted the recipe – always great to get reader feedback so soon!
I have it done this recipe for years for my husband and guests but I Sprinkle with Panko on top for a nice crust. Never thought of posting it before.
I have it done this recipe for years for my husband and guests but I Sprinkle with Panko on top for a nice crust. Never thought of posting it before.
Thanks for sharing that you’ve been making this for years and that you sprinkle the top with panko. That would be great as well I’m sure!