Easiest No-Knead Dinner Rolls — 🍯🙏 These soft, light, fluffy yeast dinner rolls are so easy to make! They’re practically work-free because there’s no kneading involved!
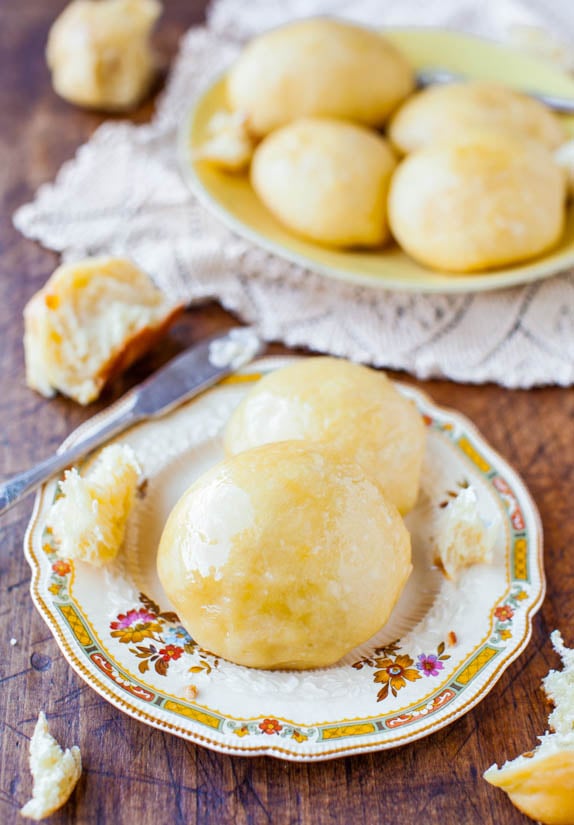
Table of Contents
Easiest No-Knead Dinner Rolls Recipe
There’s nothing better than warm, fresh, buttery homemade dinner rolls. The only thing better than the rolls is that the dough is a make-ahead and no-knead dough.
This quick dinner roll recipe is perfect for anyone who’s never worked with yeast because it’s almost impossible to screw up. If you can dump ingredients in a bowl and stir, you can make these.
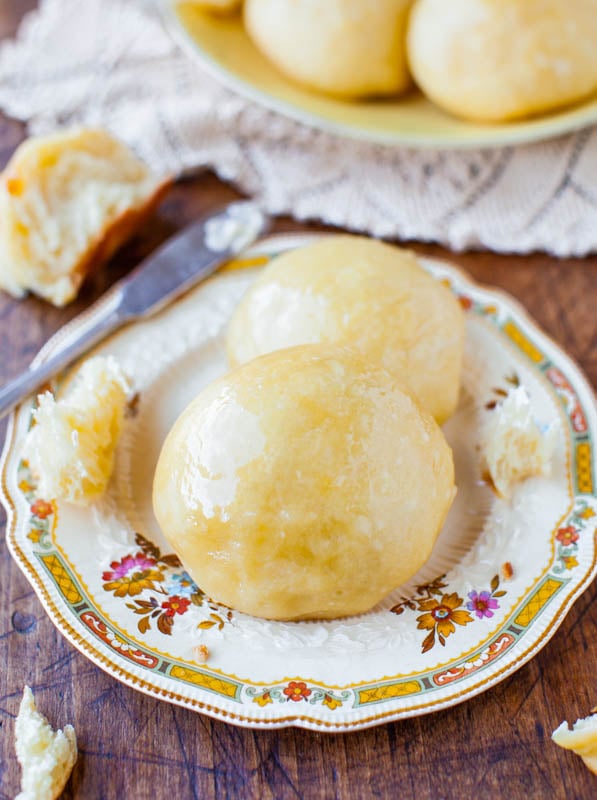
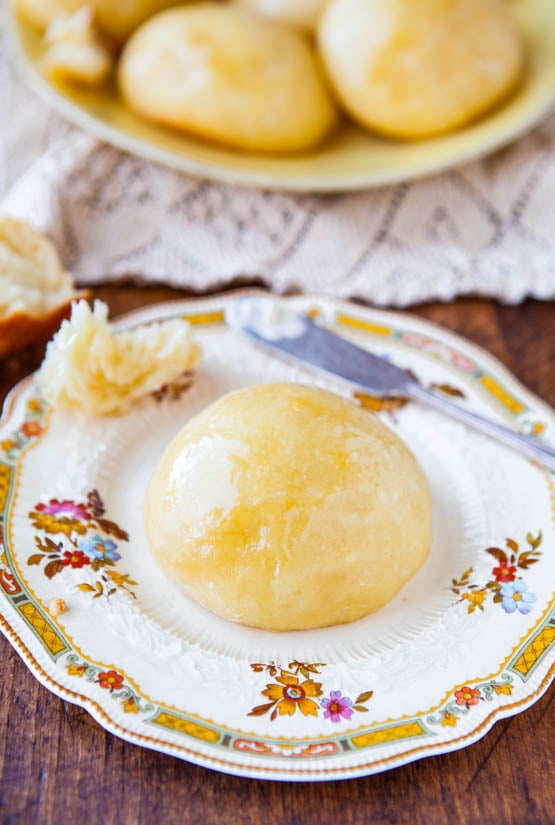
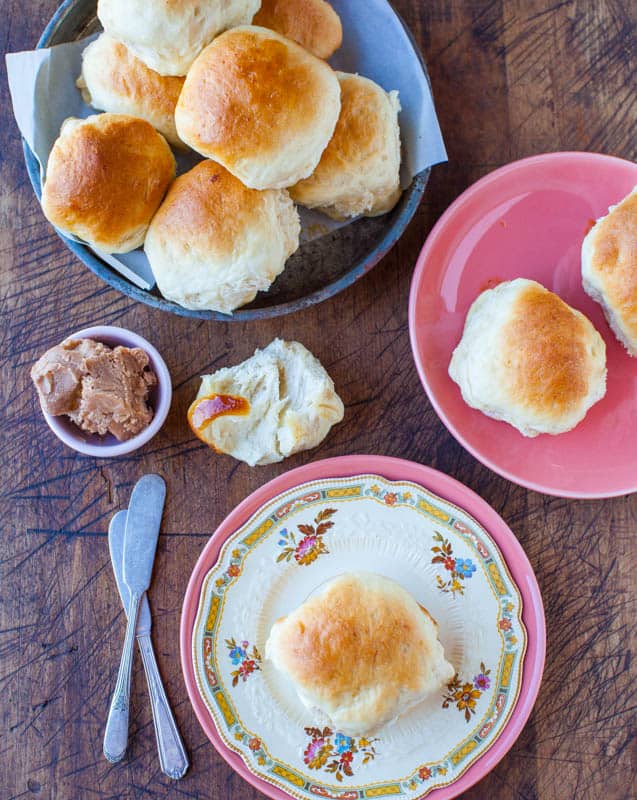
I like to brush the tops with honey butter before baking and it makes them even more irresistible. Schmear the extra honey butter on after they’ve baked as you’re devouring them. So good.
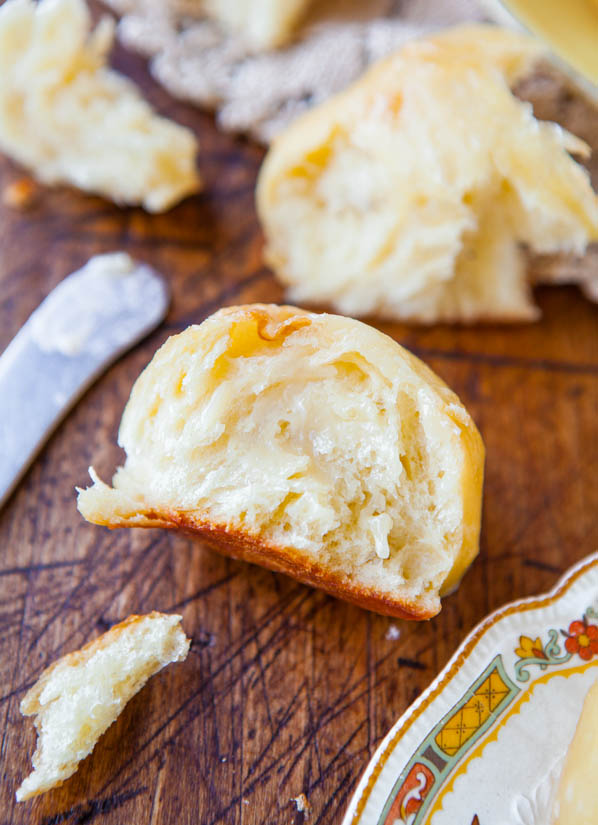
The rolls are light, soft, and fluffy. I just want to rip them apart and drench them in honey butter.
Now You Can Make This in a Slow Cooker!
This no-knead roll recipe has been a reader favorite since I first published it in 2013. I recently created a spinoff recipe for no-knead slow cooker dinner rolls, which uses just 6 basic ingredients and is also a breeze to make!
Ingredients in No-Knead Dinner Rolls
These are such easy homemade dinner rolls to make, and they call for minimal ingredients. To make these no-knead dinner rolls, gather the following:
- Water
- Instant yeast
- Eggs
- Oil (canola or vegetable work well)
- Honey
- Salt
- All-purpose flour
- Butter (for the honey butter)
Note: Scroll down to the recipe card section of the post for the ingredients with amounts included and for more complete directions.
How to Make No-Knead Rolls
These no-knead bread rolls are practically work-free because there’s no-kneading involved. Since there’s no kneading, I don’t even use my stand mixer and stir everything together with a wooden spoon in a bowl.
Here’s an overview of how the rolls come together:
- Simply combine warm water, yeast, two eggs, honey, oil and flour.
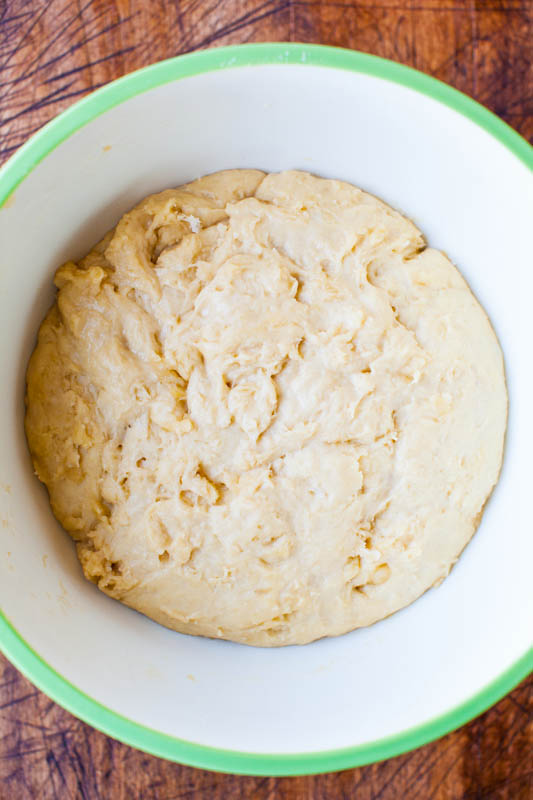
- Stir the dough together, then cover the bowl with plastic wrap and set aside for about two hours to rise. (The plastic wrap is very important and shouldn’t be overlooked! If you leave off the plastic wrap, you’ll wind up with dense dough balls.)
- Gently punch down the dough. Knead it only so much as necessary to shape it into balls for dinner rolls.
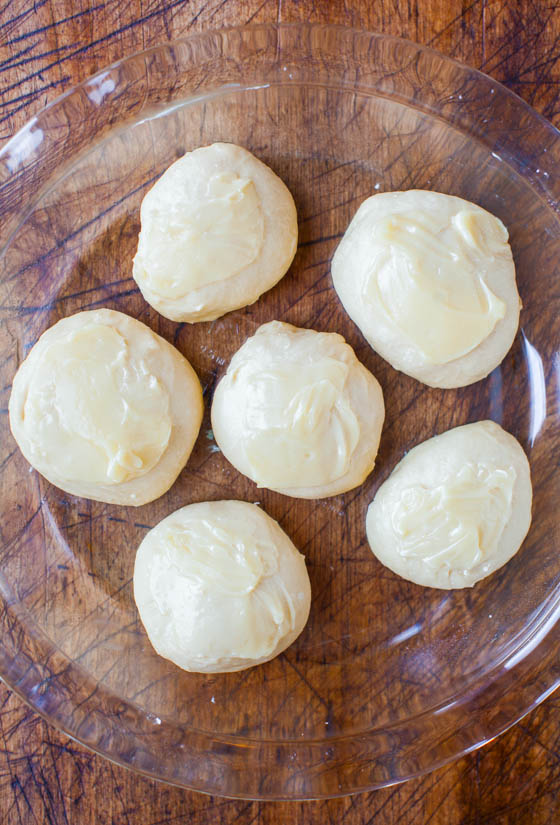
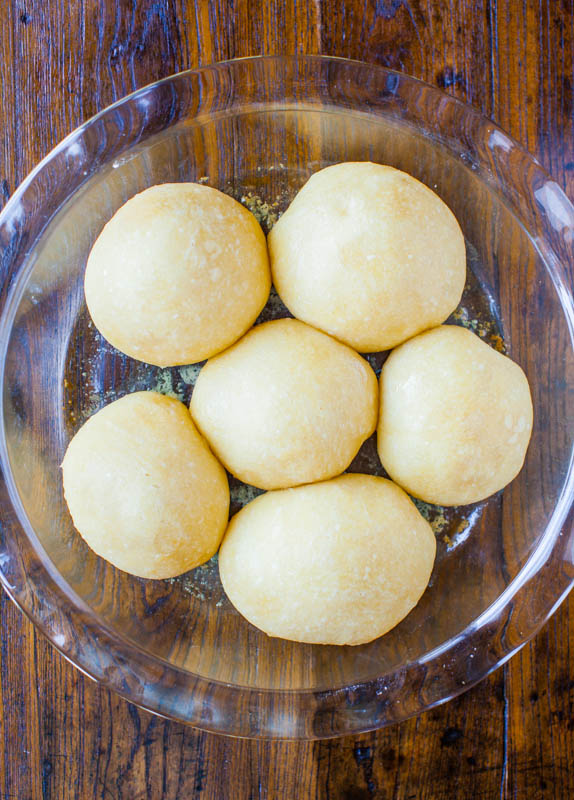
- Place balls of dough in a baking dish sprayed with non-stick spray. Let rise for 1 more hour.
- Bake the rolls for about 15 to 18 minutes, or until lightly golden and puffed.
Baking Tip: Use the Dough for Other Kinds of Bread!
The recipe will yield about 14 to 16 dinner rolls, but I don’t only make rolls with this dough. Sometimes I make mini challah loaves, or I make mini loaves of bread in mini loaf pans.
You can see how much mileage I got from one batch of dough. And it’s not even that much dough, just a 3 1/2 cups flour recipe, but I love the flexibility of it!
Make-Ahead Instructions
These no-knead dinner rolls can easily be prepared in advance and baked off just before you plan on serving them.
To make the rolls in advance:
- Let the dough rise once, then place it in the fridge for up to 5 days.
- When ready to use, punch down the dough and form the rolls.
- Let the rolls rise a second time (about 1 hour) before baking them as instructed in the recipe card below.
Recipe FAQs
I’ve made this no-knead roll recipe using a blend of all-purpose and bread flour, but I prefer using just all-purpose flour because it creates softer, squishier bread and it’s not quite as high-rising. If you want to use bread flour as well, I’ve also tested this recipe with a blend of 2 1/2 cups bread flour and 1 cup all-purpose.
You can’t simply substitute all-purpose flour for whole wheat flour in baked goods, as they have different protein contents, etc.
However, if you’re looking for a whole wheat dinner roll recipe I recommend making these Whole Wheat No-Knead Rolls. I’ve tested this recipe many times and know it works!
ou can use oil or melted butter in the no-knead yeast rolls. Oil creates a softer loaf, and butter creates a crustier crust. Also, butter-based dough is firmer and slightly easier to work with, but I have no trouble with oil-based dough and prefer it.
You want to use an active dry yeast or an instant yeast. I use Red Star Platinum Yeast and it never lets me down!
Proofing the yeast is when you sprinkle it over warm water and let it foam up for 5 to 10 minutes. Technically you don’t have to proof instant yeast (which is what this recipe calls for) but because this is a no-knead rolls recipe I prefer proofing the yeast anyways just to make sure it’s alive.
In my experience, no. I recommend baking the yeast dinner rolls as written and then freezing them. Frozen dinner rolls thaw beautifully — just set them on your counter and let them come to room temperature!


Pin This Recipe
Enjoy AverieCooks.com Without Ads! 🆕
Go Ad Free

No-Knead Dinner Rolls
Ingredients
No Knead Rolls
- ⅞ cup water, scant 1 cup, warmed to about 125F for Platinum yeast, about 105 to 115F for most other yeast
- 2 ¼ teaspoons instant or active dry yeast (one 1/4-ounce packet, I use Red Star Platinum
- 2 large eggs
- ¼ cup canola or vegetable oil, or 1/4 cup butter (oil creates a softer loaf, butter creates a crustier crust; butter-based dough is firmer and slightly easier to work with, but I have no trouble with oil-based dough and prefer the bread)
- ¼ cup honey
- ½ teaspoon salt, or to taste
- 3 ½ cups all-purpose flour, I have also used 2 1/2 cups bread flour and 1 cup all-purpose; bread flour creates chewier, firmer bread; AP creates softer, squisher bread and it’s not quite as high-rising
Honey Butter (Optional)
- ¼ cup unsalted butter, very soft
- 2 to 3 tablespoons honey
Instructions
Make the dough:
- Pour water into a microwave-safe measuring cup or bowl and warm it to manufacturer’s directions on yeast packet, about 45 seconds on high power. Take the temperature with a thermometer. If you don’t have one, water should be warm to the touch, but not hot. Err on the side of too cool rather than too hot because you don’t want to kill the yeast.
- Pour water into a large mixing bowl and sprinkle the yeast over the top; wait 5 to 10 minutes, or until yeast is foamy. This means it’s alive and will work. (This is proofing and technically with instant dry yeast you don’t have to proof it, but for this recipe, I do)
- Add the eggs, oil, 1/4 cup honey, optional salt, and whisk to combine, about 30 seconds.
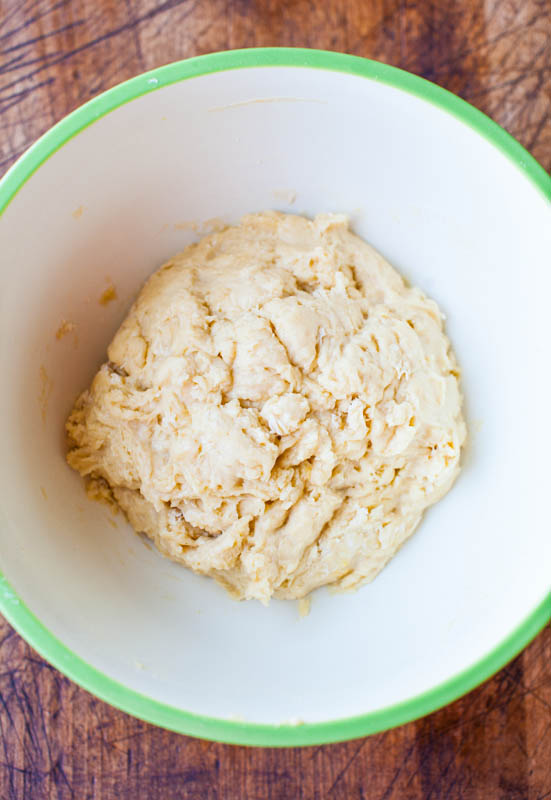
- Add the flour and stir with a wooden spoon to incorporate the flour. Stir for about 1 minute more. This is as much ‘kneading’ as the recipe requires. Dough will be thick, lumpy, bumpy, and not smooth. This is okay.
- Make a ball with the dough in the center of the bowl. Cover bowl with plastic wrap and place in a warm, draft-free place to rise until doubled in bulk, about 2 hours. * (see note below)
- At this point, you have two choices: bake the rolls now or bake them later.
If baking immediately:
- If you plan to bake now, punch dough down, remove it from bowl, and turn it out onto a well-floured surface.
- Knead it only so much as necessary to shape it into balls for rolls (I divide the dough in half, and if I’m making rolls, I make 8 rolls from each half, for 16 rolls total, they’re just a bit bigger than golf balls). Or form desired shapes such as mini loaves, challah, breadsticks, pretzels, etc. Use only what you need and save the rest for later in the refrigerator.
- Place balls of dough in a cooking sprayed round baking dish or pie plate, or in an 8×8 or 9×9 pan; size depends on how many you’re making. They can be close to each other, but if they’re overly squished they’ll bake into each other.
- Cover baking dish with plastic wrap, and allow rolls to rise in a warm, draft-free environment for about 1 hour, until almost doubled in size. I use the preheated oven trick again.
- In the final minutes of rising, preheat oven to 350F.
- Bake rolls for about 15 to 18 minutes, or until lightly golden and puffed. Baking time will vary greatly based on how many rolls you’re baking, or if it’s another shape such as a mini loaf, the size of the pan, and personal preference. Watch your bread, not the clock.
- Serve as soon as bread is cool enough to handle.
If baking later:
- If you plan to bake later, take dough that’s risen for about 2 hours from step 5, keep it covered, and refrigerate it. Dough may be kept refrigerated for up to 5 days before baking.
- When you plan to bake, pick up at step 5 and follow through the section labeled "if baking immediately."
Make the honey butter:
- Stir to combine the butter and honey. Generously brush or spread the mixture over the top of the dough before baking.
- Reserve remainder to serve with rolls after baking.
Notes
Nutrition
Nutrition information is automatically calculated, so should only be used as an approximation.
©averiecooks.com. Content and photographs are copyright protected. Sharing of this recipe is both encouraged and appreciated. Copying and/or pasting full recipes to any social media is strictly prohibited.
More Easy Dinner Roll Recipes:
No-Knead Slow Cooker Dinner Rolls – 🙌🏻😋 Learn how to make dinner rolls from scratch in your Crock-Pot in less than 2 hours WITHOUT kneading! These are the EASIEST rolls you’ll ever make!

Texas Roadhouse Rolls — Soft, buttery, fluffy, and light this easy COPYCAT recipe for Texas Roadhouse rolls with cinnamon honey butter is INCREDIBLE!

Parker House Rolls — The BEST homemade dinner rolls because they’re so light, airy, fluffy and practically melt in your mouth!

Honey Dinner Rolls — Lightly sweetened from honey in the dough and are then brushed with honey-butter prior to baking, which lends both a golden color to the rolls and infuses them with a subtle sweetness.
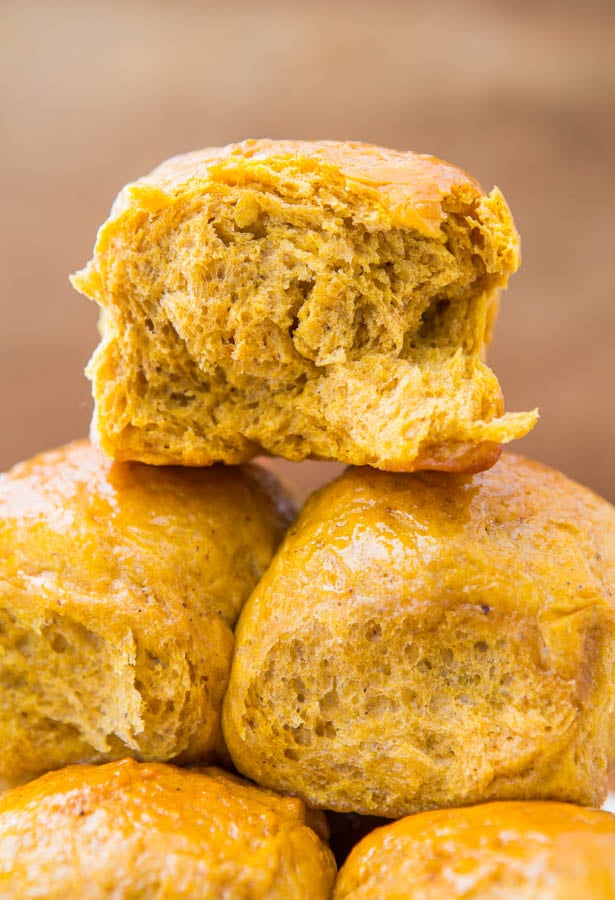
Pumpkin Dinner Rolls — These rolls are soft, slightly chewy, and the pumpkin puree keeps them moist and adds just enough tooth-sinking density.
Hey there, these look soo good and soo easy, I really want to try them, but I can only do whole wheat flour, I usually use bobs red mill whole wheat white bread flour but I wasn’t sure if that would affect anything with this recipe, in the past I know that whole wheat hasn’t been completely interchangeable in any recipe….
You can’t use whole wheat flour interchangeably with AP, especially in bread-making. These are 100% whole wheat, make these! https://www.averiecooks.com/2013/07/100-whole-wheat-no-knead-make-ahead-dinner-rolls-with-honey-butter.html
Tried and true and if you try to make these here, they won’t turn out so make the ones I linked!
can i add raisins to this for a easy raisin bread? or will it not work with the texture?
I think they’d be fine with raisins. I also have https://www.averiecooks.com/2012/12/raisin-bread-for-raisin-lovers.html and https://www.averiecooks.com/2012/11/oatmeal-raisin-rolls.html which you may like!
If using butter should the butter be melted first? I tried with oil, I used sunflower and they came out good but I prefer crustier tops, and I think they need more salt. All in all a great and easy recipe.
Melted butter in the batter rather than oil, yes, you’d melt it. Butter makes things crispier, oil makes things softer so the dough itself could become less soft with using butter. But sounds like that’s what you want. And salt is so personal so just salt it to your own tastes. Glad you liked the recipe!
FABULOUS! My sister, mom, and I prepared the dough Wednesday evening (day before Thanksgiving) and then baked them off just before we served dinner. The rolls were met with unanimous approval from all eaters! Absolutely easy and wonderful! Thank you for creating an easy make-ahead dough that bakes up so tender and pillowy. This recipe is PERFECTION
Glad they were PERFECT for you! That is music to my ears and met with unanimous approval no less…awesome! Thanks for trying the recipe and sharing with your family!
Hi Averie! I’ve made a couple of your recipes before and they’ve all been GREAT so when I saw this I knew I had to try it. The texture was AMAZING – super light and fluffy! But the bread was flavorless :/ I’ve never made bread before so I don’t know if I did something wrong. I followed the recipe and directions but used grape seed oil and raw honey. I noticed you don’t put much salt in your foods so should I have used more salt? I used maybe a couple of pinches. I looked up other bread recipes after the fact and saw that most use 1/2-1 tbs of salt. Would that be the culprit? Thanks in advance!
I don’t add a lot of salt to bread recipes because it can impede yeast and rising, and also because for health reasons, we’re very conscious of our salt intake in my family. Plus, with adding the honey butter, I prefer the rolls to be a bit more sweet than savory, but if you want the bread to taste saltier, add some salt to taste. It may take a few batches to find out what that amount is for your personal preference. Glad that you loved the texture and overall sounds like you enjoyed them!
Thanks so much for your reply. I really did like the texture and honey butter so I will definitely try again soon. I’ll play around with the level of salt and see how it goes :)
Ok good!
Is there something else I can use to cover other than plastic wrap?
Foil, maybe parchment.
These look great! In your opinion, would they make good sandwich slider buns? I’m thinking of making mini shredded BBQ chicken sliders, but I don’t know how it would taste or if the bread would hold up. Thanks!
The size I made them, they’re bigger than slider buns, but you could always just form them smaller so that you end up with slider buns. I think if you want that really…how shall I say it cheap, white bread, super mushy like Wonder bread mouth-feel that slider buns usually have, these aren’t that. They’re more hearty, like a homemade roll, but not like a HEARTY hearty roll or anything. Maybe that helps you decide!
No, they aren’t “buns” but more like biscuits. In fact, I may use them with sausage and gravy when I bake the leftover from the dough I made today. They sopped up the chicken soup broth like champs, though! I would definitely add the salt, too. I left it out because of the flavorful soup and they weren’t so tasty alone.
I’ve had trouble with tradtional biscuits and this recipe is a great substitute for those of us who can’t seem to get that technique down!
Glad that you’re enjoying the rolls and that the recipe works great for you!
I couldn’t get my dough to rise a second time after I’d shaped my mini challah loafs…
They turned out alright, but pretty dense. I’m not sure where I went wrong.. Proofing the yeast was trickier than I thought, I think something might have gone wrong there. How foamy is it supposed to be after 10 minutes? Mine had thin layer of foamy bubbles but it was mostly just opaque liquid. I’m bummed. I’ll try again another time, boo.
Impossible to screw up, and yet I have most definitely found a way, haha! :)
Try rolls next time, not a braided/challah bread. Go with BASIC first, then move on. You’d think oh the shape shouldn’t matter, the dough is the dough, but…it can. So go with rolls. Then, go get INSTANT yeast. If you’re using active yeast, you need to proof it, if it’s instant, you don’t. That will reduce another element of doubt. And if you can get the Platinum Red Star yeast, get that. The best, period. I think with these subtle tweaks you’ll be set. Bread making is part art, and it doesn’t always go as planned but just stick with it!
I made the rolls tonight… actually I braided some, the rolls are in the fridge, waiting to be baked tomorrow. Canadian Thanksgiving… This recipe is a HUGE HIT!! Thanks!
Oh I’m so glad you tried the recipe and for Canadian Thanksgiving no less, I’m honored! So glad they’re going to be a hit with your friends and family!
Thanks so much for an easy, fluffy roll recipe! I made some rolls and used the rest of the dough to make stuffed sandwiches in the shape of calzones. After the 2nd rise, I flattened out the dough to circles and put in a chicken, cheese, and broccoli mixture. Brushed it with a beaten egg and baked it in a 400 F oven for 12-15 mins. It reminded me of Hot Pocket stuffed sandwiches! It did have a slight sweetness, but it didn’t bother us too much. Thank you for the detailed description and wonderful pictures to aid in the success of this bread recipe!
So glad these came out great for you and I love your “Hot Pockets” idea! Love that you multi-purposed the dough for variety! Thanks for sharing what you did!
Awesome recipe!
I made one slight change to the recipe and liked the results – worth a try:
Instead of using 1 cup water, instead i used 1/2 cup of water to start the yeast, and then used 1/2 cup buttermilk*. It created tiny little air bubbles in the dough so that it was even more light!
Delish!
*if you don’t have buttermilk, regular milk with a splash of lemon juice or apple cider vinegar works just as well. It’s supposed to look clumpy – that’s the magic that makes your recipe more airy! :)
Buttermilk is great! I use it in my fave cinn roll recipe https://www.averiecooks.com/2013/02/overnight-buttermilk-soft-and-fluffy-cinnamon-rolls.html
And you can use it here too https://www.averiecooks.com/2012/11/honey-dinner-rolls.html My fave dinner rolls. So glad you loved these and thanks for sharing what you did!
Made these and the no knead peasant bread and both turned out superbly. I did however use strong bread flour and allowed 3 rises … 2 hours, 1 hour and 3o mins when in bread tins .. so light and fluffly. I made 4 loaves and 18 rolls in 2 days and not one crumb left. (6 people in the house) Thank you for these recipes…No more nipping to the shop when bread is reuqired and spending a load of money in things I don’t really want, just make my own!
Glad to hear you made these & the other recipe and they turned out great for you!
Forgot to say – when I do that – I’ll let you know – for sure, as I’ve done before when I’ve posted links to other blogs recipes.
I’ve saved bunches of your recipes on Pinterest & just found this one. I love making bread but had never seen a recipe like this one – it’s awesome. I’d love to make the rolls and post the recipe on my website. OF COURSE, I will give you total credit!! This is just to good not to share!
Hi I’d prefer if you could simply link back to my recipe from your site. Since I created the recipe, if people want to view it, I’d prefer they come to my site to get it! Thanks for understanding & glad you love the rolls!
That’s totally understandable !! I sometimes do a post featuring great recipes from other blogs, where I include a photo & the link to the recipe page. I’ll include the photo & link for this excellent recipe next time I do that!
Thanks for understanding. I appreciate just using a linkback!
I’ve seen a couple of posts asking if the dough can be frozen. Has anyone tried it and if so, how did they turn out? I would love to mix up several batches and freeze if they turn out well. Thanks!
I find that it’s better to bake the rolls and freeze than to freeze unbaked dough. The later option will work, but I think the rolls turn out fluffier when baked with fresh dough.
I just made these, for the first time… actually I’m not even done, they’re on the second rise, before baking. What a MESS! I think I would have had better luck using pancake batter. The dough was so soft and wet and sticky. I added nearly 1/2 a cup of additional flour, just to get to the pount where I could handle it, to form the rolls. I’m not holding out much hope for the end result, but we shall see.
You need to add as much flour as necessary to get the dough into a manageable state so that you can roll it or shape it into rolls. It’s shouldn’t be so thin and messy that it’s like batter! Everyone’s climate, flour, and yeast is different. It’s a living thing and you have to treat it as such; there will be major variables as there always is in bread making. Add enough flour so that you can shape the dough, let it rise, and then bake. Don’t bake sloppy dough. That will never turn out.