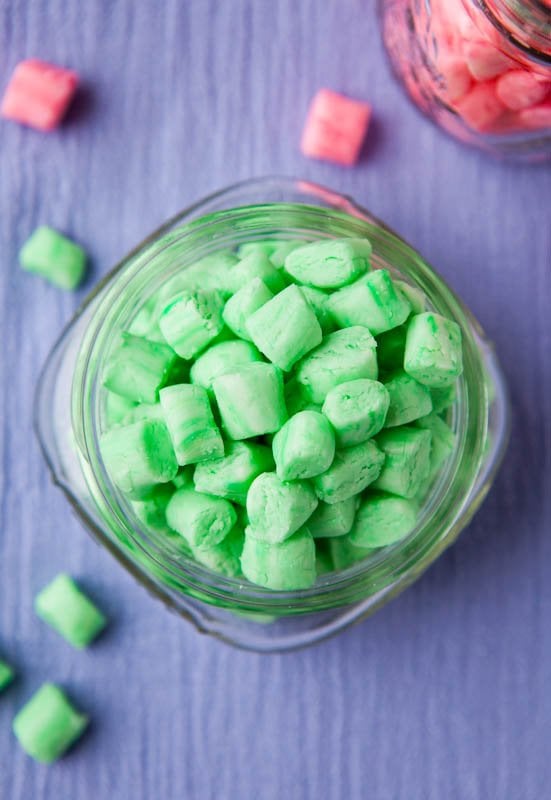
Old-Fashioned Butter Mints — 💚❤️ These homemade butter mints require just 6 ingredients to make! This recipe makes a big batch, so you’ll have lots left over for gifting.
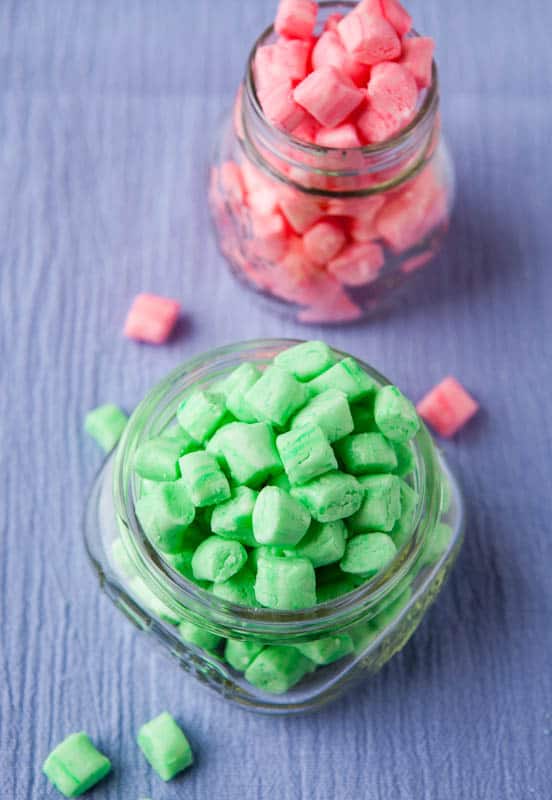
Table of Contents
Old-Fashioned Butter Mints Recipe
One of the highlights of going to my grandma’s house when I was growing up — in addition to playing Gin Rummy for money at age six — was raiding her candy dish. She used to have Jolly Ranchers, butterscotch candies, and after dinner mints in that little white dish with the lid. (When you’re six,”after dinner” means the minute you can get your sweaty little mitts on the mints, you do.)
I decided it was time to make my own homemade mints since I have such fond memories of them.
These homemade butter mints are so smooth and just melt in your mouth.
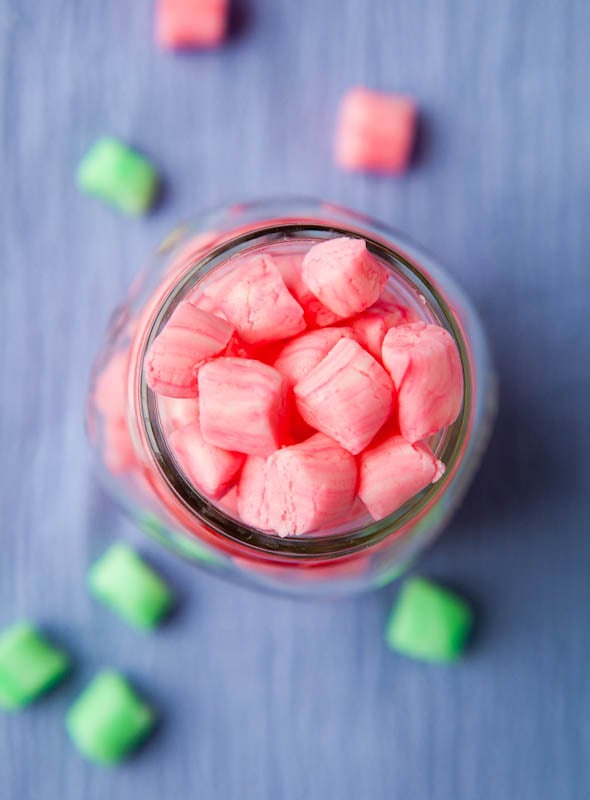
Normally with mints, one is all you need. Maybe two. With these, you want at least 17 because they are cool yet sweet, firm yet melty. Plus they’re tiny.
It may not have been the brightest idea to make a recipe that needed to be sliced into 250 little pieces (just a guess) and I am not one for extra steps and monkey business and fussy recipes, but I rolled the dough into long skinny logs in between my hands and it felt like I was playing with Play-Doh.
You will never want a store-bought after buttercream mints again!
Ingredients for Butter Mints
To make these creamy, soft mints, you’ll need the following:
- Unsalted butter
- Salt
- Confectioner’s sugar
- Sweetened condensed milk
- Peppermint extract
- Food coloring
Note: Scroll down to the recipe card section of the post for the ingredients with amounts included and for more complete directions.
How to Make Homemade Butter Mints
- Cream together the salt and butter for about a minute.
- Beat in the sweetened condensed milk, powdered sugar, and peppermint extract.
- Continue mixing until a dough forms, then remove the dough from the mixer and divide into one to four equal-sized balls.
- Add one dough ball at a time back into the mixer and add your choice of food coloring to the dough. Mix until the color is uniform throughout. Wash the mixing bowl and paddle between each color change and repeat this process until each dough ball is colored.
- To shape the butter mints, roll out a golf ball-sized piece of dough into a long rope and slice into bite-sized pieces.
Recipe FAQs
Yes, you can use any variety of mint extract you prefer (i.e. mint, peppermint, spearmint, etc). These after dinner mints will be tasty no matter what type of mint extract you use.
Just remember that mint extract cannot be undone and if you plan to make these, make sure you read my mint cautionary tales in the recipe section. You want to eat mints. Not eat a bottle of Listerine.
I’ve only ever made this butter mints recipe using peppermint extract, so I can’t speak to whether or not (food grade!) peppermint essential oil will work here.
I suspect this recipe would be nice with cinnamon extract, lemon or orange extract, or many other specialty flavored extracts from butter to rum to coconut to coffee extract. If you choose to use another specialty flavored extract, you’ll have to use your best judgement when flavoring these butter mints.
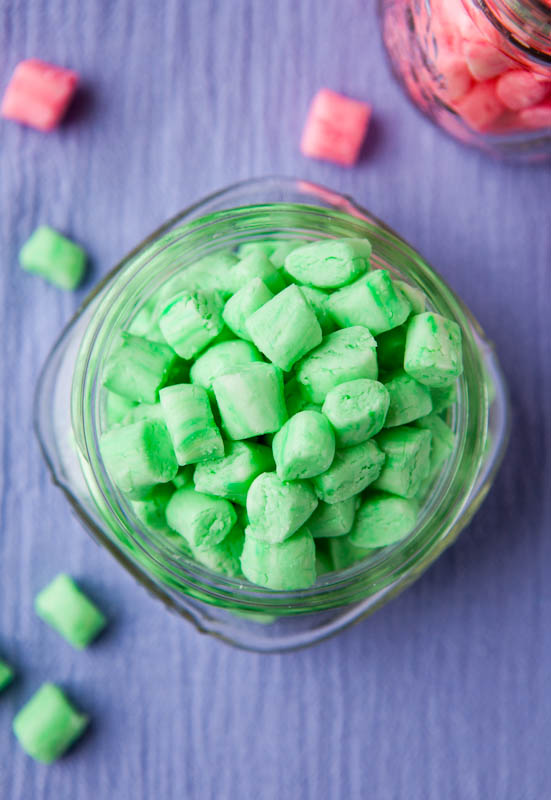
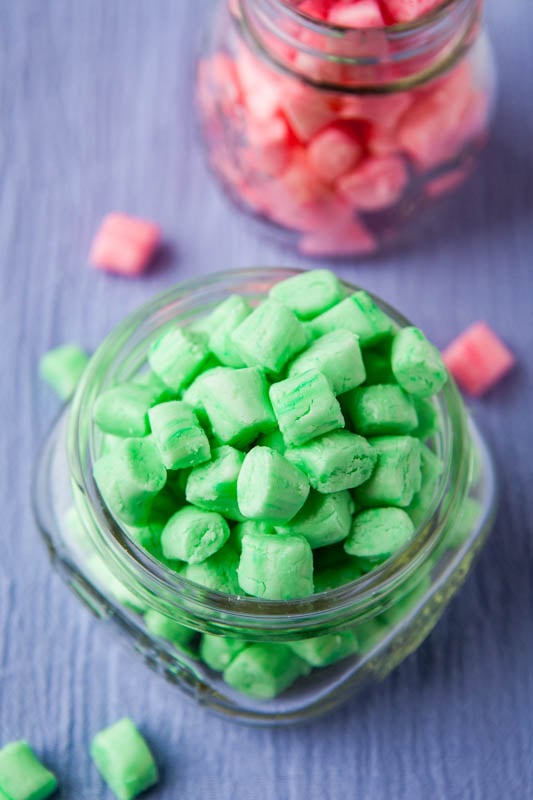
I used red and green food coloring, but you could make these for Easter, Mother’s Day, a baby or bridal shower and use pastels. The un-dyed dough is stark white and a blank canvas.


Pin This Recipe
Enjoy AverieCooks.com Without Ads! 🆕
Go Ad Free
Old-Fashioned Butter Mints
Ingredients
- ¼ cup butter, softened (I used unsalted, but salted may be substituted based on preference)
- ¼ teaspoon salt, consider omitting if you used salted butter
- 3 ¼ cups confectioners’ sugar plus 1/4 cup+, if needed
- ⅓ cup sweetened condensed milk
- ½ teaspoon peppermint extract*
- food coloring, optional
Instructions
- To the bowl of stand mixer fitted with the paddle attachment, combine butter and salt and beat for 1 minute on medium-high speed.
- Add 3 1/4 cups confectioners’ sugar, milk, peppermint, and beat on medium-low speed until a dough forms. If the dough seems wet, add additional confectioners’ sugar until dough combines (I use 3 1/2 cups sugar). The dough will be crumbly but will come together when pinched and squeezed into a ball.
- Taste the batter. If you want a more intense mint flavor, add additional mint extract, to taste (see note below).
- Remove dough from the mixer, separate it into 1 to 4 smaller balls, and add one ball back into the mixer. Add the food coloring of your choice to the ball by squirting the droplets on top of the dough (careful when you turn on the mixer), and paddle on low speed until coloring is well-blended. Coloring will not blend completely into each and every speck of dough if examined extremely closely, but overall, mix until color is uniform. (I separated approximately two-thirds of the dough and made it green using about 15 drops green food coloring and made one-third of the dough red-pink by using about 7 drops red food coloring).
- Wash the mixing bowl and the paddle in between each color change and repeat until all the balls are colored.
- After the dough has been colored, either wrap it with plastic wrap and place it in an airtight container in the refrigerator to be rolled out later or roll it immediately.
- To shape the butter mints, place a golf-ball sized amount of dough in your hands and roll dough into long thin cylinders about 1 centimeter wide. Place cylinders on countertop and with a pizza cutter (or knife – be careful of your counter), slice cylinders into bite-sized pieces, approximately 1 centimeter long.
- Store mints in an airtight container in the refrigerator where they will keep for many weeks.
Notes
Nutrition
Nutrition information is automatically calculated, so should only be used as an approximation.
©averiecooks.com. Content and photographs are copyright protected. Sharing of this recipe is both encouraged and appreciated. Copying and/or pasting full recipes to any social media is strictly prohibited.
More Easy Homemade Candies:
Chocolate Caramels — Soft and chewy, nice and chocolaty, with the slightest hint of espresso flavor that makes the chocolate flavor even richer! A final pinch of flaky sea salt is optional but AMAZING!

Chocolate Sponge Candy — A classic homemade Christmas candy that’s light and airy candy inside and chocolate-dipped on the outside. Easy to make! Great for cookie exchanges and hostess gifts because it keeps fresh for a long time!

Chocolate Stained Glass Candy — Likely the prettiest Christmas candy you’ll make all holiday season! It’s FAST, EASY, and NO-BAKE! Milk chocolate takes on the appearance of stained glass by adding colored mini marshmallows, crispy Rice Krispies, and chewy dried cherries.

White Chocolate Truffles — Made with real butter, heavy cream, and a double dose of white chocolate in both the filling and the coating, these EASY truffles are CREAMY, decadent, and perfect for the holidays!

Microwave Chocolate Peanut Butter Fudge — 🙌😋 Rich and decadent chocolate fudge adorned with peanut butter swirls! Made in the microwave with just SIX ingredients, there’s no boiling or candy thermometers involved in this FAST and EASY recipe for PERFECT fudge every time!

Melt in Your Mouth Homemade Toffee — 😋💚❤️ Irresistible, buttery, ADDICTIVE, and just melts in your mouth!! EASY and perfect for holiday parties, gift-giving, or cookie exchanges!!

Awesome! FYI — these are absolutely delicious dipped in chocolate fondue. They hold up ok in the warm chocolate but then just melt in your mouth. Mmmm.
Oh wow, that’s great to hear that stand up to chocolate fondue! I bet the combo of the buttery mints, against the warm chocolate sauce, is just heavenly! I have to try – thanks for the tip!
I was looking for one receipe and stumbled my way to your other receipes and am looking forward to trying to make so many of them Thank You, whats not to Love all the best, natural, ingrediants in the world and good for you too!
Good Morning, Averie! I made these a few days ago and blogged them today. Thanks for the fabulous recipe! (I still can’t believe how addictive they are! They taste 100x better than store-bought too.)
I’m so glad you enjoyed them and yes they are so addictive and way better than storebought!
Great recipe! Perfect timing for me (sort of). I saw these mints at the checkout of a retail store the other day, and had to have them (knowing full well they’d be about 10 years old and stale). I ate half the bag on my ride home! This could be dangerous!
Thanks for sharing!
Hi! I (of course) waited until the last minute and now I need to make these for a shower tomorrow at 3pm. Do these take time to dry out? If I make them in the morning, will they be edible by 3? I’m going to attempt either way, because they will be edible at SOME point and they look fantastic! Thanks so much for your help!
You know I live in San Diego and it’s incredibly dry here and they would be fine for me, but I suggest making the RIGHT NOW. Like stop what you’re doing, start them! Like now!! That is your best chance and let them sit in the fridge overnight, uncovered to the cold air. And no, if you make them in the a.m. I really don’t think that’s enough time for them to properly firm up by 3p. I mean maybe…but…I wouldn’t chance it since it’s for someone’s special event :) LMK how it goes!
I live in San Diego, too! (And when I was out at Mayo it cracked me up that the first thing everyone said to me was, “San Diego, oh my goodness it’s SO humid there!’ – Uh, I guess compared to Scottsdale it’s humid, but, really people, San Diego is NOT humid! ha!)
I love your blog but hadn’t seen this recipe until today – which is so funny because just yesterday I was complaining about not being able to find after dinner mints and how much I love them, and that the closest thing I can get is chic-fil-a or melting pot’s mints…but there’s only so many of those you can manage to get – especially since they’re individually wrapped. Ha ha!
I can’t get over that these aren’t baked or anything. Are they sticky? I’m so curious…and totally going to have to try this! So fun!
And now I’m relooking at all your recipes since I missed this before I’m afraid I missed more treasures! ha!
No – not sticky. Hope you try them!
I made these today and they are delicious! The only change I made was at the end I put them all in a container and added a bit more confectioners sugar and shook the whole thing to give them that soft powdered finish. AND it kind of rounded them. :>
Rachel – thanks for the feedback and so glad you loved them! Your shake-method sounds perfect. If I do things like that on my blog, people get upset about ‘all that sugar’ that I’ve used :) But I think you made a super smart call and one that saves time, coats them all at once, and now they won’t stick together as much either! Smart girl :)
These are a childhood favorite of mine. I take them to the movies sometimes too. haha I was wondering if you absolutely have to refrigerate them? Or if they would be okay in an airtight container on the counter? Thanks!
As long as it’s a cool-ish room and not the dead of summer, you’re fine on the countertop. There are little old ladies who keep butter out indefinitely on the counter…my grandma was one of them. Some may not be comfortable with this, but it’s really personal choice. But the buttermints will be fine at room temperature for awhile; it will depend how warm the room is before they start softening.
Oh, so they are suppose to be soft? I was waiting for them to dry to be like the little pillow after dinner mints, you know the ones that were always at baby and bridal showers.
“waiting for them to dry to be like the little pillow after dinner mints, you know the ones that were always at baby and bridal showers.” <-- YES they get like that. Add powdered sugar & air dry until that happens. It will!
I never knew what ingredients made up these goodies. Will have to try the recipe, sounds so easy. Thanks for sharing.
Ohhh, I love this! I can’t wait to try it. I used to love to eat these.
I made these for christmas gifts not really sure what butter mints are since i’m from Australia and they don’t have them here. Mine turned out tasting like mint icing? Are they suposed to have the texture of icing? When I keep them in the fridge they are kind of hard, but after just 2 mins out of the fridge they start sweating and melting again? It’s been 48hrs in the fridge so far. It probably doesn’t help that it’s 30 degrees celcius, I’m guessing they’re more of a winter recipe.
They should be much firmer than icing. Icing to me is still soft like…toothpaste. Or maybe a bit harder. Mints should be well, solid at room temperature. And although there’s butter in them so yes, if you brought them outside in very warm temps, it will ultimately melt, but in normal household temps they should stay fairly stable. I think you probably need to add more sugar in order to get them to firm up more and bulk up the dough.
I haven’t made these since the 90s. I keep telling my NannyJean I’m gonna make em. This year I will. Thanks for reminding me how fun these r to make.