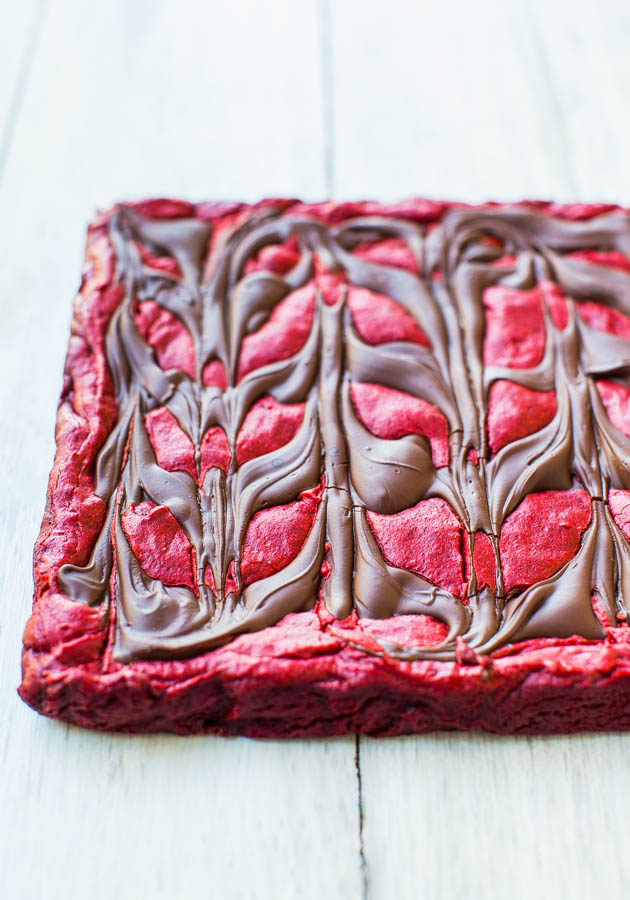
Chocolate-Swirled Red Velvet Brownies — These easy red velvet brownies are topped with an abundance of chocolate and are velvety soft and smooth! They don’t call it red velvet for nothing!
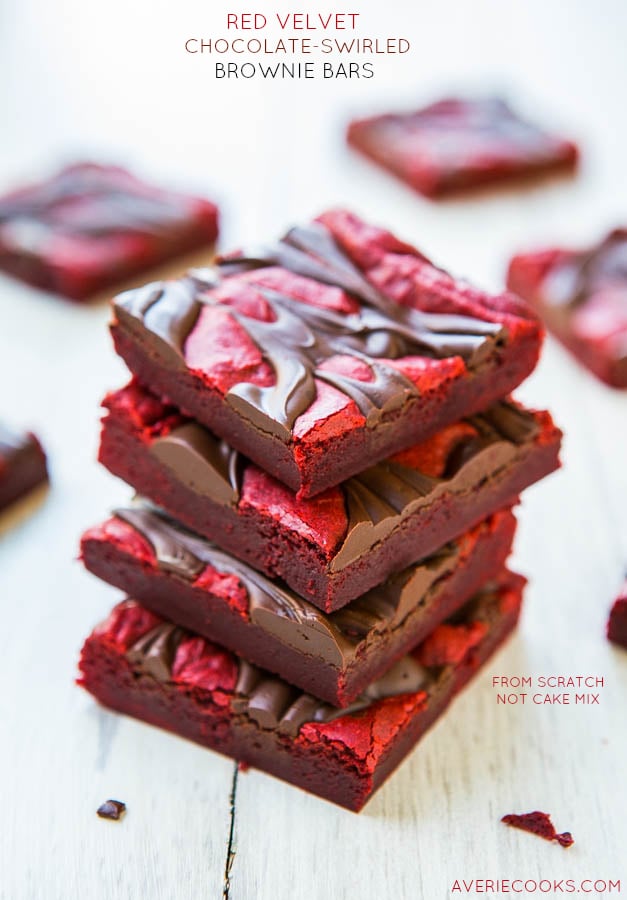
Chocolate-Swirled Red Velvet Brownies
Red velvet fever has begun in advance of Valentine’s Day. It’s everywhere. Here’s my contribution.
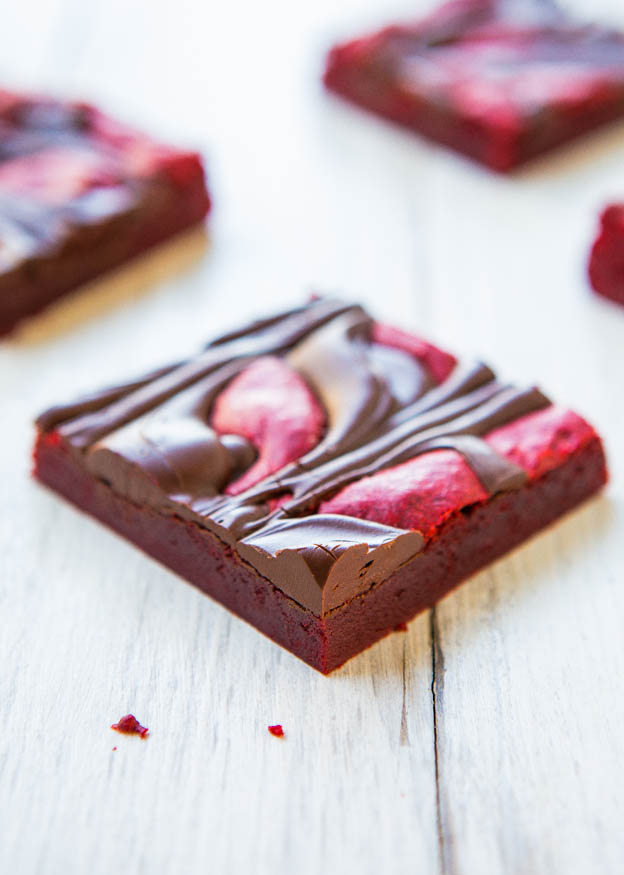
This recipe tasted like a cross between red velvet brownies and red velvet bars. Not over-the-top chocolaty to give them true brownie status, but much fudgier, denser, and richer than your typical bar.
Classic red velvet is known to have chocolate undertones, but isn’t overly chocolaty, and these easy cocoa powder brownies hit that mark.
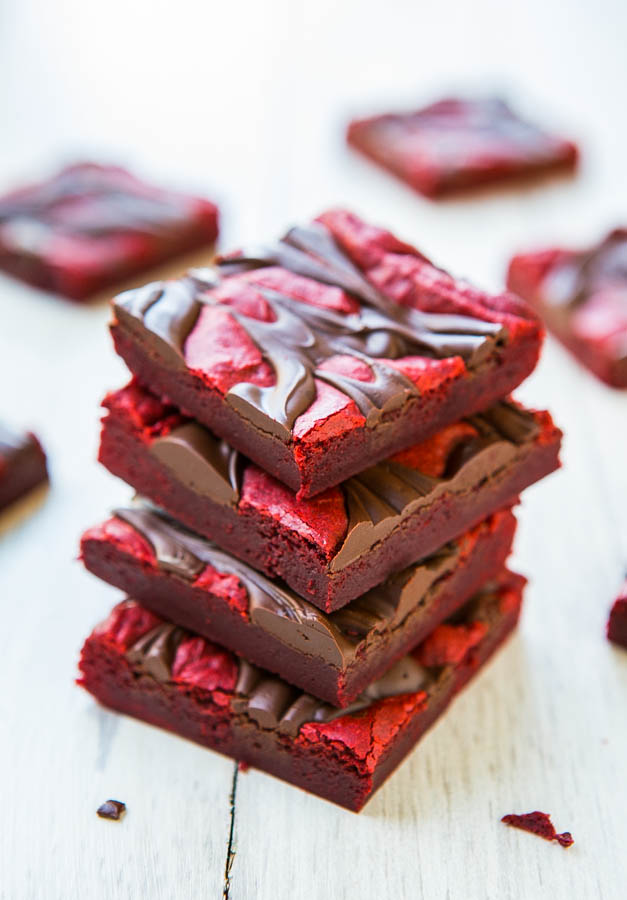
And they’re as far away from red velvet cake that you can get. Nothing light, fluffy, or cakey about them. They’re smooth, rich, dense, and supremely moist.
They’re an easy, no-mixer, scratch recipe that comes together in minutes. Just as easy as opening a box of red velvet cake mix, but so much better and more unique tasting.
The chocolate swirls on top help to accentuate the cocoa that’s stirred into the batter. The overall chocolate level is present, but not too dark or too intense.
They’re buttery, rich, and velvety soft and smooth. They don’t call it red velvet for nothing.
What’s in the Red Velvet Brownies?
To make these red velvet brownie bars, you’ll need:
- Unsalted butter
- Egg
- Light brown sugar
- Vanilla extract
- Unsweetened cocoa powder
- Red food coloring
- All-purpose flour
- Salt
- Semi-sweet chocolate chips
How to Make Red Velvet Brownies
I made them by adapting my trusty blondies base recipe. Melt 1 stick of butter, stir in an egg, brown sugar, vanilla, and then whisk in cocoa powder.
Then I added the red food coloring, and lots of it. I bought two sets of Betty Crocker gel food coloring (with red, blue, yellow, and green) in order to get two red vials needed. And lucky me, I have enough green on hand that I’m already ready for Saint Paddy’s Day projects, now and through the year 2030.
My grocery stores stopped carrying the old fashioned drops and gel is being sold, and in package sets. Get your hands on as much red food coloring as you can, gel or old-fashioned drops, because turning chocolate batter red is a big task.
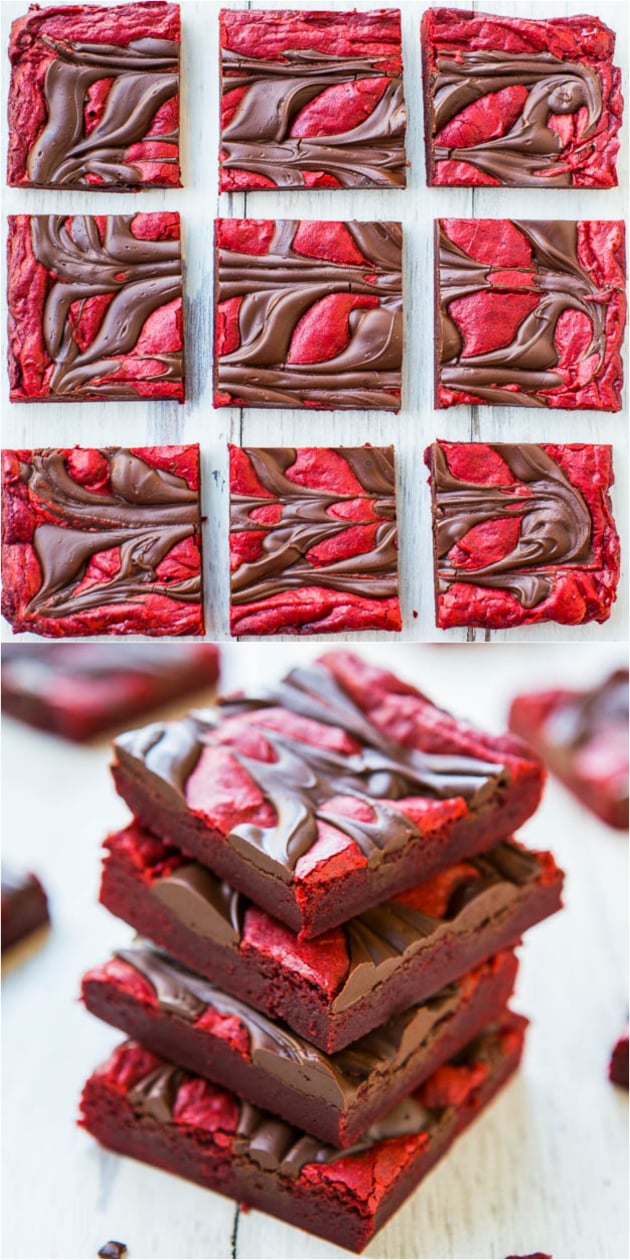
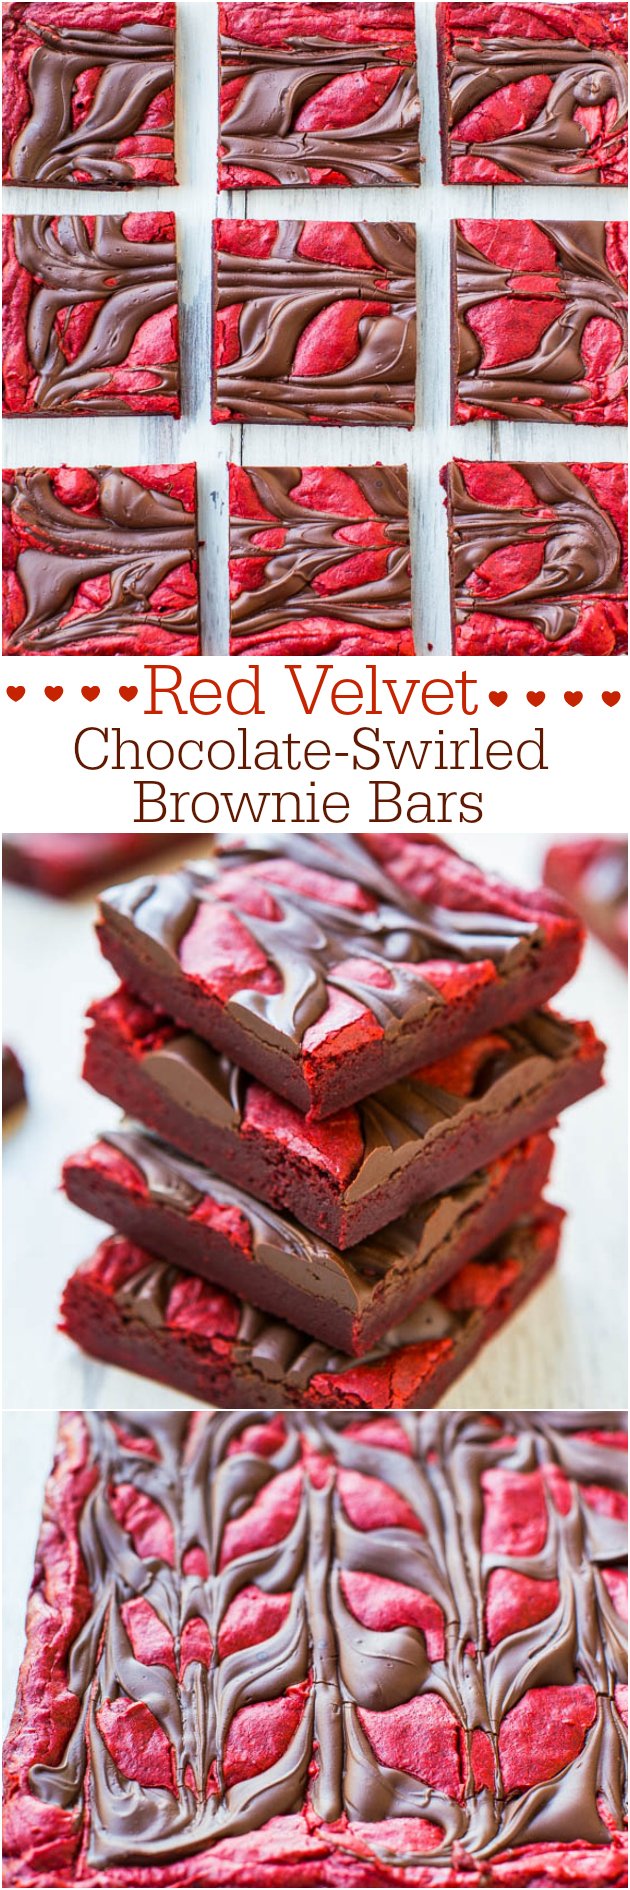
After you get the batter as red as you like, stir in flour, turn it out into the pan, and drizzle with melted chocolate chips to create the swirling. I gave detailed instructions on how to make the easy swirled pattern in the recipe card below.
It’s challenging to determine when any kind of dark-colored food is done, and red and brown food is some of the hardest. I baked for 28 minutes. I recommend 28 to 30 minutes, or until the top is set and isn’t glossy. The chocolate swirls will be glossy, but not the batter.
Can I Double This Recipe?
You likely can, although I haven’t made a double batch of these red velvet brownies before. I imagine you’d simply need to double all the ingredients and bake the brownies in a 9×13-inch pan.
Can I Omit the Food Coloring?
Yes, although your red velvet brownies won’t have the same color as mine. But you’d still wind up with a batch of amazing chocolate-swirled fudge brownies!
Can I Make These Gluten-Free?
I’ve only made these red velvet brownies as instructed in the recipe card below, so I can’t say for certain if / how to make this a gluten-free recipe. If you give it a go, please let me know how the brownies turn out!
Can I Swirl a Different Type of Chocolate on Top?
I don’t see why not! I used semi-sweet chocolate because I prefer richer brownies, but you could also use white chocolate or milk chocolate.
Can I Add a Cheesecake Swirl Instead?
If you’re craving cream cheese-swirled red velvet brownies, I recommend making my Red Velvet Cheesecake Brownies instead. I’ve tested that recipe multiple times and know that the cheesecake swirl works.
How to Store Red Velvet Brownies
These chocolate-swirled red velvet brownies will keep airtight at room temperature for up to 1 week, or in the freezer for up to 6 months.
Note that the brownies need to cool completely before being stored in a container. If you put the brownies in Tupperware before they’ve cooled completely, condensation will form in the container and will affect the texture of the brownies.
Tips for the Best Red Velvet Brownies
A few things to note when making these easy cocoa powder brownies:
- First, be sure to wait a minute or two before adding the egg to the melted butter. If you add the egg to hot melted butter, you’ll wind up with scrambled egg.
- Second, once you add the dry ingredients to the wet, you want to mix the batter just until everything is incorporated. If you over mix the brownie batter, you’ll wind up with dense, cakey brownies.
- Lastly, these red velvet brownies remind me of the Gingerbread Molasses Chocolate Chip Bars I made before Christmas and a longer cooling period is preferred. I urge you to allow them to cool in the pan for at least a few hours, or overnight. It’ll give the chocolate a chance to set up fully and for the bars to just rest so slicing is a neater job.
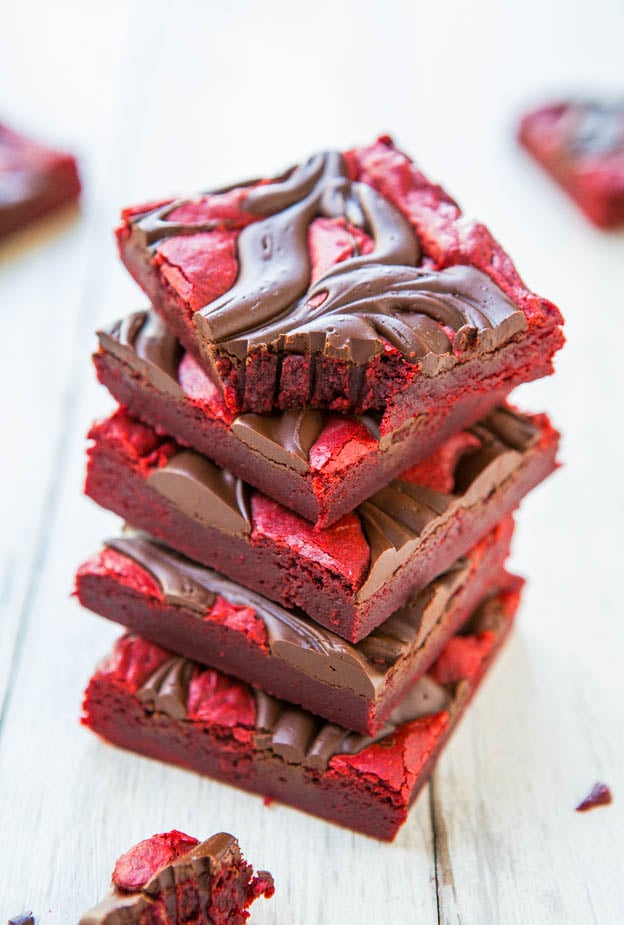
You’ll be rewarded with bars that are soft in the interior, with slightly firmer and chewier edges, and you’ll just want to sink your teeth into them.
Pin This Recipe
Enjoy AverieCooks.com Without Ads! 🆕
Go Ad Free
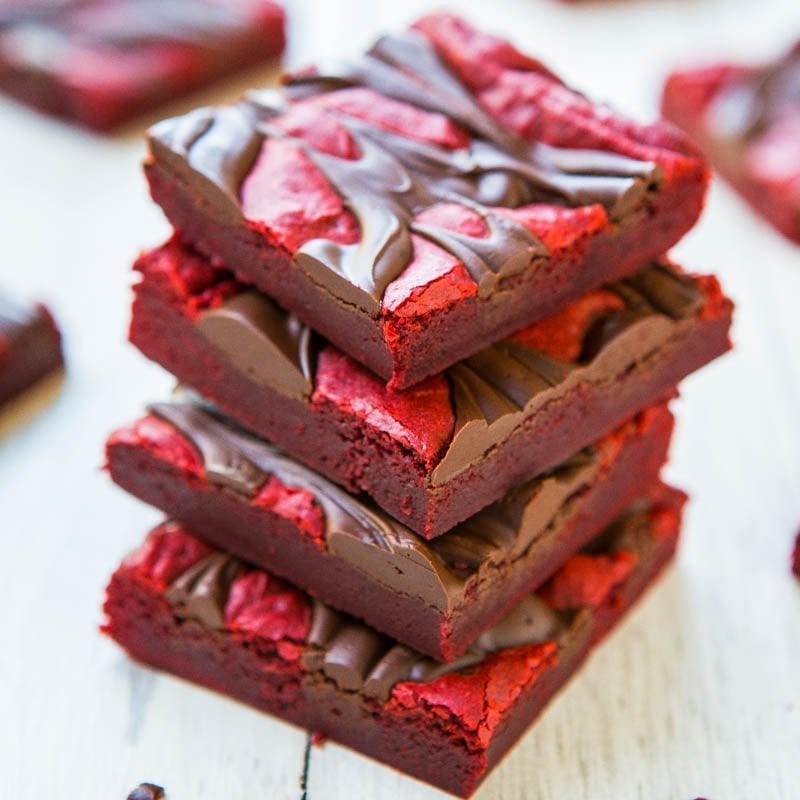
Chocolate-Swirled Red Velvet Brownie Bars
Ingredients
- ½ cup unsalted butter, 1 stick, melted
- 1 large egg
- 1 cup light brown sugar, packed
- 1 tablespoon vanilla extract
- ¼ cup unsweetened natural cocoa powder
- 2 vials red food coloring, or as needed (I used 2 red Betty Crocker gel food coloring vials)
- ¾ cup all-purpose flour
- pinch salt, optional and to taste
- ½ cup semi-sweet chocolate chips, melted
Instructions
- Preheat oven to 350F. Line an 8-inch square baking pan with aluminum foil, spray with cooking spray; set aside.
- In a large, microwave-safe bowl melt the butter, about 1 minute on high power.
- Wait momentarily before adding the egg so you don’t scramble it. Add the egg, brown sugar, vanilla, and whisk until smooth.
- Add the cocoa and whisk until smooth.
- Add the red food coloring and whisk to incorporate. Keep adding until desired shade is obtained.
- Add the flour, optional salt, and stir until just combined; don’t overmix.
- Turn batter out into prepared pan, smoothing the top lightly with a spatula; set aside.
- In a small, microwave-safe bowl melt the chocolate chips, about 1 minute on high power. Stop to check and stir. Heat in 10-second bursts until chocolate can be stirred smooth.
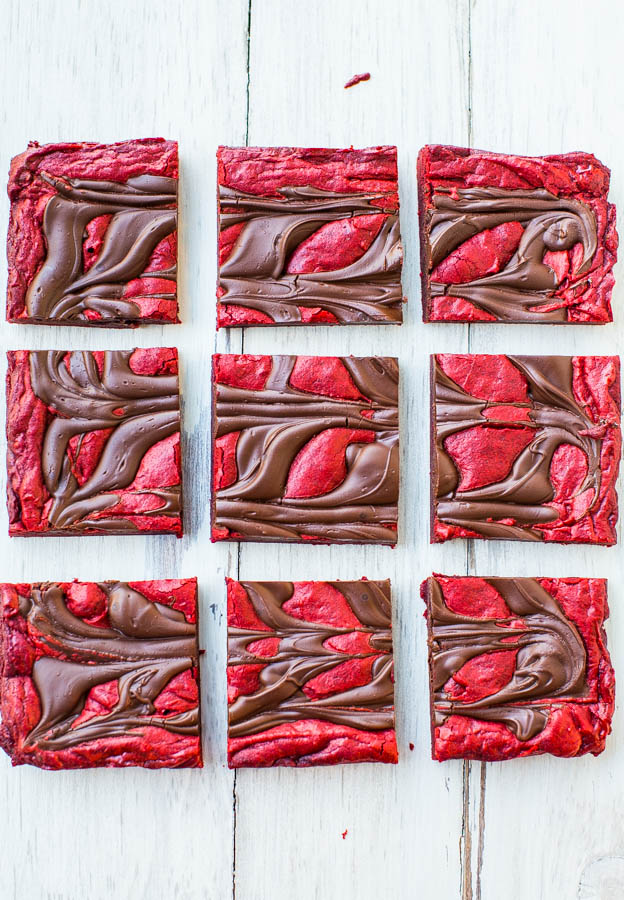
- Drizzle the chocolate over the pan and swirl lightly with the tip of a table knife or a toothpick. To create the pattern shown, drizzle chocolate over batter in 5 wide, evenly spaced, parallel lines, each spanning the length of the pan. Like 5 rows of long train tracks. Rotate pan 90-degrees. With a toothpick, starting at the top of the pan, “draw” 5 evenly spaced lines through the chocolate. You’re dragging the toothpick perpendicularly through the first set of lines to create the swirling.
- Bake for about 28 to 30 minutes, or until a toothpick inserted in the center comes out mostly clean, or with a few moist crumbs, but no batter.
- Allow bars to cool in pan for at least 30 minutes before slicing and serving; however, for optimal results, cool overnight so the chocolate has a chance to fully set up fully.
Notes
- I used 2 vials of red food coloring. I had to buy two sets of gel food coloring (red, blue, green, yellow) for the two reds I needed. Use any type of food coloring you like; you’ll need a lot of it because it takes a lot to turn a chocolaty batter red.
- Bars will keep airtight at room temperature for up to 1 week, or in the freezer for up to 6 months.
Nutrition
Nutrition information is automatically calculated, so should only be used as an approximation.
©averiecooks.com. Content and photographs are copyright protected. Sharing of this recipe is both encouraged and appreciated. Copying and/or pasting full recipes to any social media is strictly prohibited.
More Valentine’s Day Dessert Recipes:
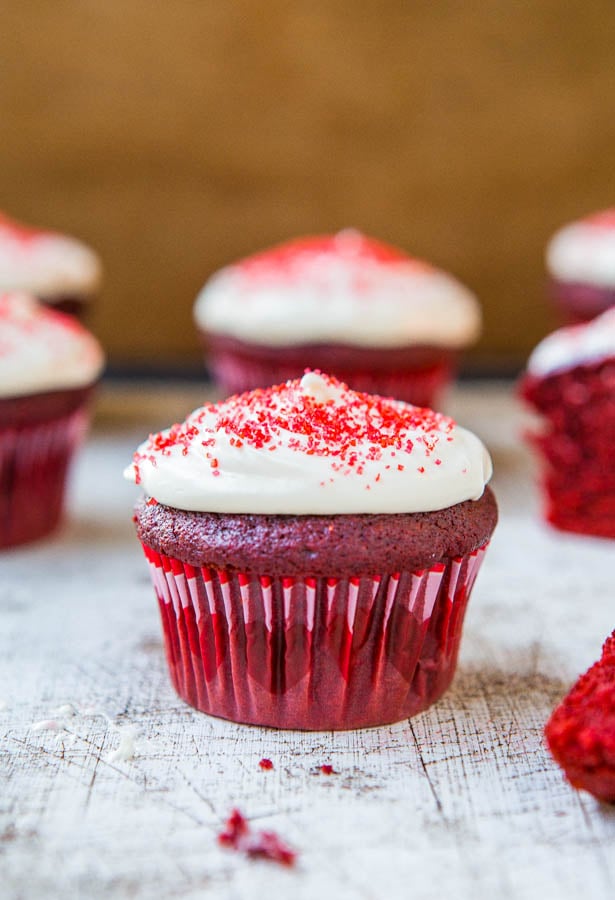
Red Velvet Cupcakes with Cream Cheese Frosting — Extremely popular with readers and so many positive comments about these easy, no-mixer cupcakes.
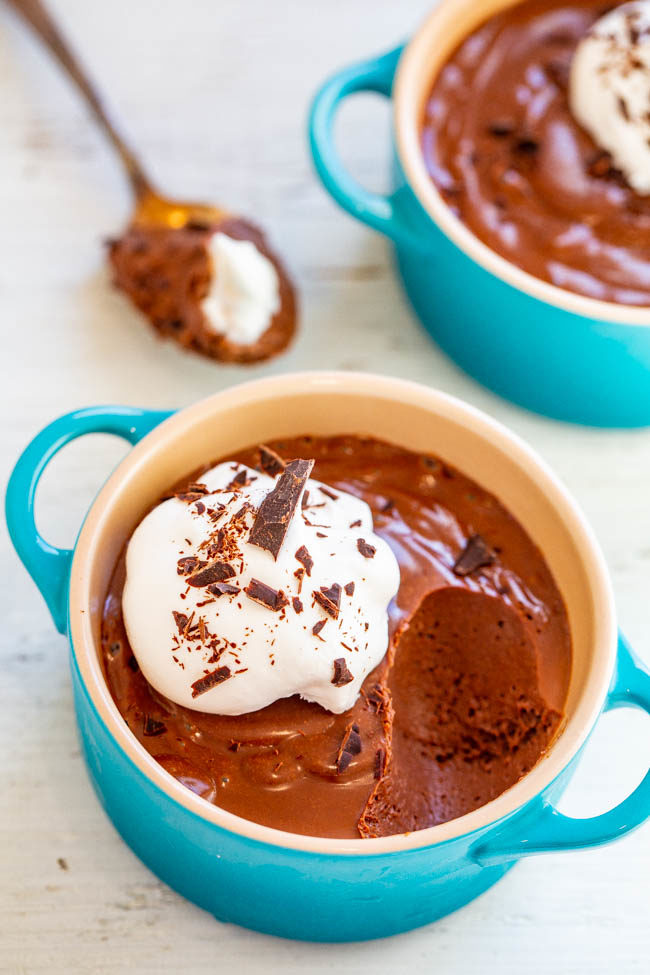
Easy Chocolate Pots de Creme – No-bake, no-cook, and made in a blender in 5 minutes!! The PERFECT dessert! Rich, decadent, a chocolate lover’s dream, perfect for special occasions, and guaranteed to impress!!
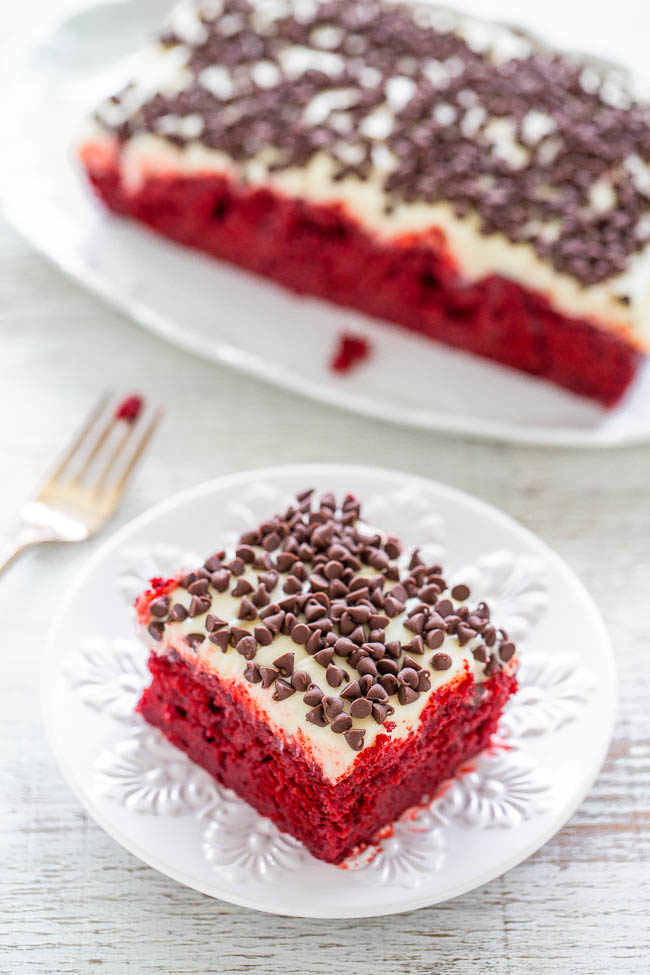
Red Velvet Poke Cake with Cream Cheese Frosting — The cake is fast, easy, and it’s a poke cake so it’s automatically super soft and moist.
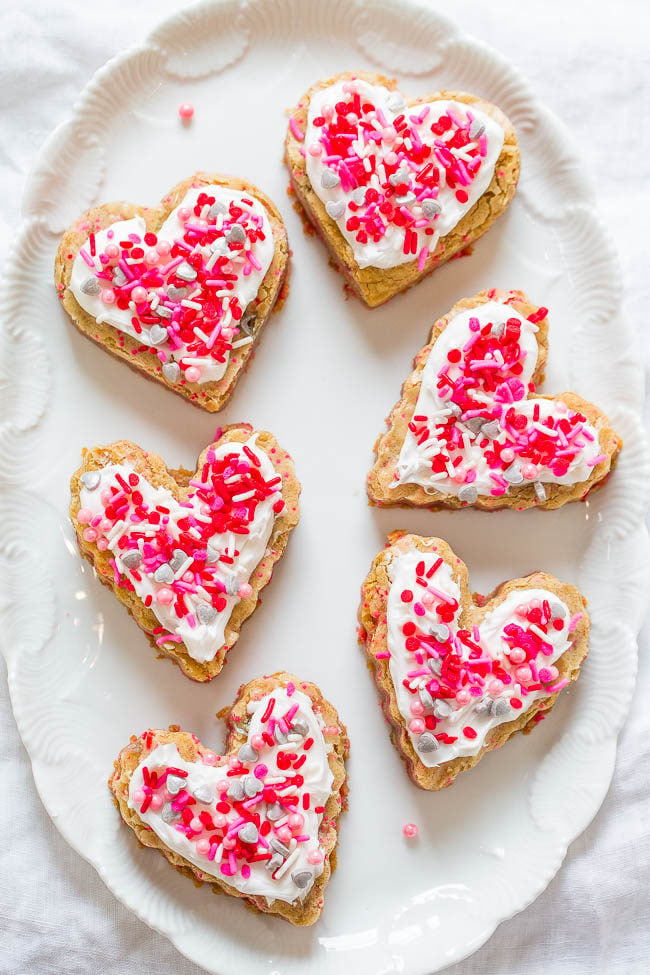
Soft Frosted Valentine’s Heart Cookies — These easy cookies are soft, chewy, dense, made in one bowl, and you don’t have to roll them out.
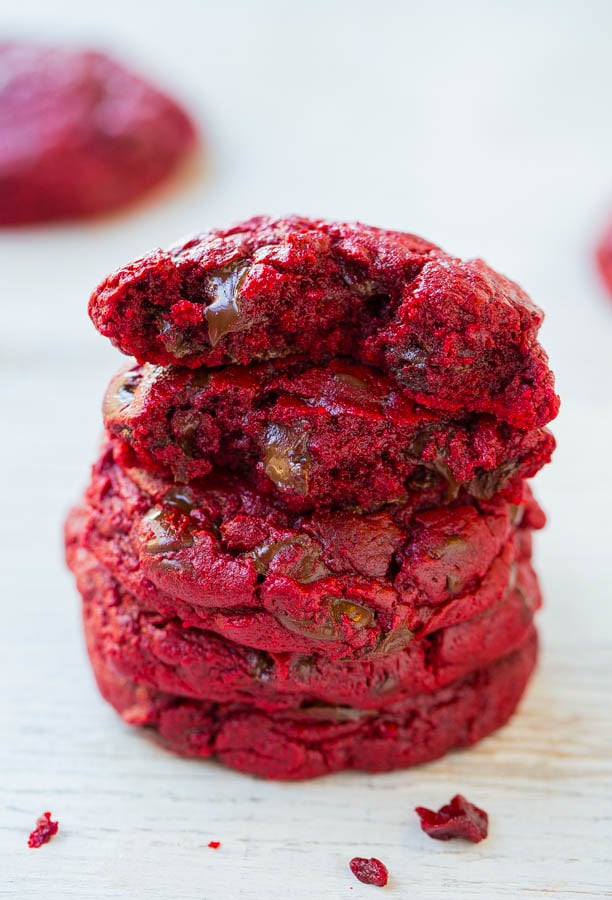
Red Velvet Cake Mix Cookies — These chocolate chip red velvet cookies have a secret ingredient — cake mix! These cookies are super ooey gooey and ultra rich!
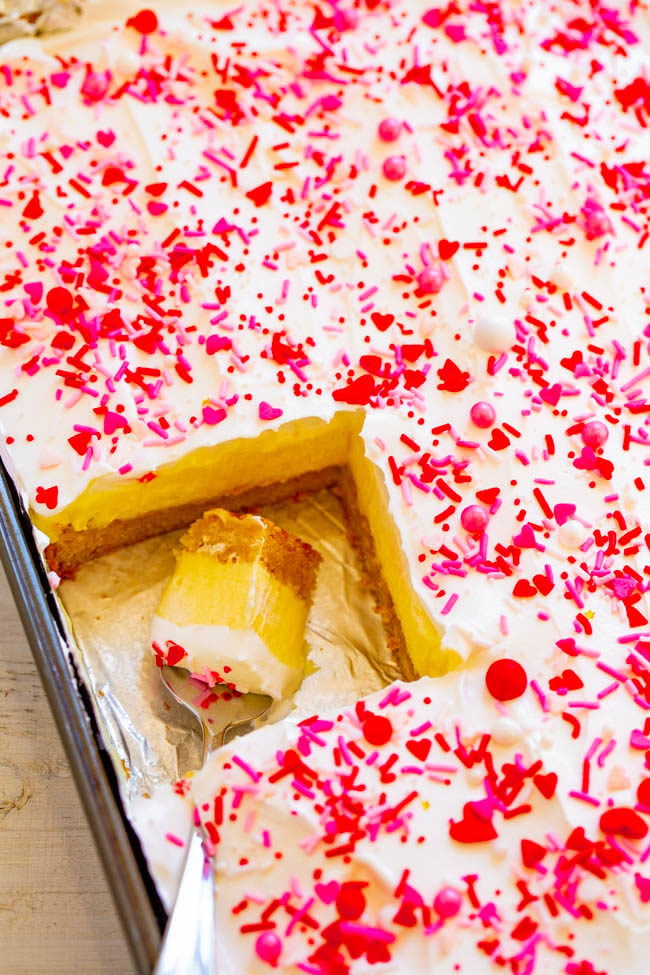
Valentine’s Day Vanilla Pudding Sugar Cookie Bars – A sugar cookie crust topped with creamy vanilla pudding, whipped topping, and sprinkles!! A luscious and EASY Valentine’s Day dessert that will put everyone in festive spirits!!
The Best and Easiest Molten Chocolate Lava Cakes — One bowl, no mixer, so easy! The warm, gooey, fudgy chocolate lava cake center is heavenly! Better than any restaurant versions! Best chocolate cake EVER!!
Valentine’s Frosted Sugar Cookie Bars – Sugar cookie bars are so much FASTER AND EASIER than making sugar cookies!! The sprinkles and tangy cream cheese frosting help to make the bars a PERFECT Valentine’s Day treat!!

I had the same problem finding gel red food coloring. Had to buy sets to have enough. Ugh!
These bars look amazing, Averie! I love the rippled surface and the chocolate swirl! Pinning!
Thanks for the pin and yes, the sets. Omg I have like 4 sets now of G, Y, B for with no reds. I need to start ordering it online. I’m glad to hear though that I’m not the only one who goes through this random little problem :)
Averie, I find myself leaning in closer and closer to the screen as I read this! These lovely bars are putting a spell on me. Must be the magic of Valentine’s Day :) I find that red velvet always just needs a titch more chocolate to suit my chocoholic tendencies, so I love the extra swirl of chocolate oompth these bars have. Gorgeous!
I tweaked these JUST enough (same with the scratch cupcake recipe I have) so that it’s a tad choclaty-ier than most red velvet. Otherwise it’s just a blondie with a ton of food coloring, right :) Need that cocoa boost!
I love red velvet brownies, and yours look so perfect — beautiful color and swirls!
These photos are stunning. I love that dark red color on the light white broad. They make these bars really POP! And my gosh, you make the most perfect swirls. These are a true beauty and they are perfect for Valentines day!
Love them Averie! Pinned of course!
Thanks for the pin & the photo compliments! I was really happy with the way the images turned out. Sometimes you just never know til you load that memory stick in your computer and pray you got what you needed :)
Averie, these have made a dull day at work instantly brighter! Wow! Love love love these!! Cannot wait to make them! So simple but striking. Congrats on yet another great recipe! :) I love how you don’t turn to cake mixes for everything- and let’s be honest your photography is INSANELY GOOD! Sometimes it’s as if I can taste the treats ;)
Thanks for the compliments on my recipe and my photography! :)
These are stunning! I love that they are fudgy rather than cakey.
Oh Averie, I drooling over these brownie bars! They are just beautiful!
These are stunning!!!
I love that we’re both on the red velvet page today! Gorgeous brownies :)
Averie, these bars are gorgeous. I love the swirled chocolate mixed with the vibrant red of the velvet cake. They’re perfect for Valentine’s. Pinned.
thanks for pinning, Jennie!
I love our rich that red velvet color is in your bars. So beautiful!
how* not our
I’d have a hard time choosing between a brownie or a piece of red velvet cake so this recipe is truly the best of both worlds for me! You are so good at mixing components/elements of different sweets and coming up with something new. The red swirls look vibrant–you achieved great color with these!
I love making two-for-one and combination desserts :)
These are absolutely striking! The contrast of the chocolate atop the red velvet? GAH!! So pretty. What a perfect way to showcase red velvet. And your second photo? NO WORDS.
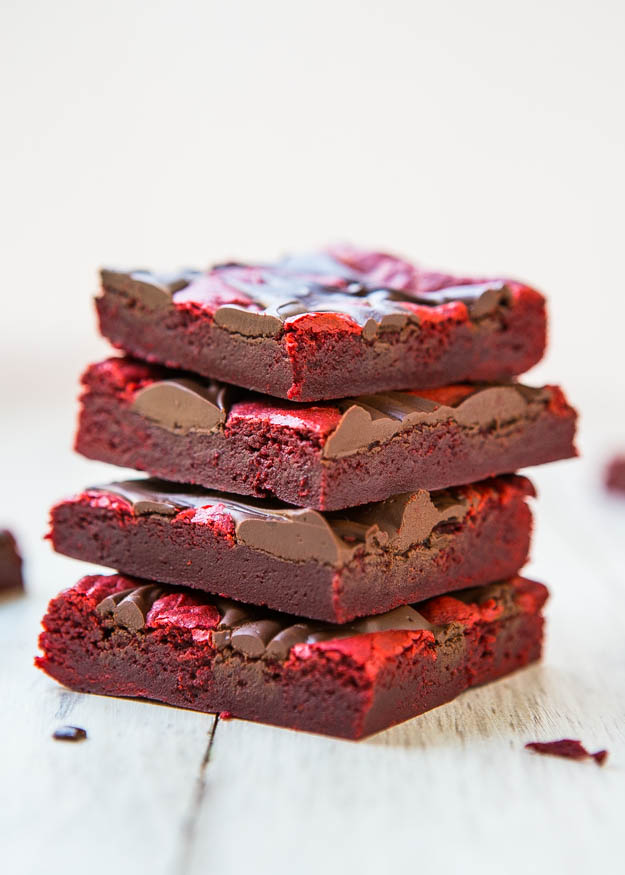
Thank you! I was really pleased with the images too! I always like hearing what ppl’s favorites are and I loved image #2 too. I just usually start my posts off with a stacked bar shot so went wit that, but it was close. I almost went with your pick :)
Please get me something to wipe the drool from my lips! Your pictures are beautiful! I also love how you add the recipes at the end that are related to the main recipe. I bake gluten-free and quite honestly I have not made to many recipes but the pictures are worth the visiting here alone! Thank you for a beautiful blog.
Thanks for all the compliments, Janet! Most of my recipes for bars and cookies are easy swaps for an all-purpose GF flour blend, i.e. Bob’s or your favorite blend. These bars would adapt incredibly easy in case you want to try them. Thanks for stopping by!
Thanks Averie! Good news for me :) Have a good evening!
So I am not a huge fan of red velvet, but these are making me think I may have to change my mind! The brownie, the thick chocolate swirls on top?! Those are calling my name. These are absolutely gorgeous Averie and I love how simple but bold these pictures are at the same time, if that even makes sense!
simple but bold, yes, totally makes sense and I was kind of trying to go for that. There was nothing I could ‘do’ to them to make them anything more than what they were. So red, so many swirls, so I just tried to keep things VERY simple and play on the colors, texture, and light. Thanks for noticing :)
These look wonderful! So dense and fudge, perfect brownies! :)