Soft and Chewy Coconut Milk Bread is so soft, fluffy, tender, and moist, thanks to the coconut milk, coconut oil, and oatmeal that’s kneaded right into the dough. Total time from start to finish is about 4 hours, most of which is downtime.
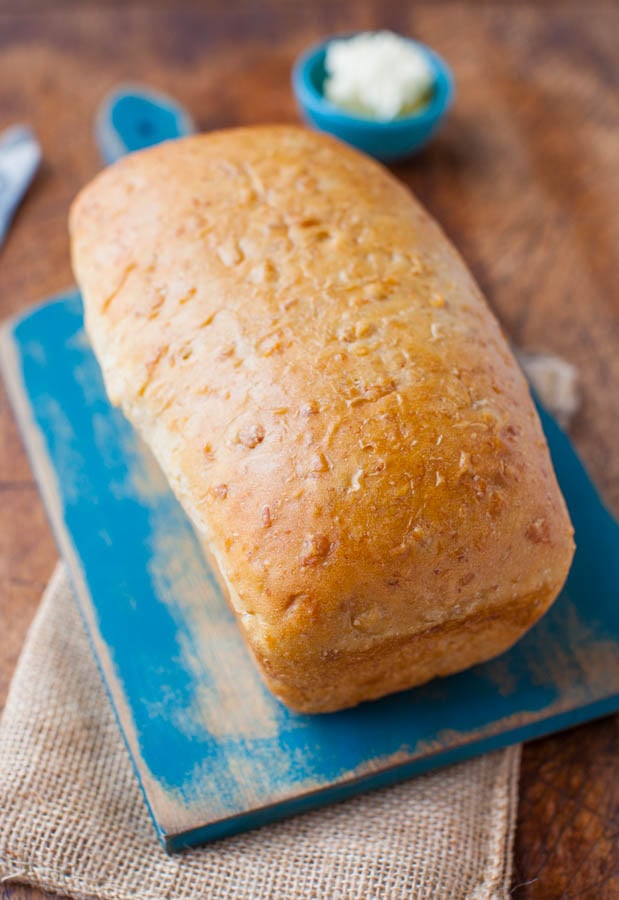
This bread is like a big, soft, fluffy pillow.
A pillow that smells very softly of coconut.
The past 6 months I’ve been going gangbusters with coconut oil in breads, muffins, and cookies. The flavor it imparts is subtle, yet it lends such a soft and moist texture to everything it touches.
For this bread, I paired coconut oil with rich, creamy coconut milk and am thrilled with the results. It’s adapted from Soft and Fluffy Sandwich Bread (vegan), which has been very popular with readers and is my husband’s all-time favorite bread.
And this one is my new favorite bread for toasting, making sandwiches with, or just nibbling on.
The good news and the bad news about this bread is that it doesn’t have much coconut flavor. If you’re a fan, you may wish for more intensity, and if you’re not into coconut, you’re totally safe. It’s usually shredded coconut, rather than coconut milk or oil, that has the pungent taste many people dislike. The bread is nothing like that.
The recipe makes one modest loaf, perfect for our family, and uses just two cups of flour for the entire loaf. When I read bread and roll recipes that begin with ‘Add 5 to 6 cups of flour’ I tune out.
Begin by warming the coconut milk, just until it begins to boil. Then, add the special ingredient that keeps the bread soft, chewy, and moist: oatmeal. You’d never know oatmeal was baked in and when mixing the dough, you’ll think there’s no way this whole cup of sloppy oatmeal is going to just disappear, but it magically does.
Let the oatmeal-coconut milk mixture cool to the proper temperature, about 15 minutes. I urge you to use a thermometer. You don’t want to add overly hot oatmeal to the yeast because you’ll kill it. Yet it has to be warm enough so the yeast activates. For me, this is in the 120 to 130F range because I use Red Star Platinum yeast. The brand of yeast used dictates the temperature.
Combine the oatmeal mixture with all-purpose flour, yeast, brown sugar, and coconut oil. My stand mixer kneaded for about 6 minutes, and if you’re kneading by hand, knead for 10 minutes, or until the dough comes together, adding as little additional flour as possible.
This is a fairly moist and sticky dough, but manageable. With bread-making, the less flour added, and the more you tolerate sticky dough, the lighter and fluffier the bread will be. Sure, I could have added another half-cup or more of flour, but refrained and dealt with the stickiness. And I have a light, fluffy loaf in return.
I used all-purpose flour because I wanted really soft and tender bread. Bread flour will produce a loaf that’s chewier. I don’t know how whole wheat flour would work. If you try it, I suggest not using more than 1 cup (50% of the total amount) for fear it won’t rise well, and will become very heavy and dense.
After kneading, place the dough into a greased bowl, cover it, and let it rise in a warm, draft-free place for about 2 hours, or until doubled in size. Create a warm environment by preheating your oven for 1 to 2 minutes to 400F, then shutting it off. This creates a 90F-ish warm spot. Slide the bowl in and wait while the yeast works. Just make sure your oven is off.
After the dough has doubled, punch it down, turn it out onto a floured surface or Silpat and knead it for about 3 minutes.
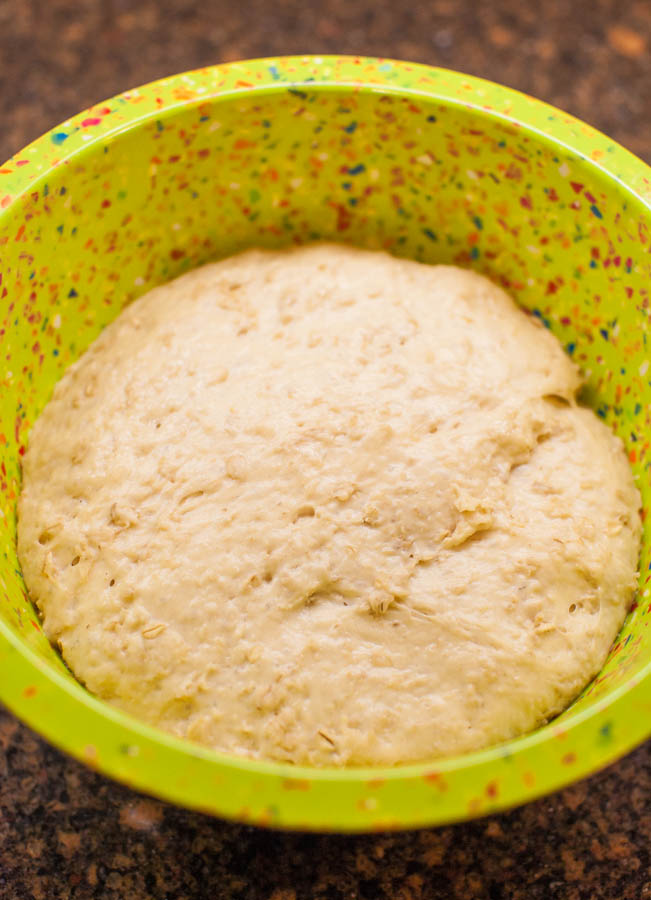
This is my puffball after the first two-hour rise, before being punched down. You can see it’s glistening and loose, cues that the bread will turn out soft and fluffy.
With your fingers or a rolling pin, shape it into a 10-inch by 6-inch rectangle, just eyeball it. It’s being baked in an 8-inch pan and you want the long side slightly longer than the pan, so about 10 inches.
Starting with a long side, roll up the dough to form a tight cylinder. Tuck the ends in and place the cylinder in the pan. Cover it, and allow it to rise until doubled, 60 to 75 minutes. Optionally, when rolling it, sprinkle with cinnamon, nutmeg, ground ginger, raisins, or dried fruit.
Bake for about 30 minutes or until domed, golden, and puffy. When tapped, it should sound hollow. Technically, the internal temperature should reach 210F, but I despise spearing pretty bread with the dagger-like thermometer probe, so I rarely do this unless I’m very uncertain. I usually rely on visual cues and tapping.
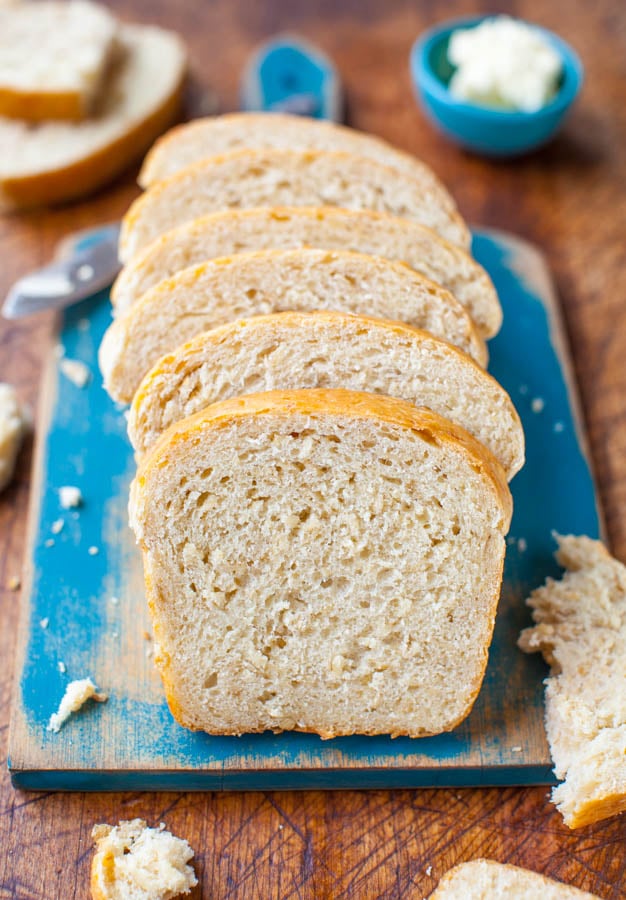
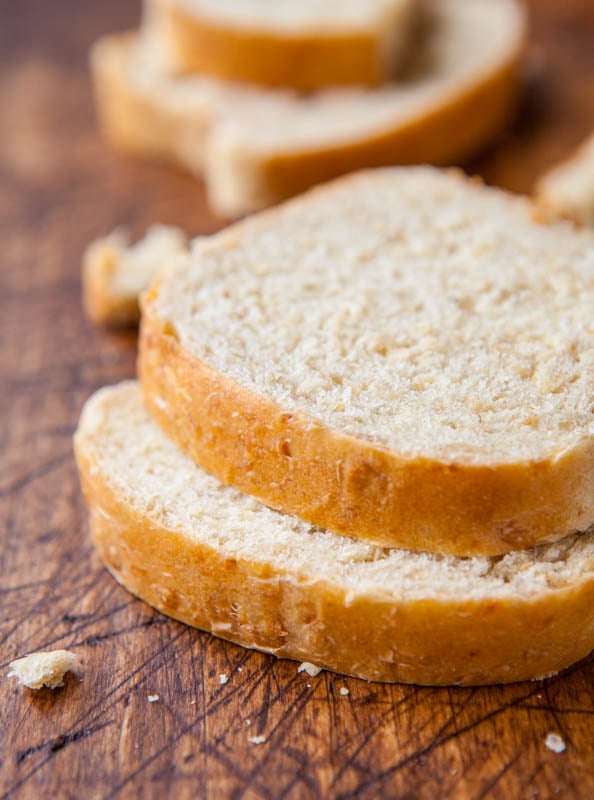
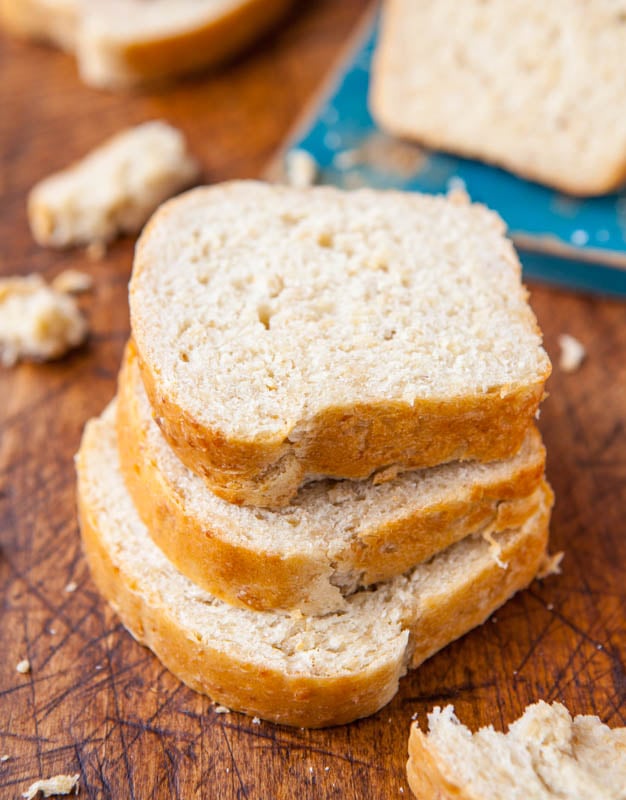
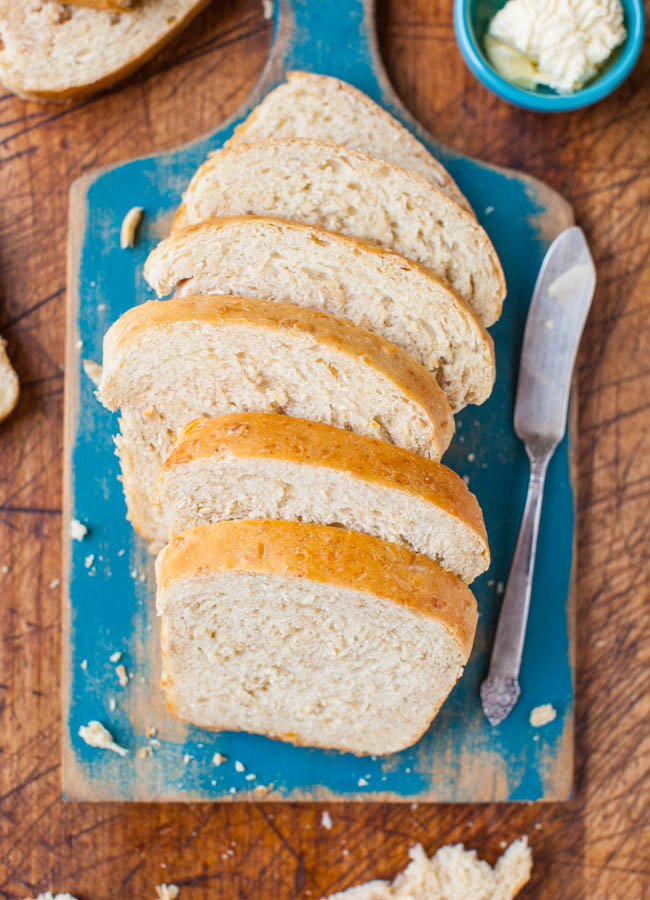
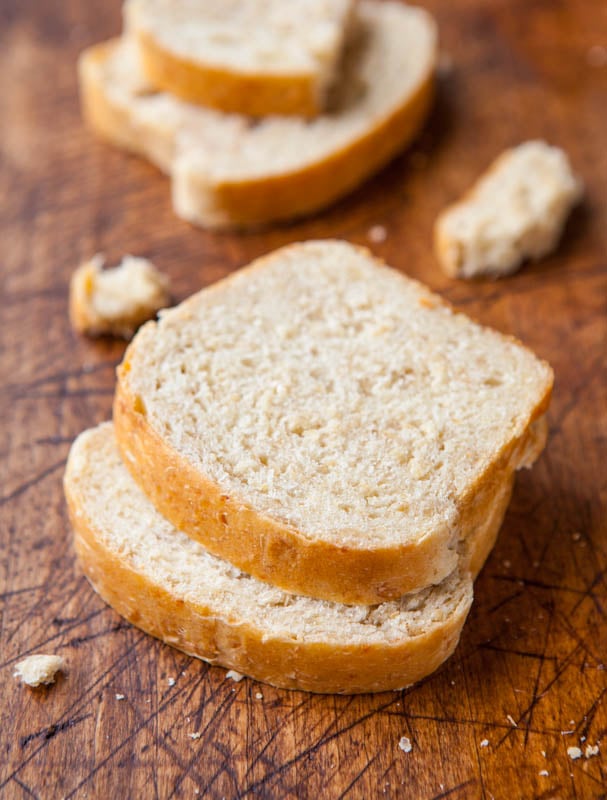
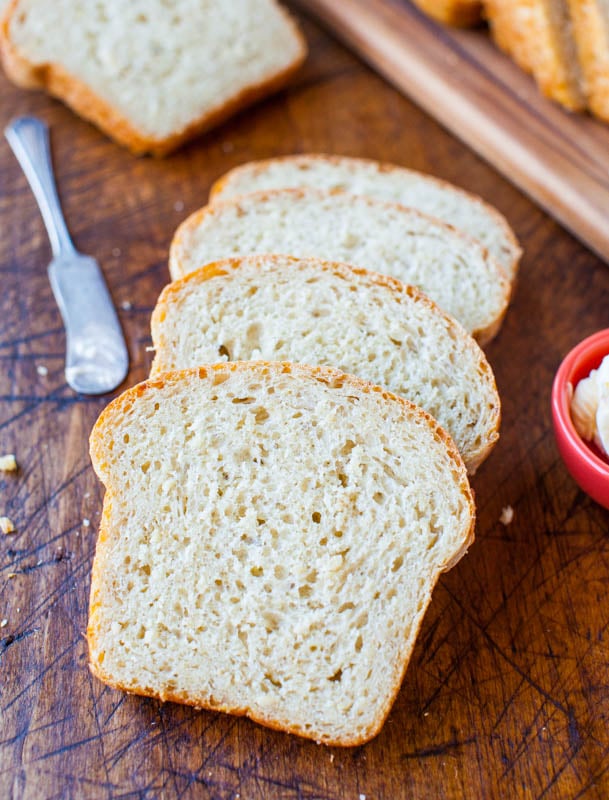
It’s so soft and fluffy, even without eggs and butter, and a great little vegan loaf. There’s a very slight chewiness, thanks to the oatmeal. But you definitely don’t think, oh there’s oatmeal in this. It’s a stealth operator.
The bread is moist and there’s a richness to the crumb that I attribute to the coconut milk and coconut oil. It’s slightly denser than this version of Sandwich Bread, which was made with water and canola oil.
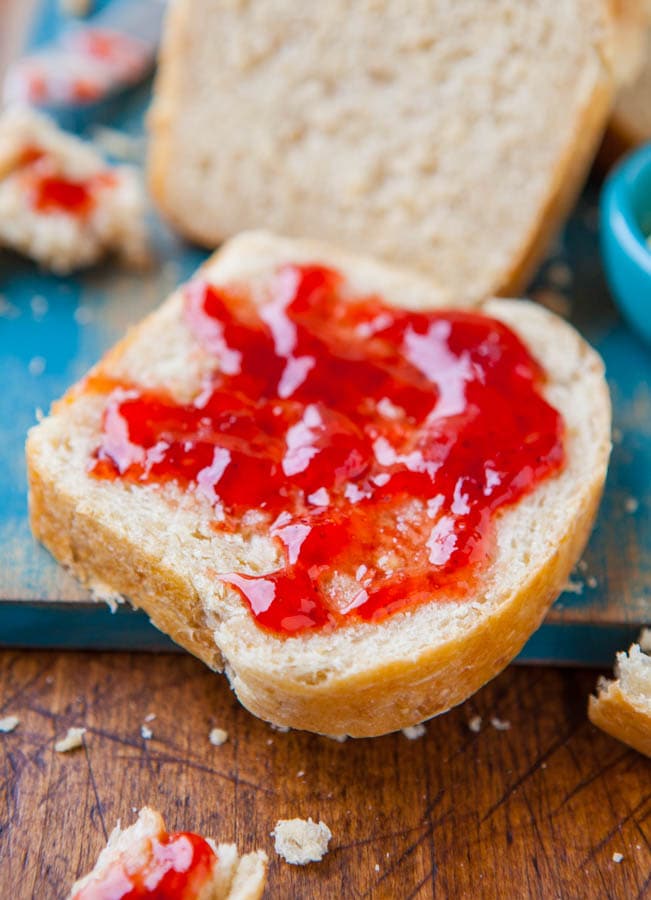
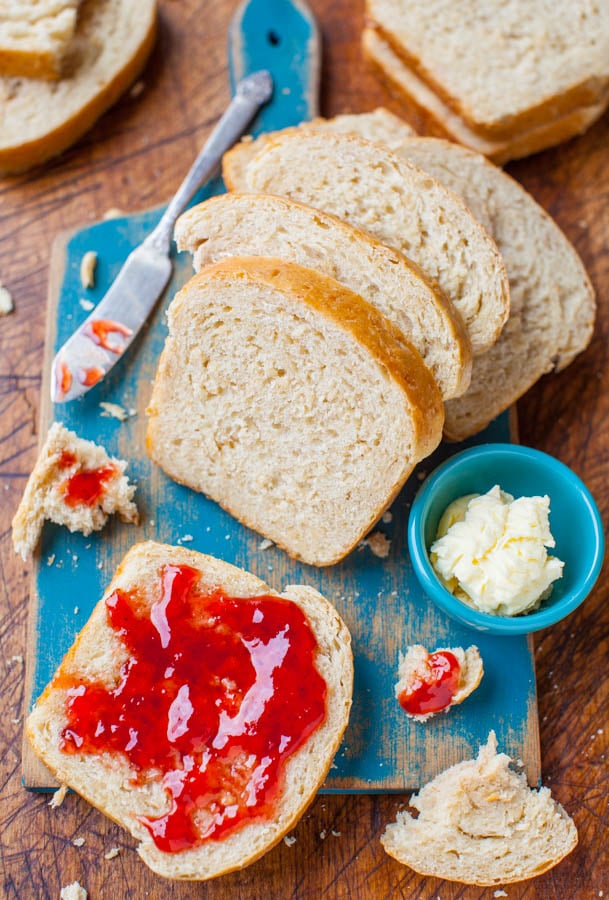
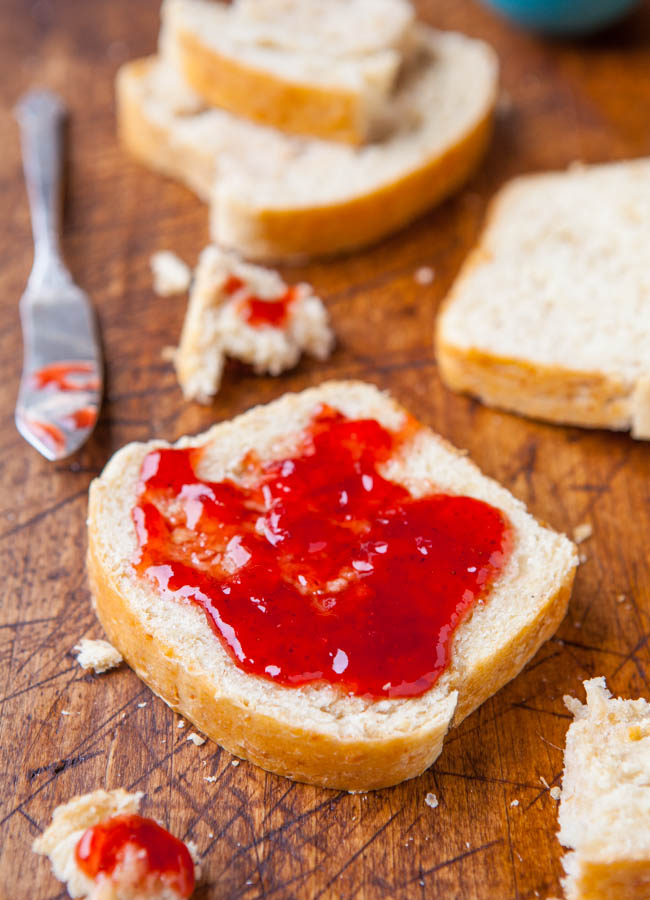
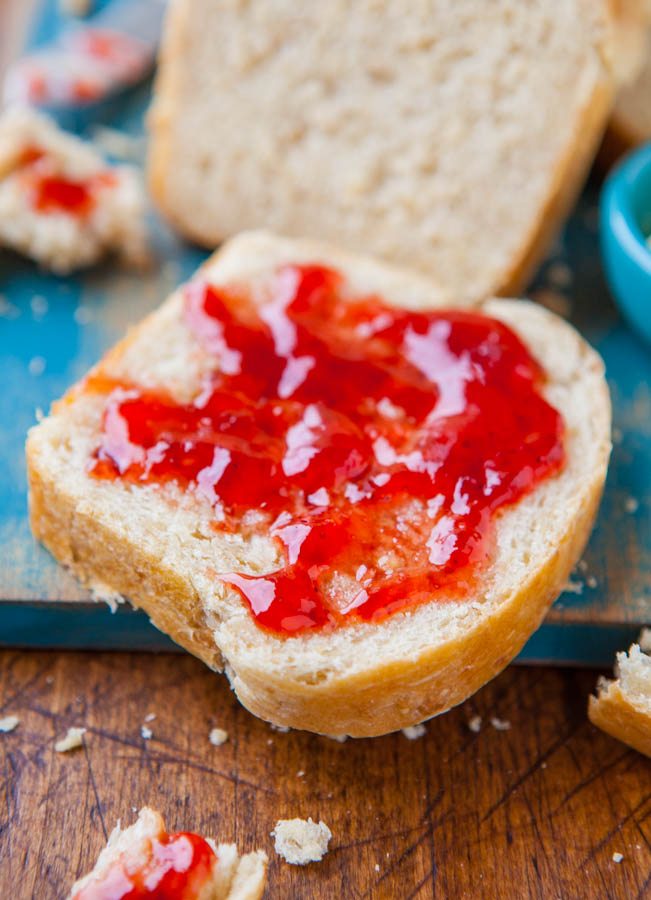
It’s wonderful to eat plain, or with butter, jam, or a smear of Homemade Peanut Butter. Toast it, make French toast with it, make PB&Js for lunches with it, or put a basket of it on the dinner table and watch it disappear.
If you’ve not gotten on the coconut milk or oil train, please, hop on board.
This loaf lasted precisely 1 day.
Pin This Recipe
Enjoy AverieCooks.com Without Ads! 🆕
Go Ad Free
Soft and Chewy Coconut Milk Bread
Ingredients
- 1 cup coconut milk, I used Trader Joe’s Light
- 1 cup old-fashioned whole rolled oats, not quick cook or instant
- ¼ cup water, from the tap, not hot and not cold
- 2 cups all-purpose flour, bread flour may be used and will create a heartier, chewier bread
- 3 tablespoons coconut oil, melted (canola or vegetable oil may be substitued)
- 2 tablespoons light brown sugar, packed
- 2 ¼ teaspoons instant dry yeast (one 1/4-ounce packet, I use Red Star Platinum
- pinch salt, optional and to taste
Instructions
- In a 2-cup microwave-safe glass measuring cup or small bowl, heat the coconut milk until it just begins to boil; likely just over 2 minutes.
- Add oatmeal to the milk and stir to combine. Set aside and let cool until temperature reaches about 120 to 130F, about 15 minutes. (I use Red Star Platinum Yeast which necessitates this temperature; allow mixture to cool to the ~100F range for other types of instant dry yeast, or to package directions). Stir in 1/4 cup tap water.
- To the bowl of a stand mixer fitted with the dough hook (or a large mixing bowl and knead by hand for about 10 minutes), combine flour, oil, brown sugar, instant dry yeast, and oatmeal mixture. Knead for 5 to 7 minutes on low speed, or until a moist, shaggy dough forms. The dough is quite moist and sticky, but resist the temptation to add additional flour, unless it’s so moist that it won’t combine. Conversely, if it’s too dry, add up to one-quarter cup water. Erring on the side of too moist is always preferable to too dry in bread-making.
- After kneading, turn the dough out into a large, greased bowl, cover with plasticwrap, and let it rise in a warm, draft-free place for about 2 hours, or until doubled in size. Create a warm environment by preheating your oven for 1 to 2 minutes to 400F, then shutting it off. This creates a 90F-ish warm spot. Slide the bowl in and wait while the yeast works. Just make sure your oven is off.
- Spray an 8-by-4-inch loaf pan with (coconut) cooking spray, or grease and flour the pan; set aside.
- After the dough has doubled, punch it down, turn it out onto a floured surface or Silpat and knead it for about 3 minutes.
- With your fingers or a rolling pin, shape dough into a 10-inch by 6-inch rectangle, just eyeball it. The long side should be slightly longer than the baking pan, which is 8 inches. Starting with a long edge, roll to form a tight cylinder. There’s not much to roll, about 3 turns. Tuck ends in and under, and place cylinder in prepared pan, seam side down. Optionally, when rolling, sprinkle with cinnamon, nutmeg, ground ginger, raisins, or diced dried fruit.
- Cover pan with plasticwrap, and allow dough to rise in a warm, draft-free place until doubled, about 60 to 75 minutes. I use the oven trick to 400F for 1 minute trick again.
- In the last minutes of rising, preheat oven to 350F. Bake for about 30 minutes, or until lightly golden, domed, and puffy. Rotate pan midway through baking if desired. When tapped, bread should sound hollow. The internal temperature should reach 210F.
- Allow bread to cool in pan for 5 to 10 minutes before turning out onto a wire rack to cool completely before slicing. The cooling process is important and although it’s tempting, don’t slice into warm bread. I store bread by wrapping a fully cooled loaf in plasticwrap, and place it inside a gallon-size Ziplock, where it stays fresh for about 5 days. Bread freezes very well and can be made from start to finish, cooled, and placed in a freezer-safe airtight container or a ziplock for up to 3 months. I like this bread plain, or with butter, jam, or with homemade peanut butter. It’s great toasted with butter and a sprinkle of cinnamon-sugar or Cinnamon-Sugar Butter. It makes great sandwiches and French toast.
Nutrition
Nutrition information is automatically calculated, so should only be used as an approximation.
©averiecooks.com. Content and photographs are copyright protected. Sharing of this recipe is both encouraged and appreciated. Copying and/or pasting full recipes to any social media is strictly prohibited.
Related Recipes:
Soft and Fluffy Sandwich Bread (vegan) – Soft, fluffy, light, and moist; courtesy of the cup of oatmeal that’s kneaded into the dough. My husband declared this as his favorite bread, and it inspired today’s recipe
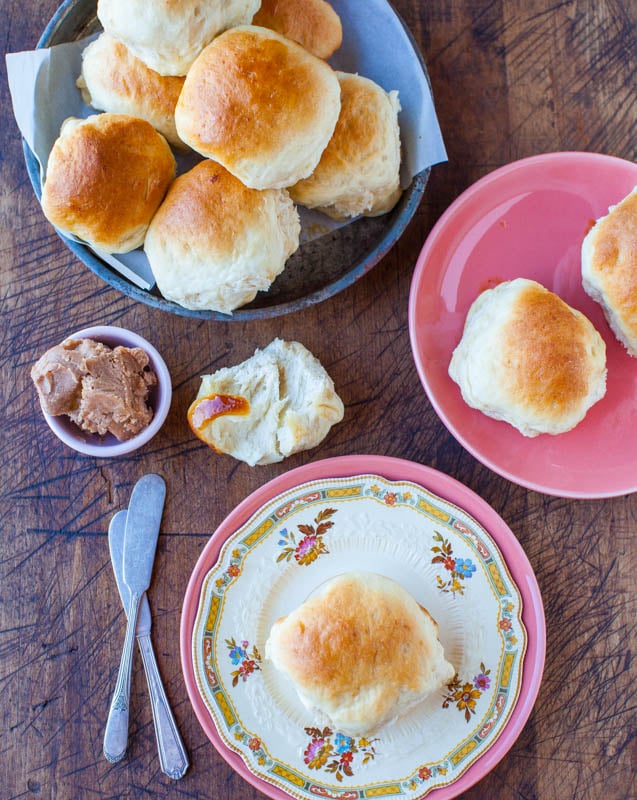
Honey Dinner Rolls – My favorite dinner roll recipe, lightly sweetened with honey, soft and chewy. A family favorite and a very goof-proof yeast recipe because this dough loves to rise
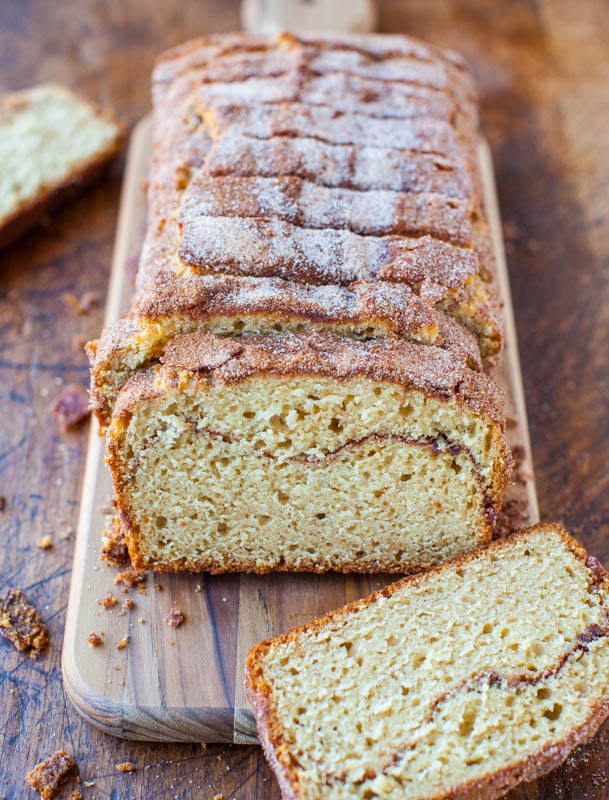
Cinnamon-Sugar Crust Cinnamon-Ribbon Bread – A yeast-free, no-knead bread that comes together in less than 5 minutes without a mixer. Easy, foolproof an it’s the best bread crust I’ve ever had
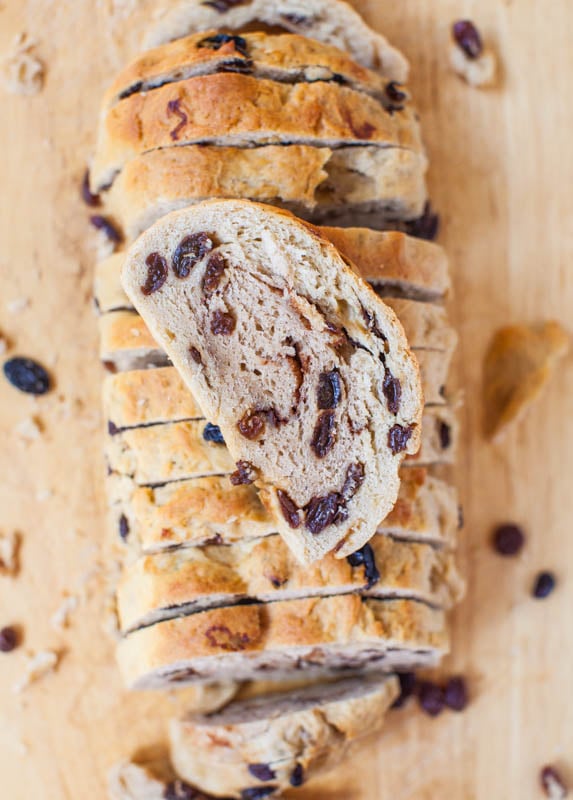
Raisin Bread for Raisin Lovers – A soft, slightly sweet bread that’s packed to the brim with raisins. Made entirely by hand, no mixer
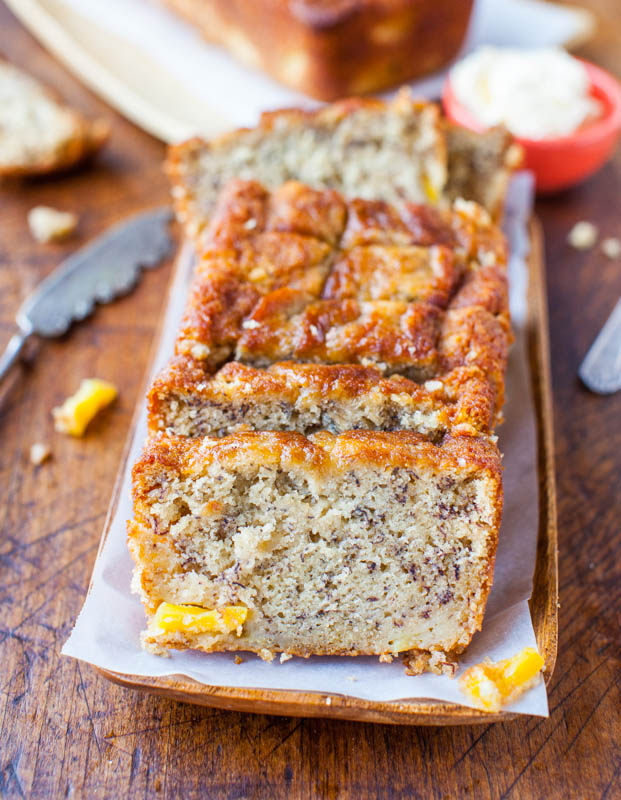
Pineapple Coconut Oil Banana Bread – Like eating a tropical vacation. Soft, moist, tender, and so flavorful
Overnight Buttermilk Soft and Fluffy Cinnamon Rolls – They give Cinnabon a run for their money and are the best cinnamon rolls I’ve ever had. With the handy make-ahead suggestions, you don’t even have to get up at the crack of dawn to enjoy soft, fluffy, buttery, rich rolls
Fluffy Vegan Coconut Oil Banana Muffins – Made with coconut oil, they’re fluffy, soft, light, and moist. No butter, no eggs, and no mixer needed in these vegan puffballs. They remind me of mini donuts, a huge bonus
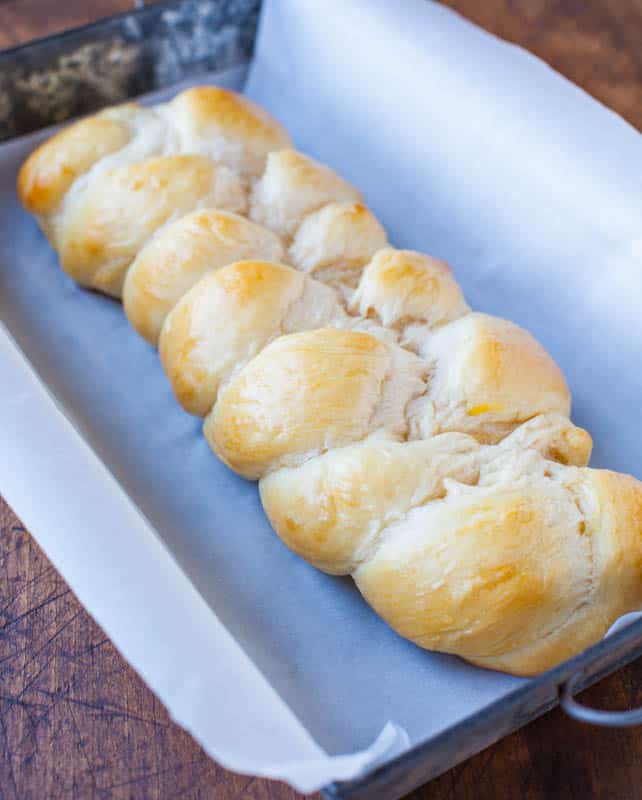
Challah – Light, fluffy, soft, tender, crossiant-like, and the best challah I’ve ever had and extremely easy to make. Made using the Artisan Bread in Five Minutes a Day: The Discovery That Revolutionizes Home Baking principles, this is a no-knead, goofproof, and effortless method to making bread and dough can be made in advance and stored for up to five days prior to baking it
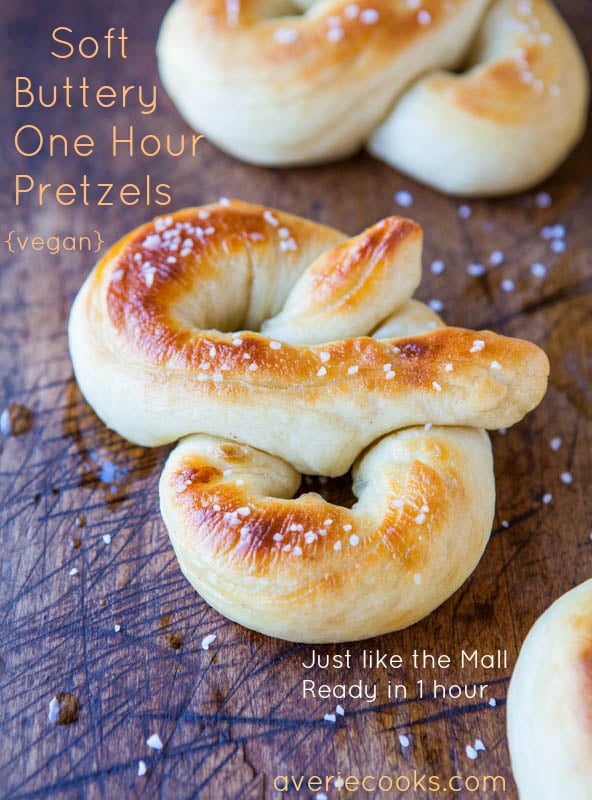
Soft Buttery One-Hour Pretzels – Almost too good to be true. Fast and easy, soft, chewy, and just like the pretzels at the mall, at home, in an hour
I’m linking this bread up to Lora the Cake Duchess’ #TwelveLoaves group
Do you have a favorite bread recipe? Do you like coconut milk or coconut oil? Do you cook or bake with it?
Please share recipe links to your favorites.



This bread looks amazing so I am wondering….what about a bread machine? Any obvious reason why a bread machine wouldn’t work??
Thanks!
I don’t use a bread machine so cannot comment one way or the other! LMK if you try it!
I’m finally making it over to say I just love this bread. That sparkly jam and that fluffy loaf has been on my mind since I saw it on Pinterest when you posted it. A perfect loaf and I have to start baking more with coconut oil. Thanks for linking up (and the 12Loaves shoutout), Averie! :)
Well thanks for hosting 12loaves. I think it’s awesome, Lora! :) Thanks for the sweet compliments, too!
Re: coconut milk bread
OK, I have now attempted this bread four (yes, four) times in two days, and I am having a heck of a time. It rises really well on the first rise, but the second rise is pretty pitiful. My fourth and final attempt was the best so far, but even though it had a real nice 2nd rise and actually domed higher than the pan, it flattened out again during baking. Very frustrating. However, the flavor is great and I am still determined to get it right. I wonder if you have any suggestions. I am at 6,000 feet, so my dough tends to rise quicker, and I am using whole-wheat white flour (King Arthur brand). I am also curious how you manage to handle the dough when it is so sticky. I find it nearly impossible. I tried oiling my hands, flouring my hands, spatula kneading, you name it (no fancy mixer here!). I saw that above you suggest using less flour if not using white flour, but I can’t imagine it being even stickier! Any thoughts or suggestions?
Thank you so much.
“I am using whole-wheat white flour” = THAT IS WHY you are having issues! Whole wheat flour of any kind, white-wheat or “wheaty’wheat” (browner) will not rise anywhere near what just plain jane white all-purpose will; or white bread flour. I guarantee that if you give up on the wheat ideas (or you will have to add vital wheat gluten or other tricks for baking with wheat), you will have success.
And my climate is dry (San Diego). If your climate is moister/more humid, add flour as necessary so the dough is workable and not so sticky that it’s giving you issues.
But I can almost guarantee if you make the recipe like I WROTE it, with white all-purpose (I use King Arthur, white bag with red), you’re going to have luck! I cautioned in the recipe about using wheat and this is why.
Also since I don’t bake at altitude (I bake at total sea level, live 1 mile from the ocean), I cannot help you with the altitude baking. But you are soooo close, I know it. Try it with white and get back to me; and use enough flour so you can handle it (not sticky) and keep me posted! Thanks for trying b/c you are right, this bread is worth it :)
I had a similar problem with flatness/no doming during baking. I used white all-purpose flour. I’m at 4800 ft. It seemed to rise well the first time and pretty well the 2nd time (not exactly sure what it should look like). I’m new at the bread thing, so any help would be appreciated. I followed your recipe exactly and I’m not sure what I should adjust for next time. Any suggestions?
Are you using a high quality flour like King Arthur? If you’re using other flours like Pillsbury, Gold Medal, etc. they have less protein and are less likely to rise well. Altitude baking is not something I am familiar with but King Arthur’s website has a slew of tips that you could probably read. If your bread didn’t dome while baking, perhaps the internal temp didn’t get hot enough, the yeast wasnt active/alive, you didnt let it rise long enough, your oven is running cool, you just needed to bake longer – there are so many things that could occur that it’s impossible for me to troubleshoot. LMK what you try and what works!
coconut milk bread is something new for ma. Very interesting idea, I can imagine it’s taste. Need to make it :)
This loaf looks perfect :) I’ve got to try this recipe soon, it sounds wonderful!
This looks awesome and I can’t wait to try it. I’ve not used coconut oil or milk in a recipe, but am looking forward to giving it a try. Thanks … Now I’ve really got to go look at that pretzel recipe!!
They make things just taste so wonderful! I love baking with them!
I just had to tell you … I made a loaf this past Wednesday and it came out perfect. My daughter and I also used your pretzel recipe to make Spinach & Mozzarella Turnovers. Can I link my blogpost back to your page?
I’m thrilled that your loaf came out just perfect with this recipe and that with the other pretzel recipe that you had great luck with that one, too!
Feel free to link to my blog post on your website! Thanks for asking – and for making my recipes!
Gorgeous looking bread. Thanks for sharing. :)
I’m reading the recipe, and I’m confused where you mixed the yeast and water. In step 2, you mixed the milk, oats & water and followed with a discussion of temperature for the yeast.
In step 3, you’re adding the dry yeast to the batter. Does the yeast not need to be mixed with water because it’s “instant dry”?
Sorry, I’ve never ever worked with yeast before, so just curious. Thanks. :)
” Does the yeast not need to be mixed with water because it’s “instant dry”?” <----Right. It goes right in with the flour and sugar b/c it's instant dry so it doesn't need to be proofed first (mixed with a liquid). The reason you want the liquid warm is b/c you need to activate the yeast. In theory, it will perk up if you splashed cold water on it, but the reason you want the liquid warm is so that it activates optimally. Just keep re-reading the recipe over and over, do as I have written in the recipe; it works. I know it's hard when you first start working with yeast but just follow along exactly as I write the recipe (I am VERY thorough!) and you will end up with great bread!
We love this version too! The coconut oil and milk is faint, not strong at all. It is great sandwich bread–I made grilled cheese with it today.
Ahhh so glad you tried it, Paula! Thanks for coming back and LMK! I agree than the coconut flavor is very mild and faint. I would have loved your grilled cheese with it! Thanks for coming back to LMK that you made it! Love that you made this version AND the original!
I had such a good time with the honey dinner rolls–this looks heavenly! I’m sorry there’s not as much of a coconut flavor–if only throwing in a handful of shredded coconut would work out! I love that in my breads, especially Chinese cocktail buns.
Oh, I am SO aboard the coconut oil train. It is amazing to bake with–that’s probably my favorite way to use it! (I will never be able to stomach the thought of putting it in coffee or smoothies.) I haven’t tried making bread with it, but now I’m going to have to!
This bread looks STUNNING, Averie! My mouth is agape — out of awe, and because I want to shove the whole loaf in there. :) YUM.
Well thank you – and you make some stunners yourself! :)
What a gorgeous loaf of bread! Those slices with jam on them are making me want fresh, warm bread! I love that you used coconut milk and coconut oil in it. I have been using those a lot more too!!!
i’m so in love with coconut lately, anything coconut. looks delicious.. this is like dessert. gorgeous photos too!
Hi,
I tried this bread today. It look wonderfull, till I placed it in a cylinder pan. It went down and didn’t come up again. Ik stayed very flat after baking. I hope you can tell me what I did wrong.I am following
your blog since a while and I love it.
Marion
It’s so hard to tell what happens with bread-making and all the possible pitfalls. It sounds like it rose fine during the first rise but something happened on the second rise after you rolled it out. I am not sure what that was or where in the many steps things went wrong; climate/temperature is a big one and normally if something is going well overall, it won’t tend to crash and burn from the first rise to being rolled out and placed in a pan for the 2nd rise; so it’s hard for me to say what happened.
If you try again, make sure you are very, very particular with the temperatures from the temp of the milk added to the temp your bread is rising in (not a cold house) and make sure your yeast is super fresh. Thanks for trying the recipe.
Now that is one gorgeous bread, Averie! I LOVE coconut so this recipe is going onto my to-bake list!! Pinning!
Thanks for the pin, Anna! I know you’ll love this bread b/c you love coconut!