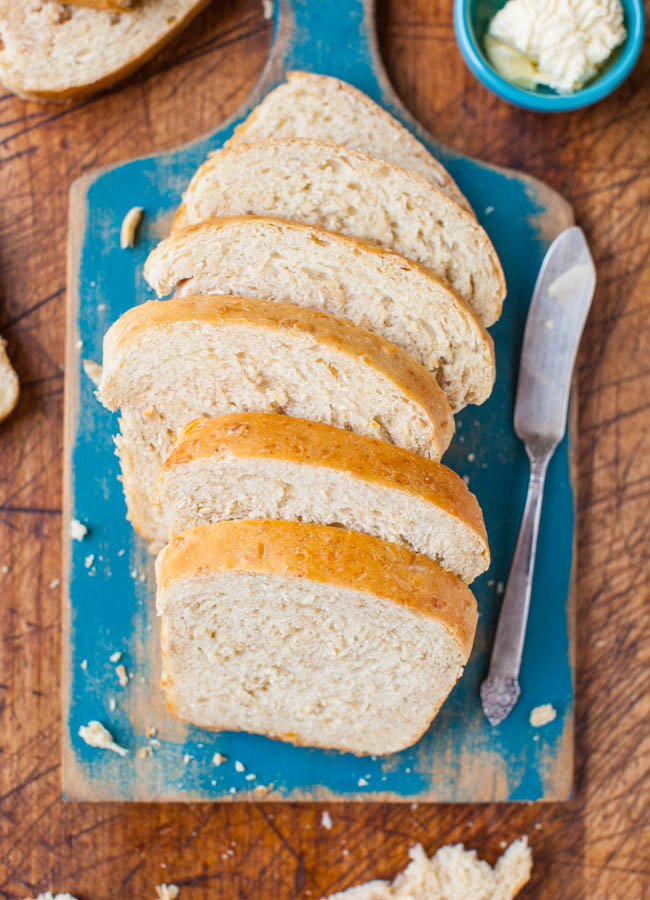
Soft and Chewy Coconut Milk Bread is so soft, fluffy, tender, and moist, thanks to the coconut milk, coconut oil, and oatmeal that’s kneaded right into the dough. Total time from start to finish is about 4 hours, most of which is downtime.
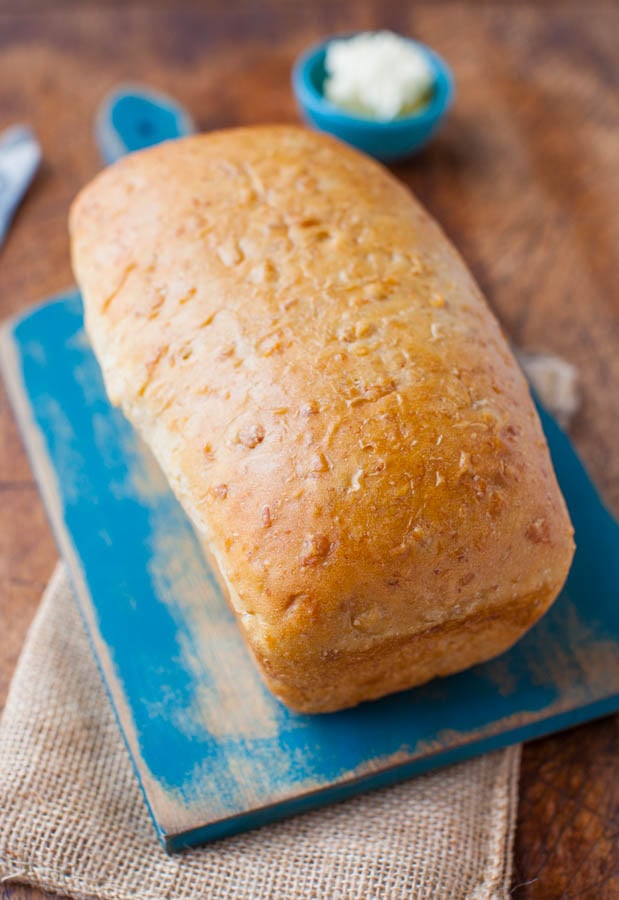
This bread is like a big, soft, fluffy pillow.
A pillow that smells very softly of coconut.
The past 6 months I’ve been going gangbusters with coconut oil in breads, muffins, and cookies. The flavor it imparts is subtle, yet it lends such a soft and moist texture to everything it touches.
For this bread, I paired coconut oil with rich, creamy coconut milk and am thrilled with the results. It’s adapted from Soft and Fluffy Sandwich Bread (vegan), which has been very popular with readers and is my husband’s all-time favorite bread.
And this one is my new favorite bread for toasting, making sandwiches with, or just nibbling on.
The good news and the bad news about this bread is that it doesn’t have much coconut flavor. If you’re a fan, you may wish for more intensity, and if you’re not into coconut, you’re totally safe. It’s usually shredded coconut, rather than coconut milk or oil, that has the pungent taste many people dislike. The bread is nothing like that.
The recipe makes one modest loaf, perfect for our family, and uses just two cups of flour for the entire loaf. When I read bread and roll recipes that begin with ‘Add 5 to 6 cups of flour’ I tune out.
Begin by warming the coconut milk, just until it begins to boil. Then, add the special ingredient that keeps the bread soft, chewy, and moist: oatmeal. You’d never know oatmeal was baked in and when mixing the dough, you’ll think there’s no way this whole cup of sloppy oatmeal is going to just disappear, but it magically does.
Let the oatmeal-coconut milk mixture cool to the proper temperature, about 15 minutes. I urge you to use a thermometer. You don’t want to add overly hot oatmeal to the yeast because you’ll kill it. Yet it has to be warm enough so the yeast activates. For me, this is in the 120 to 130F range because I use Red Star Platinum yeast. The brand of yeast used dictates the temperature.
Combine the oatmeal mixture with all-purpose flour, yeast, brown sugar, and coconut oil. My stand mixer kneaded for about 6 minutes, and if you’re kneading by hand, knead for 10 minutes, or until the dough comes together, adding as little additional flour as possible.
This is a fairly moist and sticky dough, but manageable. With bread-making, the less flour added, and the more you tolerate sticky dough, the lighter and fluffier the bread will be. Sure, I could have added another half-cup or more of flour, but refrained and dealt with the stickiness. And I have a light, fluffy loaf in return.
I used all-purpose flour because I wanted really soft and tender bread. Bread flour will produce a loaf that’s chewier. I don’t know how whole wheat flour would work. If you try it, I suggest not using more than 1 cup (50% of the total amount) for fear it won’t rise well, and will become very heavy and dense.
After kneading, place the dough into a greased bowl, cover it, and let it rise in a warm, draft-free place for about 2 hours, or until doubled in size. Create a warm environment by preheating your oven for 1 to 2 minutes to 400F, then shutting it off. This creates a 90F-ish warm spot. Slide the bowl in and wait while the yeast works. Just make sure your oven is off.
After the dough has doubled, punch it down, turn it out onto a floured surface or Silpat and knead it for about 3 minutes.
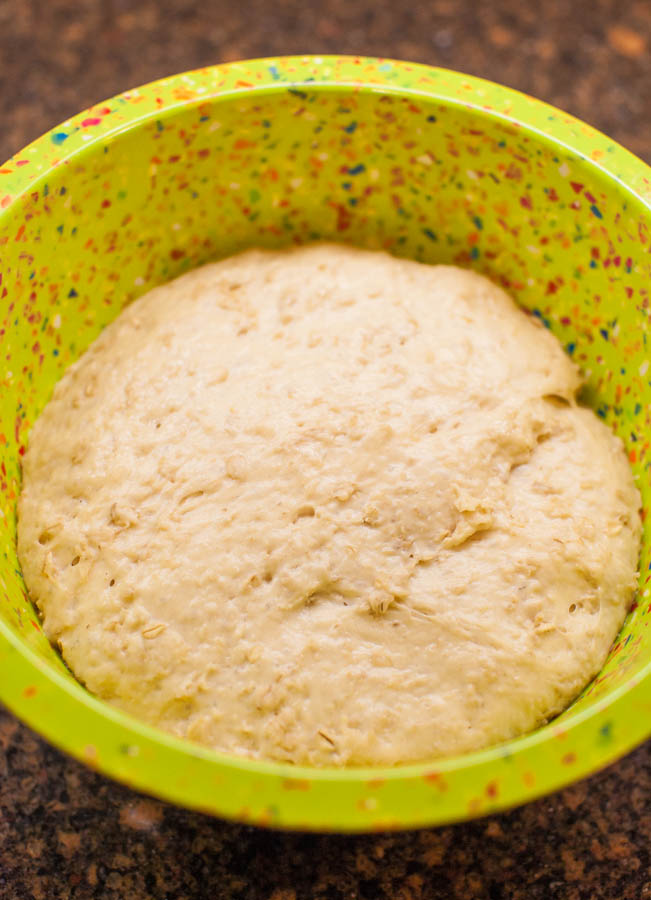
This is my puffball after the first two-hour rise, before being punched down. You can see it’s glistening and loose, cues that the bread will turn out soft and fluffy.
With your fingers or a rolling pin, shape it into a 10-inch by 6-inch rectangle, just eyeball it. It’s being baked in an 8-inch pan and you want the long side slightly longer than the pan, so about 10 inches.
Starting with a long side, roll up the dough to form a tight cylinder. Tuck the ends in and place the cylinder in the pan. Cover it, and allow it to rise until doubled, 60 to 75 minutes. Optionally, when rolling it, sprinkle with cinnamon, nutmeg, ground ginger, raisins, or dried fruit.
Bake for about 30 minutes or until domed, golden, and puffy. When tapped, it should sound hollow. Technically, the internal temperature should reach 210F, but I despise spearing pretty bread with the dagger-like thermometer probe, so I rarely do this unless I’m very uncertain. I usually rely on visual cues and tapping.
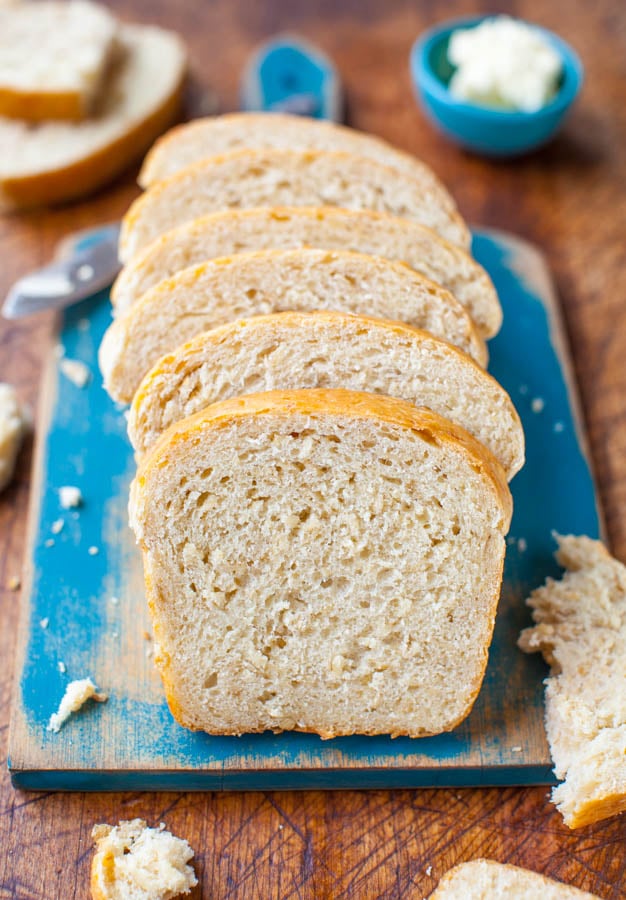
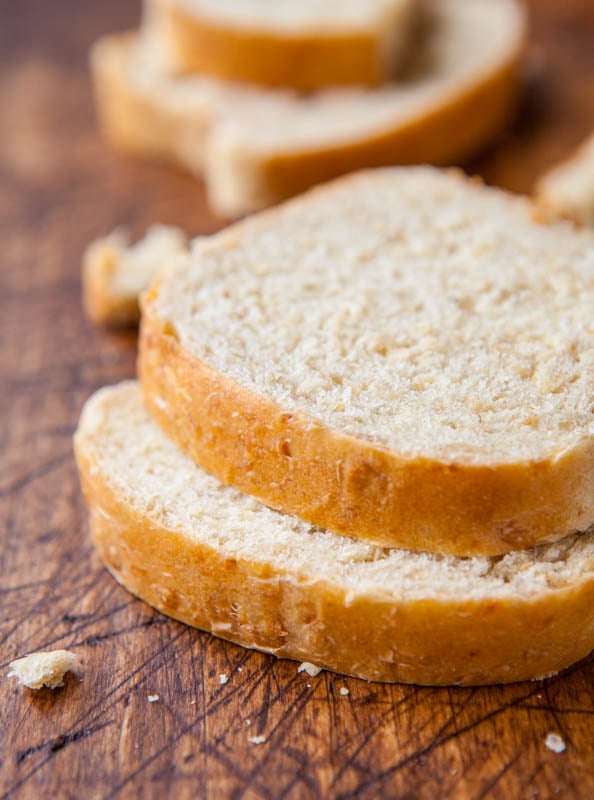
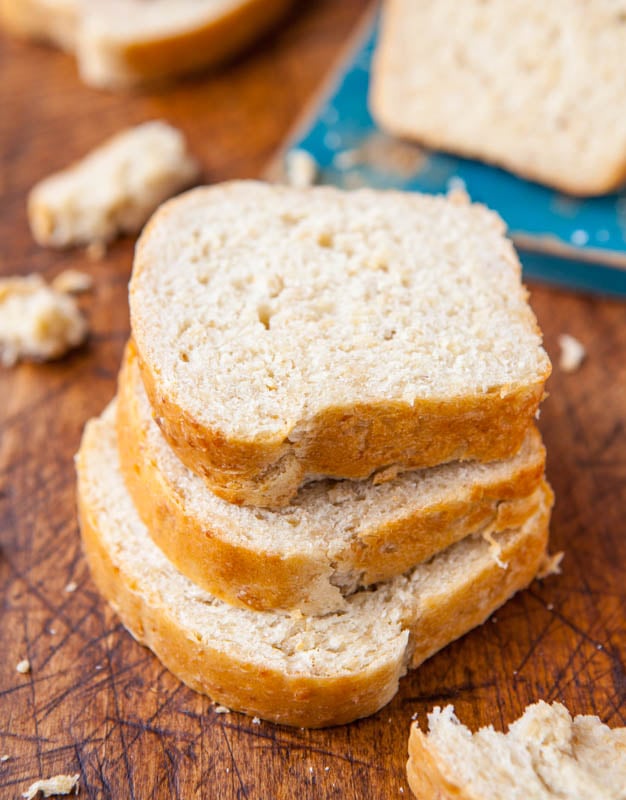
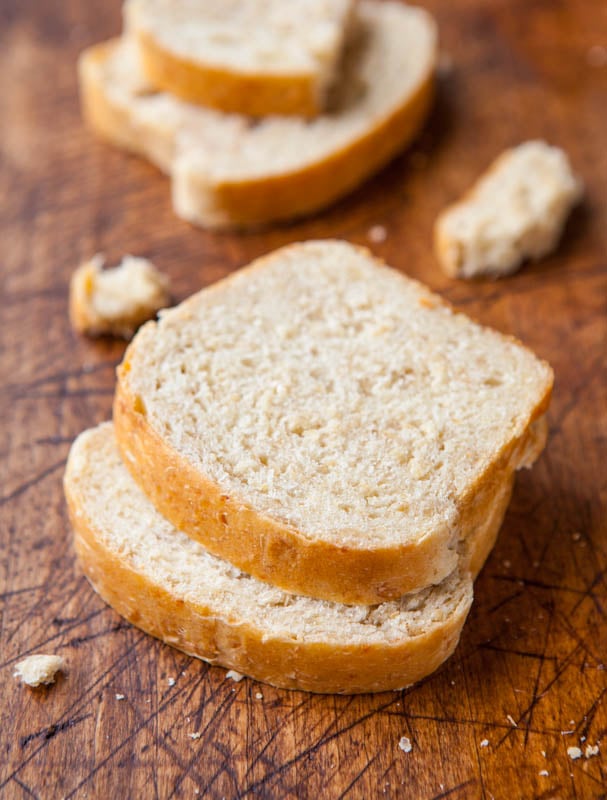
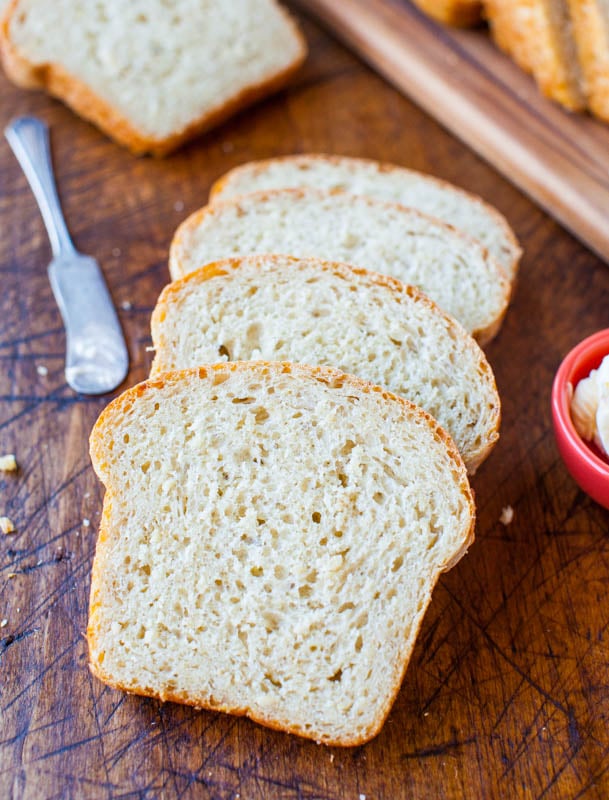
It’s so soft and fluffy, even without eggs and butter, and a great little vegan loaf. There’s a very slight chewiness, thanks to the oatmeal. But you definitely don’t think, oh there’s oatmeal in this. It’s a stealth operator.
The bread is moist and there’s a richness to the crumb that I attribute to the coconut milk and coconut oil. It’s slightly denser than this version of Sandwich Bread, which was made with water and canola oil.
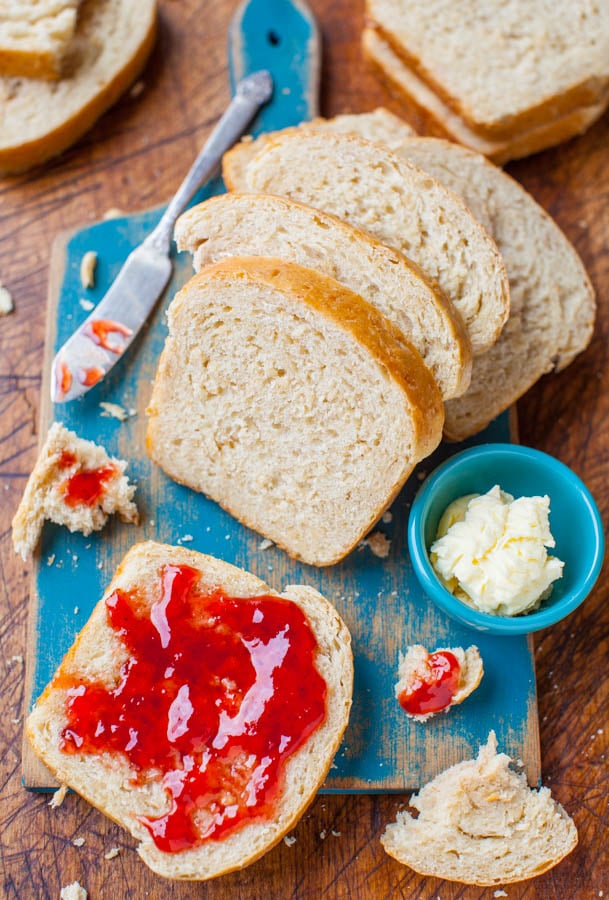
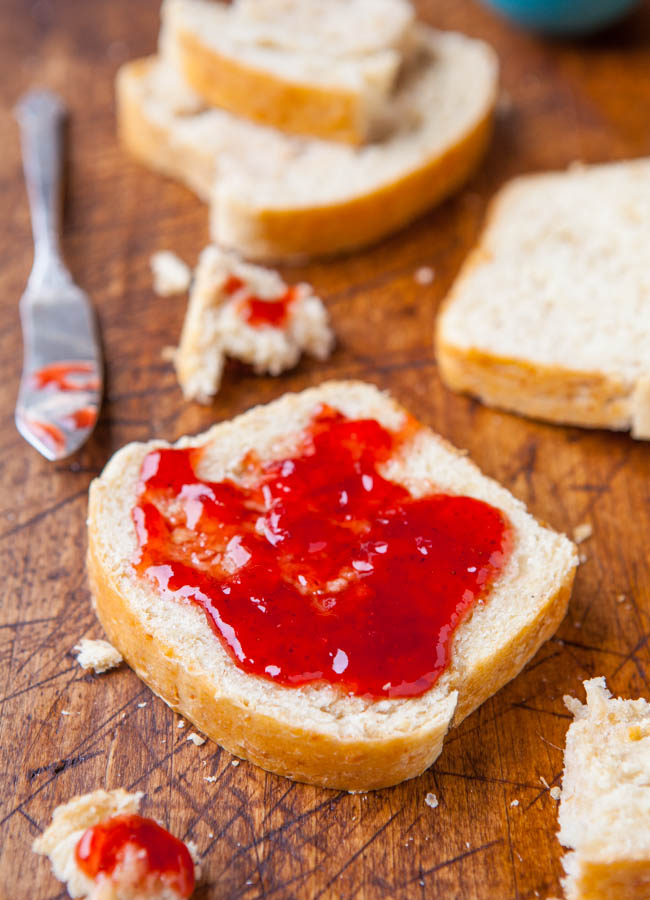
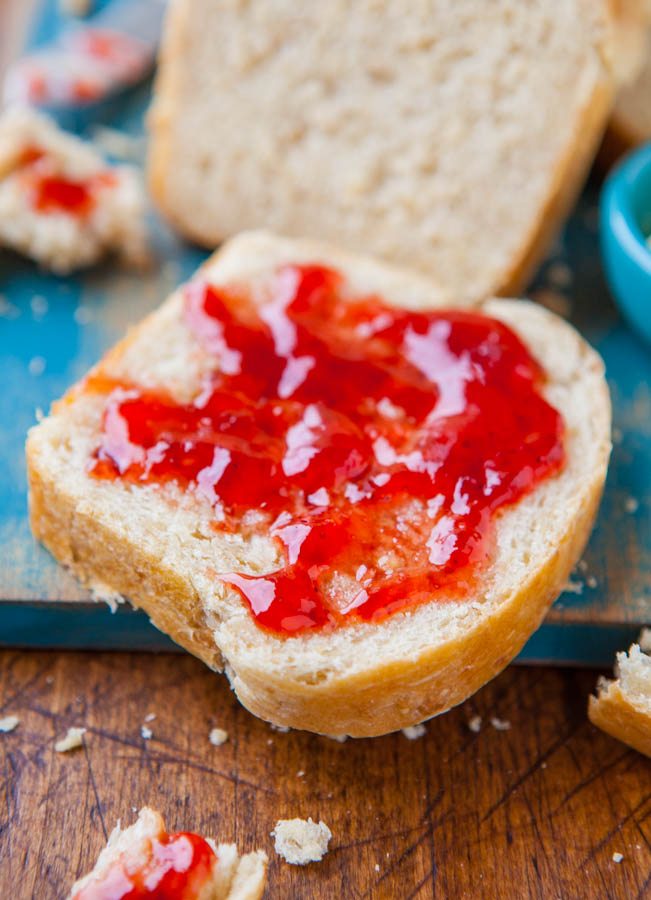
It’s wonderful to eat plain, or with butter, jam, or a smear of Homemade Peanut Butter. Toast it, make French toast with it, make PB&Js for lunches with it, or put a basket of it on the dinner table and watch it disappear.
If you’ve not gotten on the coconut milk or oil train, please, hop on board.
This loaf lasted precisely 1 day.
Pin This Recipe
Enjoy AverieCooks.com Without Ads! 🆕
Go Ad Free
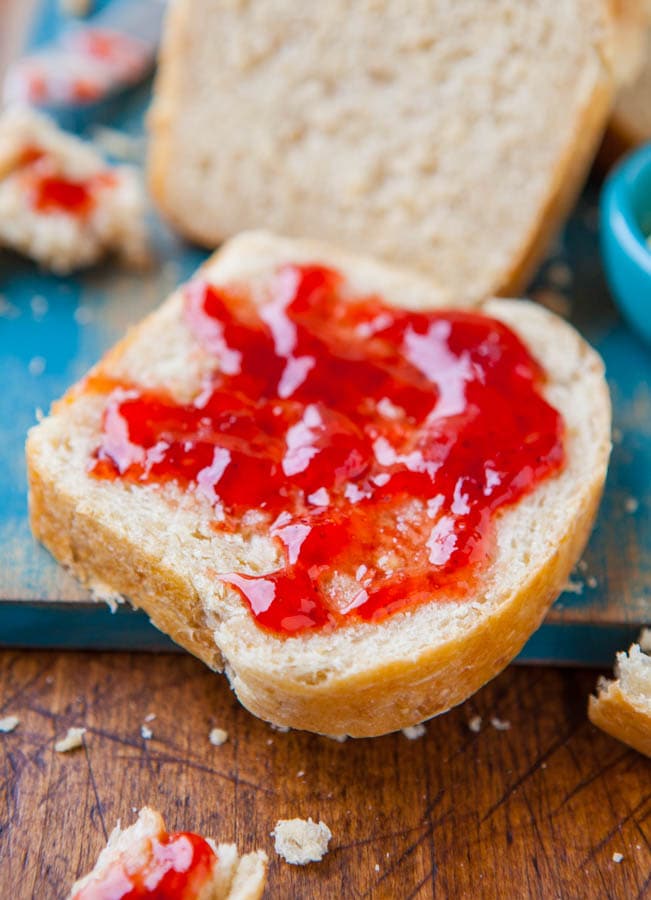
Soft and Chewy Coconut Milk Bread
Ingredients
- 1 cup coconut milk, I used Trader Joe’s Light
- 1 cup old-fashioned whole rolled oats, not quick cook or instant
- ¼ cup water, from the tap, not hot and not cold
- 2 cups all-purpose flour, bread flour may be used and will create a heartier, chewier bread
- 3 tablespoons coconut oil, melted (canola or vegetable oil may be substitued)
- 2 tablespoons light brown sugar, packed
- 2 ¼ teaspoons instant dry yeast (one 1/4-ounce packet, I use Red Star Platinum
- pinch salt, optional and to taste
Instructions
- In a 2-cup microwave-safe glass measuring cup or small bowl, heat the coconut milk until it just begins to boil; likely just over 2 minutes.
- Add oatmeal to the milk and stir to combine. Set aside and let cool until temperature reaches about 120 to 130F, about 15 minutes. (I use Red Star Platinum Yeast which necessitates this temperature; allow mixture to cool to the ~100F range for other types of instant dry yeast, or to package directions). Stir in 1/4 cup tap water.
- To the bowl of a stand mixer fitted with the dough hook (or a large mixing bowl and knead by hand for about 10 minutes), combine flour, oil, brown sugar, instant dry yeast, and oatmeal mixture. Knead for 5 to 7 minutes on low speed, or until a moist, shaggy dough forms. The dough is quite moist and sticky, but resist the temptation to add additional flour, unless it’s so moist that it won’t combine. Conversely, if it’s too dry, add up to one-quarter cup water. Erring on the side of too moist is always preferable to too dry in bread-making.
- After kneading, turn the dough out into a large, greased bowl, cover with plasticwrap, and let it rise in a warm, draft-free place for about 2 hours, or until doubled in size. Create a warm environment by preheating your oven for 1 to 2 minutes to 400F, then shutting it off. This creates a 90F-ish warm spot. Slide the bowl in and wait while the yeast works. Just make sure your oven is off.
- Spray an 8-by-4-inch loaf pan with (coconut) cooking spray, or grease and flour the pan; set aside.
- After the dough has doubled, punch it down, turn it out onto a floured surface or Silpat and knead it for about 3 minutes.
- With your fingers or a rolling pin, shape dough into a 10-inch by 6-inch rectangle, just eyeball it. The long side should be slightly longer than the baking pan, which is 8 inches. Starting with a long edge, roll to form a tight cylinder. There’s not much to roll, about 3 turns. Tuck ends in and under, and place cylinder in prepared pan, seam side down. Optionally, when rolling, sprinkle with cinnamon, nutmeg, ground ginger, raisins, or diced dried fruit.
- Cover pan with plasticwrap, and allow dough to rise in a warm, draft-free place until doubled, about 60 to 75 minutes. I use the oven trick to 400F for 1 minute trick again.
- In the last minutes of rising, preheat oven to 350F. Bake for about 30 minutes, or until lightly golden, domed, and puffy. Rotate pan midway through baking if desired. When tapped, bread should sound hollow. The internal temperature should reach 210F.
- Allow bread to cool in pan for 5 to 10 minutes before turning out onto a wire rack to cool completely before slicing. The cooling process is important and although it’s tempting, don’t slice into warm bread. I store bread by wrapping a fully cooled loaf in plasticwrap, and place it inside a gallon-size Ziplock, where it stays fresh for about 5 days. Bread freezes very well and can be made from start to finish, cooled, and placed in a freezer-safe airtight container or a ziplock for up to 3 months. I like this bread plain, or with butter, jam, or with homemade peanut butter. It’s great toasted with butter and a sprinkle of cinnamon-sugar or Cinnamon-Sugar Butter. It makes great sandwiches and French toast.
Nutrition
Nutrition information is automatically calculated, so should only be used as an approximation.
©averiecooks.com. Content and photographs are copyright protected. Sharing of this recipe is both encouraged and appreciated. Copying and/or pasting full recipes to any social media is strictly prohibited.
Related Recipes:
Soft and Fluffy Sandwich Bread (vegan) – Soft, fluffy, light, and moist; courtesy of the cup of oatmeal that’s kneaded into the dough. My husband declared this as his favorite bread, and it inspired today’s recipe
Honey Dinner Rolls – My favorite dinner roll recipe, lightly sweetened with honey, soft and chewy. A family favorite and a very goof-proof yeast recipe because this dough loves to rise
Cinnamon-Sugar Crust Cinnamon-Ribbon Bread – A yeast-free, no-knead bread that comes together in less than 5 minutes without a mixer. Easy, foolproof an it’s the best bread crust I’ve ever had
Raisin Bread for Raisin Lovers – A soft, slightly sweet bread that’s packed to the brim with raisins. Made entirely by hand, no mixer
Pineapple Coconut Oil Banana Bread – Like eating a tropical vacation. Soft, moist, tender, and so flavorful
Overnight Buttermilk Soft and Fluffy Cinnamon Rolls – They give Cinnabon a run for their money and are the best cinnamon rolls I’ve ever had. With the handy make-ahead suggestions, you don’t even have to get up at the crack of dawn to enjoy soft, fluffy, buttery, rich rolls
Fluffy Vegan Coconut Oil Banana Muffins – Made with coconut oil, they’re fluffy, soft, light, and moist. No butter, no eggs, and no mixer needed in these vegan puffballs. They remind me of mini donuts, a huge bonus
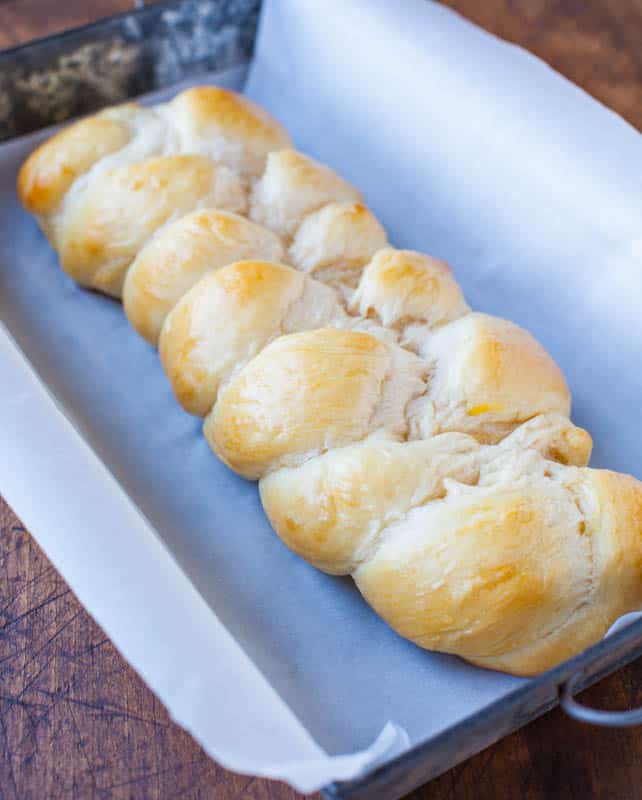
Challah – Light, fluffy, soft, tender, crossiant-like, and the best challah I’ve ever had and extremely easy to make. Made using the Artisan Bread in Five Minutes a Day: The Discovery That Revolutionizes Home Baking principles, this is a no-knead, goofproof, and effortless method to making bread and dough can be made in advance and stored for up to five days prior to baking it
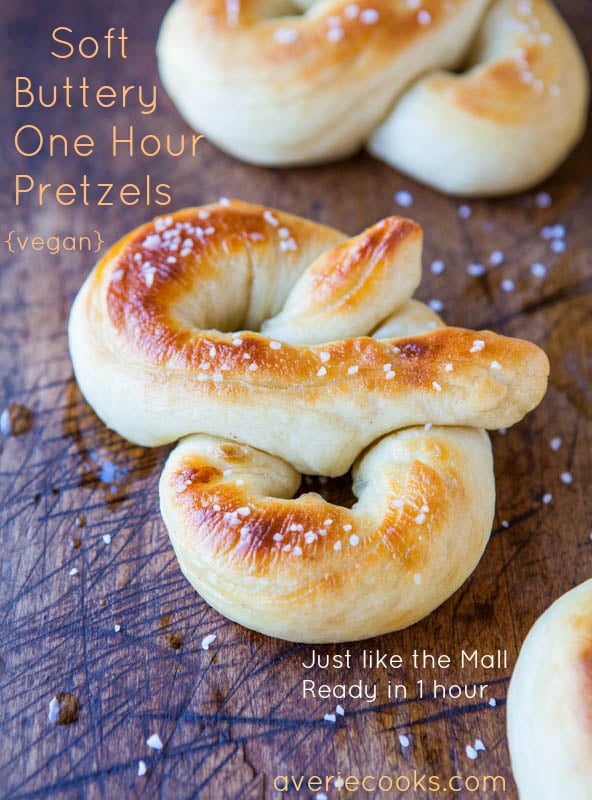
Soft Buttery One-Hour Pretzels – Almost too good to be true. Fast and easy, soft, chewy, and just like the pretzels at the mall, at home, in an hour
I’m linking this bread up to Lora the Cake Duchess’ #TwelveLoaves group
Do you have a favorite bread recipe? Do you like coconut milk or coconut oil? Do you cook or bake with it?
Please share recipe links to your favorites.



I have tried this recipe 3 times with the same results. It rises really well and tastes good. The only problem is, after being in the oven for about 20 minutes, it sinks in the middle. Not enough to be ruined, but not a very pretty loaf. I have tried bread flour and all purpose with the same results. Since this is a very soft dough I think it may need a little more flour. I have been baking bread since the early 70’s and have never had this problem before. I really want to keep this recipe. Do you think more flour would help?
Yes try more flour because not all climates are the same, nor are all ovens, ingredients, etc. but that would be an easy fix to firm up the dough and give it more stability and hopefully prevent it from sinking in the middle. Since you’re an experienced bread maker, I would trust your gut and if you think it needs more flour, it probably does. Thanks for not giving up on the recipe! Keep me posted how it goes.
Tried your recipe yesterday using all the same brand name products, but very disappointed in the flavor. Tasted very weirdly soapy to me and not at all like coconut. I tried toasting a slice this morning and the soapy flavor was even more pronounced. The loaf went in the trash. Maybe baking changes the flavor of the coconut oil and/or milk?
I love the science of baking and really wanted an explanation for the soapy taste…here is what I found from a chemical engineer:
“I spent 22 years in the edible oil industry and the answer to the soapy flavored coconut oil problem is quite straight forward. All edible oils contain low levels of “free fatty acids” (FFA). When coconuts are crushed and shredded enzymes are released that begin attacking the oil and releasing free fatty acids. This reaction requires water. When the manufacturer separates the oil from the water phase of the coconut milk the reaction slows or stops depending on the effectiveness of the separation. The medium chain length fatty acids from coconut oil are more flavorful than the longer chain length ones from soybean, canola, sunflower etc. Unfortunately they taste like soap! Coconut oil is wonderful stuff – very stable to oxidation, clean flavor (if the FFA level is low, which it usually is) and tends to be used by the body for energy rather then being deposited in your arteries and causing heart disease.
The downside is the potential for soapy off flavors. Watch out for applications where you apply both water and heat as you can release soapy flavors.”
That’s quite a detailed explanation and thanks for sharing. Before I even read it, I thought to myself it has something to do with coconut oil/milk. So now we know it doesn’t. I have never experienced the soapy taste but sounds like it is possible. I also know that coconut oil can go rancid very fast and easily, faster than the expiration date on the jar sometimes. And brand to brand, there’s a vast difference in flavor. I would try again with another type of coconut oil if you’re up to it. Thanks for trying the recipe.
Hi Avery,
I tried this recipe, everything thing went well until just before I put it to bake I realized it stopped rising and that the top was flat. I assumed it would continue rising once it started baking but it didn’t. Also, I didn’t use a mixer, I kneaded it manually. Do you have any idea what I might have done wrong?
Stopped rising is an indication possibly that the yeast wasn’t fresh/good/alive or at it’s peak. I would say try new yeast and that will help solve the problem in part. Secondly, being that you’re hand-kneading you have to REALLY knead and knead longer than you may think to develop the gluten since you don’t have a mixer doing that for you. Without really well developed gluten via lots of kneading, the rising may not go as well either.
I’ve made this bread several times and really like it. I have never used instant yeast, so I just used regular yeast and proofed it in the 1/4 water. My rise time has always been a lot shorter than yours (45 minutes per rise) and I just leave it set on my counter for rising. Is this because of not using instant yeast?
Well if that’s what you’re doing and it’s working well for you, keep doing it :)
With yeast/bread there are soooo many variables that as long as it’s working, just go with it!
I had 2 half cans of coconut milk in fridge (from recipe testing) waiting to be used up. It was perfect I came across your recipe. I used half whole wheat flour, the bread didn’t rise quite as high as yours but it is still soft and fluffy with just a hint of coconut. Absolutely loved the addition of oats.
Glad you were able to put your extra coconut milk to use and that you loved the bread. I love the oats and subtle coconut twist too. And good job on using half whole wheat flour – bread usually won’t rise as well with it – but bravo for trying it and glad it worked out well!
Hi, thanks for this.
Do you line your bread pans with parchment paper?
If not, how do you recommend avoiding burning the crust and having the bread stick to the pan?
Thx
I use Pam for Baking which is floured cooking spray and I highly, highly recommend it. Or the Baker’s Joy product that’s similar. I dont like with parchment and don’t have any issues with sticking or burning.
I am so bummed, I made this today and my bread came out flat and somewhat concave. I am a novice at bread making and usually use a bread machine but followed your directions. I was a little worried by how wet my dough was but ignored it because you had said it would be a wetter dough. My yeast is still fresh, not sure where I went wrong- do you have any suggestions? There was one more thing after the first rise, my dough had a slight alcohol scent. Does that mean that I didn’t knead it long enough or just a by product of the yeast?
Hi Julie – there are so many things that can go wrong in bread making and without being there with you, I am not sure. I would say that you yes, could have added more flour. The dough should be moist and wet, but not so sloppy that it’s a total mess. You need to add enough flour for your climate and conditions so that it’s workable. I live in dry San Diego and if you live in a humid climate, you could likely need much more flour than I do. The alcohol scent – that could be a byproduct of the rising/yeast fermentation process and not necessarily something to worry about. You could have also not kneaded it long enough and not developed the gluten enough which would contribute to the lack of structure and rise. You could have underbaked it, thus it being concave (sinking bread generally means underbaked/not hot enough internal temperature). Others have made this with success and I have one woman who makes two loaves a week of it – so I know the recipe works – somewhere in there, things went a little south for you and LMK if you think you know where that was!
Thanks for your advise, Averie. I’ll definitely give it a try again!
I need to make gluten free breads. Have you tried this recipe with gluten free flour? I’m wondering if it will work at all.
Haven’t tried it as a GF flour and I have no idea if it will work or not…baking yeast bread GF is it’s own science! I would start searching online and googling and hope you come up with a plan!