Soft and Fluffy Sandwich Bread — 🥪❤️🙌 This sandwich bread is soft, fluffy, and light. It’s made with a secret ingredient that keeps it moist and fluffy — oatmeal! It’s the perfect bread for a PB&J or grilled cheese sandwich!
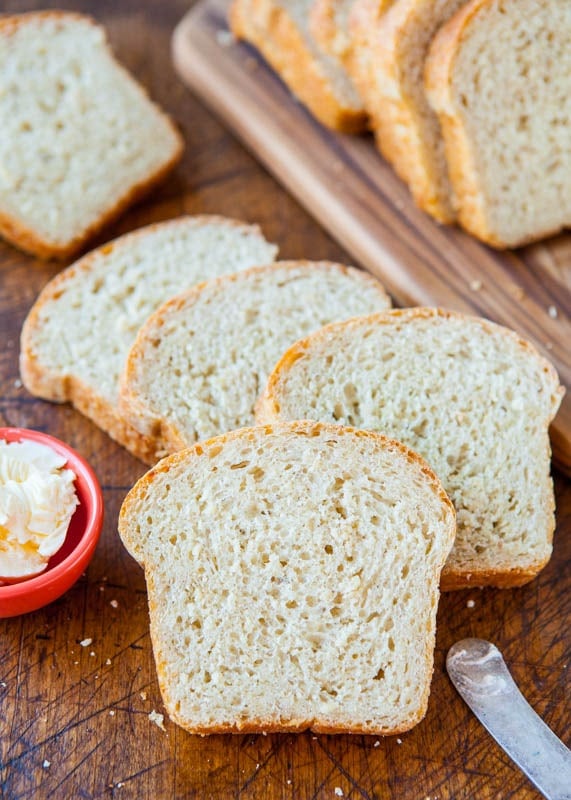
Table of Contents
Easy Sandwich Bread Recipe
The best sandwich bread recipe you’ll ever make, this bread is soft, fluffy, and light and will make you feel like a professional baker. It’s made with a secret ingredient that keeps it moist and fluffy: a cup of oatmeal is kneaded into the dough, which also lends a bit of chewiness and texture. When you bite into the finished bread, you definitely don’t think, oh there’s oatmeal in here. It’s a stealth operator ingredient.
It’s the homemade, healthier, vegan version of store-bought bread like Wonder bread. I’ve never been a crusty baguette person. Give me soft and tender over jaw-ripping crustiness any day.
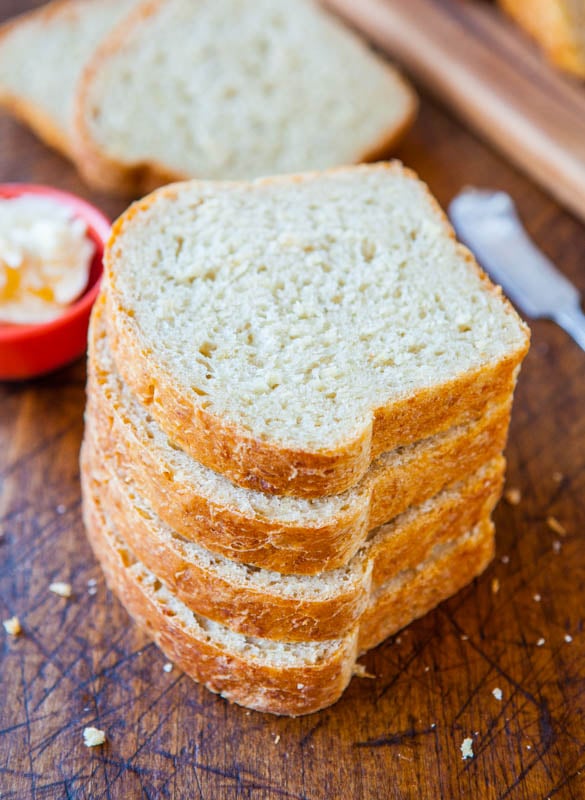
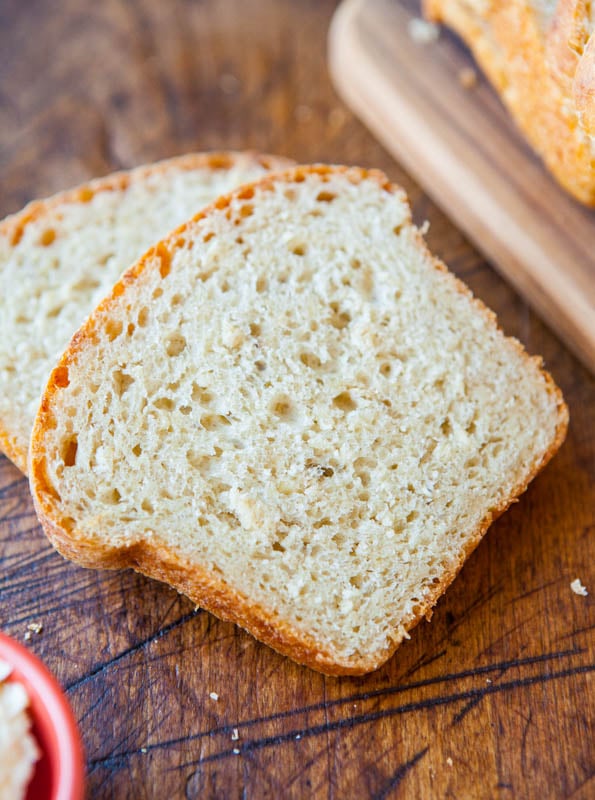
It’s so soft and fluffy, with a slight chewiness, thanks to the oatmeal. You’d never know oatmeal was the secret ingredient and even when mixing the dough, you’ll think there’s no way this whole cup of sloppy oatmeal is going to just disappear, but it magically does.
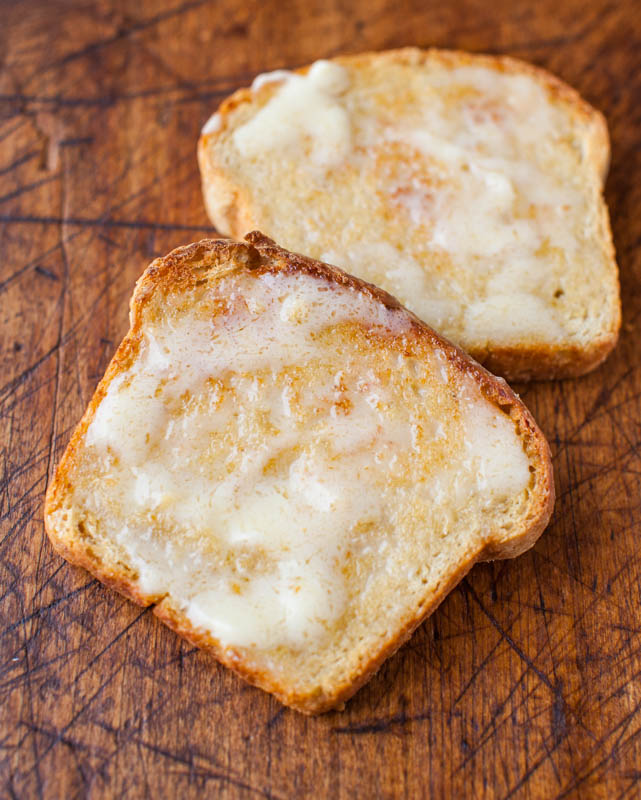
Far better than your average white sandwich bread, it makes French toast or grilled cheese, and it’s wonderful toasted with melted butter, jam, or honey. I made BLT’s minus the bacon and used cheese, and they were met with rave reviews, too.
Up next, is using it for a homemade peanut butter and jelly sandwich.
What’s in Homemade Sandwich Bread?
To make this soft and fluffy bread recipe, you’ll need:
- Water
- Old-fashioned oats
- All-purpose flour
- Canola oil
- Light brown sugar
- Instant dry yeast – I use Red Star Platinum Yeast. Make sure to use fresh yeast or your bread won’t rise properly
- Salt
Note: Scroll down to the recipe card section of the post for the ingredients with amounts included and for more complete directions.
How to Make Sandwich Bread
If you’ve been too intimidated to try your hand at making homemade bread, this simple sandwich bread recipe is the perfect place to start. It comes together with just a few simple steps!
- Pour boiling water over the oatmeal, and let it cool to about 130 degrees or to the recommended warm water temperature for your yeast.
- Combine the ingredients, and knead with a stand mixer fitted with a dough hook or your hands until a shaggy dough forms. Transfer the dough to a large, greased bowl, cover it with plastic wrap or a towel, and let the dough rise until it doubles in size. Note that the rise times will change slightly depending on the warmth of your environment.
- After the first rise, punch the dough down, transfer it to a lightly floured surface or Silpat mat, and knead. Then, shape it into a rectangle, and use your hands or a wooden spoon to fold in the short sides to create a tight cylinder.
- Transfer the dough to a greased loaf pan, cover it with plastic wrap, and allow it to rise again.
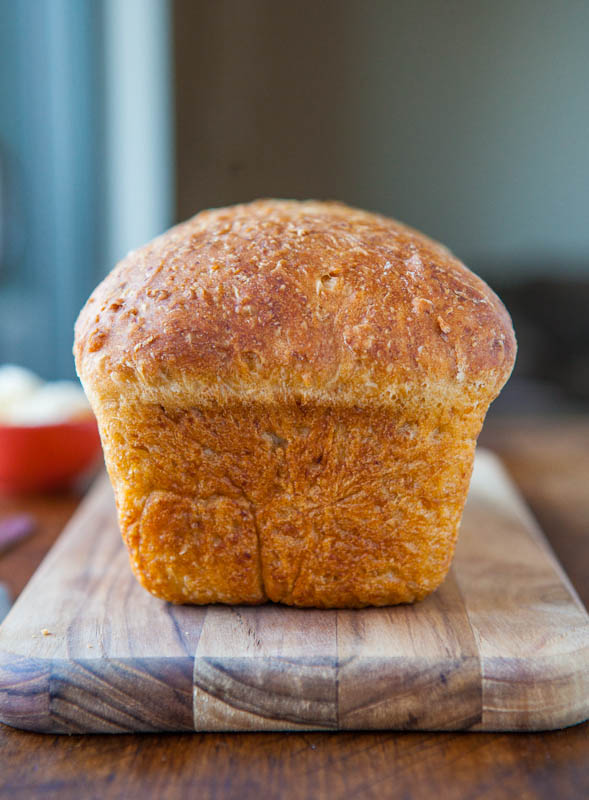
- Bake until the bread is domed, puffy, and golden brown. Then, let it cool for 5-10 minutes in the pan before turning it out onto a wire rack to cool completely. It’s vital to let your finished loaf of bread cool completely before slicing, or you’ll flatten it as you cut through the crust.
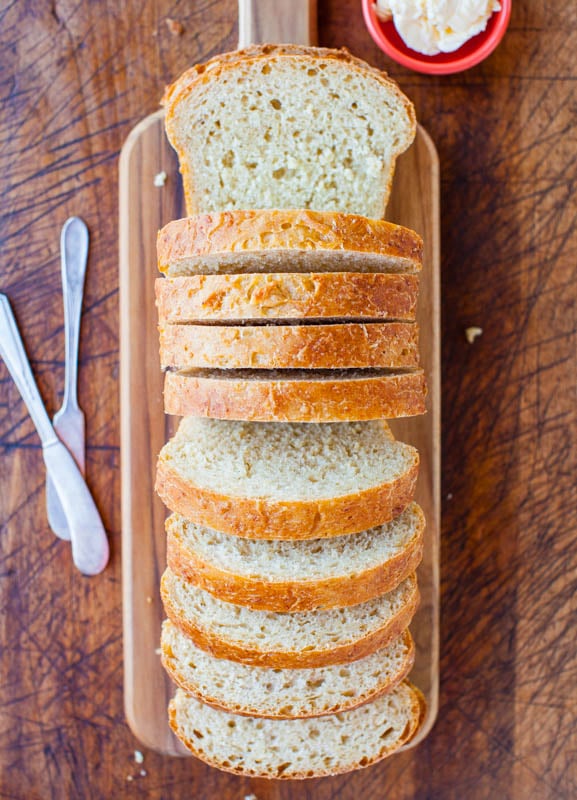
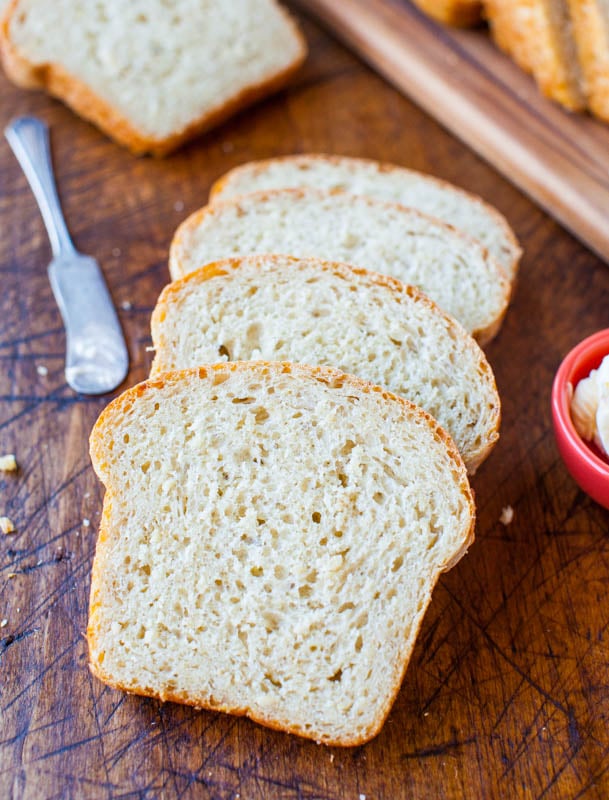
Achieving fluffy sandwich bread
The dough is fairly moist and sticky, but resist the temptation to add additional flour, unless it’s so moist that it won’t combine. Conversely, if it’s too dry, add up to one-quarter cup of water. Erring on the side of too moist is always preferable to dry in bread doughs.
Storage
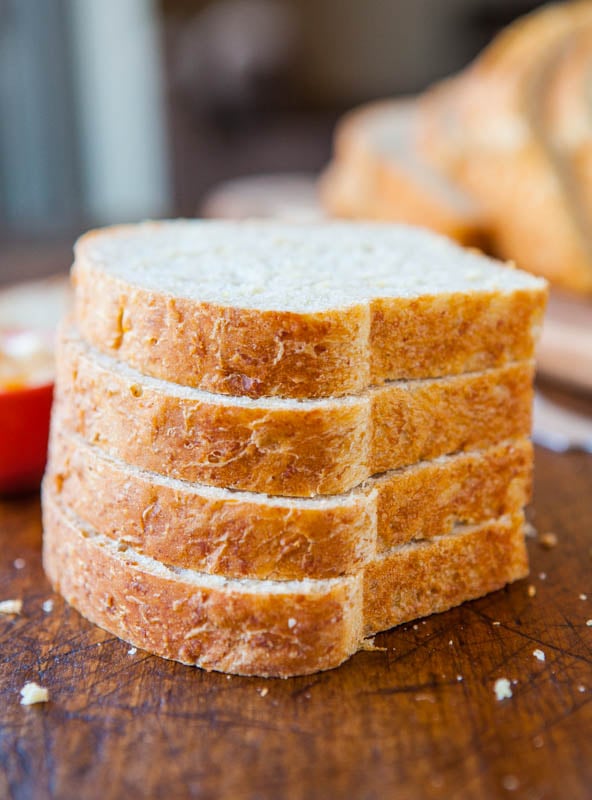
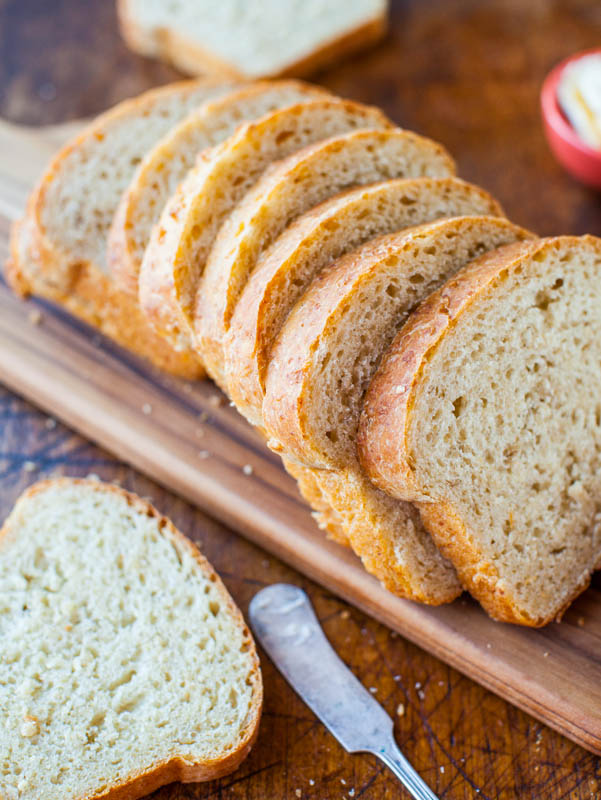
Store cooled bread at room temperature for about 5 days. To keep it fresh, I recommend wrapping it in plastic wrap and placing it inside a gallon-sized Ziploc bag.
Freeze leftovers for up to 3 months. Thaw in the fridge or at room temperature to serve.
Recipe FAQs
I don’t know. I don’t have one and have never tried it, but I’d love to know how it goes if you try it out!
I used all-purpose flour because I wanted really soft bread. Bread flour will produce a loaf that’s chewier. I don’t know how whole wheat flour would work. If you try it, I suggest not using more than 1 cup (50% of the total amount). I fear it won’t rise well and could get very heavy and dense.
I haven’t tried this soft sandwich bread recipe with gluten-free flour. So, I cannot comment or make recommendations. I’ve never baked homemade yeast bread with gluten-free flour. So, it’s out of my wheelhouse entirely. I’d use your favorite blend and hope for the best!
I have only made this recipe using the yeast mentioned and haven’t tried it with other forms of yeast. So, I can’t speak to your results if you use active dry yeast that’s not labeled as instant. I use Red Star platinum instant yeast with great results.
If you want to flavor your sandwich bread, sprinkle it with cinnamon, nutmeg, or ground ginger when rolling the dough. Or, go for savory options like dill, chives, or thyme.

Pin This Recipe
Enjoy AverieCooks.com Without Ads! 🆕
Go Ad Free

Soft and Fluffy Sandwich Bread
Equipment
- 1 Small Bowl
- 1 Stand Mixer Fitted with a Dough Hook
- 1 (8×4 inch) Loaf Pan
- 1 Wire Rack
Ingredients
- 1 cup boiling water
- 1 cup old-fashioned whole rolled oats, not quick cook or instant
- 2 cups all-purpose flour, bread flour may be used and will create a heartier, chewier bread
- ¼ cup water, from the tap, not hot and not cold
- 2 to 3 tablespoons canola or vegetable oil
- 2 tablespoons light brown sugar, packed
- 2 ¼ teaspoons instant dry yeast (one 1/4-ounce packet, I use Red Star Platinum
- pinch salt, optional and to taste
Instructions
- In a small bowl, pour boiling water over oatmeal, stir to combine. Set aside and let cool until temperature reaches about 130F, about 15 minutes. (I use Red Star Platinum Yeast which necessitates this temperature; allow mixture to cool to the ~100F range for other types of instant dry yeast, or to package directions).
- To the bowl of a stand mixer fitted with the dough hook (or a large mixing bowl and knead by hand for about 10 minutes), combine flour, 1/4 cup water, oil, brown sugar, instant dry yeast, and cooled oatmeal.
- Knead for 5 to 7 minutes on low speed, or until a moist, shaggy dough forms. The dough is fairly moist and sticky, but resist the temptation to add additional flour, unless it’s so moist that it won’t combine. Conversely, if it’s too dry, add up to one-quarter cup water. Erring on the side of too moist is always preferable to dry in bread-making.
- After kneading, turn the dough out into a large, greased bowl, cover with plasticwrap, and let it rise in a warm, draft-free place for about 90 minutes, or until doubled in size. Create a warm environment by preheating your oven for 1 to 2 minutes to 400F, then shutting it off. This creates a 90F-ish warm spot. Slide the bowl in and wait while the yeast works. Just make sure your oven is off.
- After the dough has doubled, punch it down, turn it out onto a floured surface or Silpat and knead it for about 3 minutes. With your fingers, shape it into a 10-inch by 6-inch rectangle, just eyeball it. The long side should be slightly longer than the baking pan. Then, fold the short sides in so that dough is about 8 inches in length. Roll to form a tight cylinder. There’s not much to roll, about 3 turns. Optionally, when rolling, sprinkle with cinnamon, nutmeg, ground ginger. Or go savory with dill, chives, or thyme.
- Spray an 8-by-4-inch loaf pan with floured cooking spray (or grease and flour the pan) and place the cylinder in the pan, seam side down. Cover with plasticwrap, and allow dough to rise in a warm, draft-free place until doubled, about 60 to 75 minutes.
- In the last minutes of rising, preheat oven to 350F. Bake for about 30 minutes or until domed, golden, and puffy. When tapped, it should sound hollow. The internal temperature should reach 210F. Let bread cool in pan for 5 to 10 minutes before turning out onto a wire rack to cool completely before slicing.
Notes
- I store bread by wrapping a fully cooled loaf in plasticwrap, and place it inside a gallon-size Ziplock, where it stays fresh for about 5 days.
- Bread freezes very well and can be made from start to finish, cooled, and placed in a freezer-safe airtight container or a ziplock for up to 3 months.
- I like this bread toasted and with butter and a sprinkle of cinnamon-sugar or Cinnamon-Sugar Butter. It makes great Grilled Cheese, French Toast, and Homemade Peanut Butter and Jelly Sandwiches.
Nutrition
Nutrition information is automatically calculated, so should only be used as an approximation.
©averiecooks.com. Content and photographs are copyright protected. Sharing of this recipe is both encouraged and appreciated. Copying and/or pasting full recipes to any social media is strictly prohibited.
More Easy Bread Recipes:
Easy Sourdough Bread — This easy sourdough bread recipe uses yogurt and sour cream in place of a traditional sourdough starter, which makes it possible to prep a loaf in less than a day!

Overnight Cinnamon Rolls — These overnight cinnamon rolls are ultra soft and fluffy thanks to the buttermilk in the dough. Top them with homemade cream cheese frosting and enjoy!

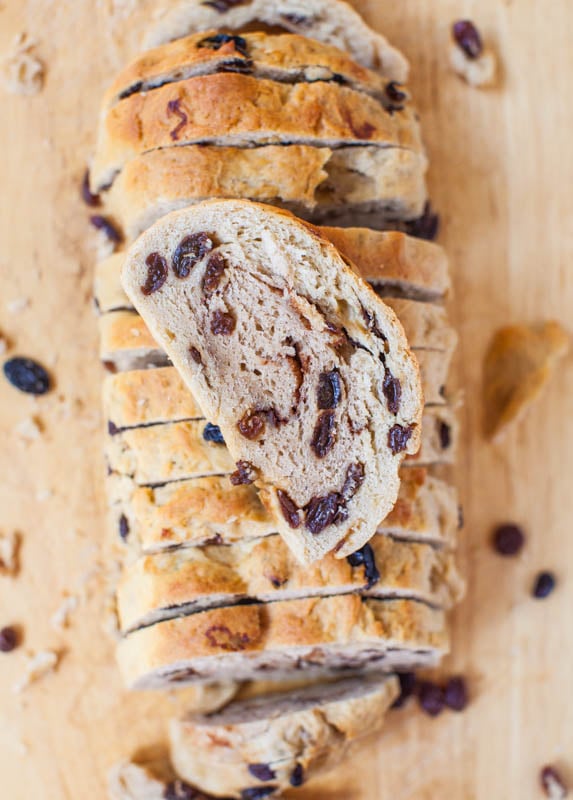
Easy Cheddar Sourdough Bread — Unlike most sourdough recipes that require a starter and weeks to complete, this recipe requires neither. The sourdough taste comes from a combination of Greek yogurt and sour cream that ferments the dough rather than using a starter.
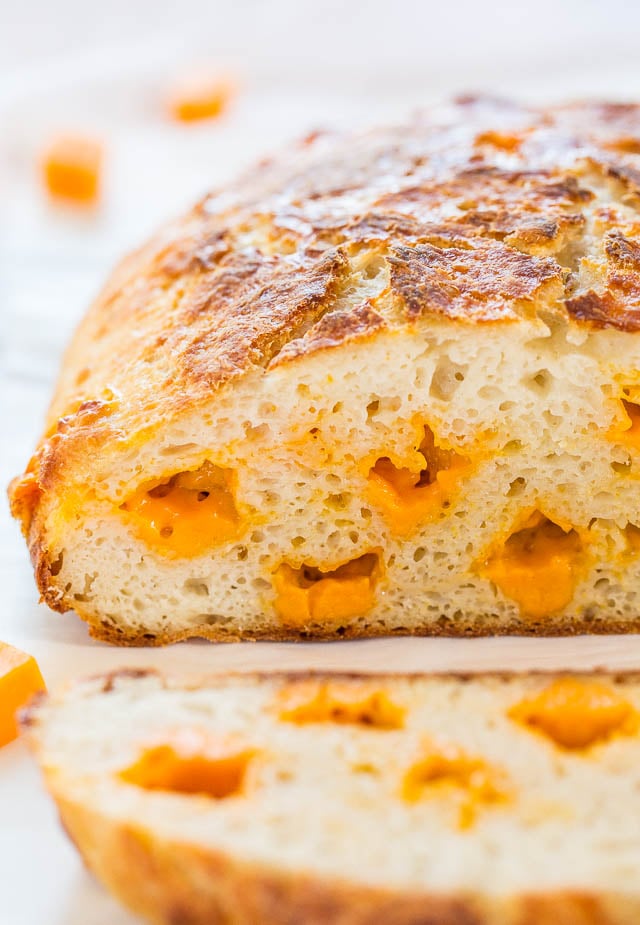
Raisin Bread for Raisin Lovers — A soft, slightly sweet bread that’s packed to the brim with raisins. Made entirely by hand, no mixer
Easy Cheese Bomb Bread – Soft, buttery bread brushed with garlic butter and stuffed with CHEESE! So good, mindlessly easy, goofproof, and ready in 10 minutes! A hit with everyone!!

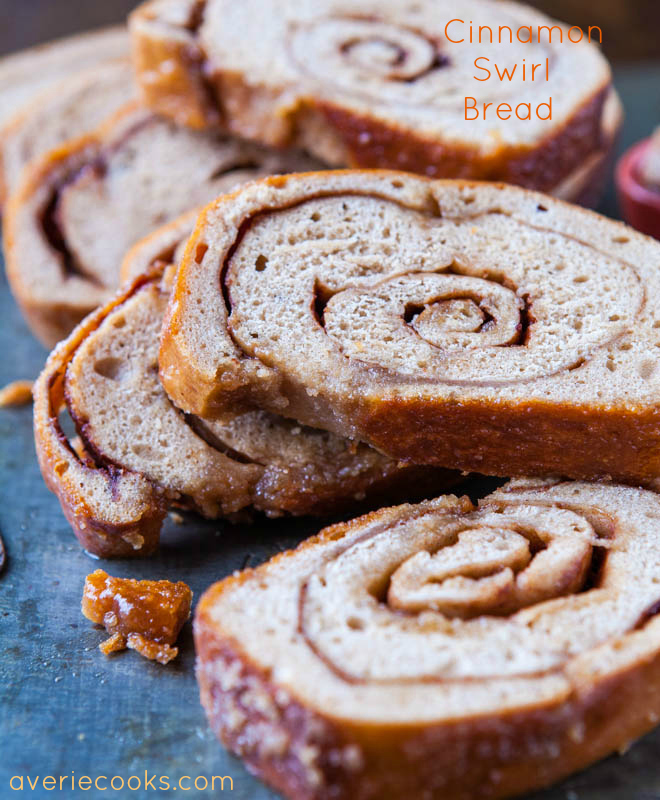
Cinnamon Swirl Bread – As close to cinnamon buns as bread gets. Filled with a sweet cinnamon-sugar butter mixture that’s swirled throughout, this is a tender, buttery, sweet loaf that novice bread-makers can successfully tackle
Honey Dinner Rolls — My favorite dinner roll recipe, lightly sweetened with honey, soft and chewy. A family favorite and a very goof-proof yeast recipe because this dough loves to rise

Originally published April 9, 2013 and republished May 16, 2020 with updated text.
:) flour, not floor
since I have become vegan it has been hard to find a good sandwich bread. I thought maybe I could make my own, so today I set out trying to find a recipe and came across yours. for me it worked perfectly. the flavor and texture was very good. it was a sticky dough and it was hard not to want to add more floor, but I didn’t. the issues I had with it were my own. the plastic wrap i used to cover it while it was in the bread pan stuck to the top. when I pulled it off before putting it in the oven it caused it to fall. Before I took it off it looked like a perfect loaf of beard with a nice dome. I tried to let it rise a little longer to see if it would come back but it stayed flat. I will defiantly be making this bread again, I know with perfect results. Many thanks for the recipe!!
Thanks for trying the recipe and I’m glad it came out great for you! Tip is to spray your plasticwrap with cooking spray and that won’t happen again :) But other than that, sounds perfect and glad my recipe is a keeper for you and that it works with your dietary needs, too!
I wish this worked for me, but I’m filing it in the “pinterest fail” category and won’t be touching it again.
Thanks for trying the recipe and I’m sorry it didn’t work for you. Are you an experienced bread baker? If you are, or aren’t, and want to share where you think things may have gone off track or what your finished product looked like or share some more details other than just ‘a Pinterest fail’, I’d be happy to troubleshoot with you since I am not Pinterest. I am actually a real person who writes a blog and am willing to help you.
Averie, thank you for the reply to my comment! I know I got a bit rant-y, I apologise. The heat-wave is getting to me. XD I will keep in mind your note about possibly needing to add more flour in my humid climate. I did do that when I was shaping the flour, because I couldn’t handle it otherwise, lol, but it seems like a good thing to remember regardless.
Strangely, the bread density ended up not being as much of a problem as the taste. Texture wise, I can imagine it would be great once it can rise to the right volume. But for some reason it turned out very lacking in any taste… maybe I didn’t add enough salt? I’m thinking I might I try it again with fresh herbs and cheese to add some flavour. :)
This bread was a disaster for me. It waaaaaay too sticky to handle after the initial rise (during which it actually doubled, to be fair), it was just sticking everywhere… when I finally got it to the loaf pan, it rose a bit, and then… stopped. (I live practically on the equator & it’s a supremely hot day today!). I think the yeast must have died halfway through as it did not rise in the oven as well. It’s like half the height of the loaf pan. :/ The yeast I used was a brand new packet of SAF instant, which worked extremely well with my usual white bread recipe.
Really disappointed with this. Maybe next time I will not bother with the punch down for the second rise.
It sounds like you live in a very hot and humid climate and therefore you’d likely need more flour and/or less wet ingredients than I would in my climate (dry, San Diego CA). If you are an experienced breadmaker and you know a dough seems too wet, always trust your gut and add more flour! I think that would have done the trick and given it the structure it needed to rise and not be so sticky. Thanks for trying the recipe and bread-making IS climate dependent and given your climate and mine, you’ll need more flour than I will, generally speaking. Thanks for trying the recipe.
Do you cook your bread in glass or metal?
Metal.
Thanks for the quick reply.
I may say, you honey dinner rolls was the one for me. Super recipe, thank you. I saw your recipe for sandwich bread and read where oatmeal is added to make the bread light and fluffy. If I put this in the dinner roll recipe will it do the same? Love your recipe but I love light and fluffy bread no matter what kind it is. Thank you in advance for your response.
Glad you love that dinner roll recipe and I haven’t tried using oatmeal in it so I can’t say for sure what will happen. If you do give it a go, LMK how it turns out!
Very excited about this bread. It’s in the oven as I write this. The first rise was good, the second seemed consistent. I didn’t have the correct tin, and as I wasn’t too interested in the classic shaped loaf, I baked it in a square lasagna pirex dish. Dough was quite wet and sticky, I kneaded it by hand and now my arm is hurting (someone needs to work arms more often). Seems to me that the wetter the dough, the heavier it is!
I hope it turns out well. I totally forgot to add salt (silly), so I sprinkled some rock sea salt on top.
Thanks again!
Baking in a square glass dish will definitely give you different results than I had but glad it seemed to be okay as you were putting it into the oven!
Hi Averie,
I made this bread last week and it didn’t turn out well at all. I’m sure it was of my own doing, but not sure where I went wrong. I did double the recipe bc I like to bake once every two weeks and freeze the second loaf. Is the recipe not good for multiplying? Anyway, it rose the first rising, and the second, but it did not rise much at all when it baked. Also, it was dense and had an overwhelming yeasty taste and smell, to the point of being too much. I used a fresh jar of Fleischmans rapid rise yeast, I’m not sure if the different kind of yeast makes a difference. Any suggestions? I’d love to try again and make it right, because so many reviews, and the pictures make this bread so appealing! Thanks so much!
Places where I think you went wrong:
1. Don’t double yeast recipes unless you know for sure that they are okay to be doubled and this is one I haven’t personally tested and cannot speak for sure.
2. Fleischmans rapid rise yeast – I do love Red Star Platinum and don’t use F-mans yeast but I don’t think that was the culprit per se. However, maybe in doubling the recipe you needed to more than double the yeast amount? Or maybe not? The overwhelming yeast smell, and then the bread being dense…it’s not adding up. I am not sure where things did go wrong but I recommend baking the recipe AS WRITTEN at least once, then branching out from there. Thanks for trying it and good luck!!
Thanks Averie. I actually did try it again yesterday afternoon and it turned out great. I did only a single recipe as written, except cut the rising time down to an hour the first time, and 30 minutes the second time. I think this worked well, the weird smell and density the first time through I thought maybe were from over proofing. Who really knows. Either way, this time I loved it! My husband is so picky about bread, and only likes the super soft aunt Millie’s potato bread, but when he felt how soft this bread was he was very impressed. I’ll have to use this for his next sandwich :). Thanks for the tips, and he recipe.
the weird smell and density the first time through I thought maybe were from over proofing. Who really knows. = I thought about that for quite a while yesterday, pondering all of that, too..wondering where exactly things went wrong. I think the changes you made were great b/c obviously it worked way better and your husband sounds like a VERY picky bread guy and if he likes it, that’s a major success then!
Hi Averie – Just looking at your bread through the computer screen makes me want to devour a whole loaf right now!!!
Ok, so I really want to try this recipe, but need your feedback, please! I do have a sourdough starter that I’d like to use in place of the commercial active yeast, do you have any suggestion for the substitution?
Thanks!!
I am not an expert on sourdough by any means so I really cannot comment. I have never had a good starter and that’s one kind of bread I’ve never played around with! I would say just use the starter and then as much flour, coconut milk, etc as it takes to get it to a knead-able and workable dough! Sounds like it could be sooooo good!
Hi,
I have tried your recipe, the dough was too wet for me that I can barely knead it cause it was so sticky to my hands and fingers. I tried twice and they were all too “moist” to be kneaded and were not really risen a lot.
What were problem I get into?
Dough is never the same twice based on climate, yeast, brand of flour, etc. In the summer when it’s humid dough tends to be more sticky and you probably just needed a bit more flour and it would have been just fine. Trust your gut and if it seems to wet to even knead, it just needs a bit more flour. Easy fix!
This bread looks SO amazing!! Could whole wheat flour be used instead of white? Would it be substituted in the same proportion?
Can’t wait to try this!
No you cannot just start subbing in whole wheat for white and expect the same results…if only it was that simple! Whole wheat has much less gluten, doesn’t rise as easily, needs more water, etc.
Make this recipe if you want whole wheat bread; best I’ve ever had. https://www.averiecooks.com/100-whole-wheat-no-knead-make-ahead-dinner-rolls-with-honey-butter/
Hi Averie,
I was wondering what type of loaf pan you use for this recipe. Do you suggest a dark pan, glass, or otherwise?
Also, any suggestions for trying this bread with active dry yeast instead of instant yeast?
Thank you for your help.
P.S. I adore your Honey Dinner Rolls Recipe! They are THE BEST EVER and I could eat them daily!
I use a metal 9×5 pan, nothing fancy, I got it at my grocery store for like 5 bucks but it works for me!
With active dry, you’re just going to have to let it rise a little longer and it needs to become activated/proofed first and in this case, it would be with the water. Proof first til foamy, standard protocol with bread-making and yeast proofing.
However, being that yeast is pretty cheap, you may want to just pick up some instant because the bread is one of my all time faves as written and I havent tested it with other yeast so I can’t say for sure exactly what to do/not do, whereas if you follow the recipe/ingredients just like I wrote, I know it’s a stellar loaf. Enjoy!! And glad you love the honey dinner rolls!!! They’re my all time fave dinner roll recipe, too :)
Thank you for your response! I can’t wait to try this one!
Keep me posted how it goes!
Tried it this week and I thought the taste was wonderful! The only thing I was disappointed about was the shape — mine didn’t get that lovely domed top like yours. I followed the directions very carefully (with all purpose flour). I had a nice sticky dough that rose beautifully but when baked, it didn’t rise any further. The finished bread had more of a dense texture than I had hoped for, whereas yours looks so light and fluffy. (Literally wish I could reach into my computer screen and grab a piece!) I would appreciate any suggestions you have. Thank you so much for your time. – Christina
It’s so hard to say with bread and part of it is just trial and error and getting to know your oven, your dough, your yeast/flour/moisture levels, etc. I use King Arthur, Red Star Yeast and truly believe those 2 ingredients exactly do matter. I would say practice makes perfect with bread and perhaps it needed to rise slightly longer if it was dense OR your maybe over floured it a bit and it was a little dense? Sounds like you’re on the right track and just keep practicing!
Thanks! I definitely will.
I’ve made a lot of bread and this was the worst bread I have ever made. I have no idea why. The flavor was horrible and I threw it away. Seriously, I have never done that. I don’t think it was any of my ingredients either. I may have left it to rise too long the second time, but not sure that would change the flavor. I’m going to make another loaf today of a trusted recipe and see how that turns out. Just bummed for all my effort going into the trash can.
I’m sorry that you didn’t like it. The fact that the flavor ‘was horrible’ makes me suspect that maybe you did let it rise too long, I don’t know. I have had many glowing comments that you can read about people this bread and I truly do love it too, and I wish I could help you troubleshoot where things went wrong because I suspect something did. Thanks for trying the recipe.
Hey, Sally! One more wonderfull recipe!
Can I change light brown sugar for brown sugar? Here in Rio is so difficult to find the light version…
I’m Averie not Sally :) but yes you can make that swap!