Thick and Soft Chocolate Peanut Butter Cookies – For those who love pairing chocolate and peanut butter, these cookies are for you. It’s a small-batch recipe, and makes just a baker’s dozen, perfect for quick cravings when you don’t need a huge batch of cookies.
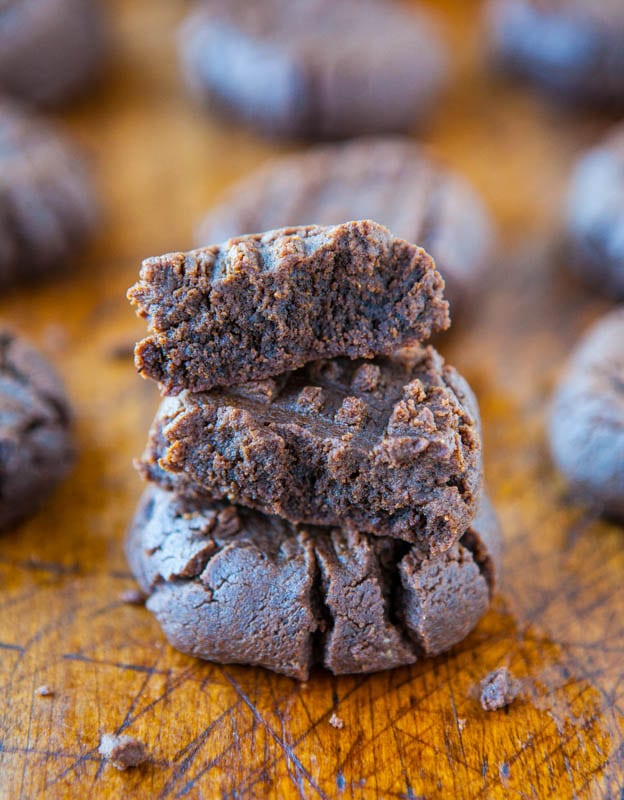
I made these cookies for National Peanut Butter Lover’s Day, coming up on March 1.
But these aren’t just any peanut butter cookies. There’s: No butter, No white sugar, and No flour used.
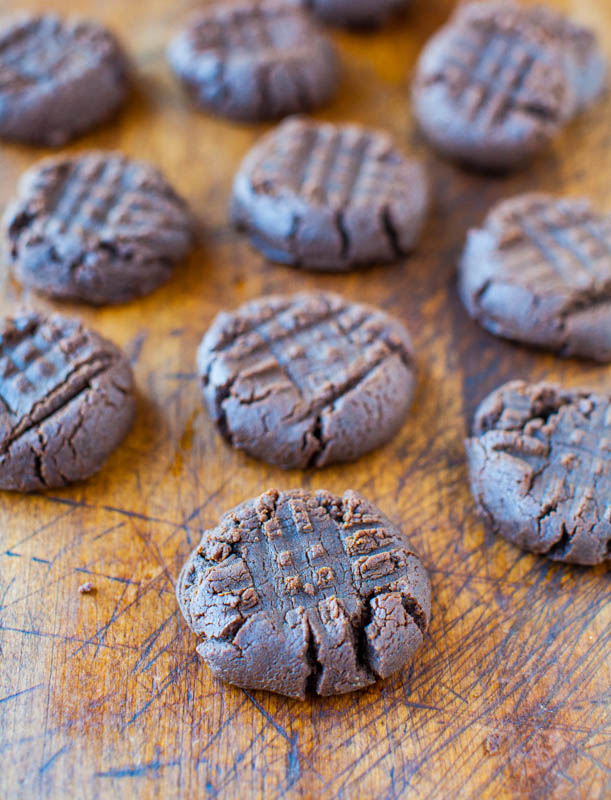
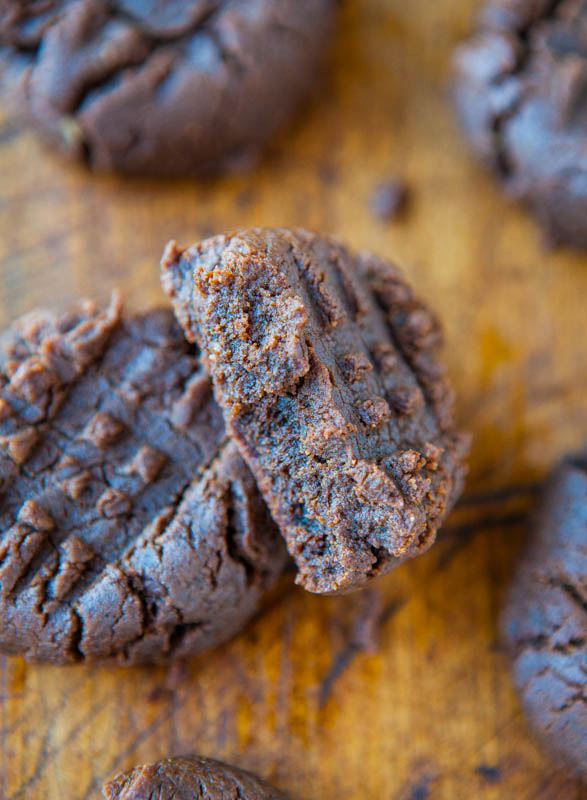
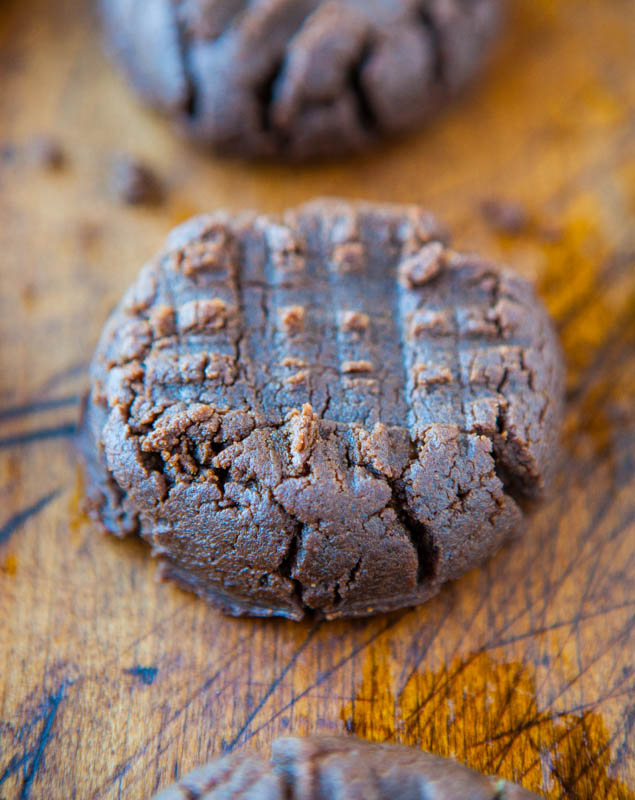
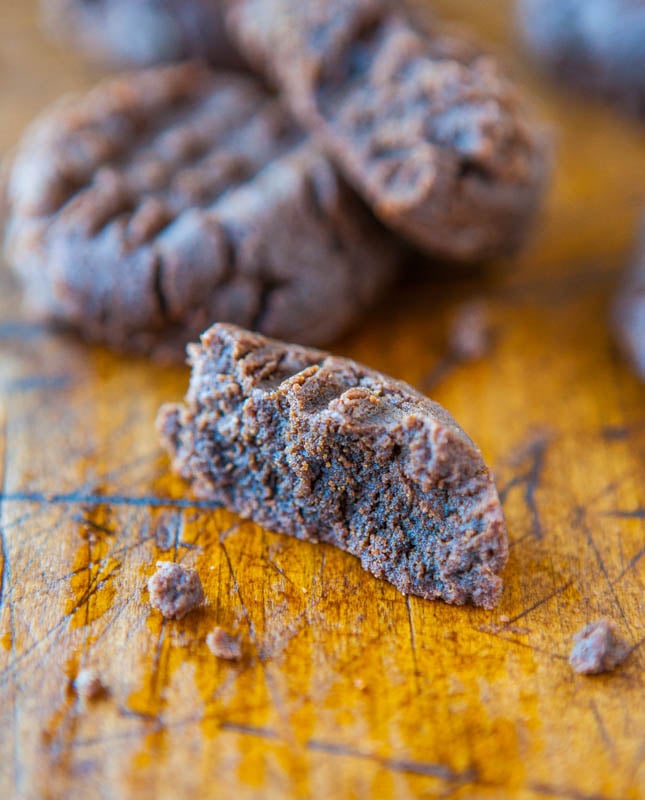
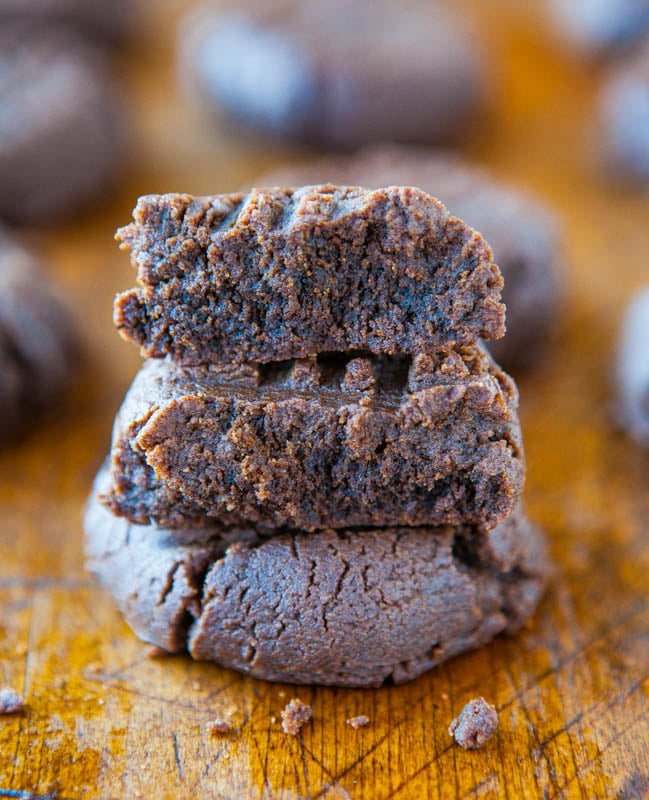
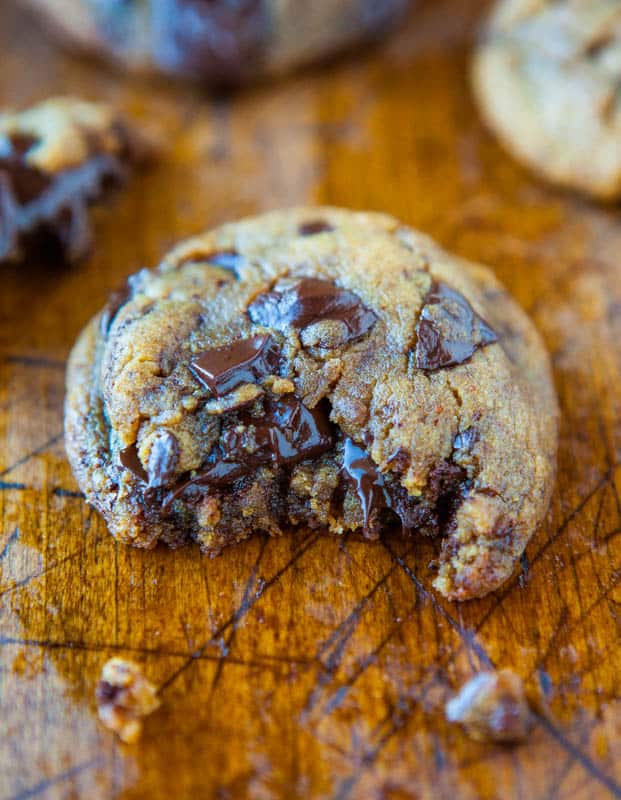
The cookies are brownie-like in thickness and density, super fudgy, and not at all cakey. They’re slightly chewy around the edges with soft, tender, rich interiors that I just want to sink my teeth into. And the crackled edges are prime for picking off.
I was trying to decide whether they’re more chocolate-peanut butter cookies or peanut butter-chocolate cookies, and in the end chocolate-peanut butter wins. The chocolate intensity is bold and unadulterated, but the peanut butter is definitely present. Because there’s no butter or flour used, the peanut butter shines and gives the chocolate a run for its money. When I was making the dough and before I even turned on the oven, my husband shouted out, It smells like peanut butter in here! There’s enough peanut butter in the dough to send the sweet fumes wafting through the house.
Recently I revamped an older recipe, turning Flourless Chocolate Peanut Butter Chocolate Chip Cookies into Peanut Butter Chocolate Chunk Cookies, with some small but noteworthy tweaks. Here, I’ve revamped the 2010 Flourless Chocolate Peanut Butter Chocolate Chip Cookies. In both revamps, I removed all white sugar and replaced it with brown sugar for a moister, softer, and richer cookie. And also made sure both revamps turned out nice and thick.
The recipe makes a baker’s dozen, 13 cookies, perfect for times you have a chocolate and peanut butter craving, but don’t need too many cookies lingering around the house.
Make them by combining peanut butter, brown sugar, one egg, one tablespoon of vanilla, and mix until well-combined, about 5 minutes. The brown sugar is gritty and granular for the first few minutes of beating, so make sure to cream the ingredients until the sugar has smoothed out, stopping to scrape down the sides of the bowl as necessary. There’s very little harm in over-mixing here and even with a powerful mixer, it takes time for the ingredients to come together smoothly.
I used light brown sugar but they’d be scrumptious with dark brown sugar. I like using Peter Pan Honey Roasted Peanut Butter for these cookies, but regular Jif or Skippy is fine. Don’t use natural or Homemade Peanut Butter. As lovely as they are for eating with a spoon or spreading on toast, they lack the structure that storebought peanut butter has and I don’t recommend them for baking. Good old-fashioned Jif, Skippy, or Peter Pan are my recommendations.
Chocolate peanut butter like Dark Chocolate Dreams (code AVE630 will save you $10 on your first order) could be used, but because not everyone has access to it, and I kept things more universal with old-school peanut butter. Creamy peanut butter is the only way for me, but if you like little marbles in your cookies, go with crunchy.
Add the baking soda, cocoa powder, and mix to incorporate them. I use Trader Joe’s unsweetened natural cocoa but a Dutch-process cocoa or Hershey’s Special Dark would be nice. I have the hardest time finding it, but if you use it or a similar very dark cocoa, you may want to use slightly less than the half-cup indicated so the cookies don’t turn bitter. For cookies, I don’t bother sifting cocoa powder, but sift if you wish.
The dough should come together into a big mass. If there are crumbly pieces, that’s fine as long as when you go to press them into the rest of the larger mass, they stick together. If for some reason your dough is too dry, sandy, and not combining, add a little more peanut butter, one tablespoon at a time, blending to incorporate. I’ve found with this dough that even one tablespoon can make the difference. Because climates and brands of peanut butter and cocoa vary, it’s possible you may need to add a touch more peanut butter.
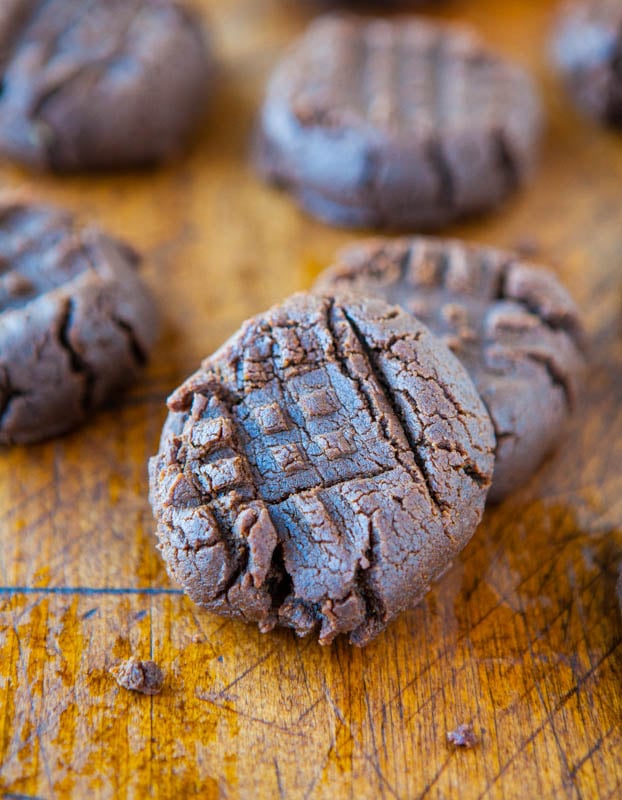
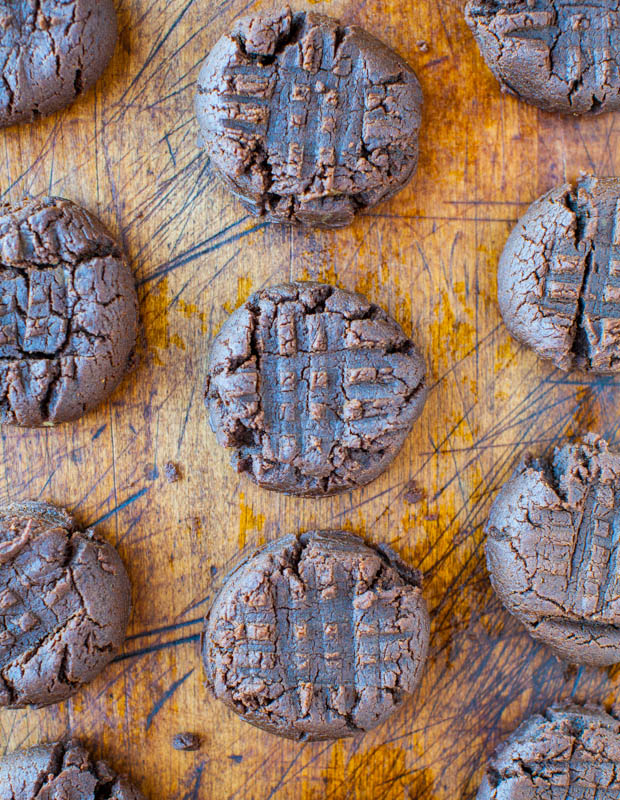
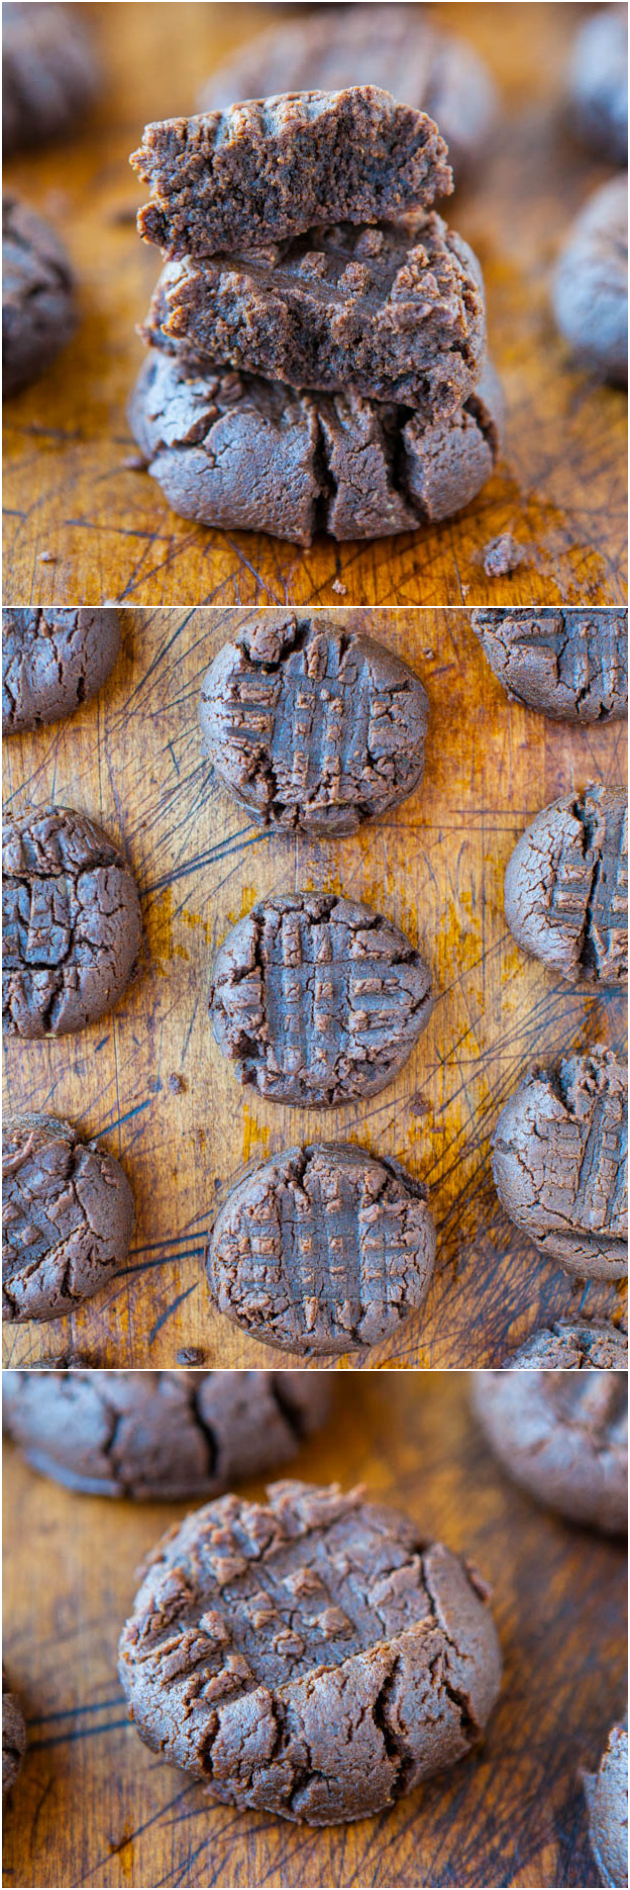
With a medium cookie scoop, form two-inch diameter mounds. My scooped mounds weighed 1.80 ounces each and the recipe makes just 13 cookies. If you don’t have a scoop, roll them into balls. Make a criss-cross pattern on top of the mounds with a fork. This not only gives them that old-fashioned, classic peanut butter cookie look, but it serves to flatten them just enough so when baking they don’t stay too domed. With properly chilled dough, they don’t spread or flatten much, so smooshing them just a touch is recommend, but not too much or you won’t wind up with thick-as-brownies cookies
Place the dough mounds on a large plate, cover with plasticwrap, and refrigerate for at least two hours, or up to five days, before baking. If you don’t chill the dough and bake with warm, limp dough, your chances for thick, puffy, fat cookies go out the window.
Bake at 350F oven for 8 to 10 minutes, but I really recommend the lower end of the range. The cookies in the photos were baked for eight minutes, with the trays rotated once at the four-minute mark. It’s hard to really determine if the cookies are done then because the dough is dark and they’ll look underdone at eight minutes, but firm up as they cool.
Cocoa powder has a way of inherently drying things out and not over-baking is key to having them set up soft and chewy, and stay moist and fresh as the days pass. If you prefer slightly more well-done cookies, go for nine minutes, maybe ten, but don’t bake them longer than 10 minutes or they’ll set up too firm and crunchy and turn dry and crumbly.
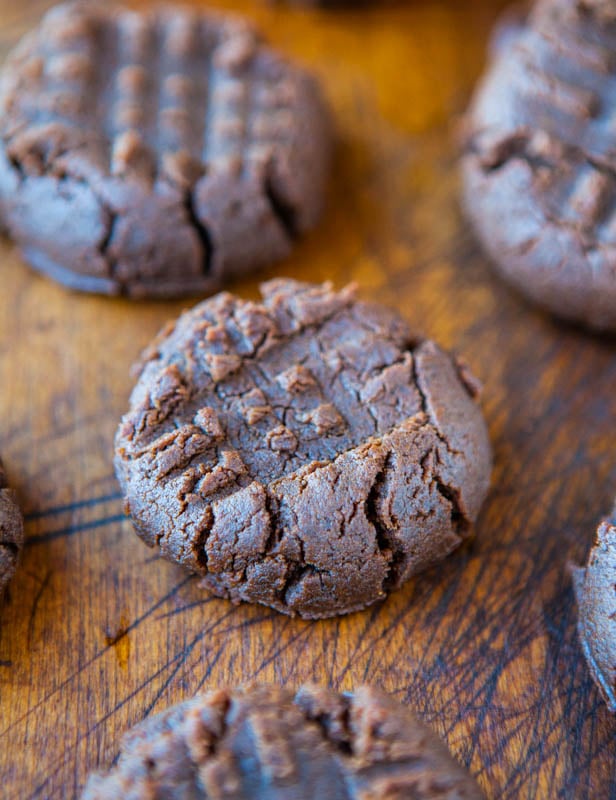
They’re thick, dense, moist, and soft in the middle. I love the fork impressions on the surface and how the edges became crackled. Picking off crackled cookie edges is the cookie equivalent to picking off muffin tops, both of which I’m very good at. I relish breaking them apart at the splits and seams. Big morsels of fudgy cookie just chunk right off and easily find their way into my mouth.
They have a bit of fine-grain grittiness, a result of the cocoa powder and peanut butter combining. It gives the cookies an old-fashioned and distinctly homemade taste like something from an old-fashioned diner where a little old lady is still making the desserts from scratch. The exclusive use of brown sugar serves to keep them softer and moister than using granulated and they keep well for up to a week.
There’s no flour to cloud the chocolate flavor, which packs a punch. The cookies aren’t too sweet and are more adult-themed than your typical peanut butter-based cookie. Although my six year old never says no to chocolate, they go just as well with a few shots of espresso as they would with a glass of milk. The honey roasted peanut butter makes for a slightly sweeter cookie than using plain peanut butter, but either way keeping butter out of the recipe allows the boldness and purity of chocolate and peanut butter to shine through.
National Peanut Butter Lover’s Day is a nostalgic holiday for me. Ironically, this week last year I had just inked my contract to write my cookbook, Peanut Butter Comfort. I almost shared the news for the holiday, but decided to wait. For another 51 weeks. Until I just announced it last week, My Cookbook: Peanut Butter Comfort. And then for National Peanut Day in September, I almost announced the book again, but instead I simply shared 35 National Peanut Day Recipes.
But now, a peanut butter holiday to be celebrated with a peanut butter cookbook under my belt, and with chocolate and peanut butter in full force.
Chocolate and peanut butter is probably the best flavor pairing on earth. Sure, twist my arm.
Pin This Recipe
Enjoy AverieCooks.com Without Ads! 🆕
Go Ad Free

Thick and Soft Chocolate Peanut Butter Cookies
Ingredients
- 1 cup + 2 tablespoons creamy peanut butter (i.e. one heaping cup - I prefer creamy honey roasted
- 1 cup light brown sugar, packed (dark brown may be substituted)
- 1 large egg
- 1 tablespoon vanilla extract
- ½ cup unsweetened natural cocoa powder, Dutch-process or Hershey's Special Dark may be substituted
- 1 teaspoon baking soda
Instructions
- To the mixing bowl of a stand mixer fitted with the paddle attachment, combine peanut butter, brown sugar, egg, vanilla, and beat on medium-high speed until well-combined and the sugar is fully incorporated and is mixture is no longer gritty or granular, about 5 minutes. Stop to scrape down the bowl as necessary. (Note regarding peanut butter - although natural peanut butter or homemade peanut butter may work, I recommend using storebought peanut butter like Jif, Skippy, Peter Pan or similar so that cookies bake up thicker and spread less. Using natural or homemade peanut butter tends to result in thinner, flatter cookies, that are prone to spreading.)
- Add the cocoa powder (I don't bother to sift), baking soda, and beat to incorporate, 1 to 2 minutes. Dough may be a bit crumbly in pieces, but pieces should all stick together forming a large mound when pinched, squeezed, and pushed together. If your dough seems dry, adding 1 to 2 additional tablespoons of peanut butter will help it combine.
- Using a 2-inch medium cookie scoop (about 2 heaping tablespoons of dough or 1.80 ounces by weight), form dough mounds or roll dough into balls. Recipe makes 13 cookies; dividing dough into 13 equal portions is another way to do this. Place dough on a large plate and flatten each mound with a fork, making a criss-cross pattern on top. Slightly flattening the mounds before baking ensures they don't stay too domed and puffed while baking because this dough, when properly chilled, doesn't spread much; just don't over-flatten. Cover plate with plastic wrap and refrigerate for at least 2 hours, or up to 5 days, before baking. Do not bake with warm dough.
- Preheat oven to 350F, line 2 baking sheets with Silpat Non-Stick Baking Mats
- parchment, or spray with cooking spray; set aside. Space dough 2 inches apart (8 to 10 per tray) and bake for 8 to 10 minutes, until edges are set and tops are barely set, even if slightly underbaked in the center. It's tricky to discern if they're done or not because they're so dark, but watch them very closely after 7 minutes. I recommend the lower end of the baking range. Cookies firm up as they cool, and baking too long will result in cookies that set up too crisp and hard (The cookies shown in the photos were baked for 8 minutes, with trays rotated at the 4-minute mark, and have chewy edges with pillowy, soft centers).
- Allow cookies to cool on the baking sheet for 5 to 10 minutes before removing and transferring to a rack to finish cooling. Store cookies in an airtight container at room temperature for up to 1 week, or in the freezer for up to 3 months. Alternatively, unbaked cookie dough can be stored in an airtight container in the refrigerator for up to 5 days, so consider baking only as many cookies as desired and save the remaining dough to be baked in the future when desired.
Nutrition
Nutrition information is automatically calculated, so should only be used as an approximation.
©averiecooks.com. Content and photographs are copyright protected. Sharing of this recipe is both encouraged and appreciated. Copying and/or pasting full recipes to any social media is strictly prohibited.
Related Recipes:
Flourless Chocolate Peanut Butter Chocolate Chip Cookies (gluten free) – These cookies inspired today’s cookies and I’ll never tire of chocolate and peanut butter. These cookies use chocolate two ways, cocoa powder and chocolate chips, along with a hefty does of peanut butter
Quintuple Chocolate Fudgy Brownie Cookies – For the ultimate chocolate lover and chocolate is used five times: Cocoa powder, melted bittersweet baking chocolate, semi-sweet chocolate chips, diced chocolate and caramel-filled truffles, and chocolate-filled Oreos. There’s no peanut butter in them, but hands down, my favorite chocolate cookie recipe of all time
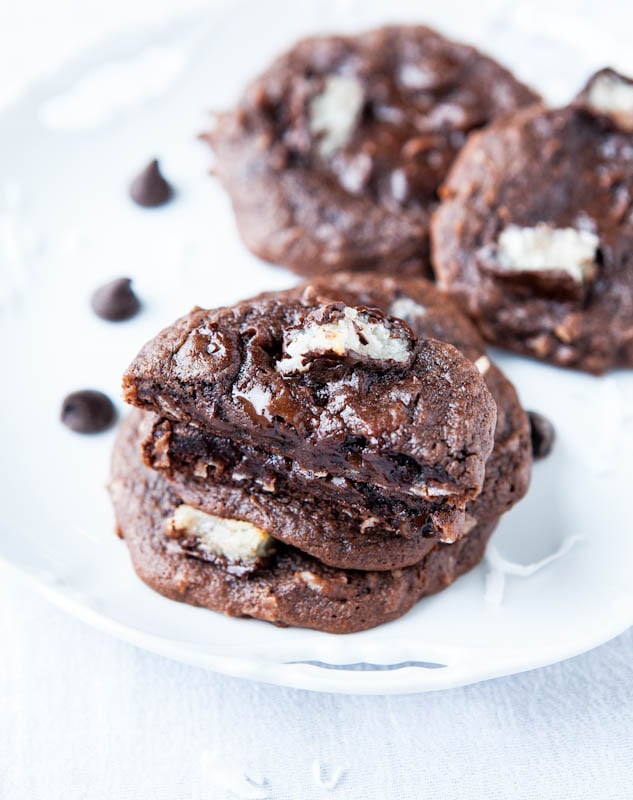
Mounds Bar Chocolate Coconut Cake Mix Cookies – Chocolate and coconut is a winning combination and I baked both chocolate chips and Mounds Bar candy bars into these easy, goofproof chocolate cake mix cookies that turn out soft and moist every time
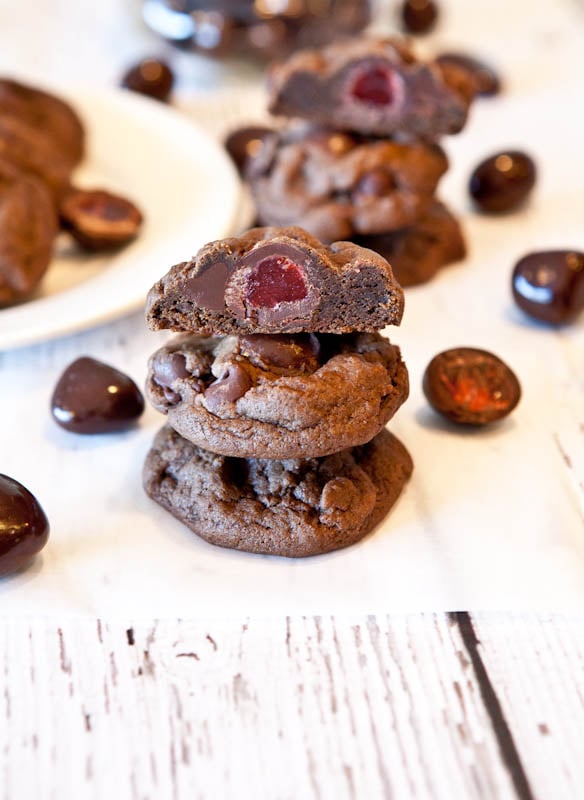
Dark Chocolate Chocolate-Chip Cookies Stuffed with Chocolate Covered Strawberries – Any dried fruit may be used but there’s something about the combination of chocolate and chocolate-covered strawberries that is especially good
Chocolate Peanut Butter Fudge – Fast, easy, no-cook, foolproof fudge that’s as peanut buttery as it is chocolaty
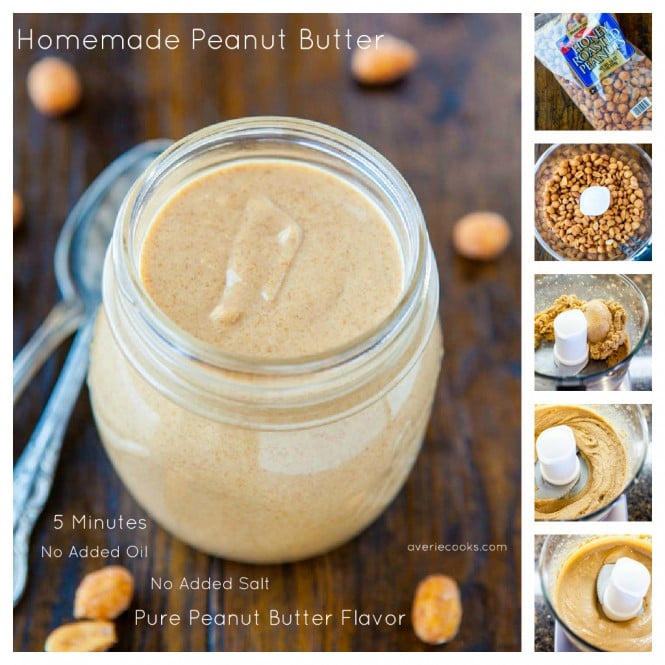
Homemade Peanut Butter (vegan if plain peanuts are used, GF) – Ready in 5 minutes and you have not lived until you’ve made your own. Just eat it, but don’t bake with it
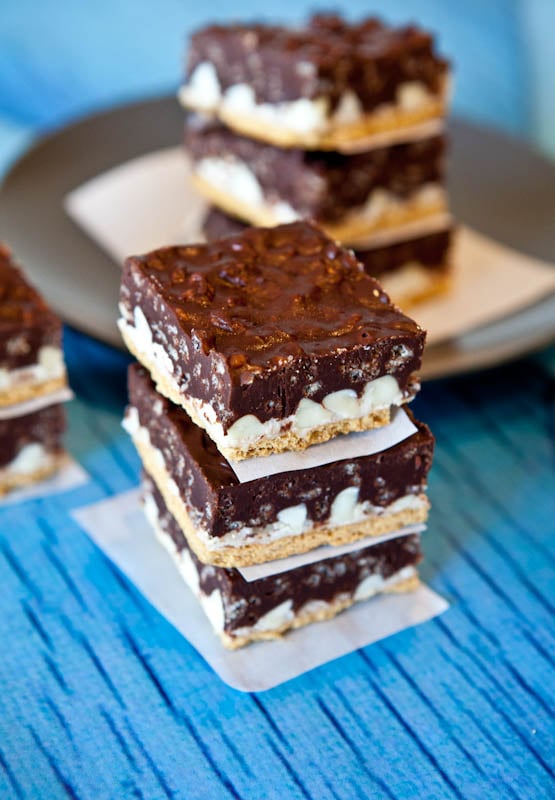
Peanut Butter Cocoa Krispies Smores Bars – No need for campfires, make s’mores at home. These smores have three layers, including a cocoa-crispy cereal top layer that’s made with peanut butter
Peanut Butter Chocolate Chunk Cookies – The BEST PB Cookies I’ve ever had. There’s NO Flour, NO Butter, and NO White sugar used! Soft, chewy & oozing with dark chocolate. Crazy good!
40+ Coconut and Coconut Oil Recipes
35 National Peanut Day Recipes
Peanut Butter and Jelly Recipes
I wrote a Peanut Butter Cookbook
What’s your favorite way to eat peanut butter and chocolate?
Recipes links welcome.
Thanks for the Momofuku Milk Bar Cookies Giveaway and $100 Swanson Vitamins Shopping Spree and Coconut Oil Giveaway entries!

i bake with homemade and store bought fresh ground PB all the time and have absoultely no problem with it….I don’t understand why you keep saying don’t use it??
Because not everyone’s homemade PB is the same consistency and some people do have problems when they use it. I write my recipes to have as much guaranteed potential for success as I possibly can and eliminate all potential variables that can go wrong or just be extremely variable; i.e. homemade PB. Whereas storebought isn’t a variable; it’s always the same.
Are twelve photos if the same thing really necessary? I took an informal poll of women who frequent food blogs and every one of the sixty + women who replied said the same thing…any more than three photos before the recipe and we drive right by. It’s unbelievably annoying.
Happy Easter Sunday to you, too! Is this how you speak to a perfect stranger, on Easter Sunday, no less?! Wow!
As a blogger, it’s my choice to decide how many photos to use and it’s your choice as a reader to either visit my site or not to access recipes that are FREE to you. If you don’t like my style, then drive right by. No need to leave comments during said drive by if they’re comments like these. All the best to you and I hope you find some peace and something more fulfilling in your life than being so hostile to others.
OMG so tempting! I love the pictures, these cookies look so delicious! And I can see all the positive comments here so I need to give it a try as well :) Thank you
i could kiss you!!! I just made these and they are amazing!! I’ve recently gone gluten free but continue to struggle because of my relentless sweet tooth. These little beauties will do the trick. THANK YOU!!!
Thanks for trying the recipe and I’m glad it came out great for you! AND that they will satisfy your sweet tooth while staying GF!
Hi there!
Just wondering, could you freeze them unbake? If so, for how long? I know you said before that you can freeze them for up to 3 months, but that was for baked cookies though. Thank-you!
Raw dough can be frozen for 3-6 months. That’s my comfort zone anyway.
My husband and I made these together for an office cookie competition and these won first prize! Make these cookies!
Thanks for trying the recipe and I’m glad it came out so great that you won 1st place in your cookie competition!
these didn’t work out for me at all. i mixed for 5 minutes in the first step, and chilled the dough in cookie form for 3 hours before baking. after 10 minutes of cooking they are still the same consistency basically as the dough was. i agree with the reviewer who said it was like wet sand. that’s exactly what the consistency was like. so so so strange. they fall apart before i can get them to my mouth. and yes, i added an extra 2 Tbsp of peanut butter to the dough when it was too crumbly to start with. my son still ate one and liked it but my husband and i can’t eat them.
Thanks for trying the recipe and I’m sorry that things didn’t go well for you! I don’t know what to say because it sounds like you did everything right and tried to salvage things but that it just didn’t work for you. I’ve never had them fail on me and I’m sorry they weren’t a success for you…wish I could offer some words of wisdom or suggestions!
These exceeded my expectations! I made them last weekend and they were absolutely delicious! They’re also very addictive. I couldn’t stop eating them! I cannot say enough positive things about them. Highly recommended!
Thanks for trying the recipe and I’m glad it exceeded expectations! That’s awesome and thanks for all the praise and high remarks!
Hi
I live in student halls and our oven is miserable. It is impossible to choose a temperature since no temperature is written around the knob (the numbers haven’t rubbed off, they were never there). Therefore I was wondering if there was a way to tell if these were ready without knowing the temperature. Since those cookies are dark you can’t tell if the have become golden and if they become hard, that means they have baked too much, so how can you tell if it’s ready if the texture is still dough-ey? I long so much to make those cookies (I made your pb & chocolate microwave fudge and it was amazing!)
Thank you (and thank you so much for your recipes!)
Please read over the Baking and Recipe FAQs https://https://www.averiecooks.com/faq/ for answers to the most common questions.
What is the nutrition information/calories?? (BTW I LOVE these cookies:)
https://https://www.averiecooks.com/faq/ #4 will answer your question
Since we buy/use Adam’s, I’ll have to do some experimenting. I’ll also need to cut the brown sugar somewhat for our tastes. I like the fact that this recipe automatically omits white, something I’ve been doing with my cookie recipes for years. Thanks for sharing.
after beating in all the cocoa powder and baking soda, the batter was very oily. i didn’t add much peanut butter and the other ingredients were added as stated. so why is my batter so oily? or is it suppose to be like that? will this affect the texture of the cookies?
It’s an oily batter because there is no flour to absorb the natural oils in PB; there’s also no butter so you need that oil. Chill the dough as stated and bake as directed and I think you will be just fine!
so I just baked these…I’m pretty sure my diet is now completely gone forever. Sooooooooo good. Thanks for the recipe.
Glad they’re worth a little diet-cheating :)
Is it possible to use natural PB and add a little flour to firm them up? I know the point is that they’re flourless but I can’t bear to use regular PB!
I’m sure that will be an okay combination, although I haven’t personally tested it.