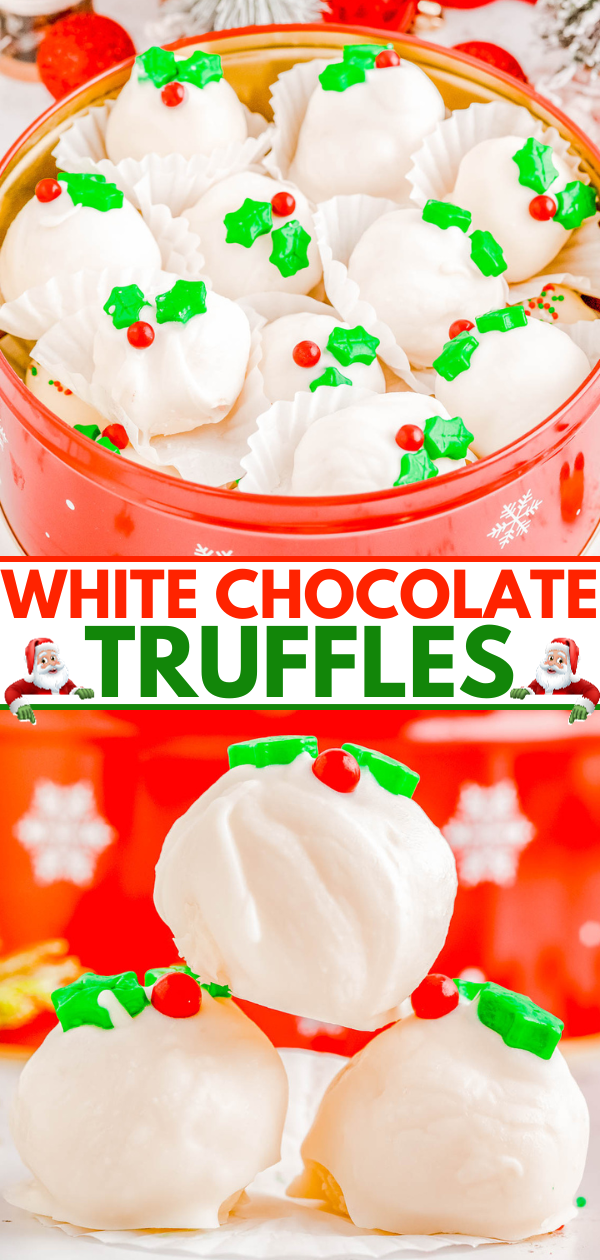
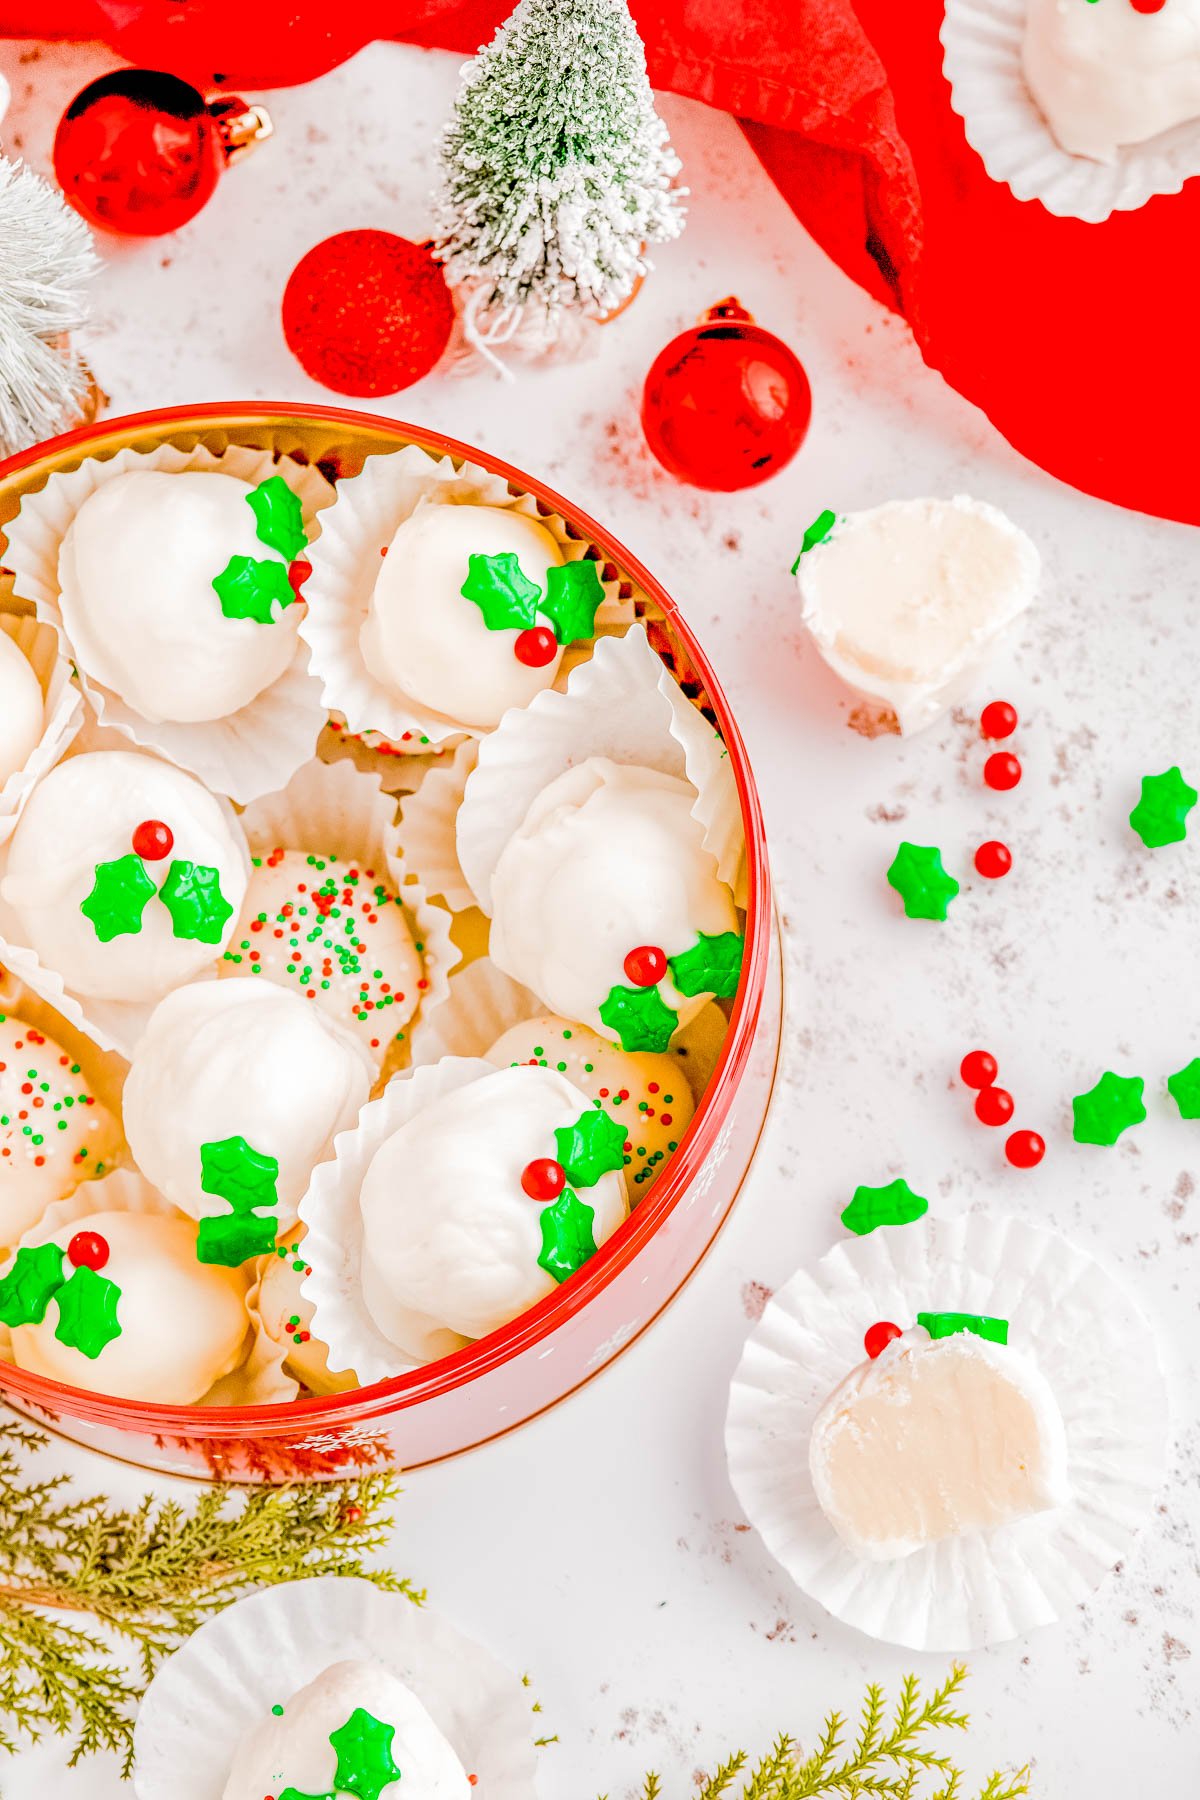
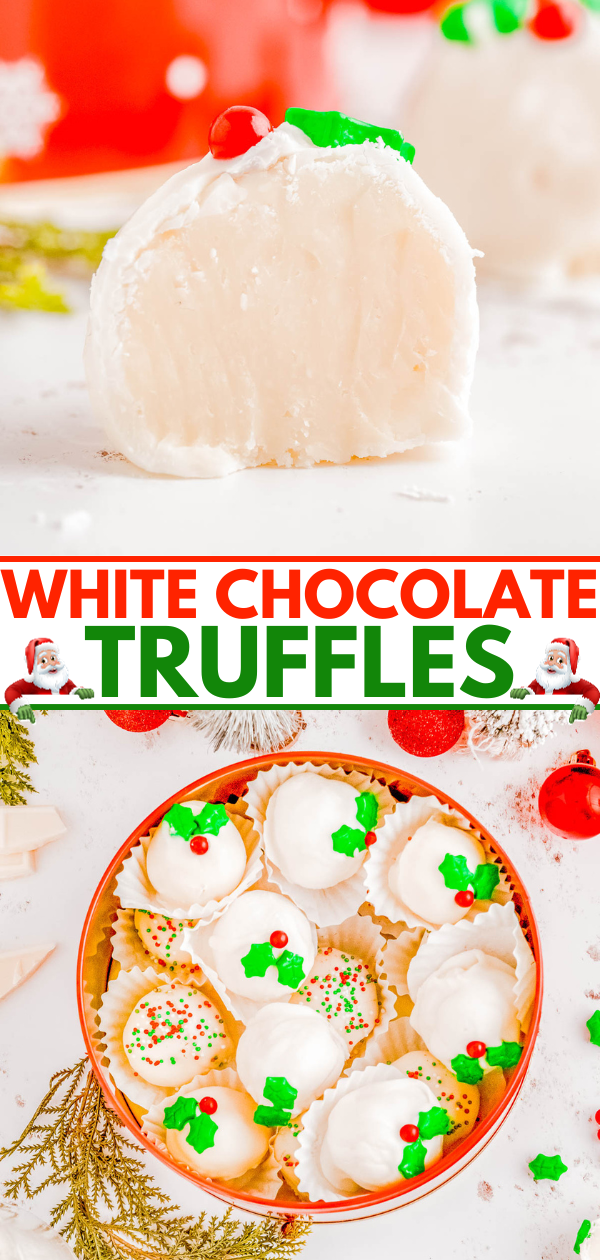
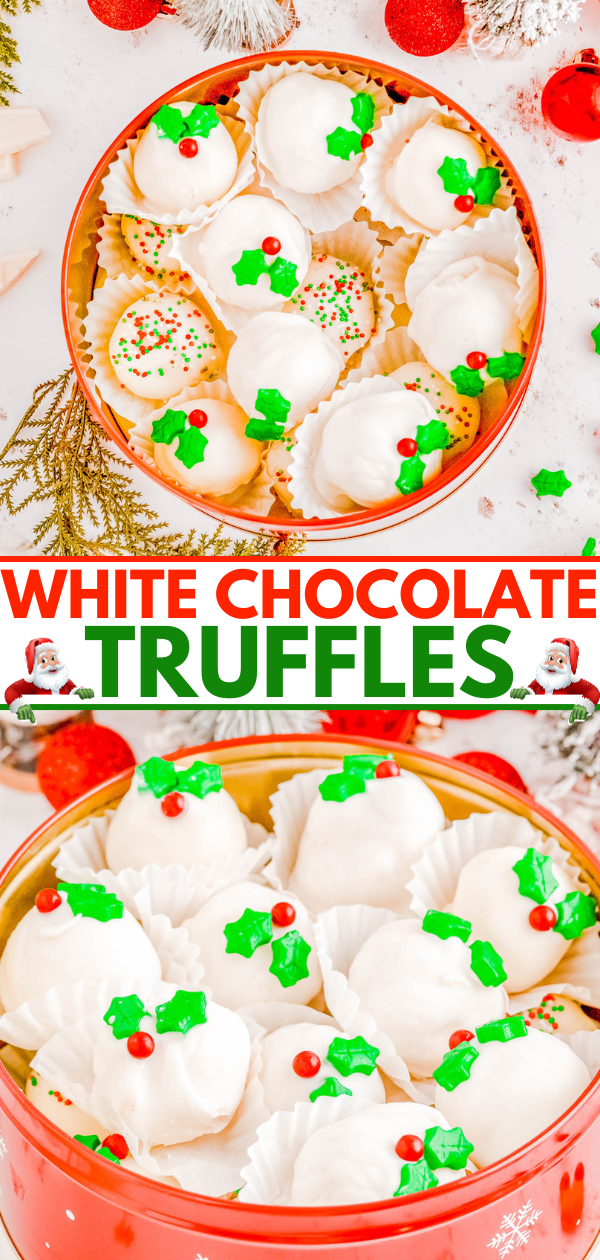
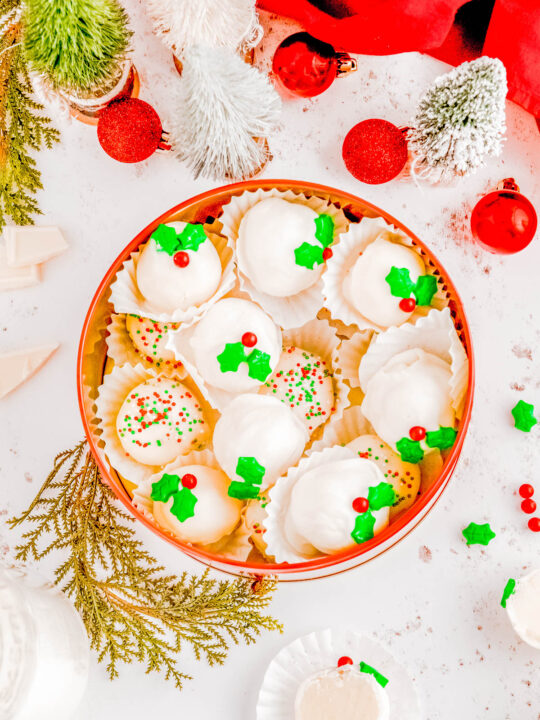
White Chocolate Truffles — Made with real butter, heavy cream, and a double dose of white chocolate in both the filling and the coating, these EASY truffles are CREAMY, decadent, and perfect for the holidays! Make this festive no-bake candy recipe for your next Christmas party, holiday entertaining, gift them to a special friend, or bring them along as a hostess gift. Everyone will appreciate these decadent little treats!
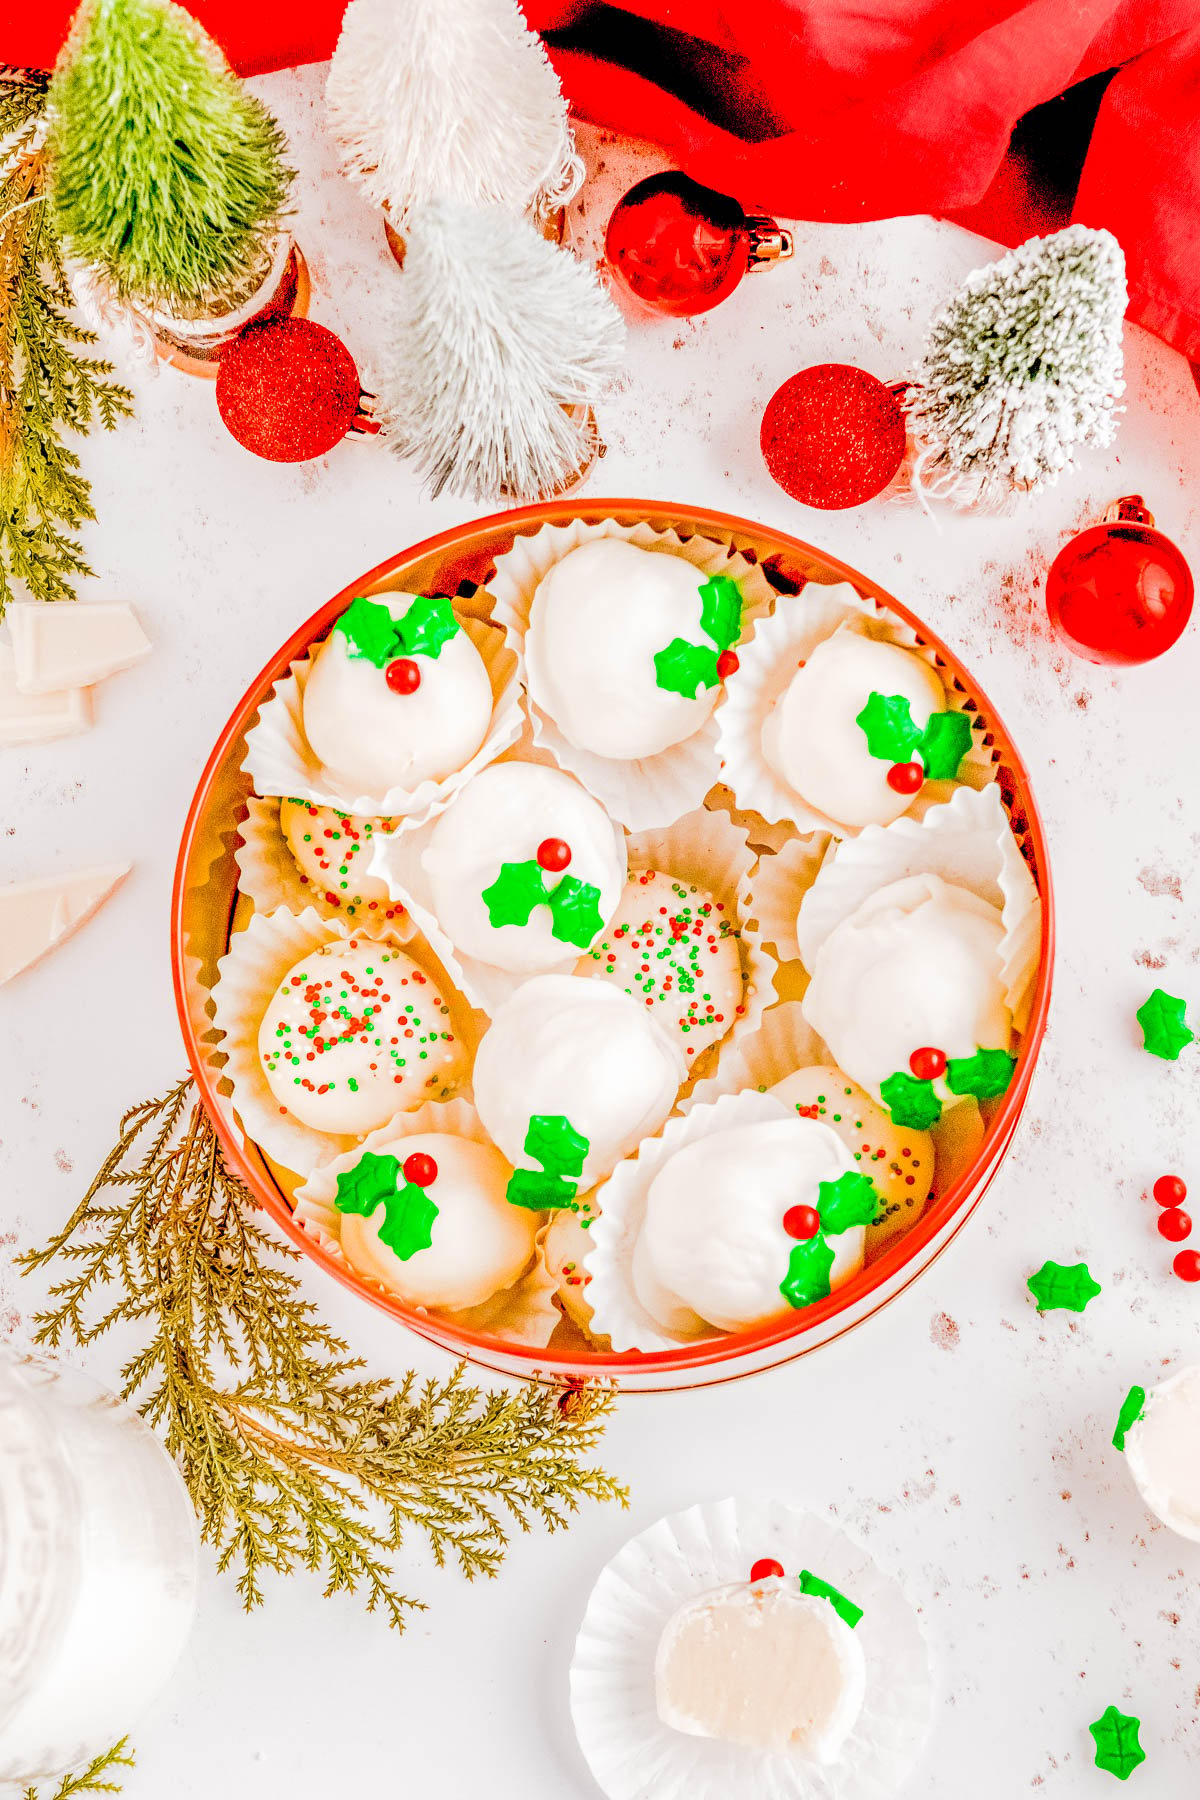
Table of Contents
- Easy White Chocolate Truffles Recipe
- Ingredients in White Chocolate Truffles
- How to Make White Chocolate Truffles
- Tips for the Best White Chocolate Truffles
- Flavor Variations for Truffles
- Recipe FAQs
- Storing Dipped White Chocolate Truffles
- White Chocolate Truffles Recipe
- More Easy Christmas Truffles & Balls:
Easy White Chocolate Truffles Recipe
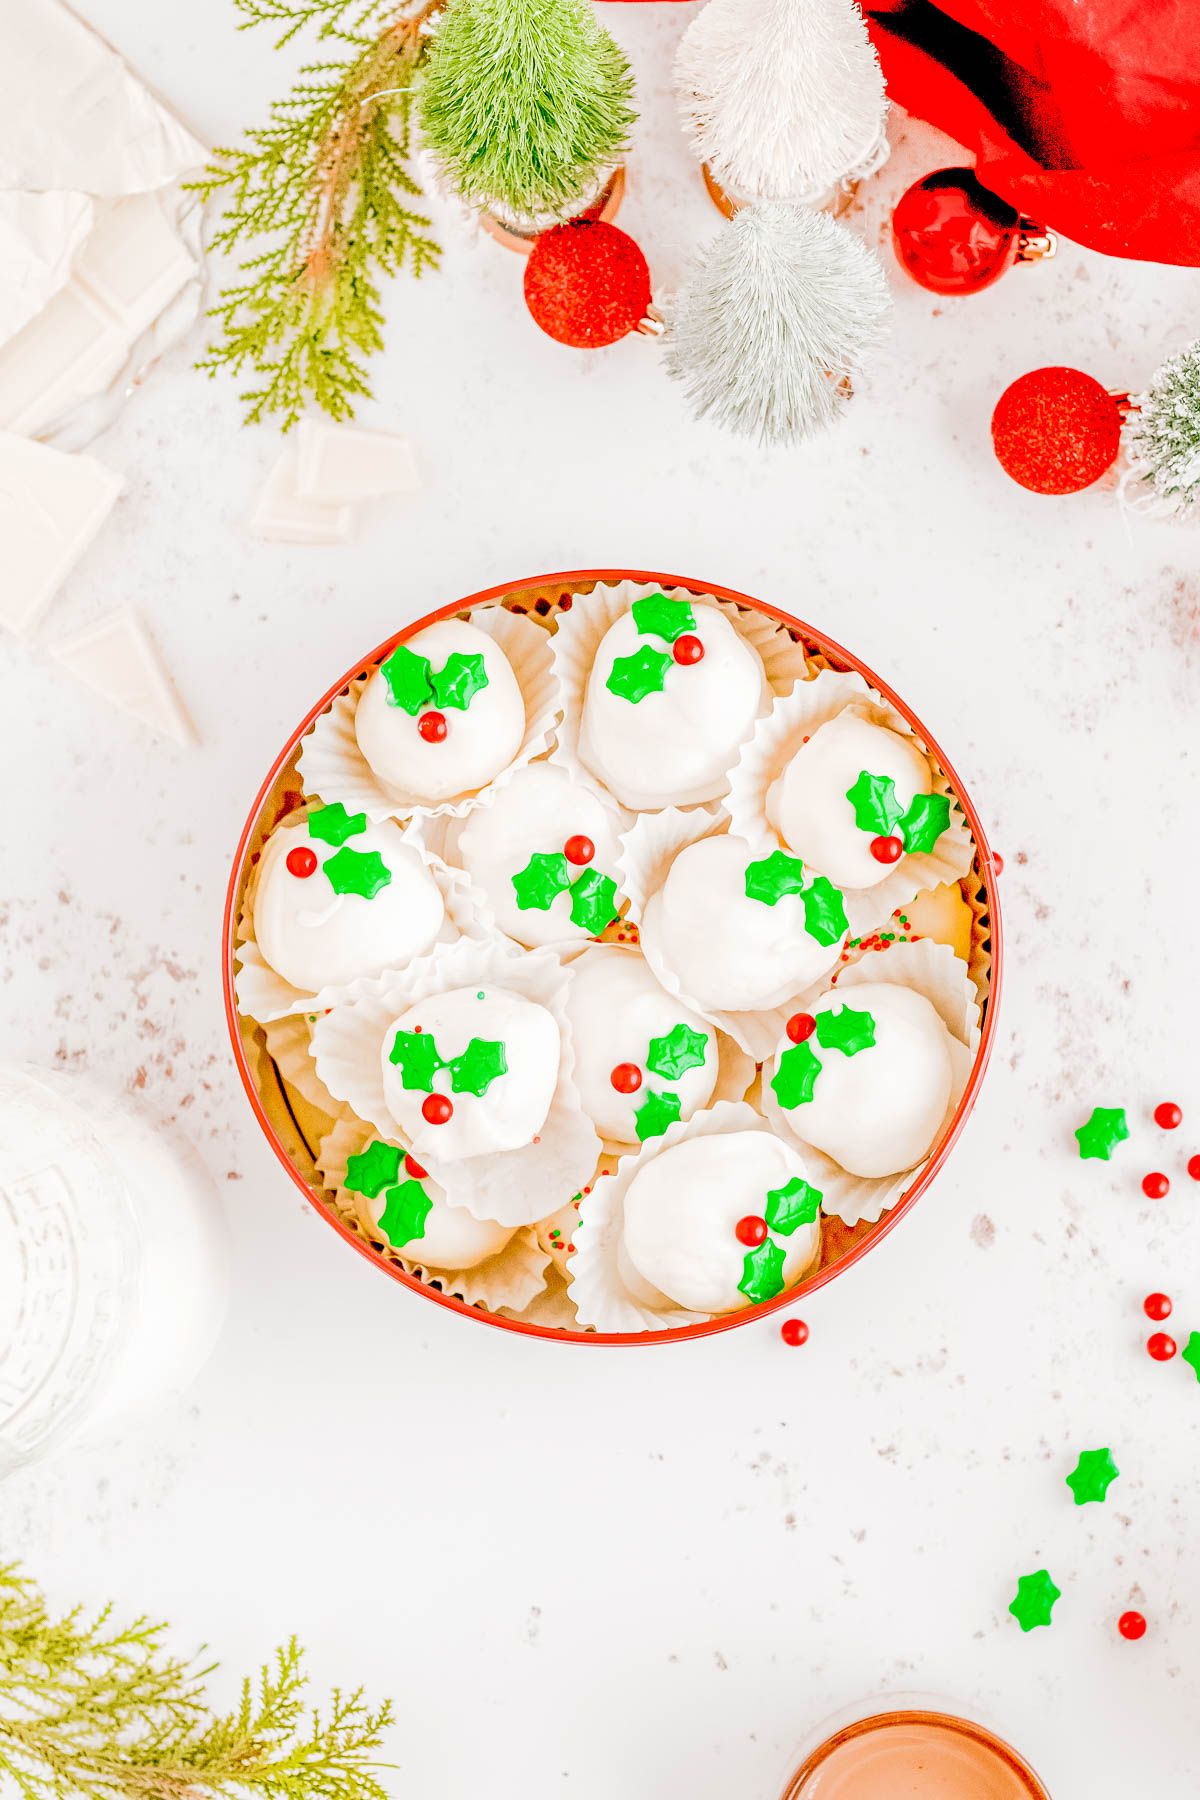
White chocolate truffles are a favorite holiday candy and it’s easy to see why!
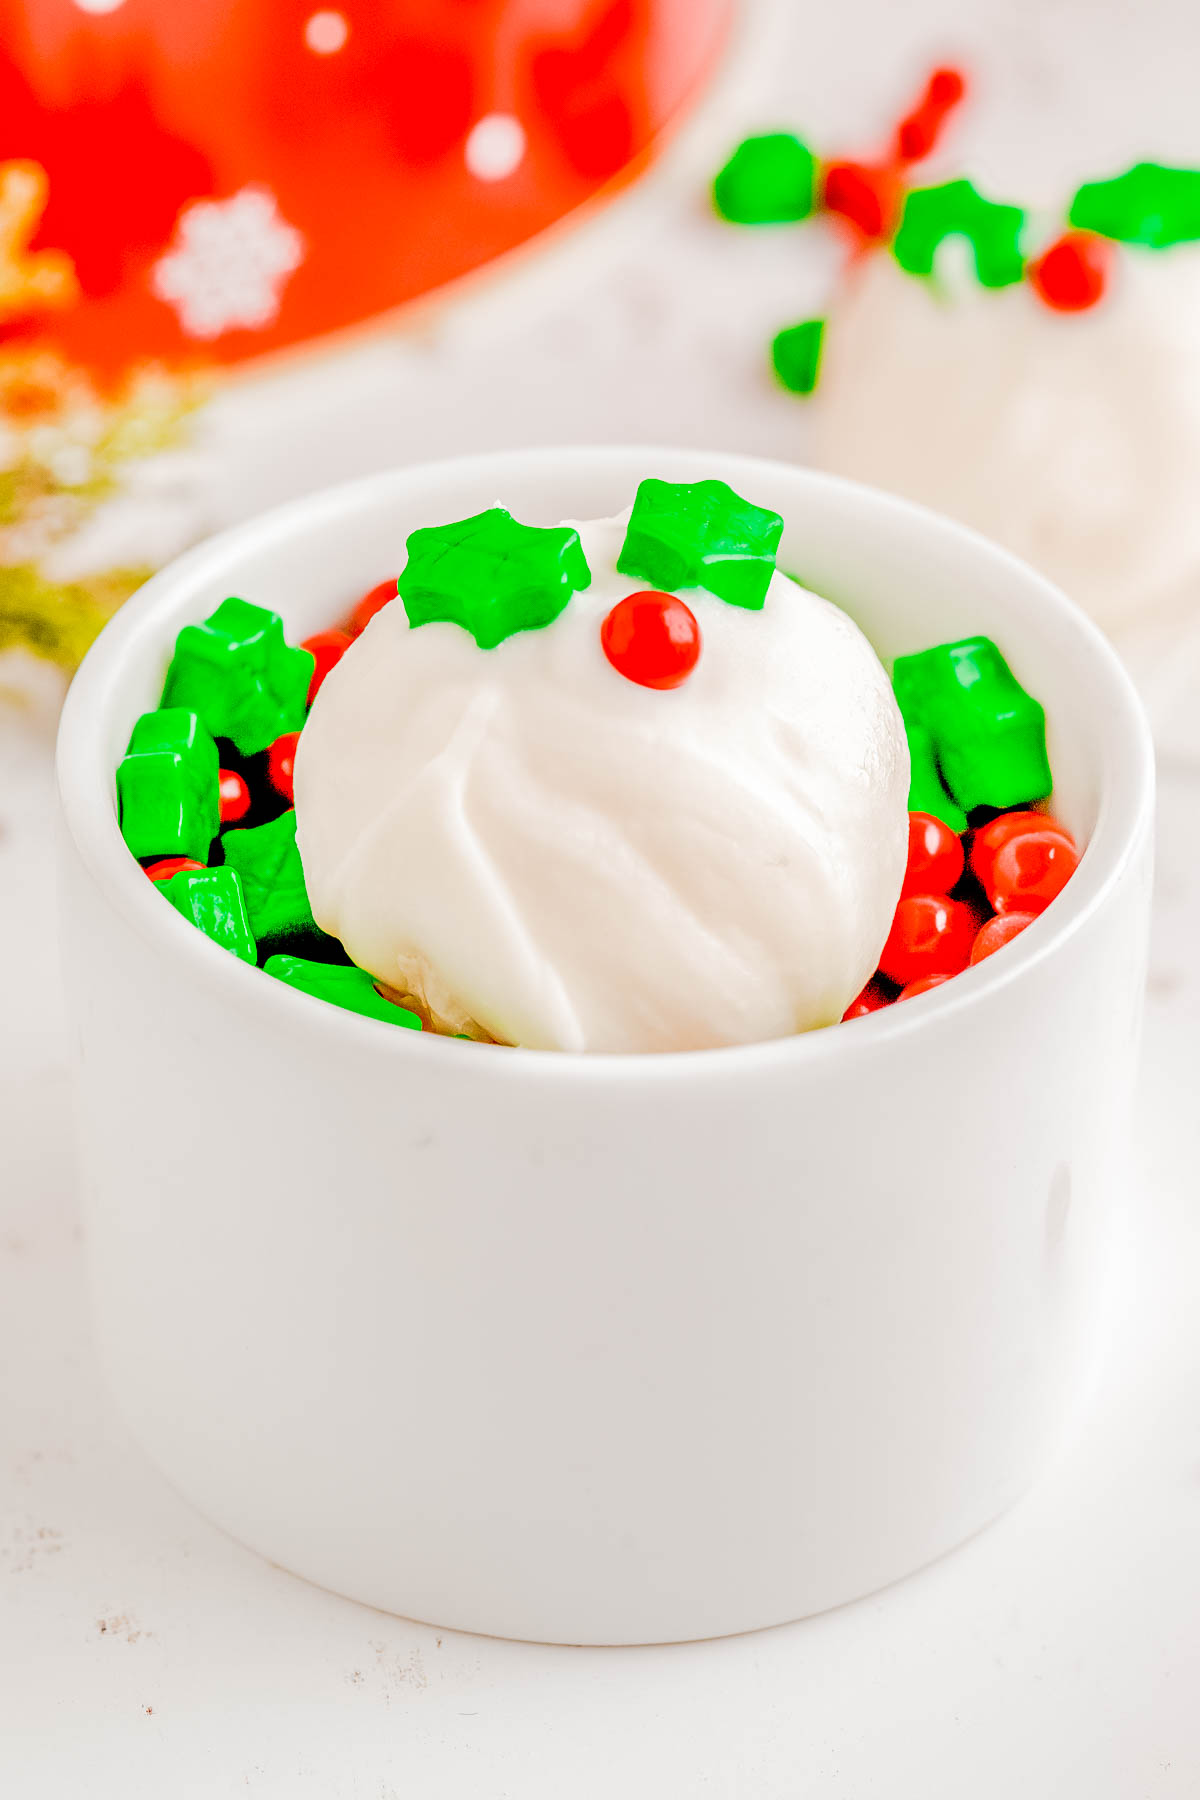
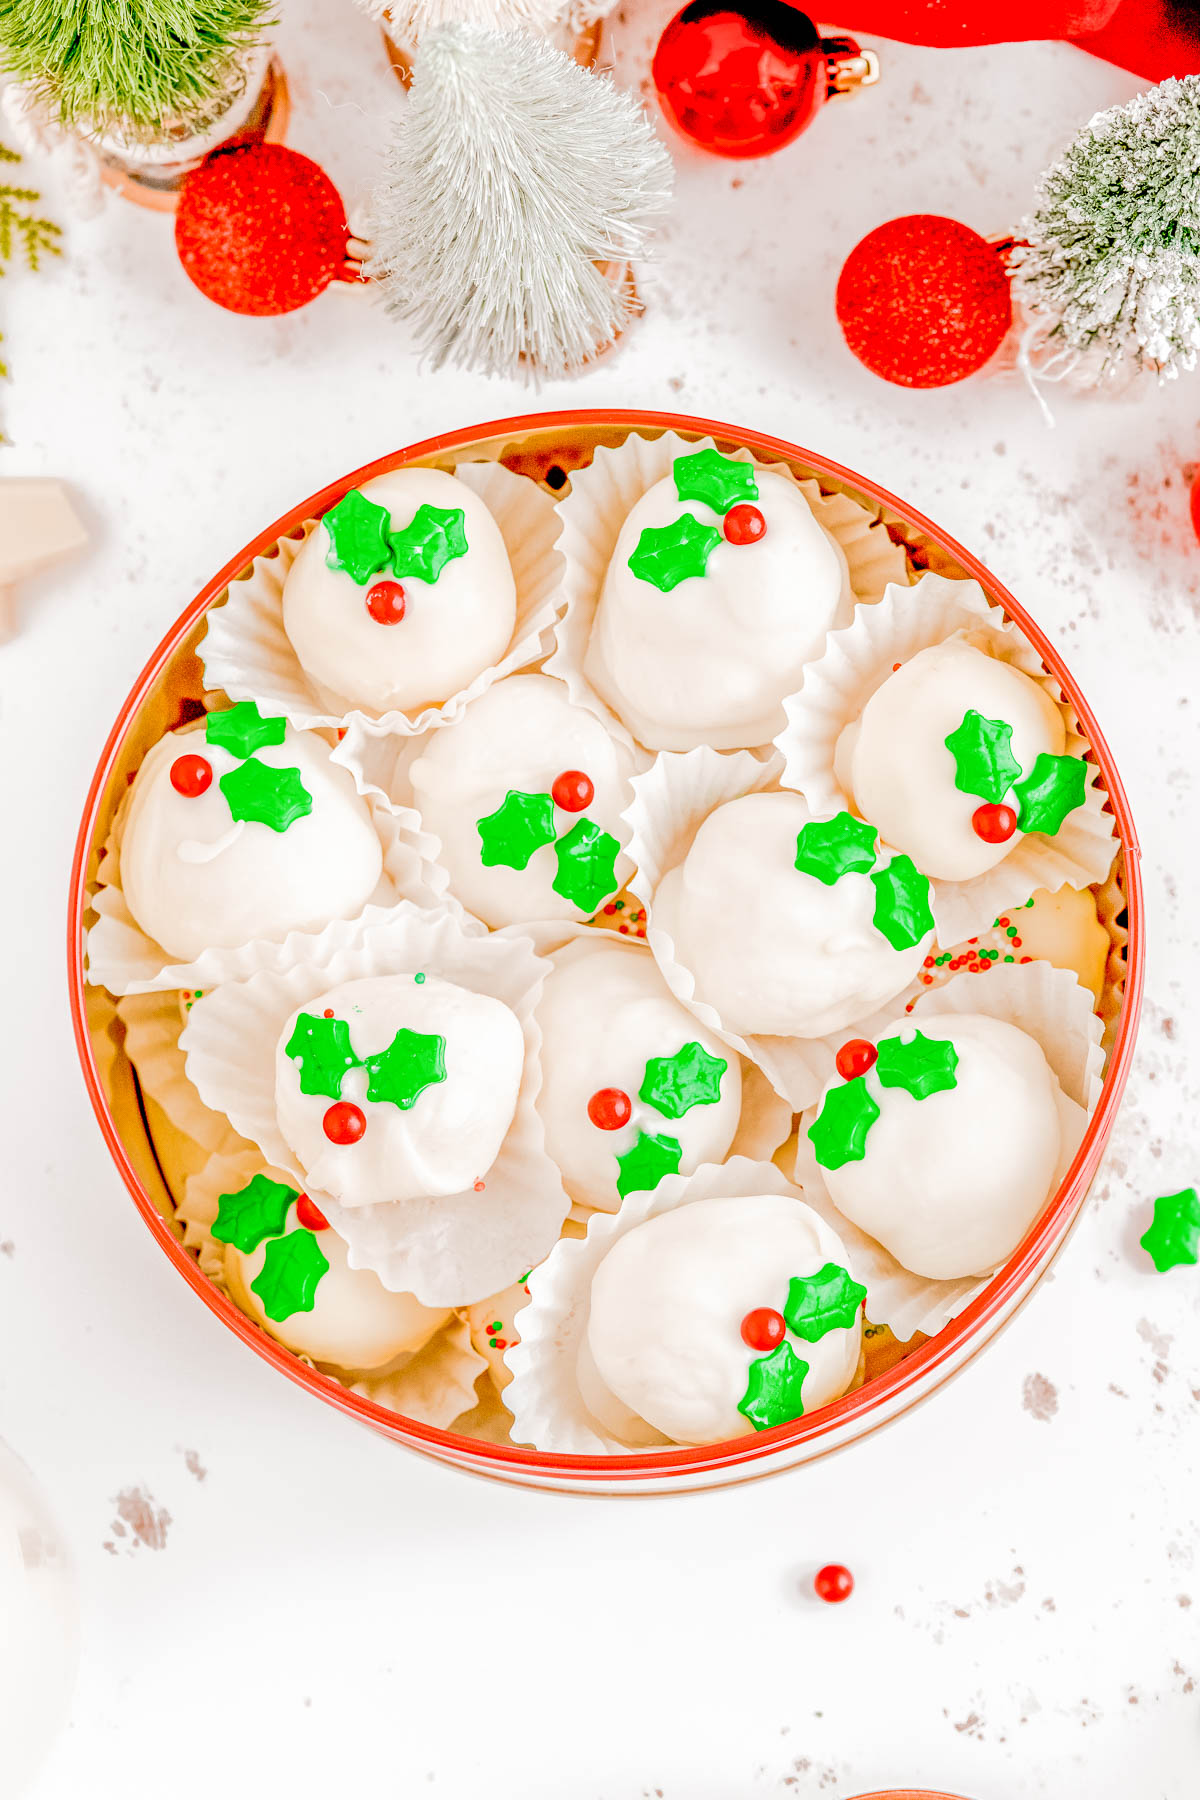
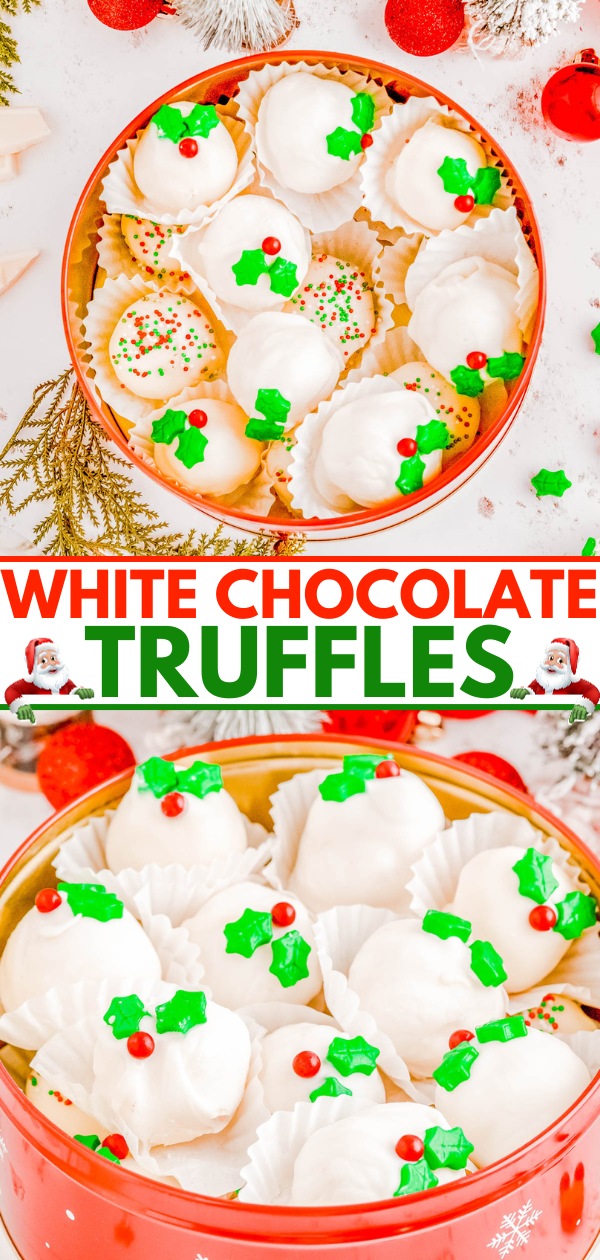
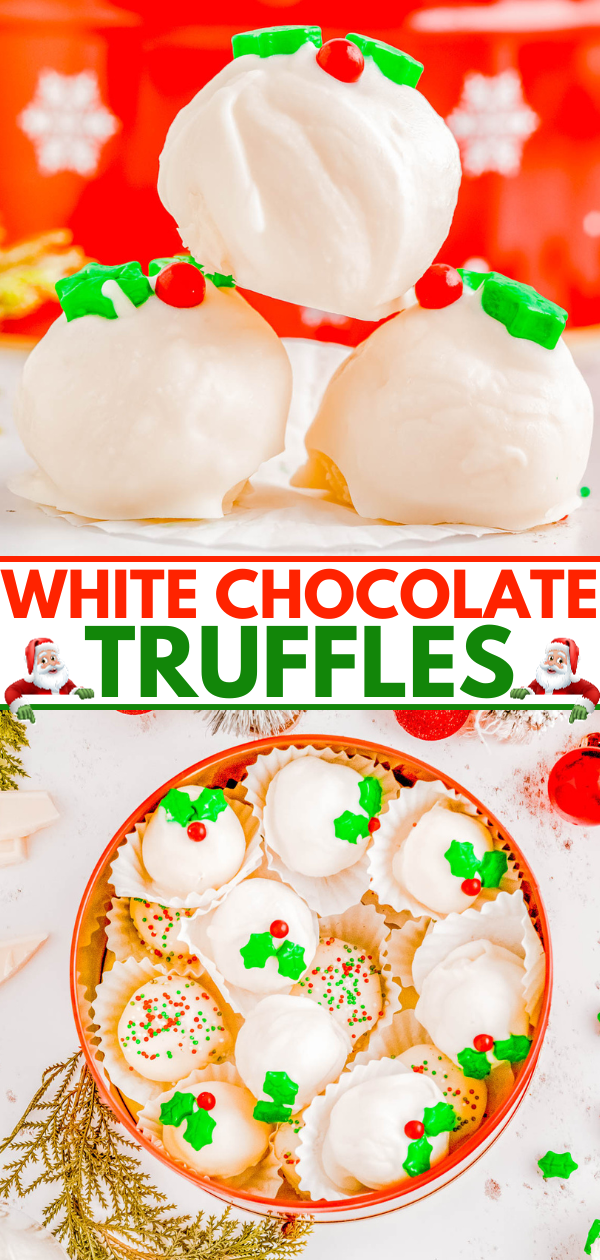
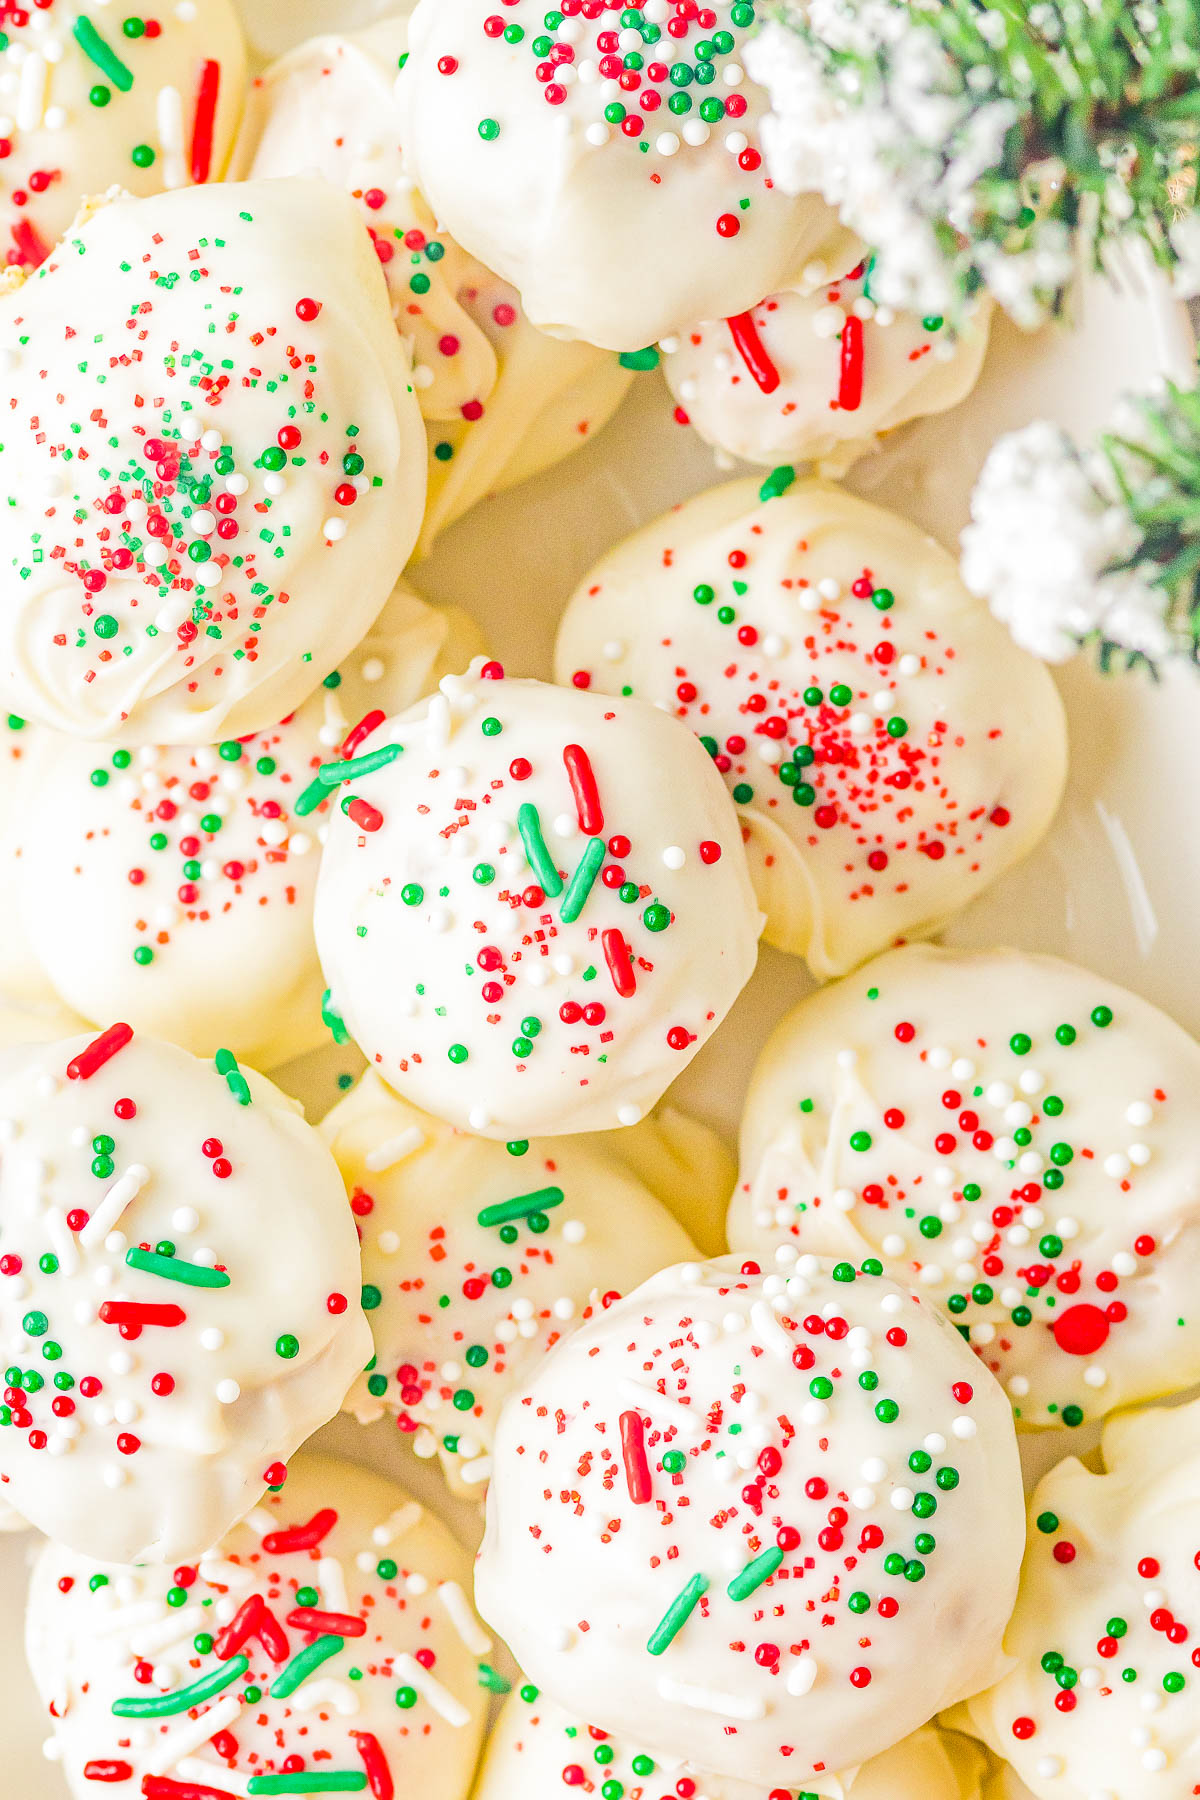
These easy truffles are made with white chocolate galore – both in the truffle filling and then dipped in a white chocolate coating – before being sprinkled and adorned with a festive Christmas-inspired look!
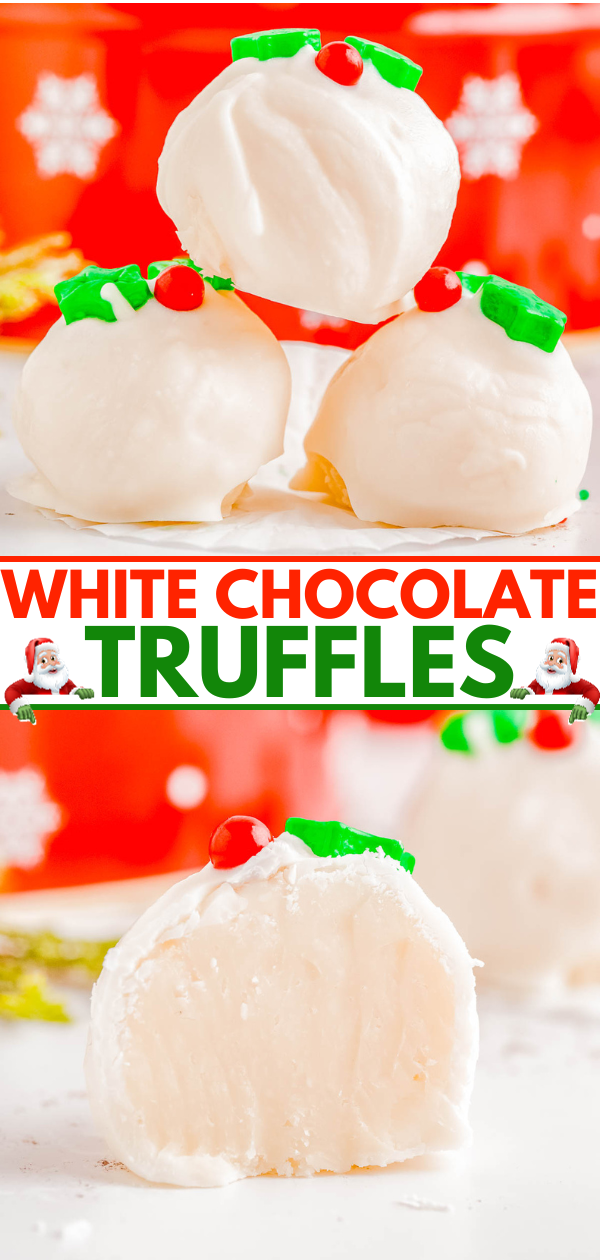
While truffles can be a bit more fussy than, say, making a pan of Christmas White Chocolate Blondies, they’re worth the individual rolling and dipping. Because when you sink your teeth into the tender and creamy center, contrasted with the bit of crunch from the exterior shell, you’ll know why!
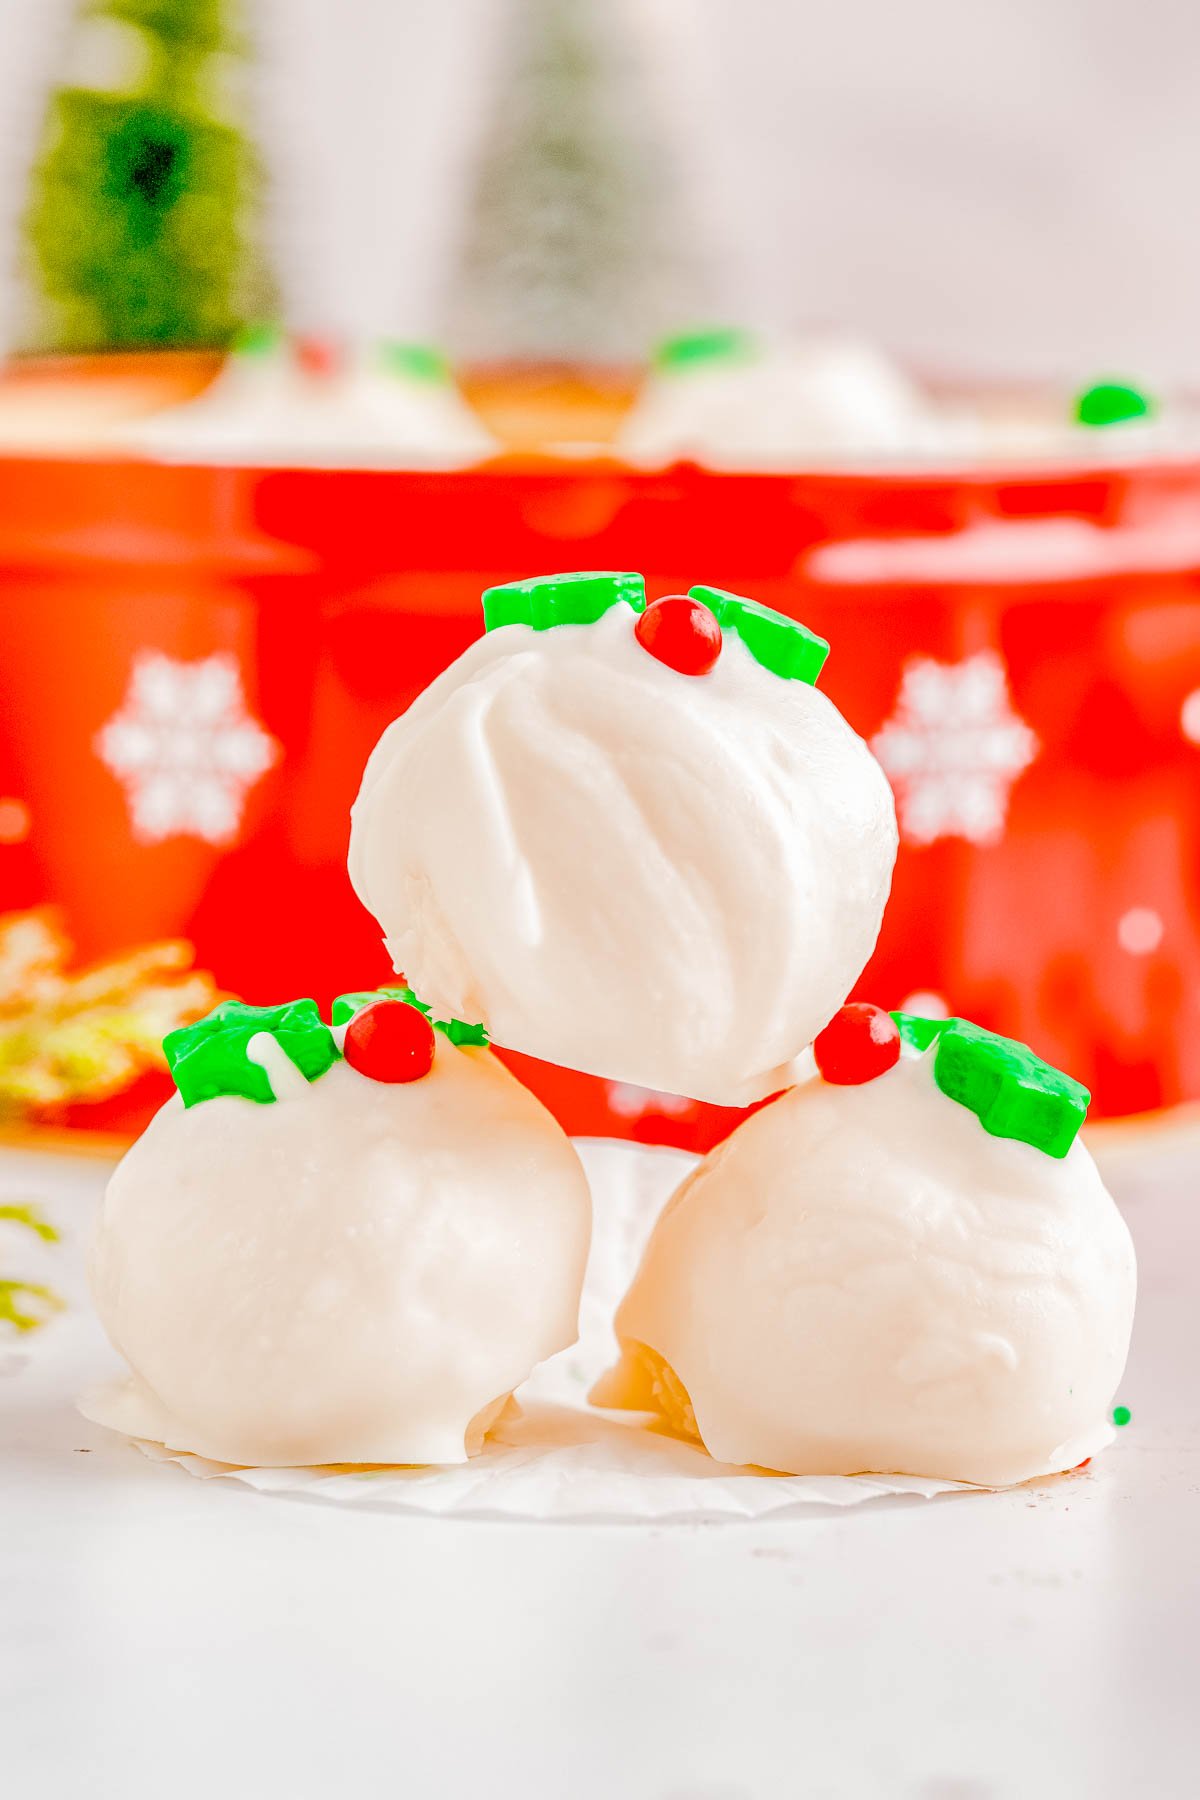
Whether you want to set these out on your desserts table at your Christmas parties and holiday entertaining, or gift them to a friend, family member, or a lovely homemade hostess gift, everyone loves these! I promise they’re better than a Lindt white chocolate truffle!
I do want to mention these white chocolate truffles are made with real heavy cream and real butter, rather than sweetened condensed milk, which means they need to be stored in the fridge (after a few hours) and aren’t an ideal cookie exchange type of recipe where things may be packaged up or left out for extended periods of time.
If you want a shelf stable recipe that can you gift or include in cookie exchanges, I suggest my:
- White Chocolate Peanut Butter Truffles
- Chocolate Peanut Butter Balls
- No-Bake Oreo Balls
- Fudgy Brownie Balls
- Rum Balls
- Fudgy Bourbon Balls
Ingredients in White Chocolate Truffles
There are only a handful of ingredients in these scrumptious homemade truffles. With that said, they all count. I don’t recommend substitutions for any of the following.
Want to know why not? Read the Tips section below!
Here’s what you’ll need:
Truffles
- Heavy whipping cream
- White chocolate bar such as such as Ghirardelli or Lindt
- Salted butter (or unsalted butter if preferred)
- Vanilla extract
Coating
- White chocolate melting wafers
- Sprinkles, optional as desired
Note: Scroll down to the recipe card section of the post for the ingredients with amounts included and for more complete directions.
How to Make White Chocolate Truffles
Making these no-bake truffles is a easy and a fun project to do with kids or grandkids! Follow my straightforward instructions. Active prep time is about 30 minutes with total time more, because of the various rounds of chilling involved.
Step 1: Heat the heavy cream in a large microwave-safe bowl for 1 minute.
Step 2: Add the chopped white chocolate to the warmed cream and stir.
Step 3: Heat for 30 seconds and stir until smooth.
Step 4: Add the butter and stir until smooth and combined. If needed, heat for 30 seconds in the microwave and then stir in the vanilla.
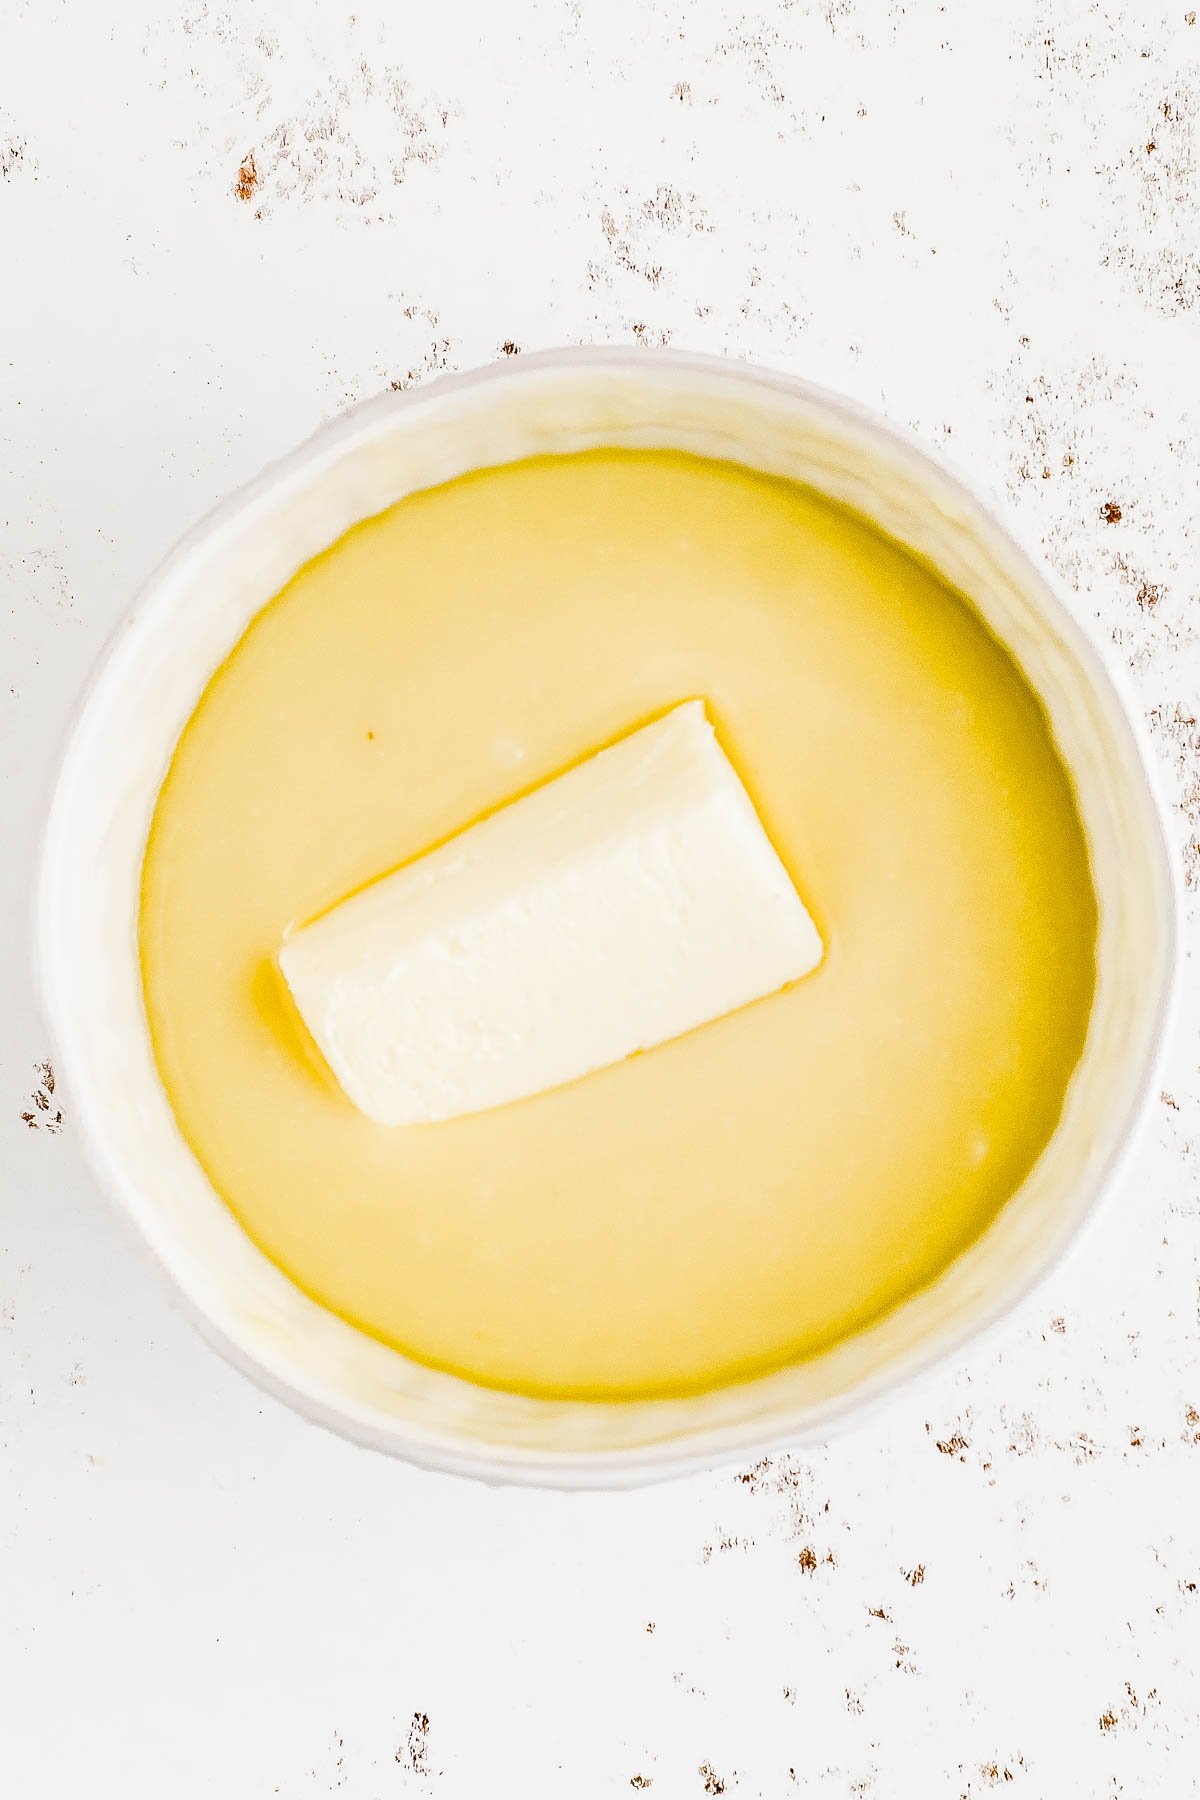
Step 5: Cover the mixture with plastic wrap and refrigerate the bowl for about 3 hours, or until firm.
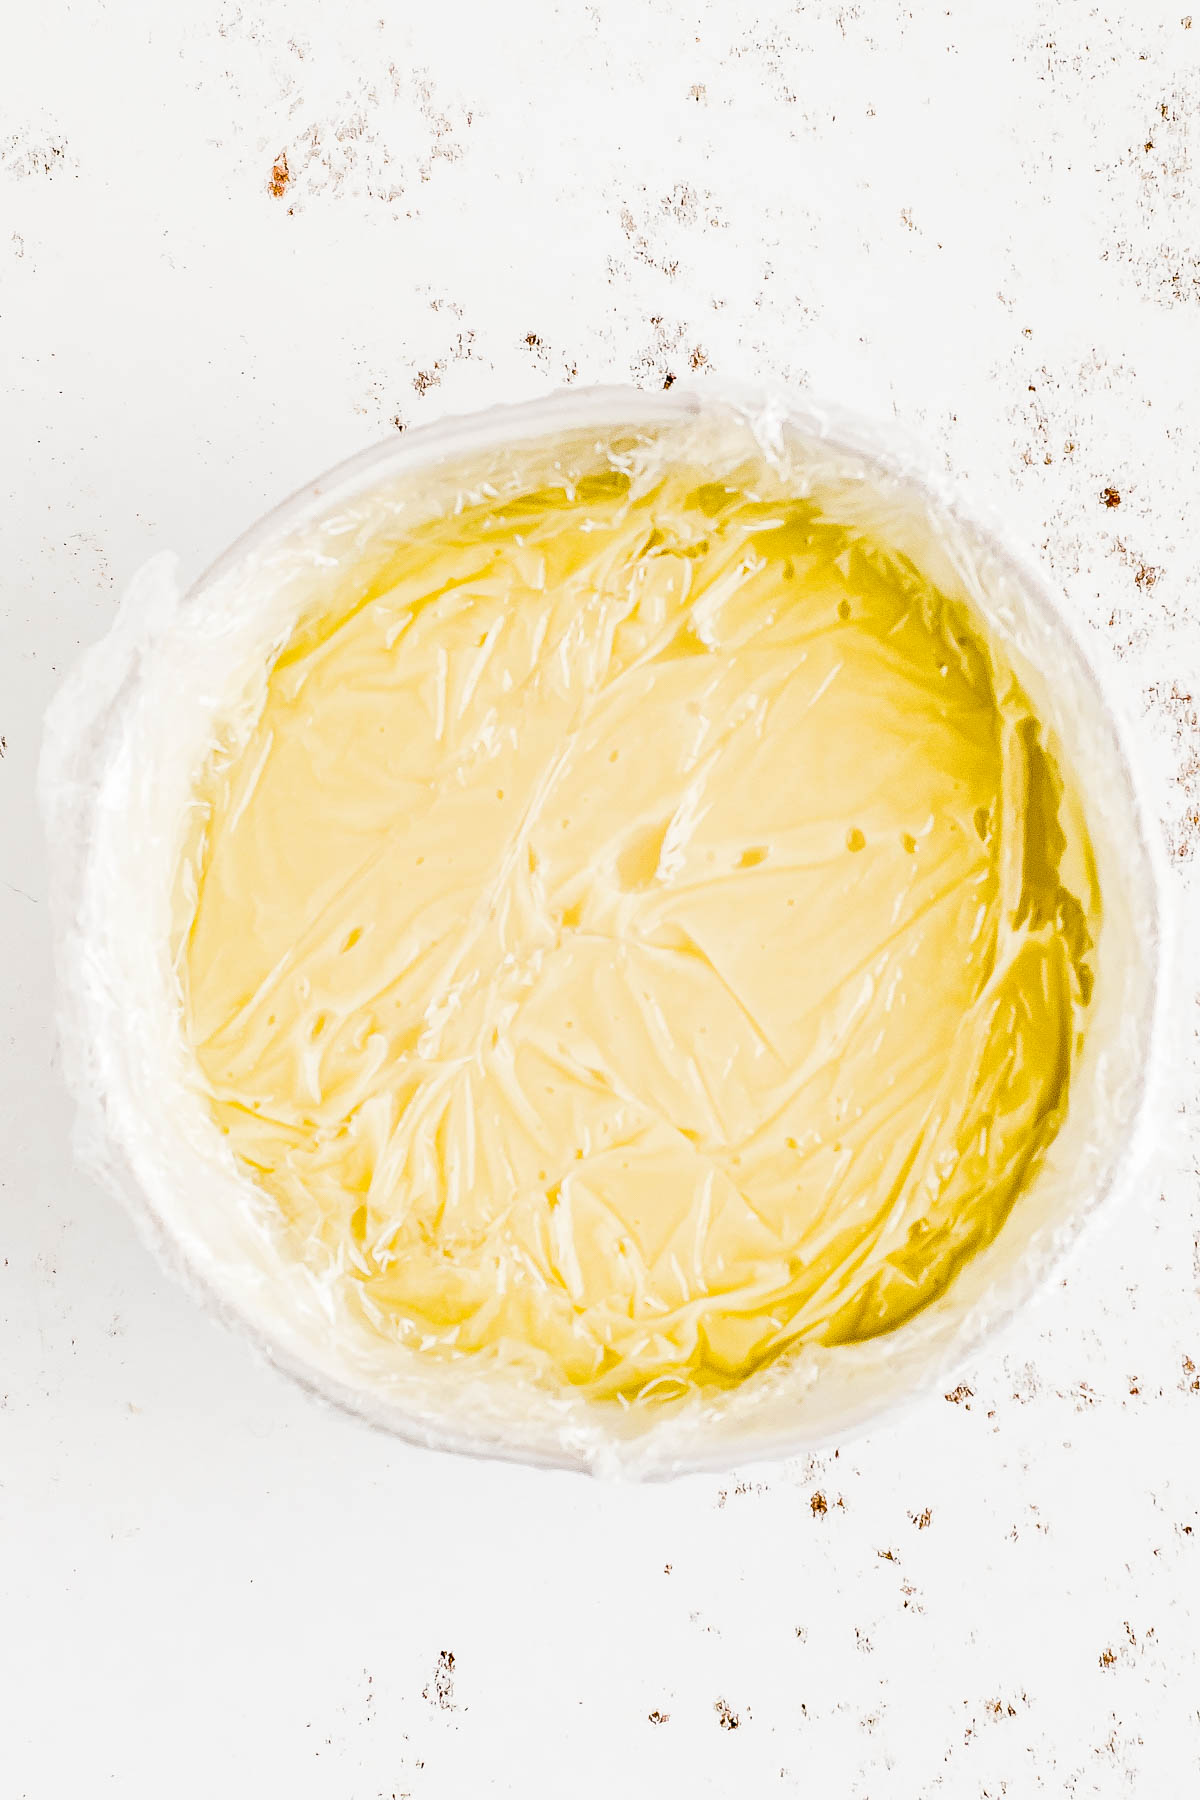
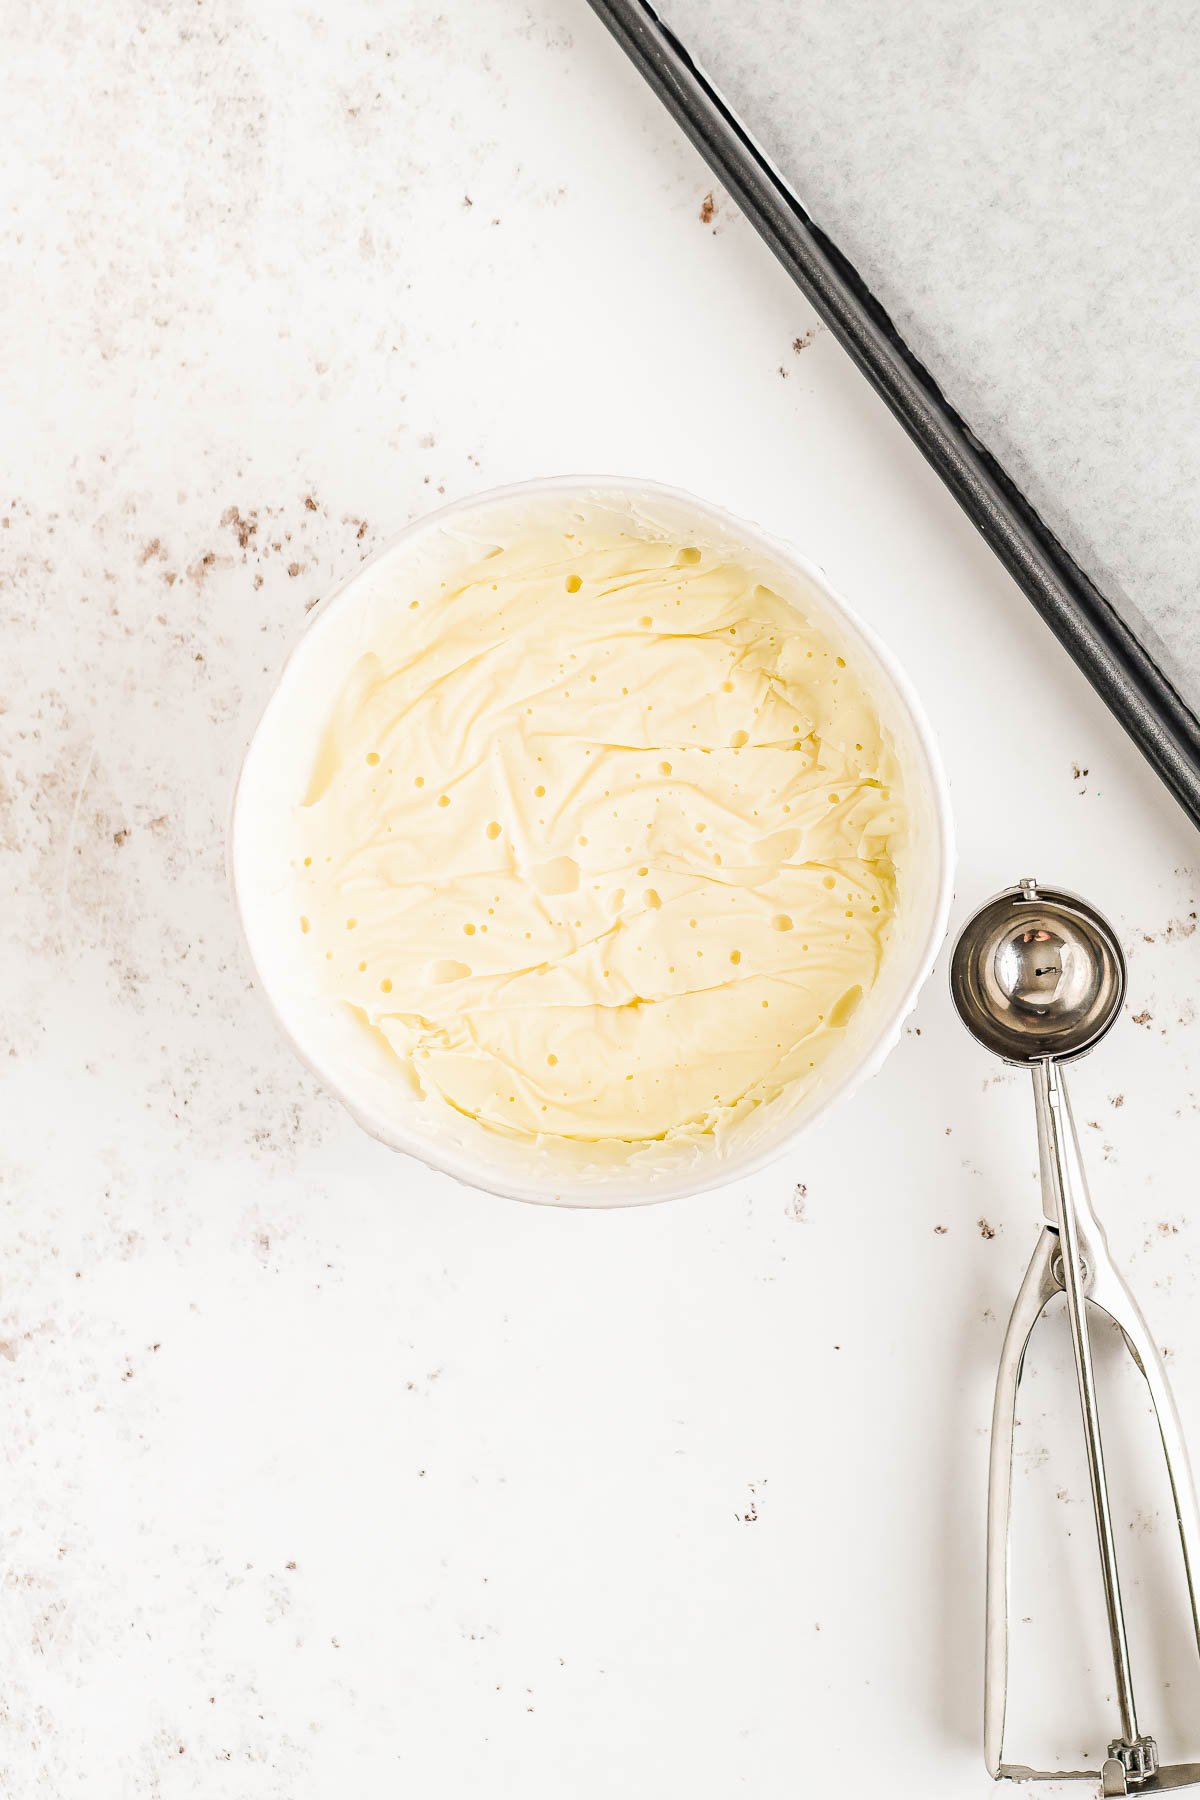
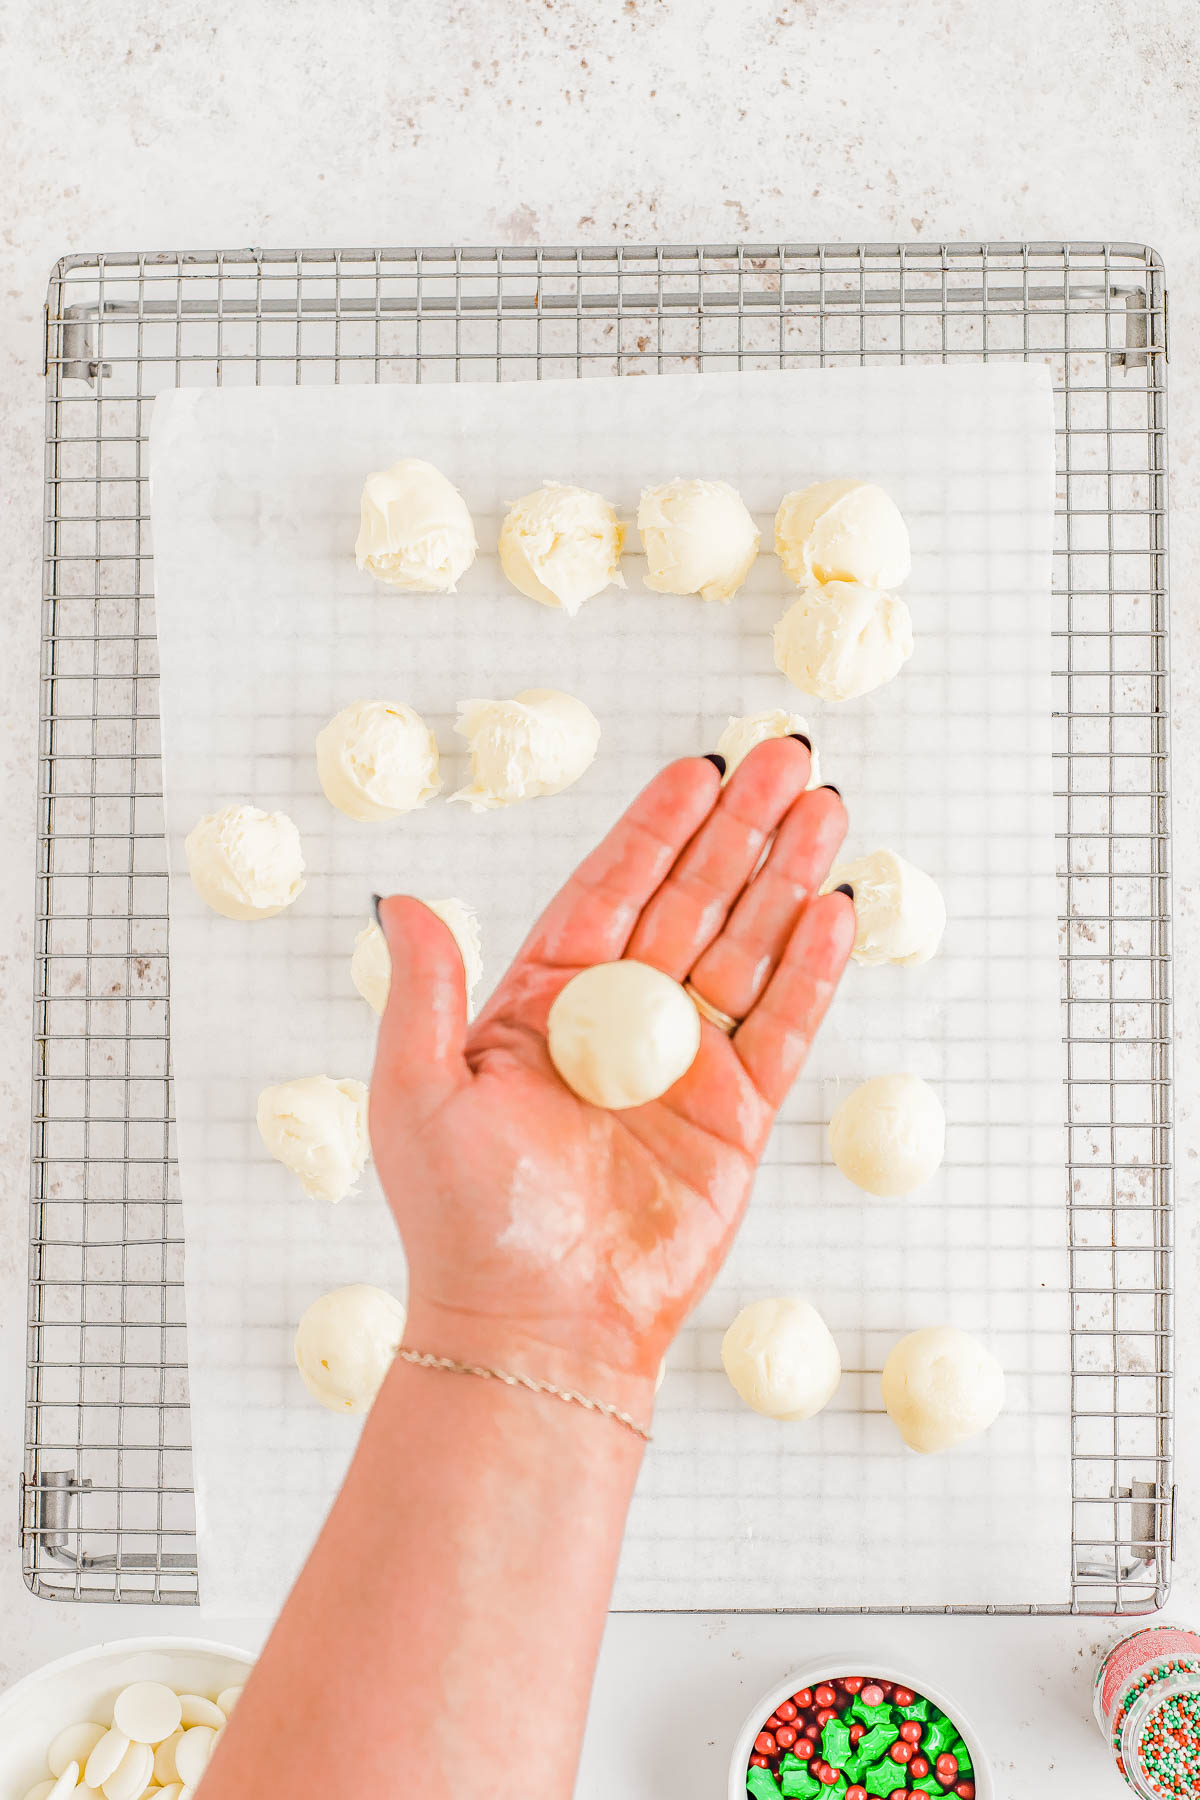
Step 6: Using a small or medium cookie scoop, scoop out 1-2 tbsp sized balls, and place on a baking sheet lined with parchment paper before freezing them for 30 minutes.
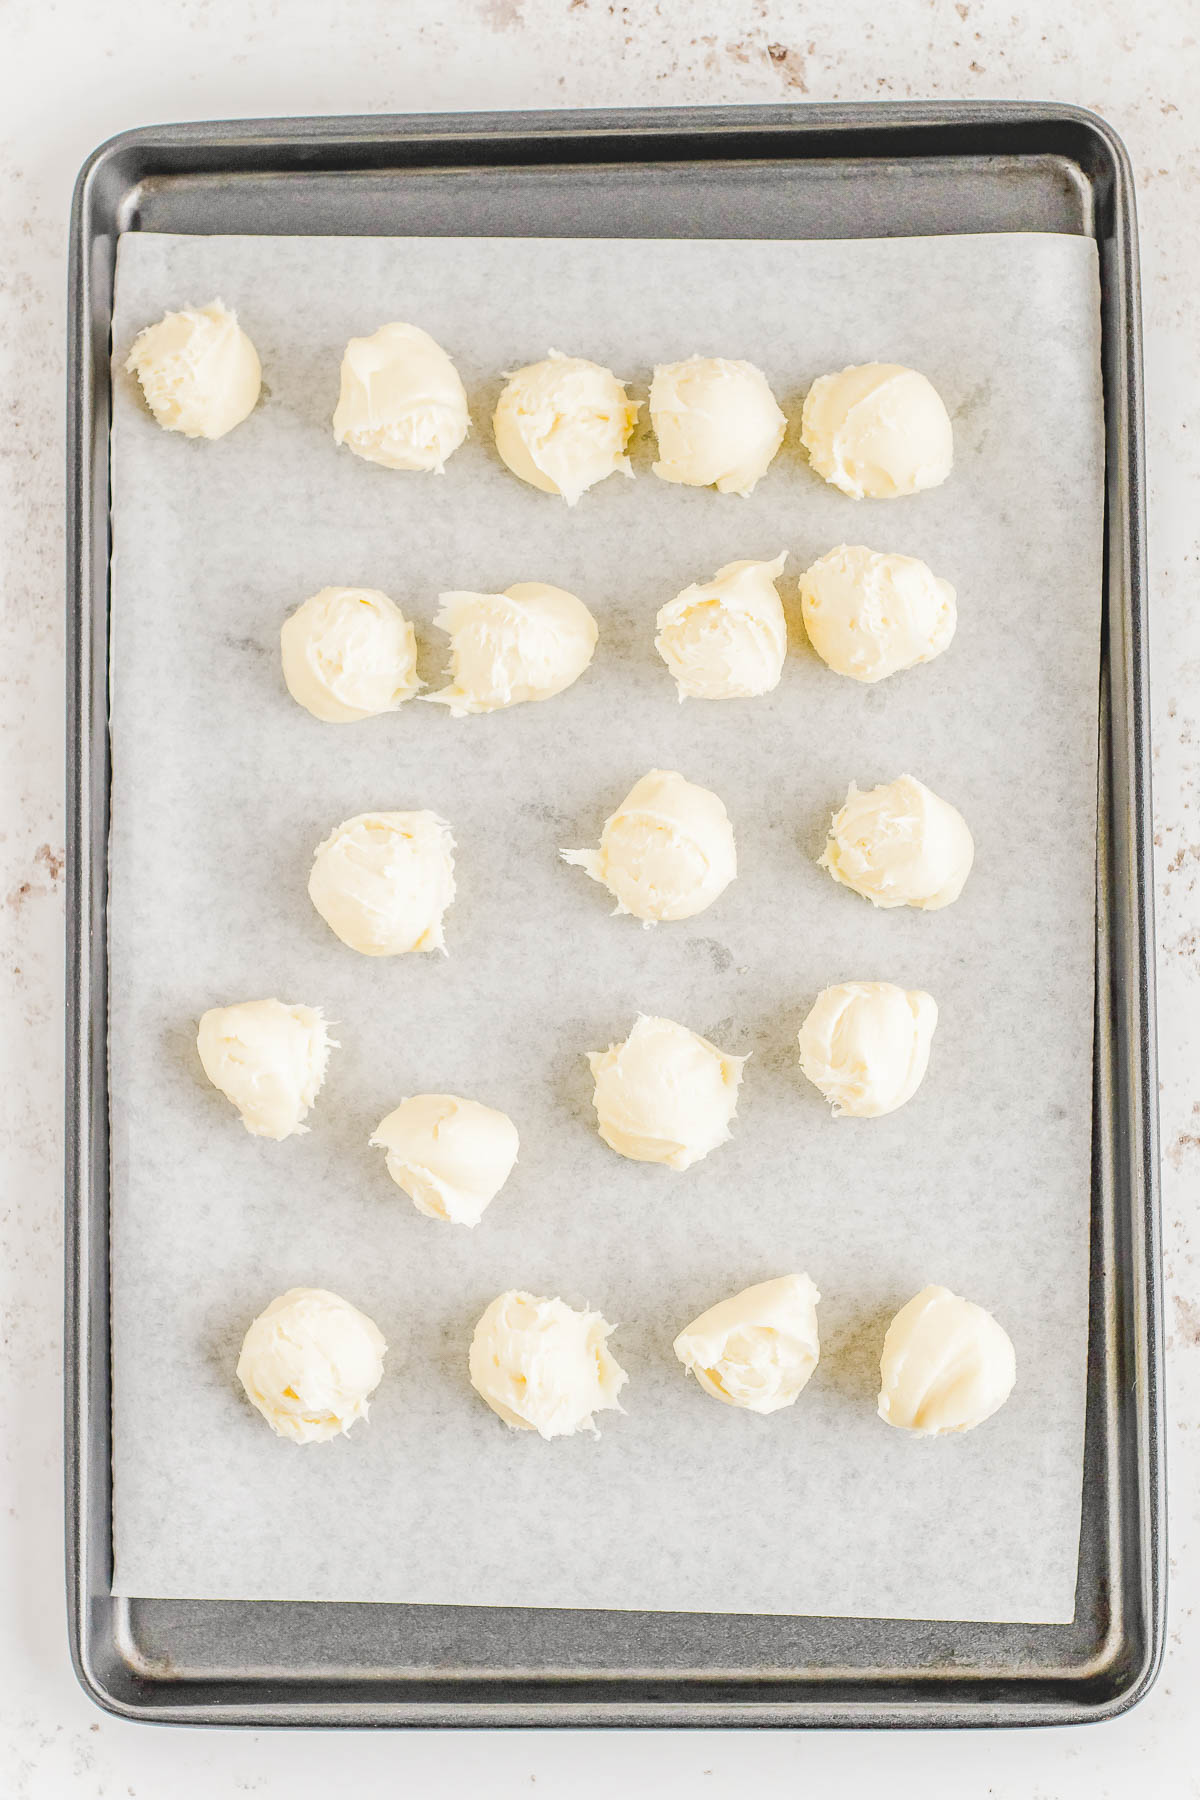
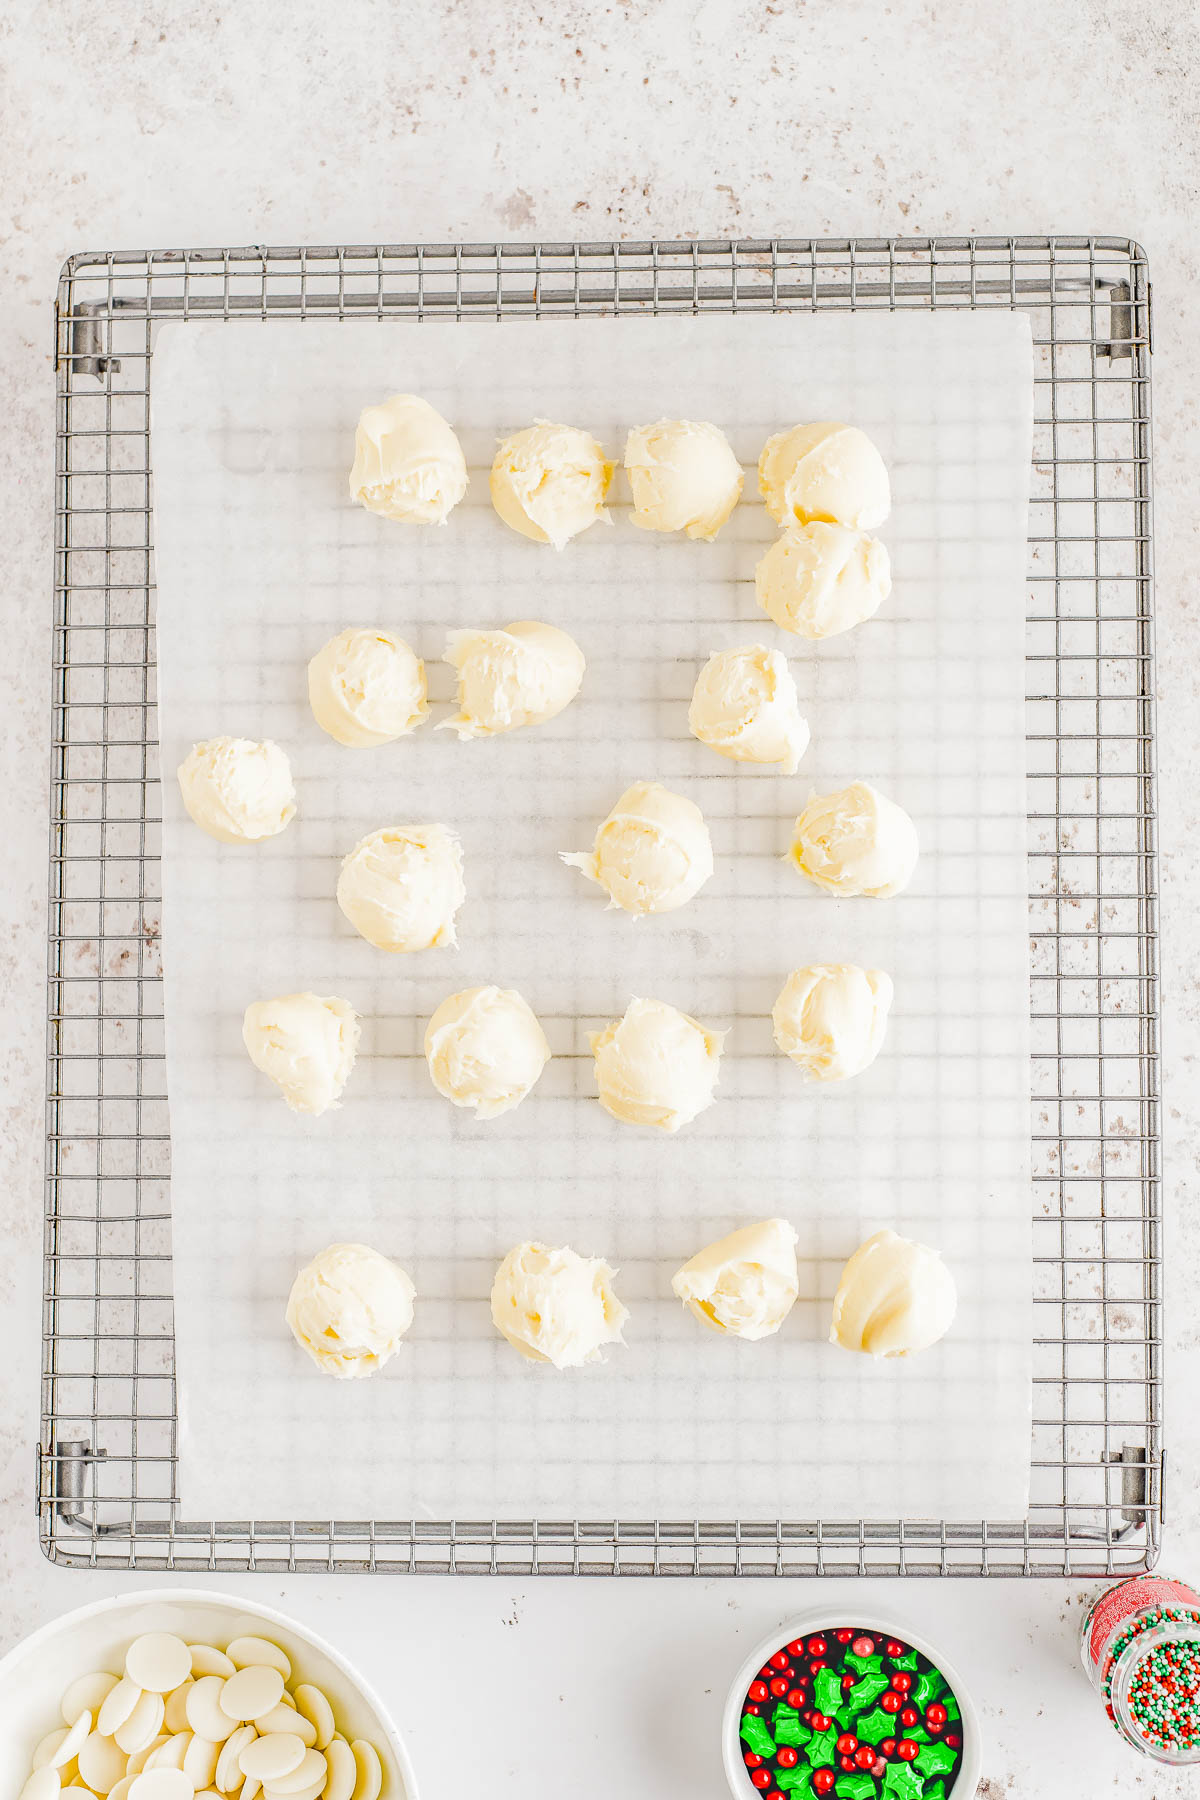
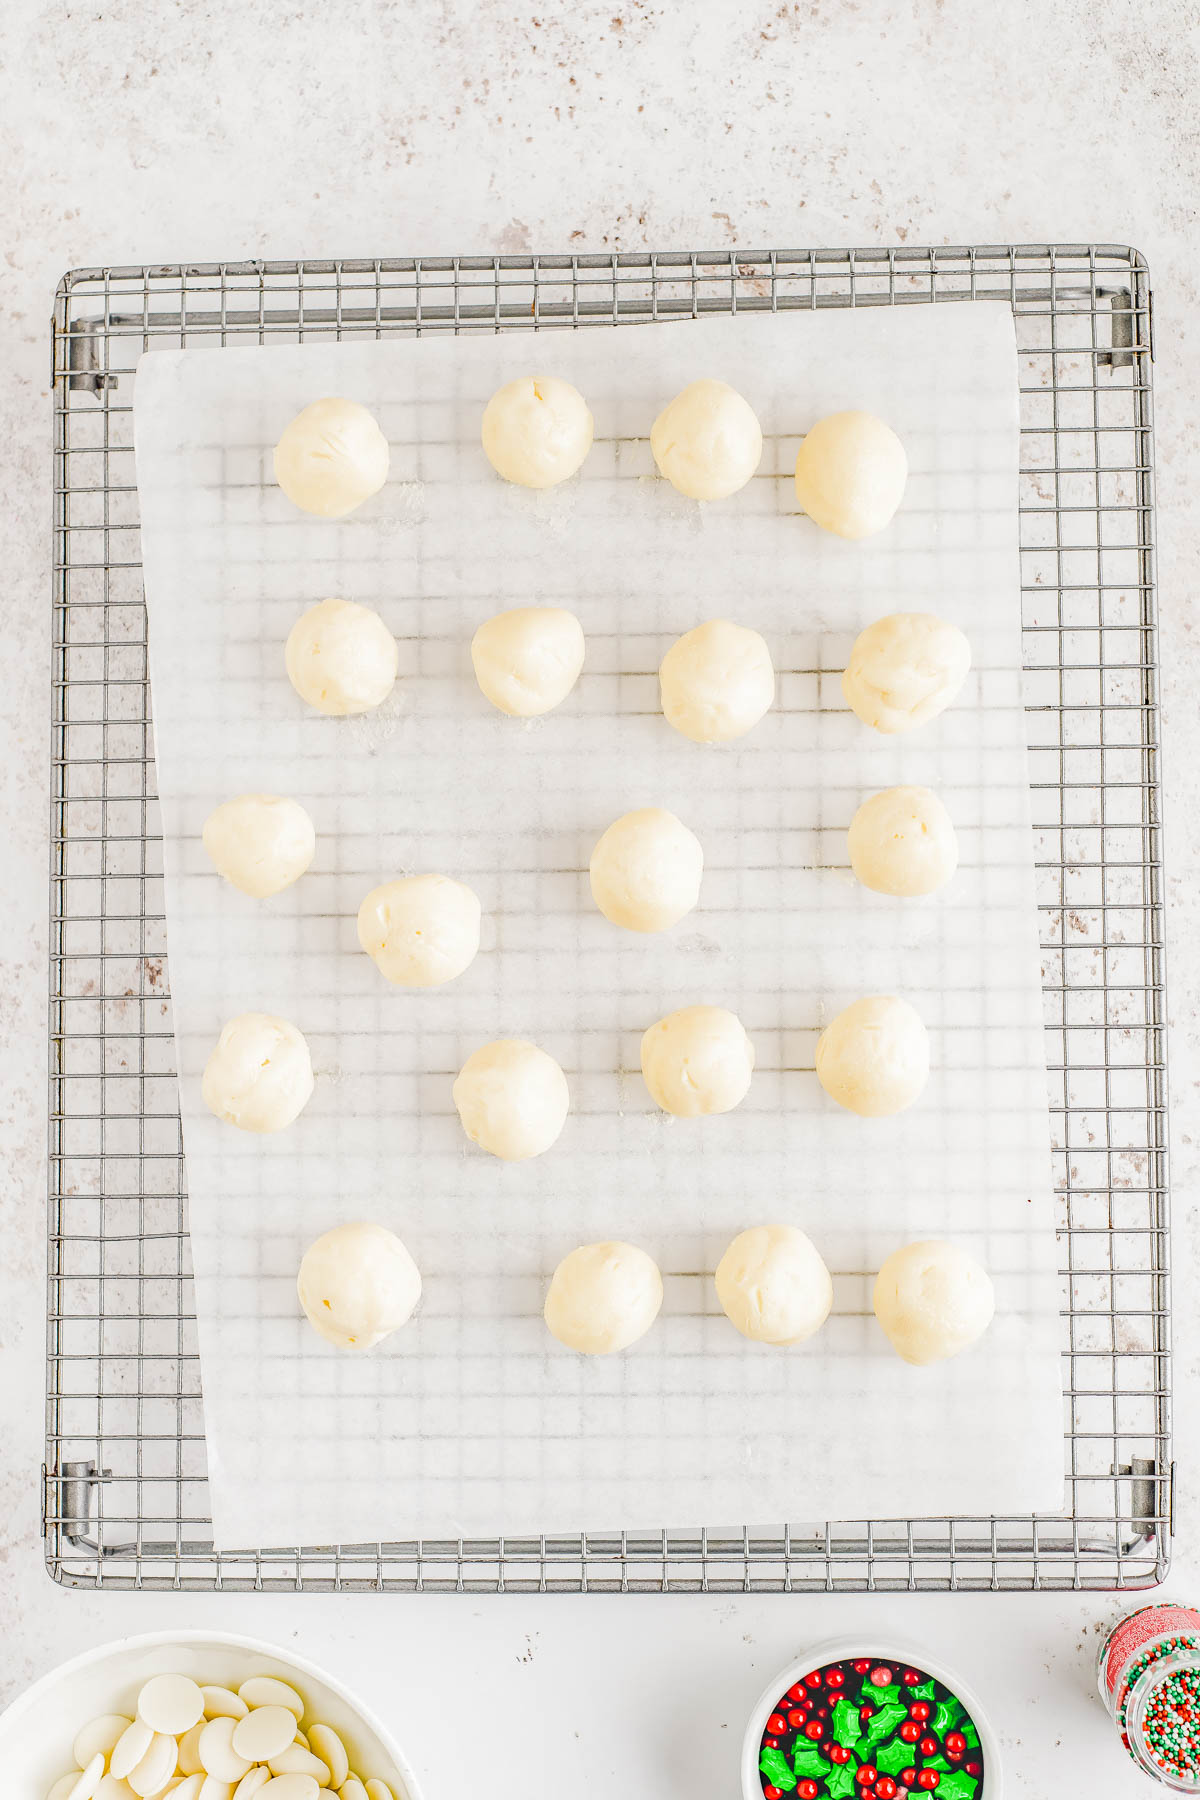
Step 7: After 30 minutes the truffles should be firm enough so you’re able to roll them through your palms before dipping them.
How to Dip Truffles in Chocolate
I have tried many ingredients, methods, and forms of dipping truffles and this is the best way to dip them in my experience!
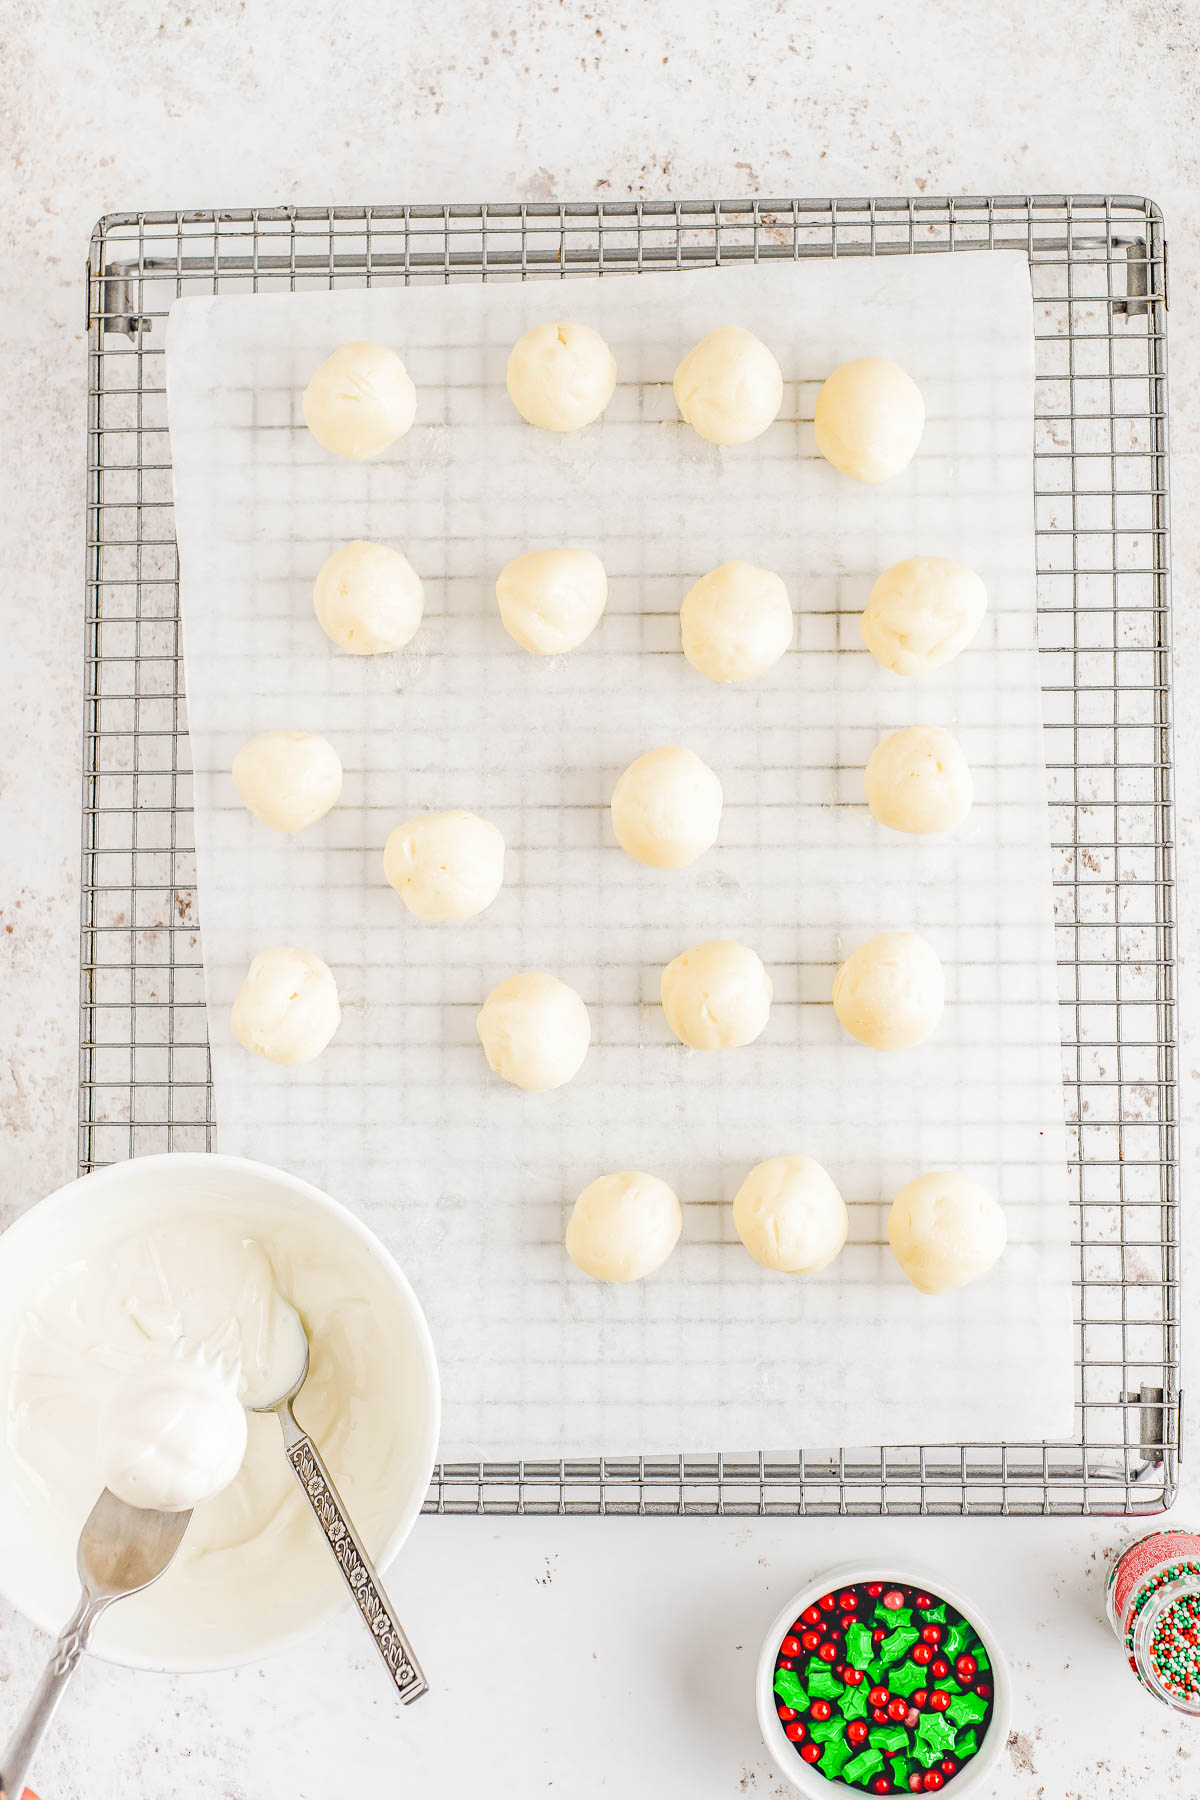
Step 1: Add the white chocolate melting wafers to a large bowl and heat according to package directions (about 30 seconds, stop to stir, 30 seconds more, or until melted).
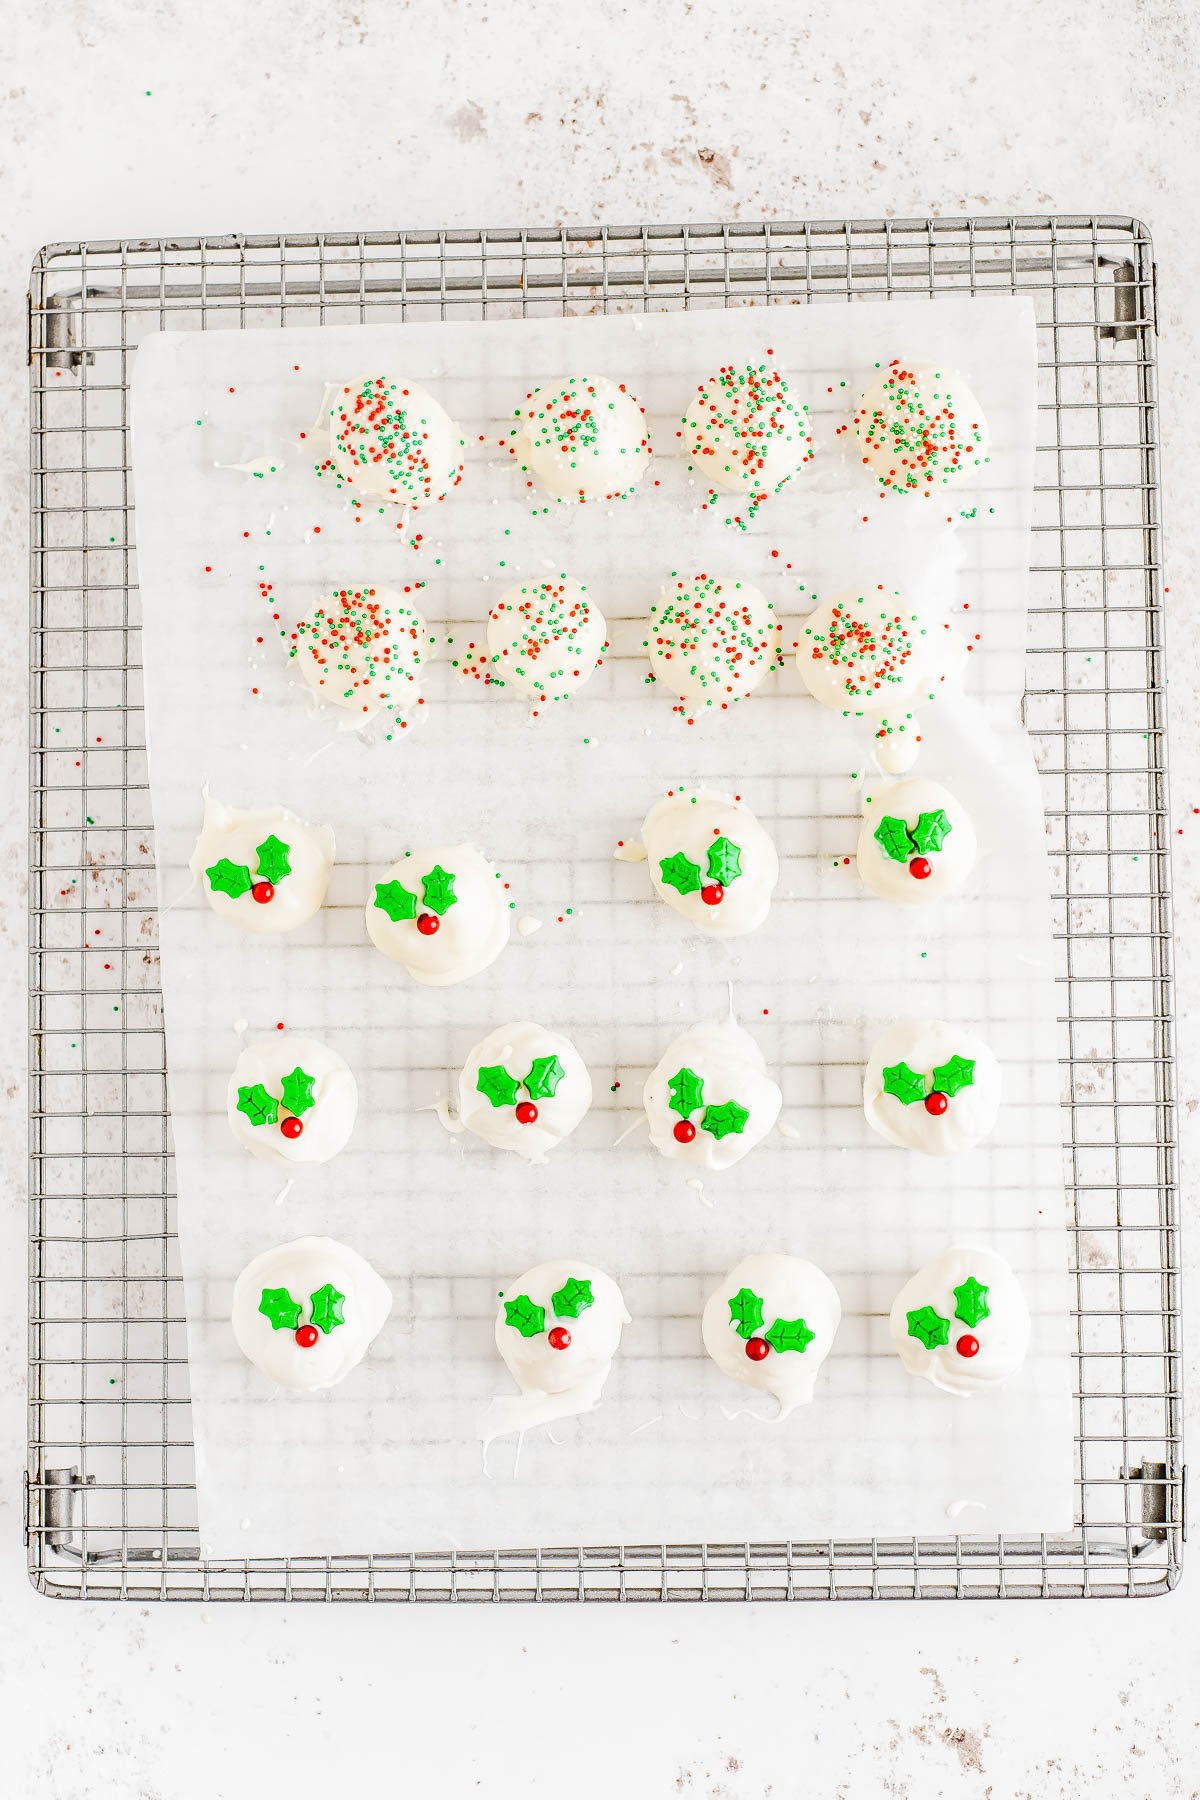
Step 2: Using a fork or toothpick, dip each truffle. If using a fork, lay the truffle over the tines of a fork. If using a toothpick, spear it. Let excess chocolate drip off over the bowl before placing back on the parchment lined tray.
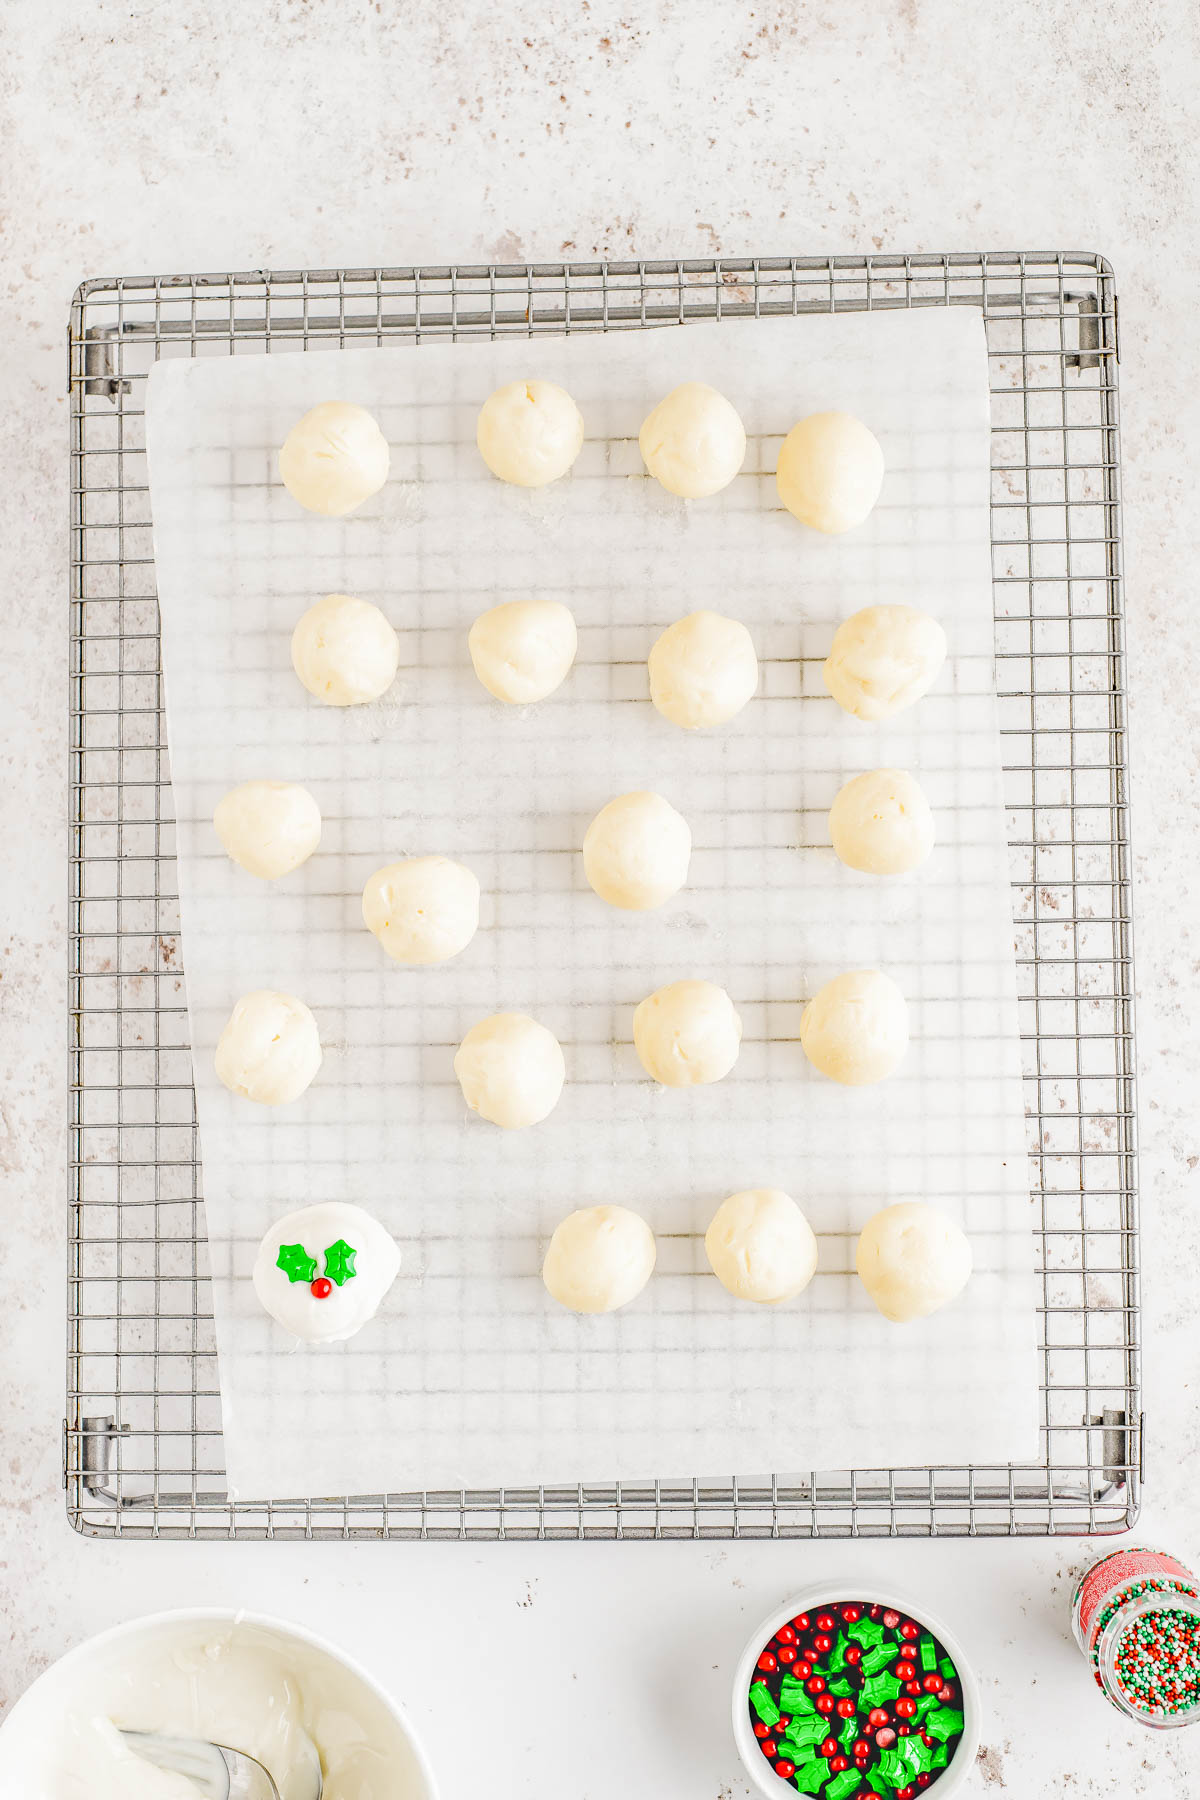
Step 3: Optionally, but recommended, add the sprinkles or jimmies while still wet.
Step 4: Allow the coating to set up at room temp before placing the truffles in a container in the fridge to store.
Tips for the Best White Chocolate Truffles
Heavy Cream: This means you need to use heavy whipping cream and do not substitute anything for the heavy cream, including half-and-half. Using a lower fat ingredient such as half-and-half or whole milk (no, don’t!) will likely result in truffles that don’t set up.
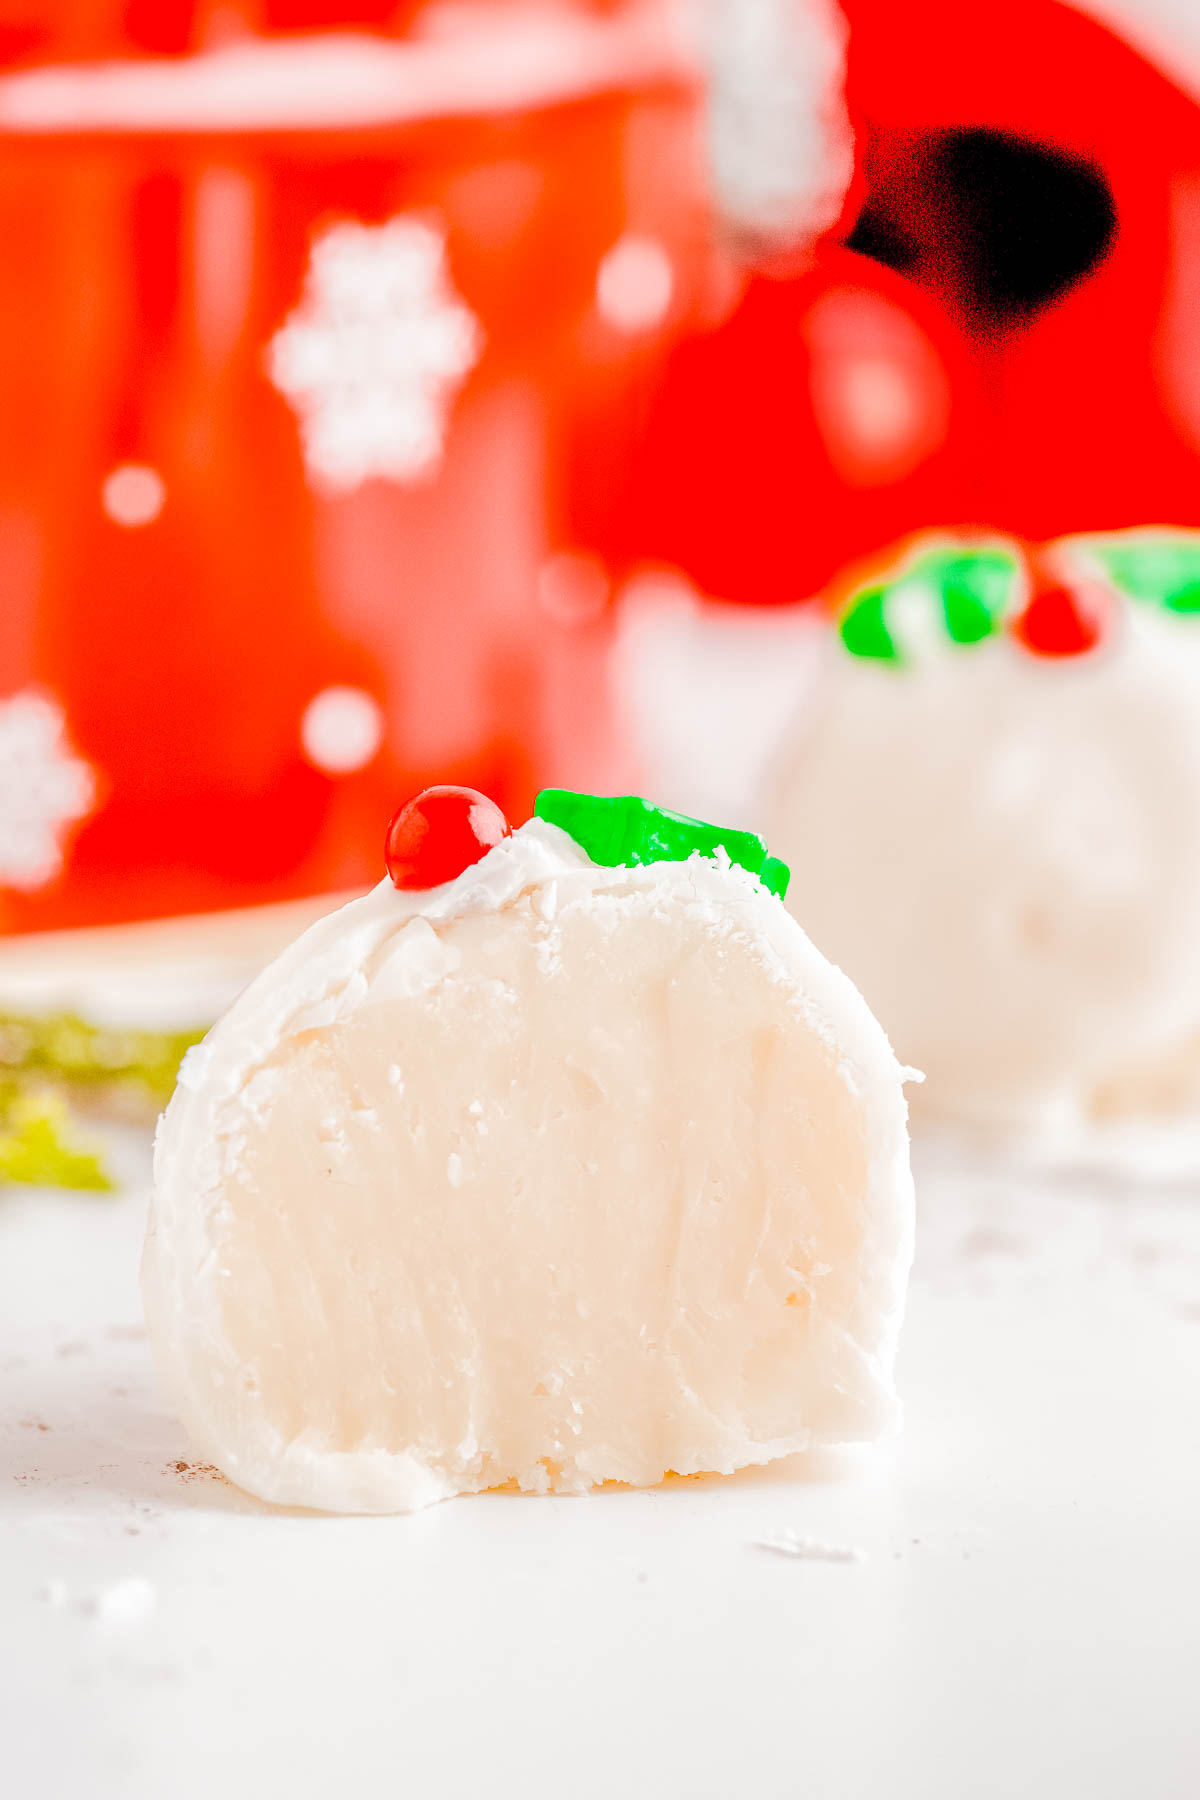
Chill, Twice: After mixing up the white chocolate truffle ingredients, you need to chill the mixing bowl with the batter in it for about 2-3 hours in the fridge, or until the batter is firm enough that you can scoop it out with your small cookie scoop. After scooping it, it’ll still be pretty soft, so another 30 minutes in the freezer before you dip the truffles. Warm melted chocolate will adhere better to chilled truffles anyway.
High Quality White Chocolate Bar: I use and recommend using a high quality white chocolate bar such as Ghirardelli or Lindt so it melts easily and smoothly. If you have a Trader Joe’s in your area, and they carry it (some do, some don’t) their White Chocolate Pound Plus Bars are great.
I do not like chocolate chips for melting because baking chips have stabilizers in them which resist melting into a puddle (that’s why chocolate chips in chocolate chip cookies stay intact and don’t melt into a puddle even in a hot oven).
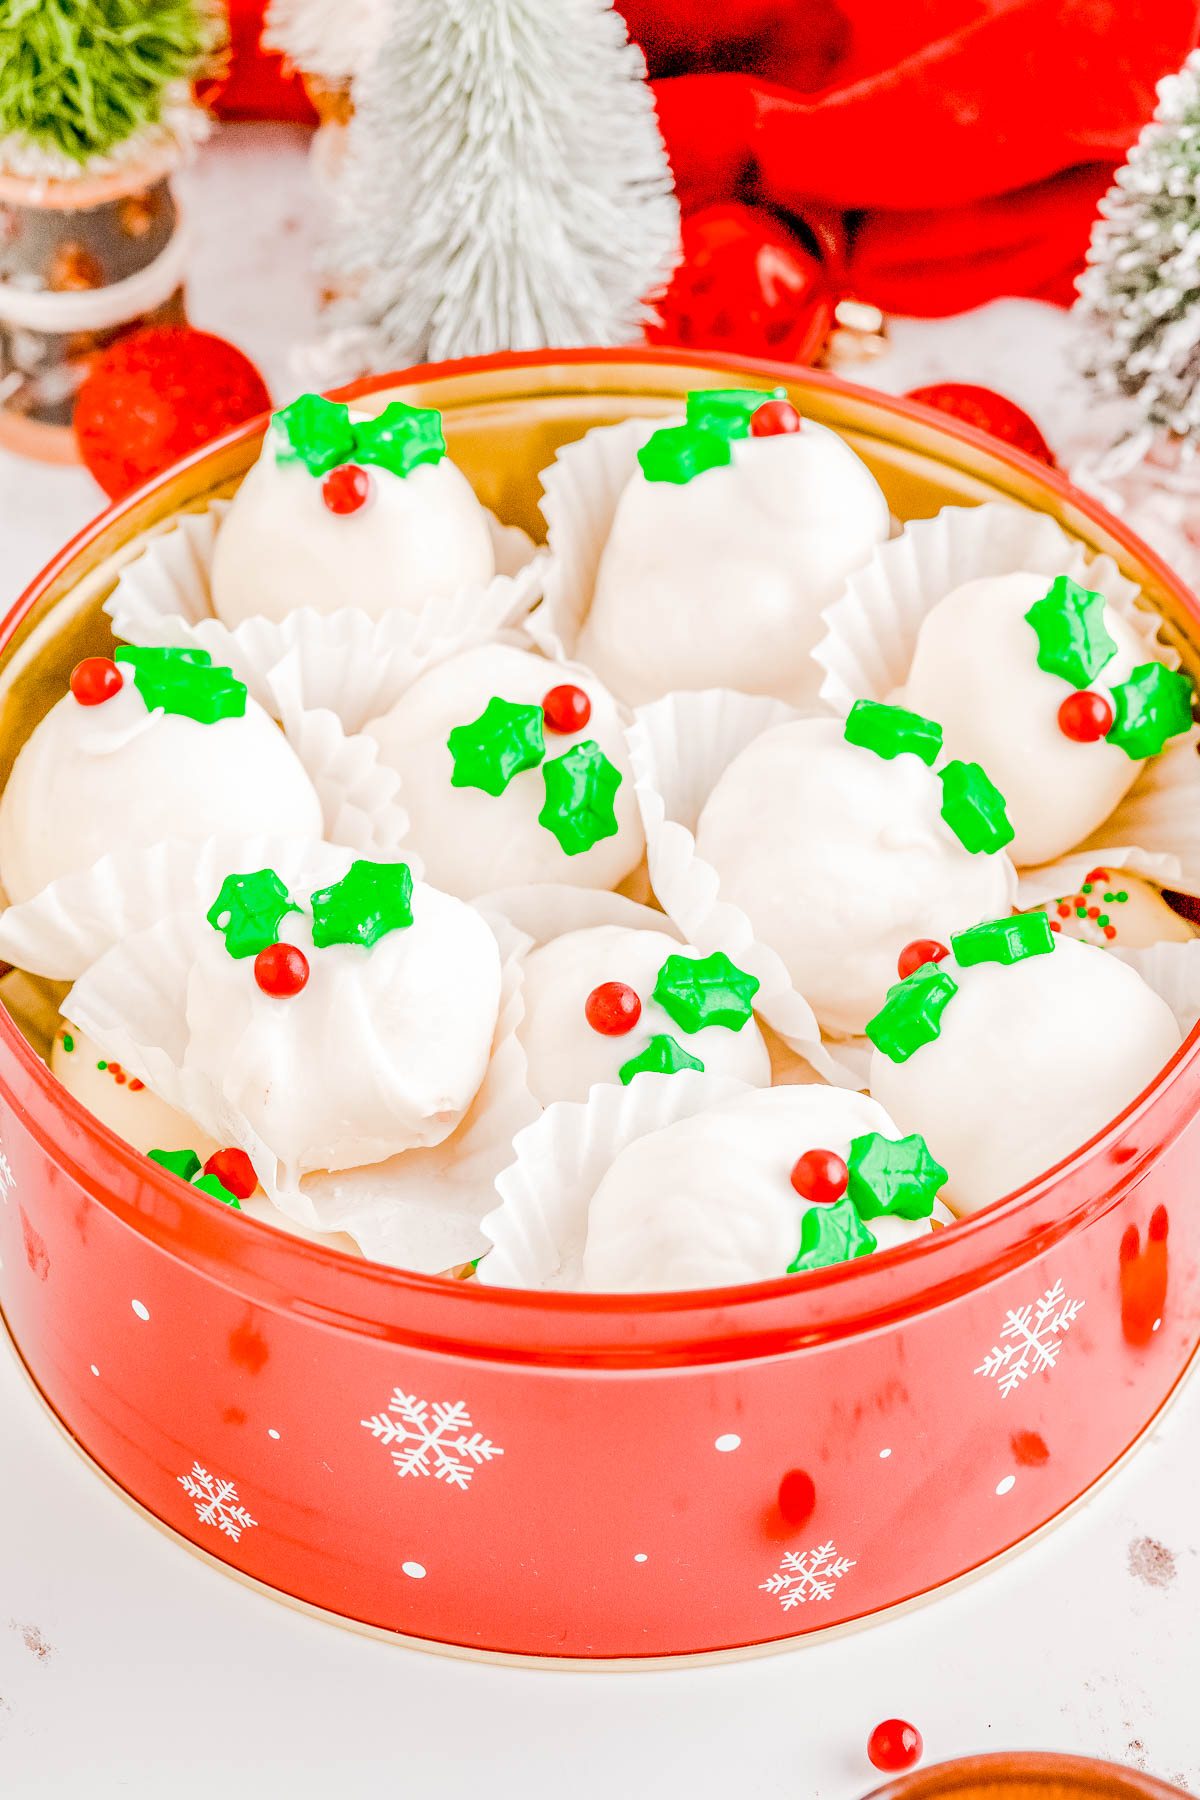
White Chocolate Melting Wafers: When you’re ready to dip the truffles into white chocolate, I recommend using white chocolate melting wafers, which are intended to be used for recipes in which you need to dip something. The chocolate melts super easily, doesn’t set up too quickly, and you don’t need to add anything else, like butter or Crisco to keep the melted mixture smooth.
If you aren’t going to use melting wafers, I recommend white candy coating.
Or use 2 cups white chocolate chips + 1 teaspoon Crisco (not butter) to help encourage the chips to stay smoothly melted and not set or sieze.
Sprinkle When Wet: Before the white chocolate coating sets up, if you plan to add it, sprinkle on sprinkles, jimmies, sanding sugar, or your favorite decorating final touches.
Flavor Variations for Truffles
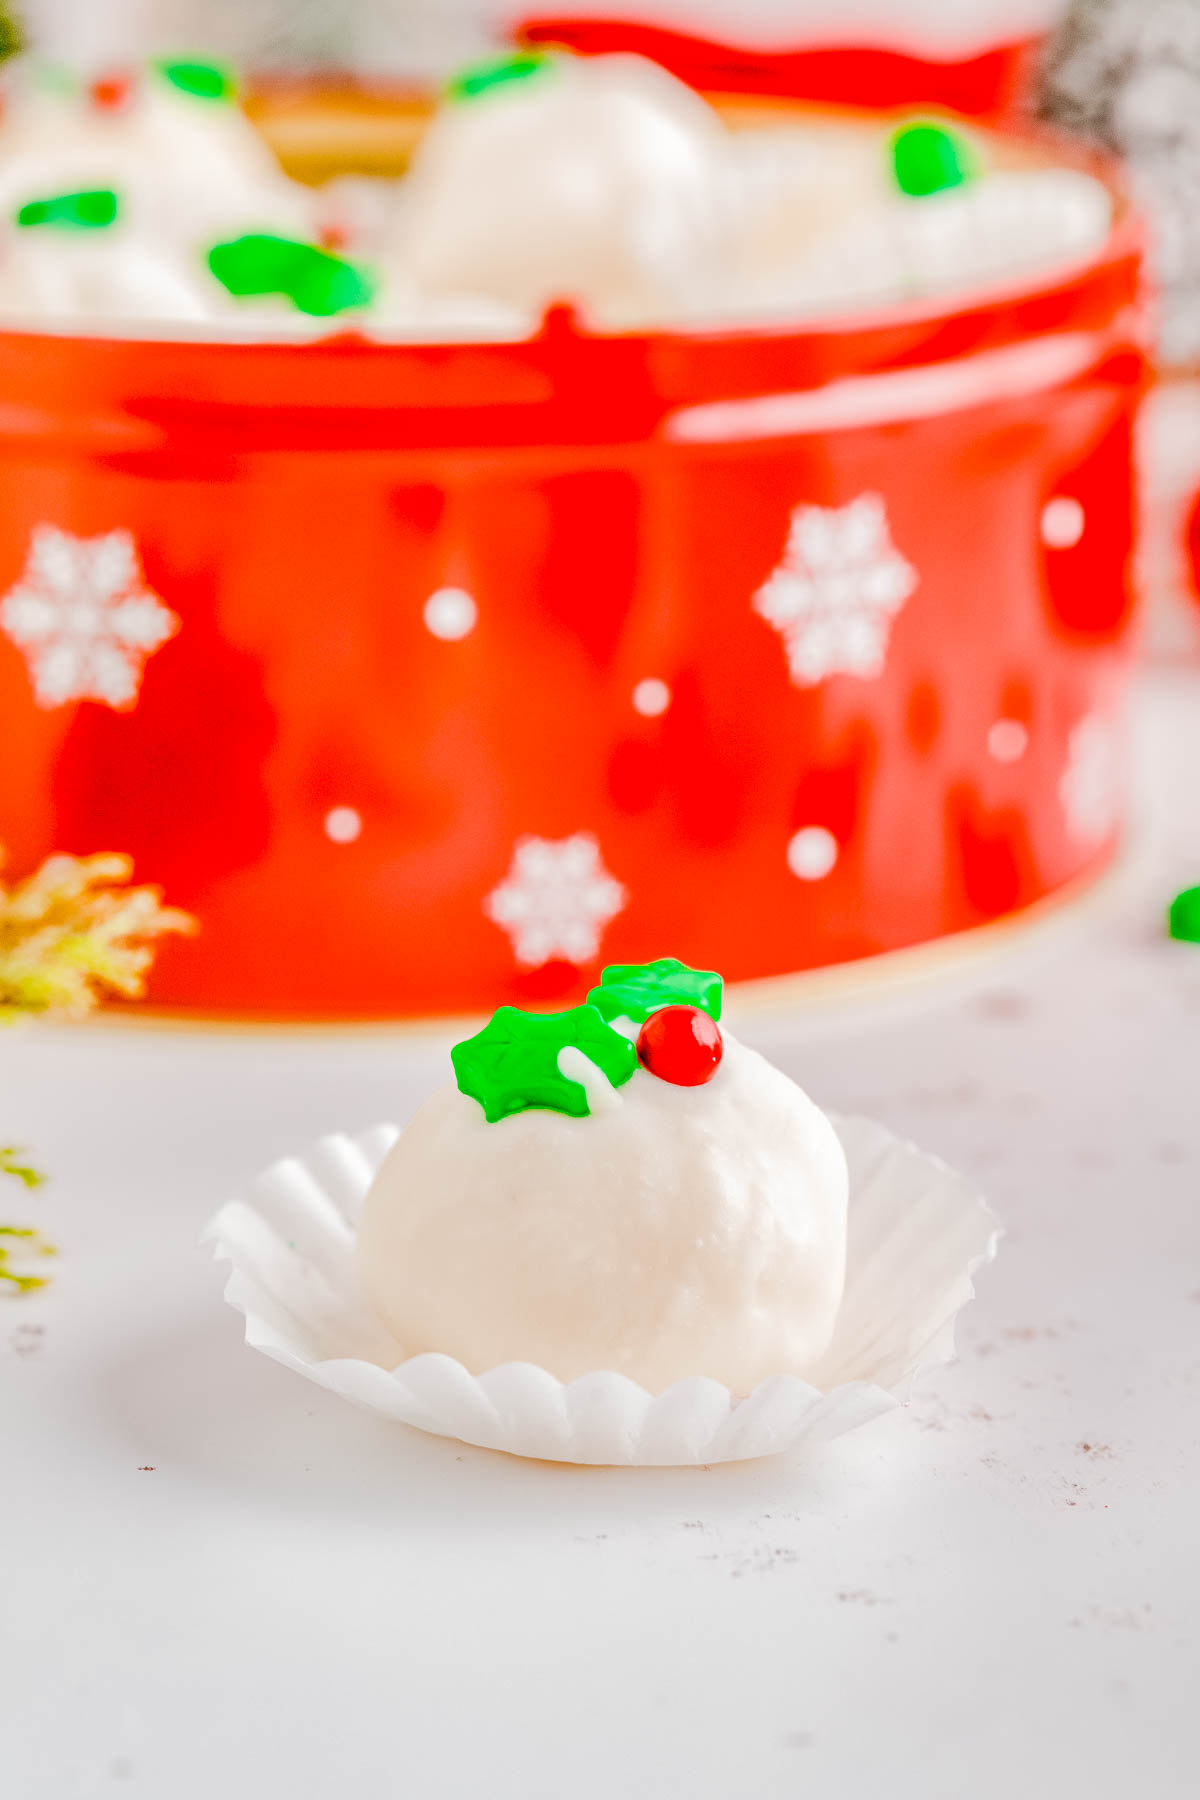
In addition to the smooth and creamy flavor of these white chocolate truffles, you can make some substitutions and additions including the following:
- use about 1 1/2 cups pulsed freeze dried raspberries added to the batter to make popular raspberry chocolate truffles. And then dip them in white chocolate for white chocolate raspberry truffles.
- sprinkle finely chopped nuts such as pecans, walnuts, pistachio, or macadamia nuts over the top of the coating mixture or mix in a 1/4 to 1/3 cup in the truffle ‘batter’ mixture.
- the same goes for sweetened shredded coconut stirred into the batter, about 1/3 cup
- add a tiny bit of extracts including peppermint, mint, coffee, vanilla, or lemon. Note that anything minty reads much stronger than say vanilla or lemon extract. Be very careful, I’m talking 1/4 teaspoon at most until you stir it in and taste.
- feeling fruit? Orange zest or lemon zest are nice additions.
- make all chocolate truffles by using a chopped chocolate bar for the truffle and chocolate melting wafers for the coating. Or make the inside white, coating milk chocolate – or vice versa.
- Baileys Irish cream is another option. Reduce the amount of cream by 2 tbsp if you add 2 tbsp Baileys.
- Food coloring is a fun way to color the center of the white chocolate truffles – or the coating. Either way is possible and in whatever color you like. Red and green would be especially festive this time of year.
Recipe FAQs
There are recipes that suggest you can use either sweetened condensed milk or heavy cream, like the two are interchangeable ingredients, when in fact that’s not the case at all. Sweetened condensed milk is intensely sweet (and thick and viscous) whereas heavy whipping cream has virtually no sweetness (and not nearly as thick).
So while the recipe will still likely work using sweetened condensed milk, the finished truffles will be MUCH sweeter. For me personally, too sweet.
White chocolate is already very sweet which is why I use heavy cream in this easy truffles recipe rather than sweetened condensed milk.
No, there are no substitutes for the heavy cream because you need that high degree of fat to help the truffle mixture solidify and come together. If you use half-and-half your truffles will not set up properly.
Yes you can do this in a small saucepan but just make sure you’re being very careful to keep stirring nearly constantly and use very low heat. You don’t even want the heavy cream to really simmer! Just get it warm enough so it will melt the white chocolate. Don’t scorch the milk, nor the chocolate. It tastes awful and you’ll have to start over.
If you want to mix it up, or do half white chocolate and half milk (or dark) chocolate dipped, that’s perfectly fine. I recommend chocolate melting wafers for their smooth and easy melting properties.
Yes you can. Rather than melting white chocolate with the heavy cream and butter, you can use milk or dark chocolate. You can dip the truffles in either a white chocolate coating or in milk/dark chocolate, based on your personal preferences.
You sure can. It’s a very easy recipe to scale up or down.
You can make the truffles in advance of a holiday event or Christmas party and store them in the fridge for about 3-5 days beforehand. They’ll keep for up to 2 weeks in the fridge. I don’t recommend freezing them (see the Storage section below).
The exact yield will depend of course on just how big or small you form and roll your truffles. I use a small or medium cookie scoop – or about 1 to 2 tablespoons batter per truffle – and I yield approximately 20 truffles.
Storing Dipped White Chocolate Truffles
These easy white chocolate truffles will keep airtight in the fridge for up to 2 weeks. You do need to store them in the fridge so that they won’t get soft at room temperature – plus they’re made with heavy cream which needs to be refrigerated.
You can leave them sit out for a few hours on a holiday desserts tray if you’re entertaining, but then move them back into the fridge.
You can freeze truffles for up to 3 months but I don’t recommend this as a make-ahead strategy if you’re trying to get months ahead on your holiday baking because upon freezing-thawing, the coating will likely look less than perfect and there could be discoloration. And there will be condensation upon thawing and the water droplets affect the appearance of the coating.
Pin This Recipe
Enjoy AverieCooks.com Without Ads! 🆕
Go Ad Free
White Chocolate Truffles
Ingredients
Truffle Filling
- 7 tablespoons heavy whipping cream, at room temperature (do not use half-and-half)
- 16 ounces white chocolate from a bar, finely chopped (do not use white chocolate chips)
- 4 ½ tablespoons salted butter, softened to room temperature
- ½ teaspoon vanilla extract
Coating
- 2 cups white chocolate melting wafers
- Christmas sprinkles, jimmies, candy decorations, as desired; optional but recommended
Instructions
- Truffle Filling – To a large microwave safe bowl, add the heavy cream and heat for 1 minute on high power. You're just warming the cream, you're not boiling it.
- Add the chopped white chocolate to the warm cream and stir to combine and encourage the white chocolate to melt. If it seems that it's not going to melt, place the bowl in the microwave and heat in 15-second bursts until it can be stirred smooth. Tip – I recommend a high quality white chocolate bar such as Lindt or Ghirardelli. Do not use chocolate chips. They are resistant to melting and not advised.
- To the creamy melted white chocolate mixture, add the butter and stir to combine until the butter has melted. Again, if it seems the butter is not going to melt because the mixture is a bit too cool, place the bowl in the microwave and heat in 15-second bursts until it can be stirred smooth. Tip – I use salted butter because the salt from it cuts the sweetness of the white chocolate. You can use unsalted butter and add about 1/4 teaspoon salt if preferred.
- Add the vanilla and stir to combine.
- Cover the bowl with plastic wrap, making sure the plastic wrap is touching the top of the white chocolate mixture (see blog post photos), and refrigerate the bowl for 3 hours, or until firm. Tip – Do not rush the chilling process and I advise using the fridge and being patient, rather than the freezer because you don't want to accidentally freeze it, or have it start to freeze around the edges, with a soupy center, which is how things normally begin to freeze.
- Line a baking sheet (or large dinner plate if you don't think a baking sheet will fit in your freezer); set aside.
- After the mixture has chilled as needed to firm up so that you can scoop out ball shapes, using a small to medium-cookie scoop, scoop 1 1/2 teaspoon sized truffle balls, or make approximately 20 truffles, and place them on the prepared baking sheet.
- Place the baking sheet into the freezer (it's okay – and recommended – to use the freezer this time rather than the fridge) and allow the truffles to chill and firm up for about 30 minutes.
- After 30 minutes, or when firm enough to roll into smooth balls, roll each truffle between the palms of your hands to form smooth balls ready to be dipped.
- Coating – Shortly before you're going to start dipping them, heat the white chocolate melting wafers as directed on the package. Tips – I strongly recommend using melting wafers because they melt so evenly, smoothly, are resistant to seizing, don't set up too fast which makes dipping easier. If you want to use "white almond bark coating" or another white chocolate type product intended for candy making and you know how to bake, go for it. If you're a beginner, for your own ease, stick with the melting wafers. You can use any brand but I always have great luck with Ghirardelli. They're also available in the baking section of most well stocked grocery stores.
- Dipping – Remove the truffles from the freezer (make sure they're nice and cold so the warm melted coating will stick and grab easily), and place one truffle on the fork, dip it into the melted chocolate to coat it, allow the excess to drip off through the fork tines, and place back on the parchment lined baking sheet. You can also do this with a toothpick. Spear one truffle, dip, shake the excess, place on the baking sheet. I like to dip about 5 truffles at a time.
- Before the coating has set, sprinkle each truffle with holiday-themed sprinkles, jimmies, candies, or as desired.
- Allow the truffles to set, at room temperature, until the coating is completely set before placing in the fridge. Tips – I let the coating fully set at room temperature because sometimes if you put wet chocolate into the fridge, it can dry with splotches on it and you can't correct that if it happens. Better to dry at room temp where it's much more of a guarantee it won't happen! For this reason, I never place wet chocolate in the freezer to set. It's a guarantee it will get splotchy and then when it's back at room temp, condensation will form on the exterior of the coating, and ruin the appearance.
Notes
Nutrition
Nutrition information is automatically calculated, so should only be used as an approximation.
©averiecooks.com. Content and photographs are copyright protected. Sharing of this recipe is both encouraged and appreciated. Copying and/or pasting full recipes to any social media is strictly prohibited.
More Easy Christmas Truffles & Balls:
White Chocolate Peanut Butter Truffles — Fast, EASY, no-bake, and the BEST peanut butter truffles! A creamy peanut butter filling with a bit of texture from graham cracker crumbs, dipped in white chocolate (or milk or dark), and topped with sprinkles! Great MAKE-AHEAD homemade hostess gifts, for cookie exchanges, or set them out at Christmas parties.
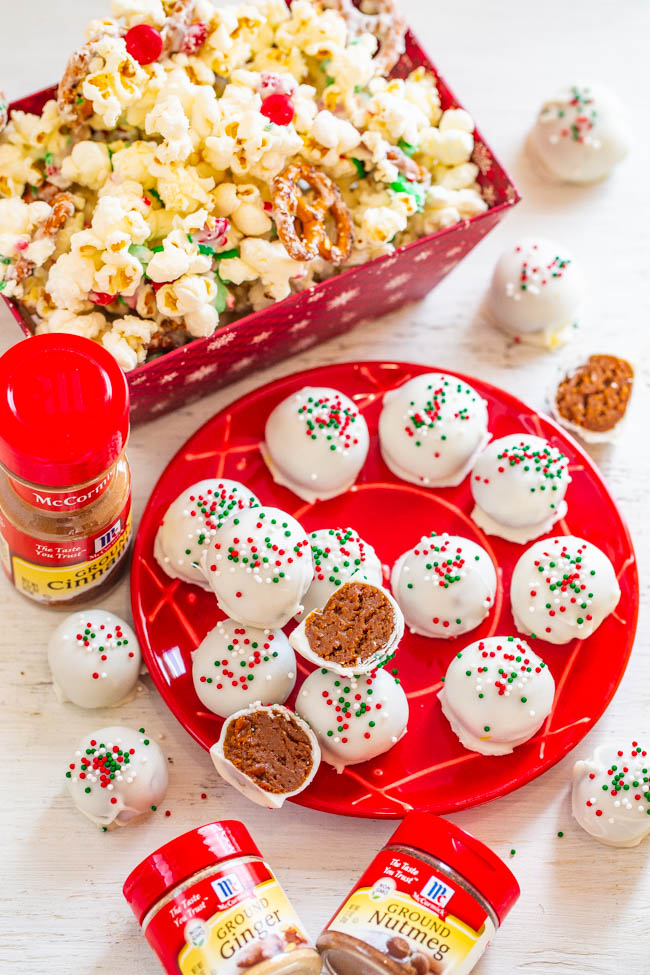
Gingerbread Two Ways – Two EASY NO-BAKE gingerbread-inspired recipes that are perfect for the holidays! They make great gifts, and who can say no to silky smooth gingerbread truffles or salty-and-sweet popcorn!
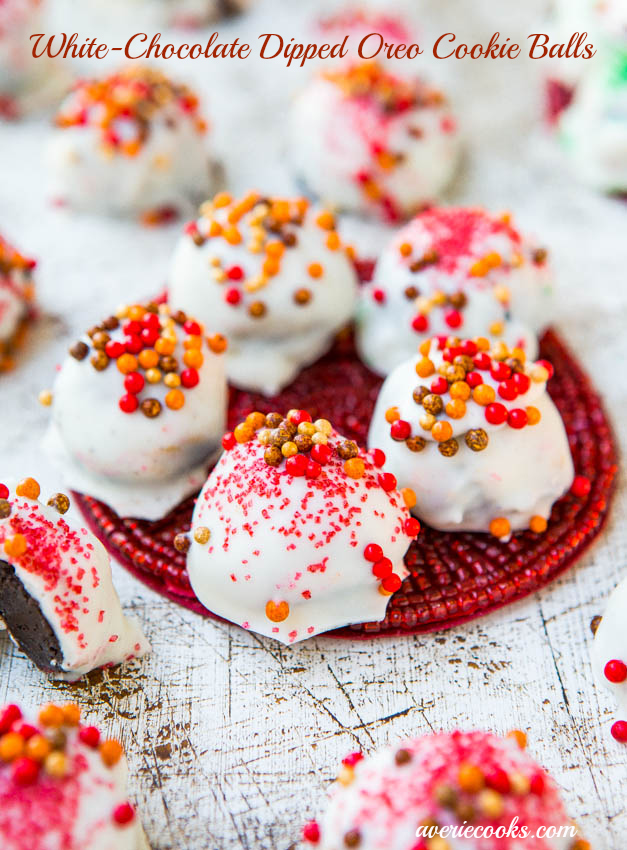
No-Bake Oreo Balls — This Oreo balls recipe uses just 4 simple ingredients! If you’re looking for an easy no-bake dessert for cookie swaps or gift exchanges, this is it!
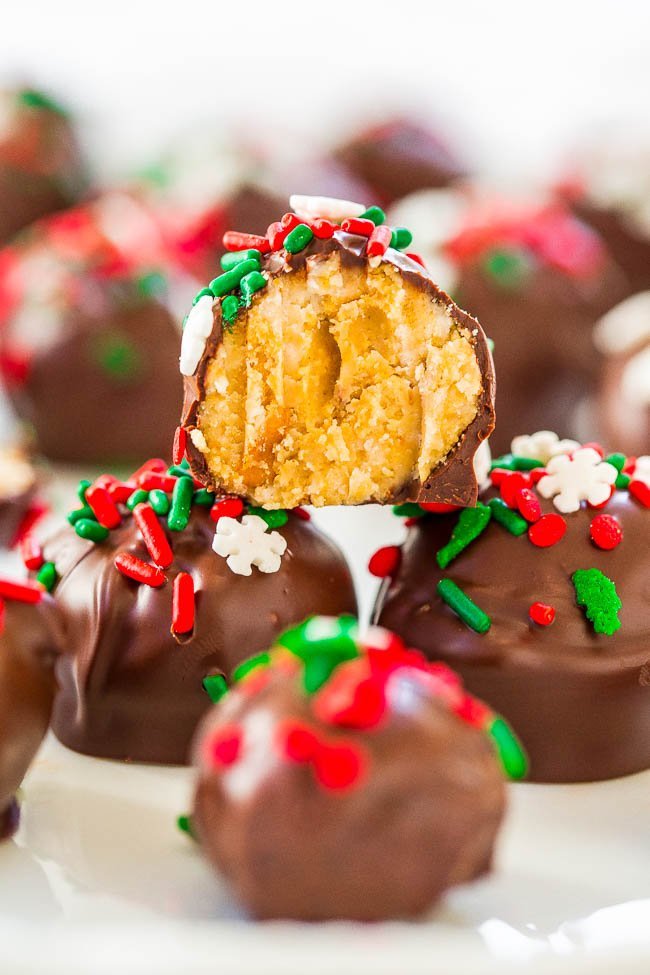
Chocolate Peanut Butter Balls — EASY, NO-BAKE chocolate peanut butter balls that are a holiday favorite!! They have it all: Salty, sweet, crunchy, with chocolate and peanut butter! Great for cookie exchanges or impromptu parties!!
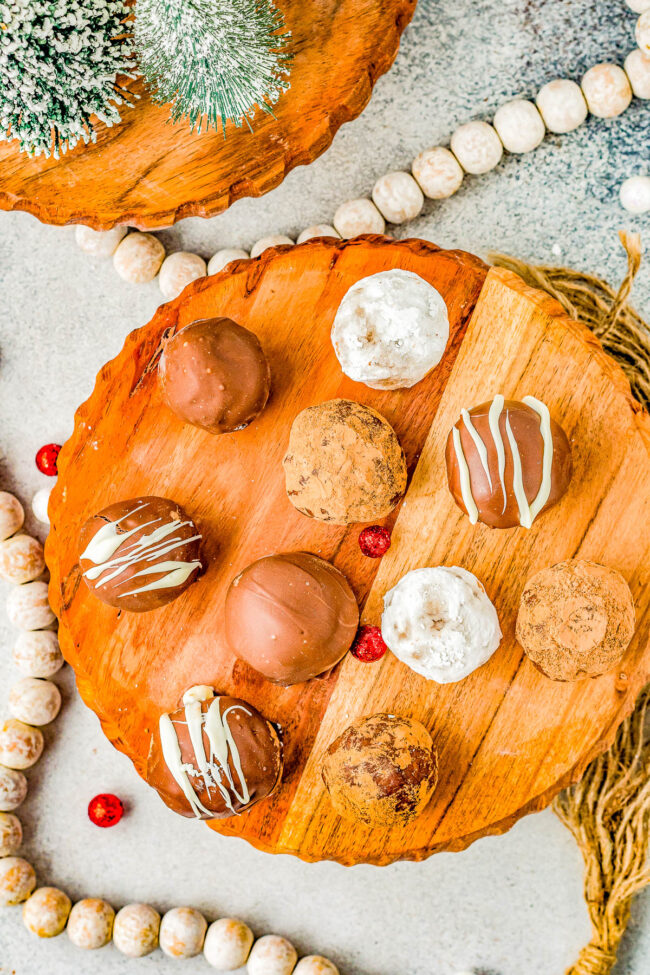
Rum Balls – A classic rum balls recipe made with crushed ginger snaps cookies, toasted pecans, melted butter, and spiced rum! Roll these FAST and EASY NO-BAKE treats in confectioners’ sugar, cocoa powder, coconut, or dip them in melted chocolate! Great for gift-giving and cookie exchanges because you can make them far in advance!
Fudgy Bourbon Balls — Easy, no-bake, ready in 15 minutes, soft, chewy, and fudgy! Sugar and booze all in one bite-sized treat! Great for hostess gifts, holiday parties, and cookie exchanges!
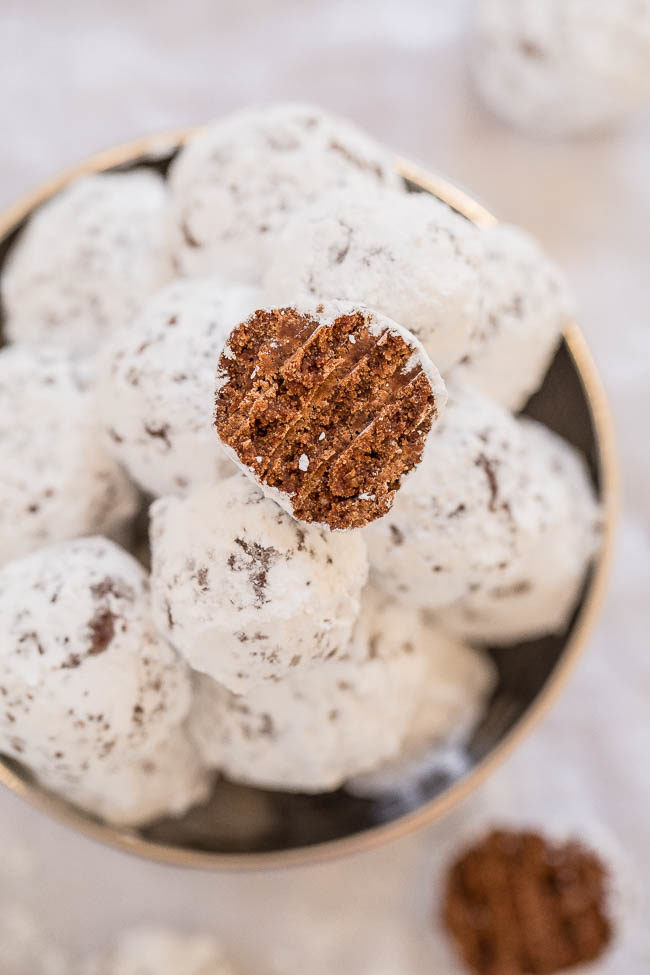
Fudgy Brownie Balls — Looking for things to make with brownie mix? Look no further! These brownie balls are made with brownies, chocolate frosting, and dipped in melted chocolate! The combination of all that rich chocolate is absolutely PERFECT!
