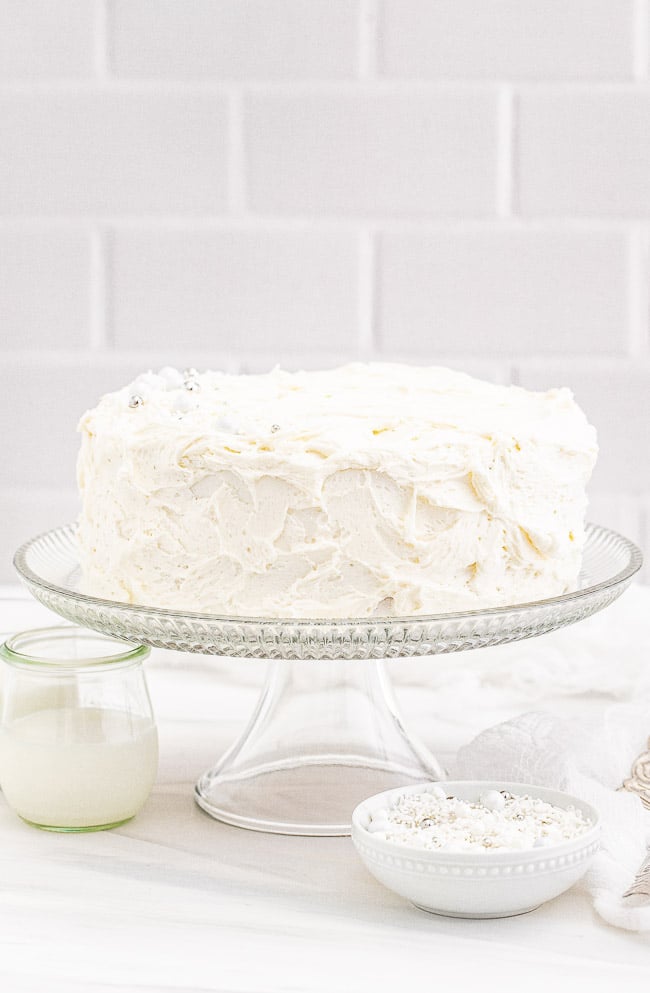
Classic White Layer Cake — 🎂🙌🏻 A classic, white, two-layer cake recipe! The cake has a light texture that’s complemented by super light and fluffy buttercream that’s not too sweet. Learn how to make THE BEST white cake that’s fancy enough to serve at your most special celebrations and events!
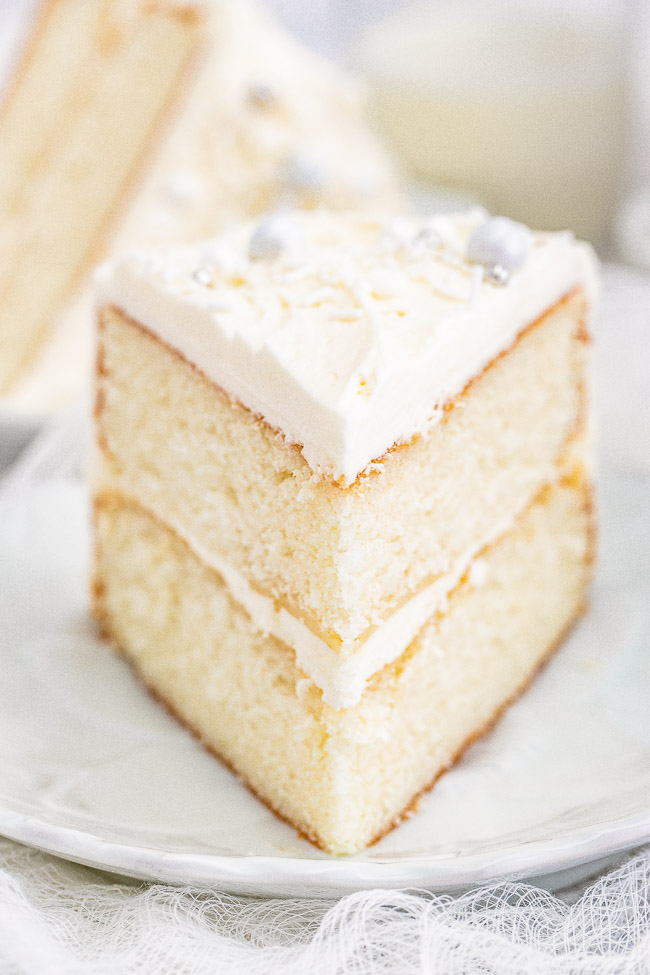
Table of Contents
- Homemade White Cake Recipe
- Ingredients in White Layer Cake
- Can the Cake Flour Be Substituted?
- Ingredients in White Cake Frosting
- How to Make White Cake
- How to Make White Cake Frosting
- Tips for the Best Vanilla Buttercream Frosting
- How to Assemble a Layer Cake
- How to Serve White Cake
- How to Store White Cake
- Can This Cake Be Prepared in Advance?
- Can White Cake Be Frozen?
- Can Buttercream Frosting Be Frozen?
- Which Vanilla Extract Should I Use?
- Can the Almond Extract Be Omitted?
- Tips for Making White Cake From Scratch
- White Layer Cake with Buttercream Frosting Recipe
- More Homemade Cake Recipes:
Homemade White Cake Recipe
For anyone wanting to learn how to make a classic white two-layer cake, this post will teach you how to do so easily and do so very successfully!
It’s a long post, with lots of photos, tips, tricks, and insider info, but if you’d like to bypass my commentary and get to the recipe, just keep on scrolling down until you see the recipe card itself.
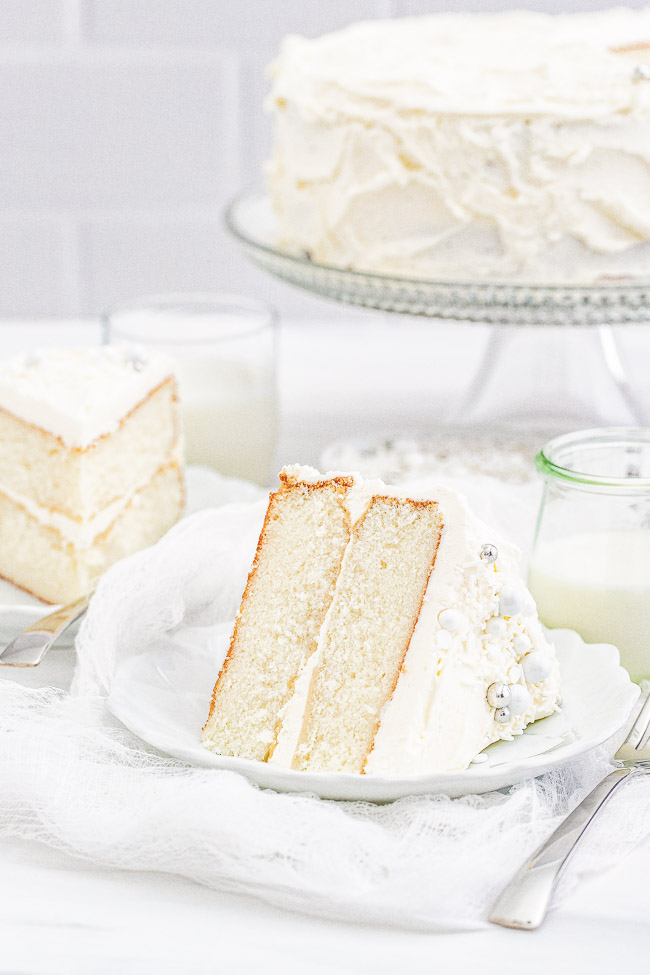
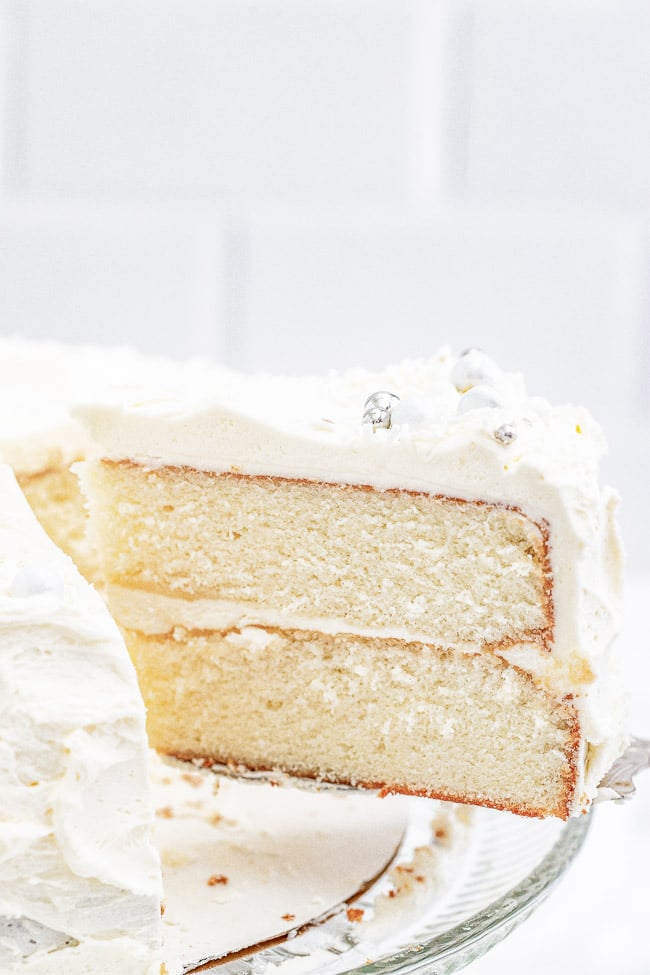
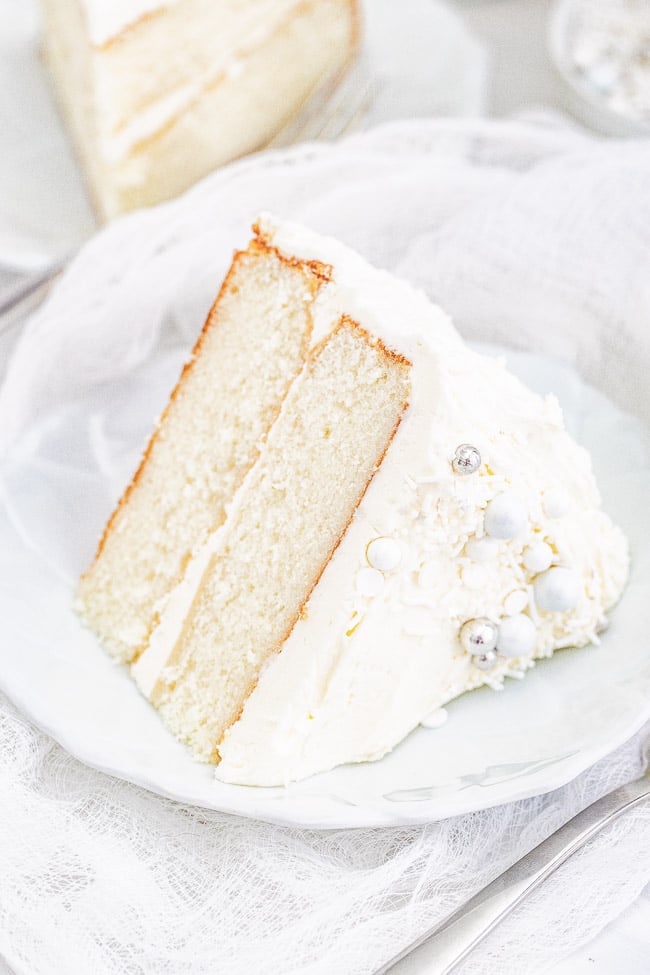
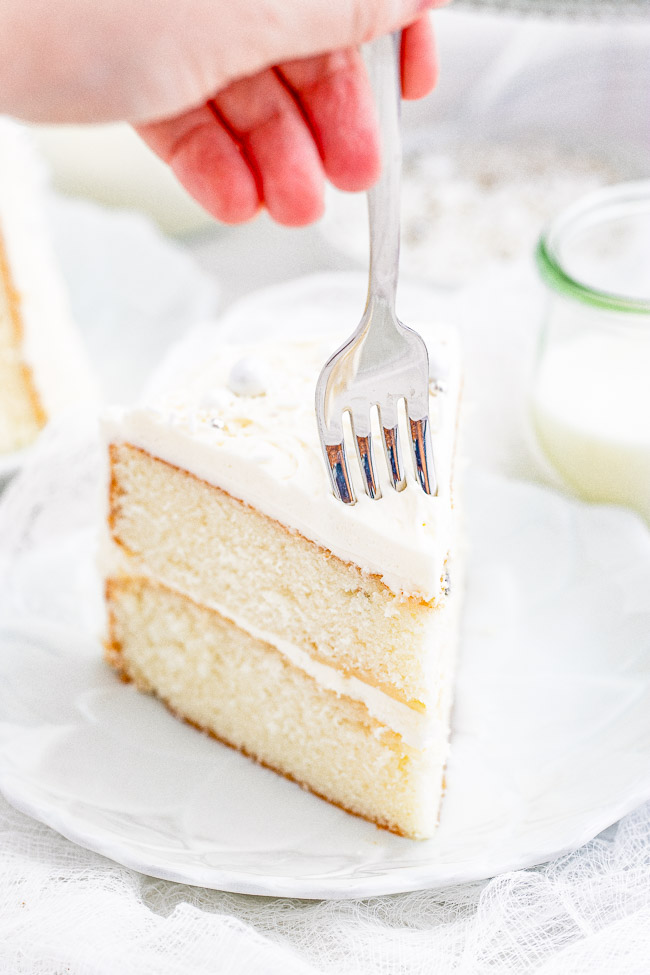
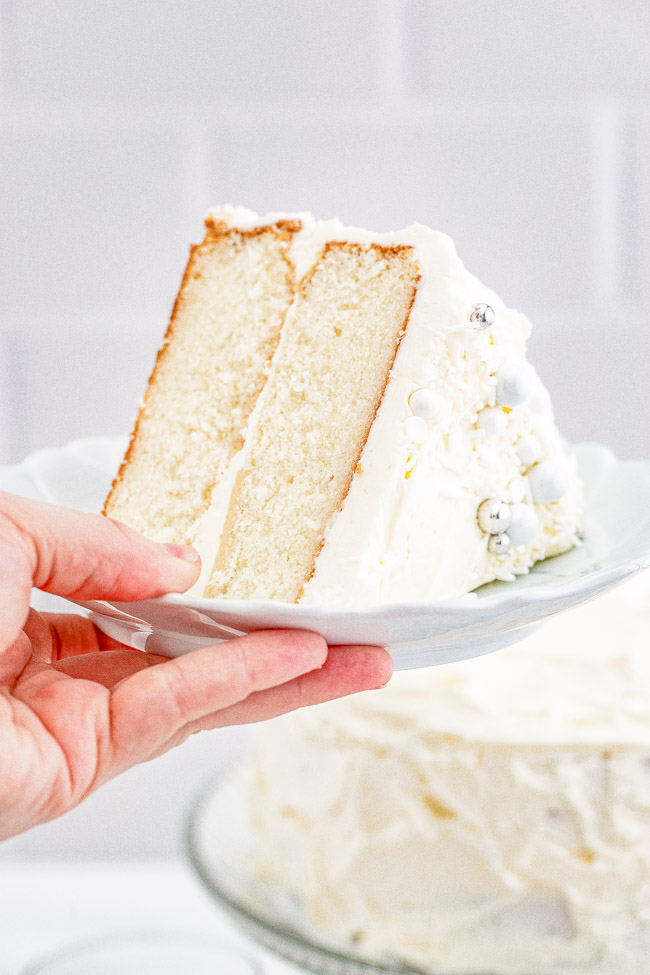
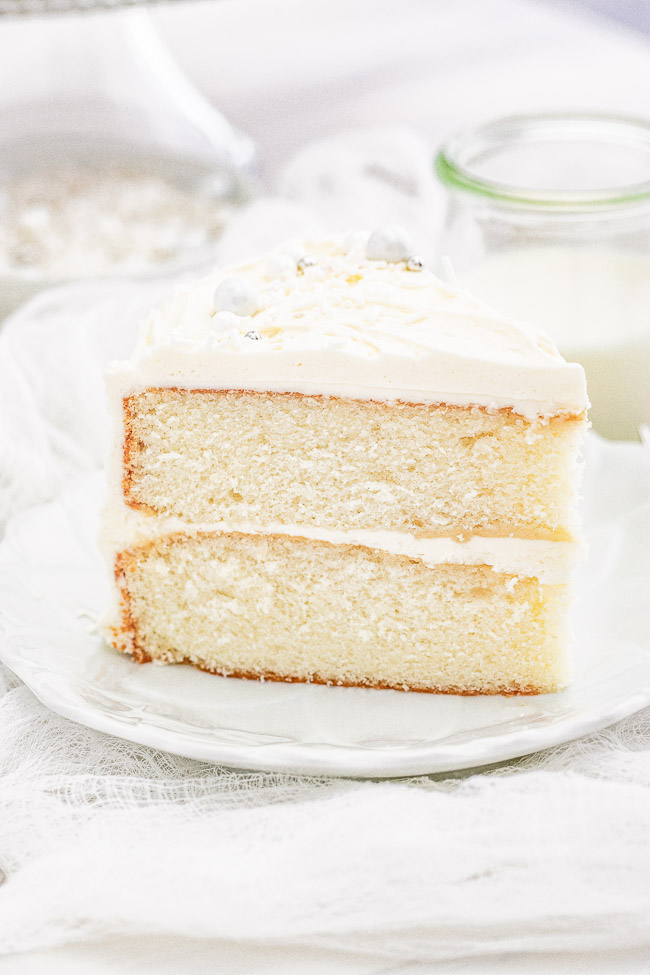
My white layer cake is very light in texture and has a wonderful crumb and overall the mouthfeel is more on the delicate side.
The cake isn’t at all dry, which is a problem that so frequently can plague cakes, but this recipe is perfectly moist without being dense.
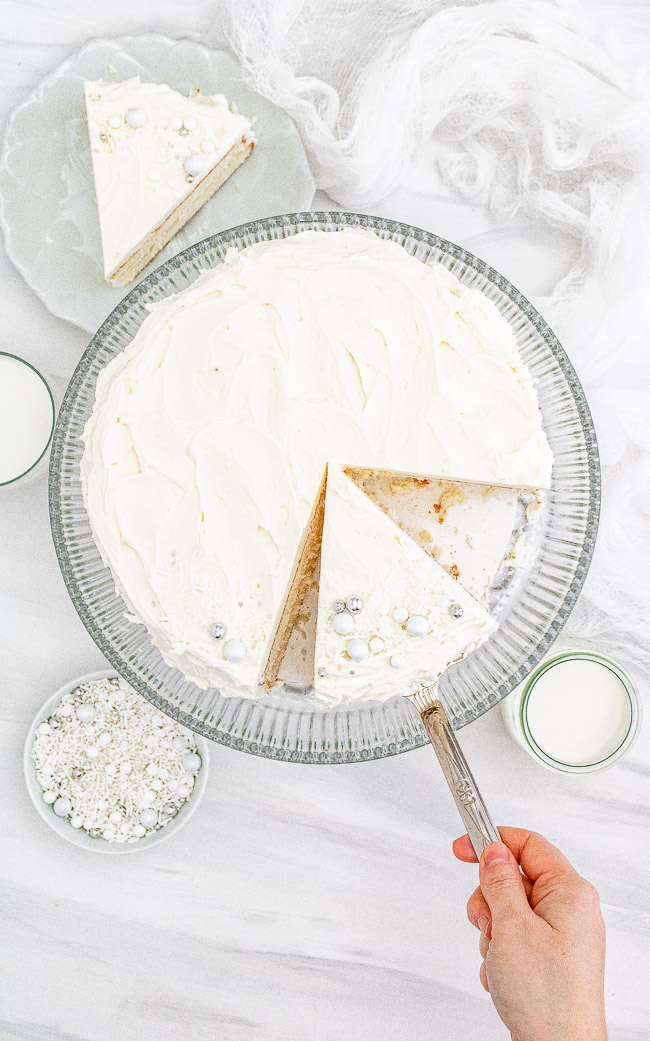
I make a traditional vanilla buttercream frosting for this layer cake, and what I love about this particular buttercream frosting is that it’s light and fluffy, but it’s not too sweet.
I am a frosting connoisseur and can literally eat a little cake with my frosting, but not if the frosting is saccharinely sweet. Thankfully, you don’t have to worry about that here.
This classic white layer cake is special enough to be served at a fine dinner party, engagement party, wedding reception, anniversary or graduation celebrations, or anytime you’re in need of a perfect white celebration cake!
Ingredients in White Layer Cake
In order to make this two-layer white cake from scratch, you’ll need the following ingredients, most of which you’ll likely have in your fridge or pantry already including:
- Whole milk
- Egg white
- Vanilla extract (I suggest clear)
- Almond extract (optional but highly recommended)
- Cake flour
- Baking powder
- Sea salt
- Unsalted butter
- Granulated sugar
Note: Scroll down to the recipe card section of the post for the ingredients with amounts included and for more complete directions.
Can the Cake Flour Be Substituted?
I HIGHLY suggest using cake flour for this recipe or the cake will have a denser texture. Simple as that, just use cake flour.
Although the cake will theoretically work with all-purpose flour, it will be much heavier and denser and isn’t recommended.
Ingredients in White Cake Frosting
To make the vanilla buttercream frosting that goes in between the two layers of the cake, on the top, and down the side, you’ll want to gather:
- Unsalted butter
- Confectioners’ sugar
- Sea salt
- Vanilla extract (I suggest clear)
- Almond extract (optional but highly recommended)
- Whole milk
- Sprinkles, for decorating (optional but recommended)
Note: Scroll down to the recipe card section of the post for the ingredients with amounts included and for more complete directions.
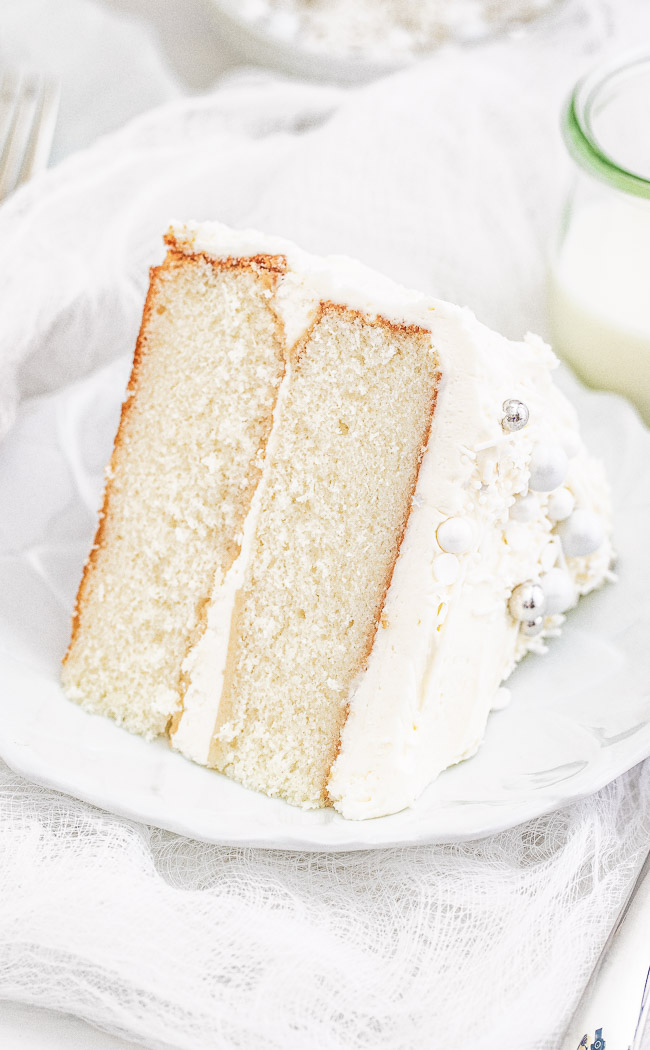
How to Make White Cake
This homemade white cake recipe starts by preheating your oven to 350F and then properly prepping your cake pans.
- Spray two 9-inch round pans with cooking spray, both all over the base and the sides of both pans. Then, take a pastry brush and brush the spray all over the pans to make sure it is evenly coated. Place a parchment paper liner in the bottom of the pan and grease the top of the parchment paper before setting them aside. Note that the parchment paper doesn’t need to go up the sides of the pans.
- Once the pans have been prepped, you can make the cake batter. To a large bowl, whisk together the milk, egg whites, vanilla extract, the optional almond extract, and set aside.
- In a separate large bowl, whisk together the cake flour, baking powder, sea salt, and set that aside as well.
- To the bowl of stand mixer fitted with the paddle attachment, or in a large bowl with an electric hand mixer, add the butter and sugar, beat until light and fluffy. This takes about 3 minutes on medium speed. Be sure to stop to scrape down the sides.
- Add half of the flour mixture to the bowl and stir it in until incorporated and then scrape down the sides. Add half the milk mixture and stir it in until incorporated, scrape down the sides, and repeat the process with the remaining halves of the flour mixture and the milk mixture.
- Divide the batter evenly into the two prepared pans and bake for about 20 to 25 minutes, or until just done. Allow the cakes to cool for about 10 minutes in the pans on a wire rack before turning them out to cool completely, about two hours.
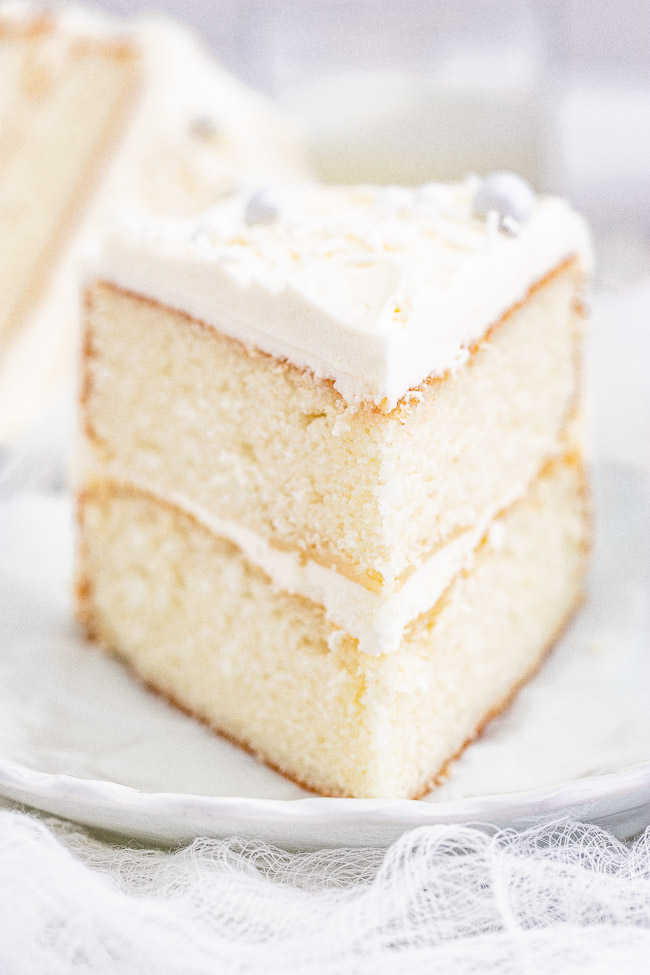
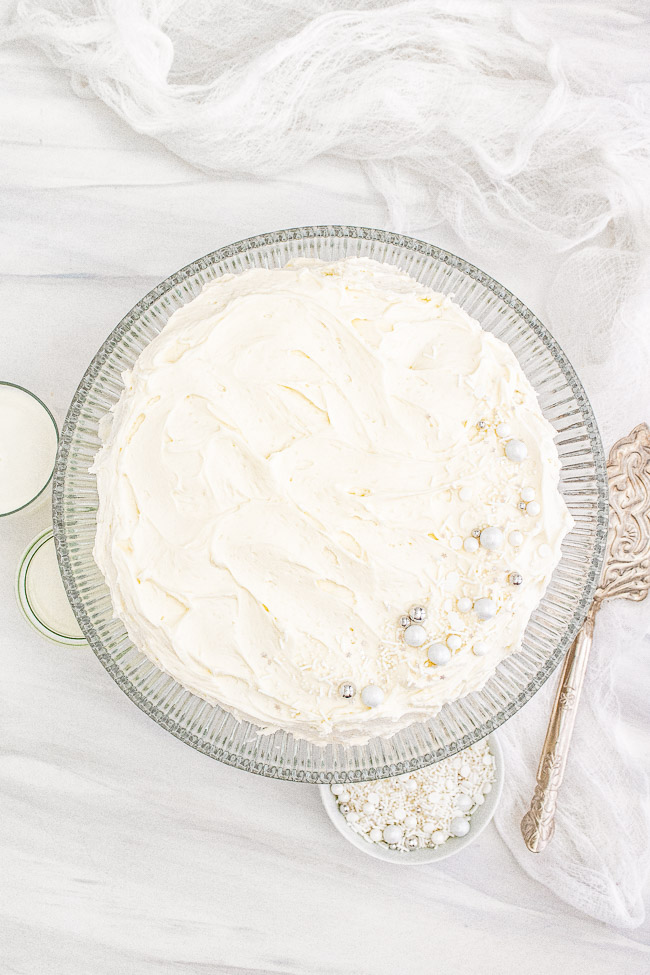
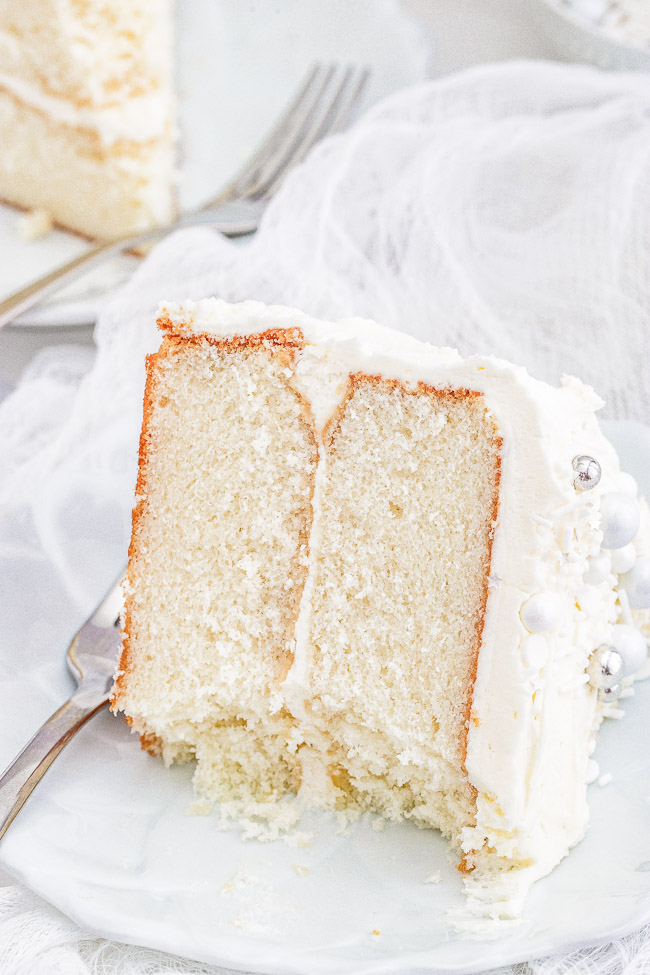
How to Make White Cake Frosting
- Place the butter into the body of a stand mixer with a paddle attachment, or into a large bowl with an electric hand mixer, and whip on medium speed until it’s completely smooth.
- Turn the speed to low and begin by adding a spoonful of sifted confectioners’ sugar to the bowl. You want to make sure the confectioners’ sugar gets incorporated fully before adding the next spoonful. I realize this will take some time, but it is worth it to get super fluffy buttercream!
- Scrape down the sides as needed. Add the vanilla extract and almond extract and mix in until combined. I do really recommend almond extract here, as well as in the cake batter itself. However, you can use more vanilla extract if you’re not using almond extract.
- Add the milk and stir it in until combined. Turn up the speed to medium-high and whip the frosting for 3 minutes. It will become super light and fluffy.
Tips for the Best Vanilla Buttercream Frosting
The vanilla buttercream is extremely light and fluffy, not too sweet, you can eat it with a spoon!
I HIGHLY suggest you do not skip the step of sifting the powdered sugar and then adding it one spoonful at a time into the mixer, because this is how you get that super fluffiness.
To brighten the buttercream you can add a very, very small amount of violet gel food coloring. I’m talking about the very tip of a toothpick dipped in the food coloring and added to the buttercream. This helps to offset the yellow from the butter.
Of course, this is completely optional and is likely only for the most obsessive types, including myself.
How to Assemble a Layer Cake
If there is any doming on the tops of the cooled cakes, carefully cut any away so it is flat.
Take a cake stand, plate, or cake board and place a tablespoon of buttercream in the center. This helps keep the cake from moving around.
Place one of the cakes, bottom side down, onto the buttercream. Center the cake on your serving plate before placing 1 cup of buttercream on top of the cake and smooth it out to the edge.
Invert the next cake and place it top-side down onto the buttercream.
Now we are going to create a crumb coat.
Place about 1 cup of the buttercream into a separate dish. This ensures you don’t get any crumbs in your big batch of buttercream.
Carefully smooth out a layer of buttercream all over the cake. It doesn’t have to be thick, but make sure it coats the cake completely. I like to press in some of the buttercream into the sides where the two cakes meet where there can sometimes be a gap.
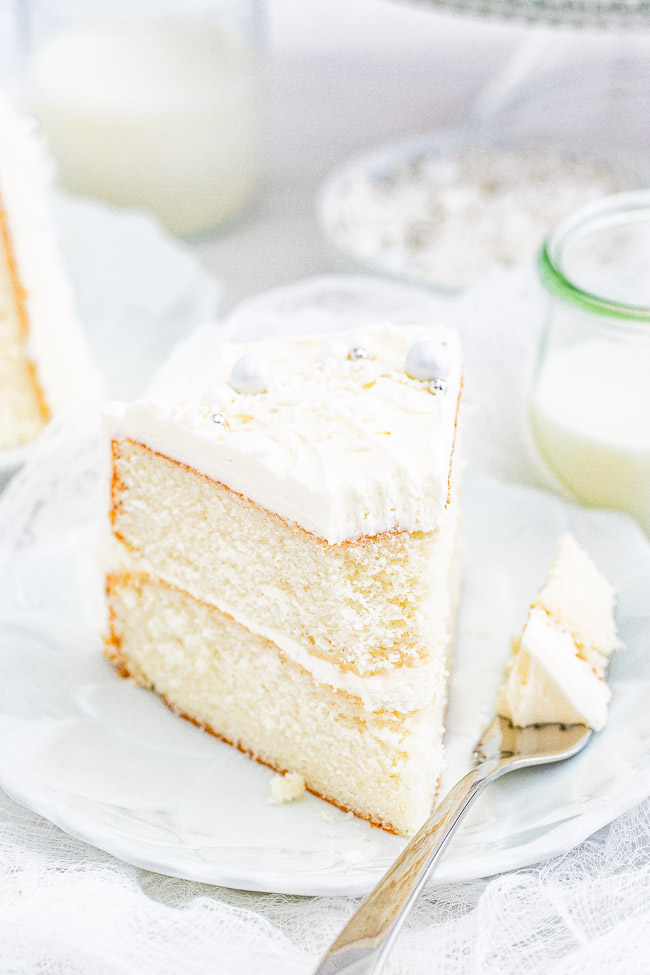
Place the cake into the fridge for at least 2 hours so the crumb coat can set. I like to do this step overnight so I am not overwhelmed by the decorating process.
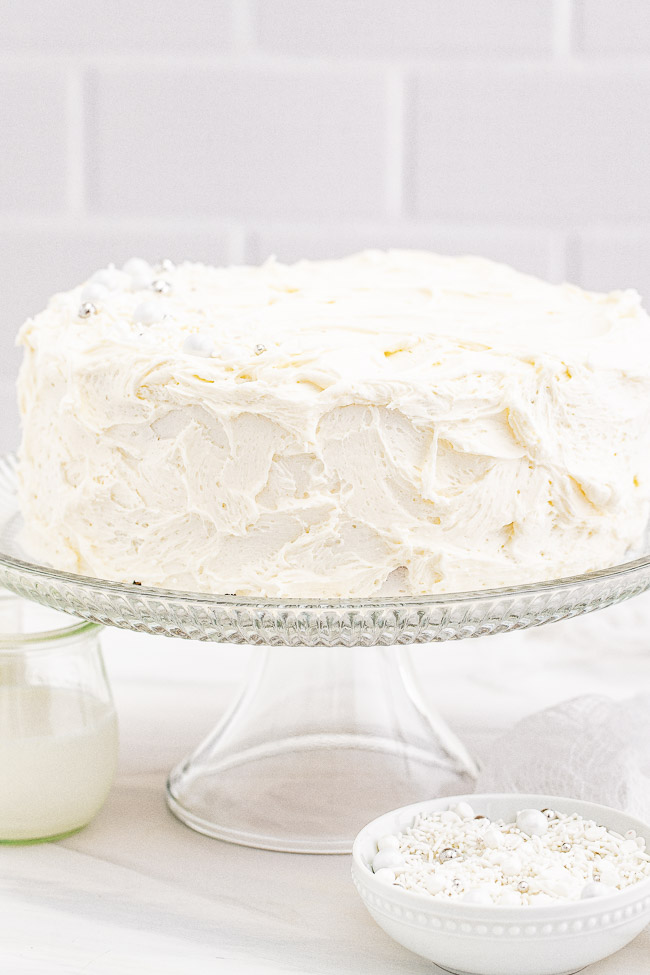
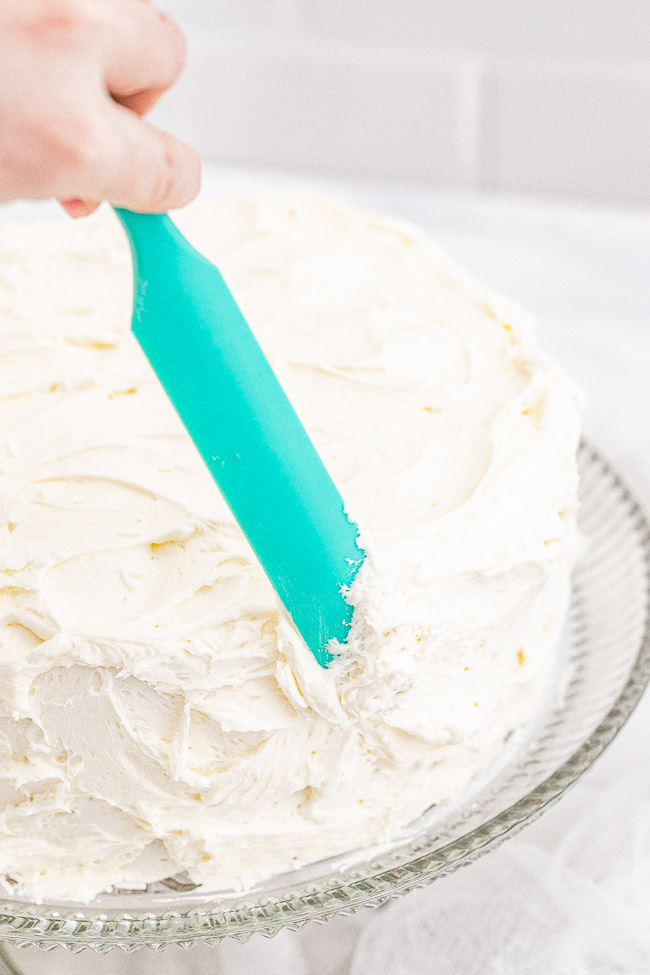
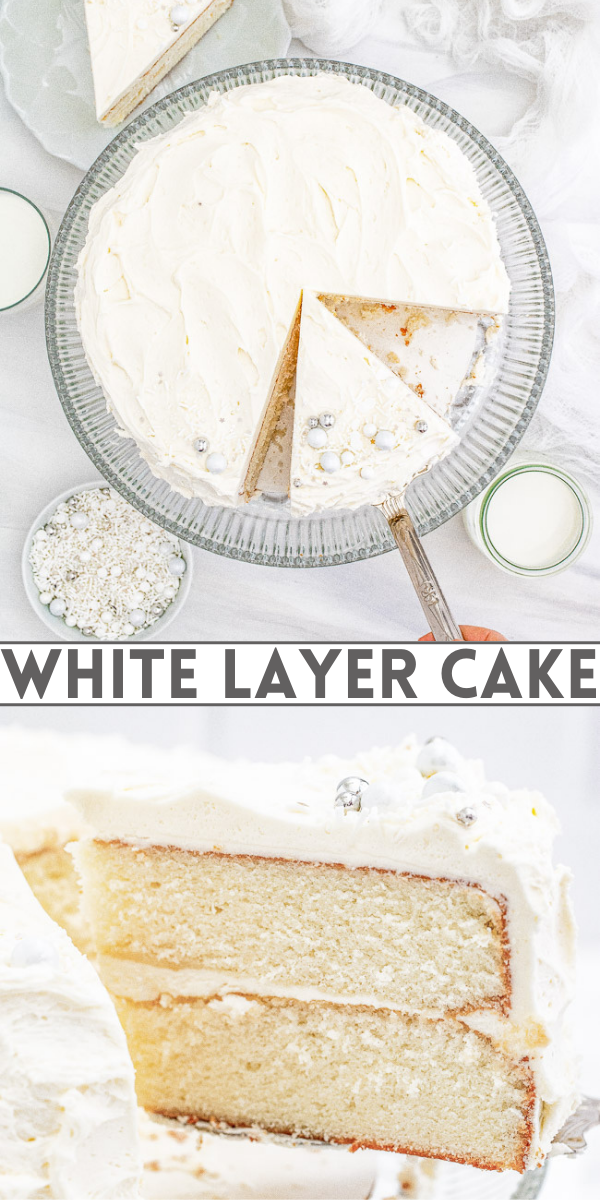
Once your crumb coat is set, frost the outside of the cake. I like a rustic look so it appears homey, and honestly it saves me from the stress of trying to make perfectly smooth frosting. Although of course decorate your cake any way you wish.
My buttercream frosting recipe pipes like a dream! If you’re going for a more structured look, you can feel confident putting it into a piping bag with your favorite decorating tip.
Add sprinkles if desired, serve, and enjoy!
How to Serve White Cake
I highly recommend allowing the layer cake to come to room temperature before serving it.
The cake is nice and moist at room temperature, but like most cakes, when it is cold it can seem drier.
How to Store White Cake
Theoretically, buttercream frosting is safe to store at room temp for up to three days and that’s because of the sugar content.
However, just to be safe, I keep this cake in the fridge after I assemble it so that it’s sure to last a week without question.
Can This Cake Be Prepared in Advance?
Yes! If you’re serving it for an event and you know the whole cake will be gone after serving it to your guests, I would make it the day before, frost it, and then just keep it at room temp.
Storing really depends on how fast you expect this cake to be 100% consumed and done.
Short term I’d say store at room temp (up to 3 days) and otherwise store it in the fridge. Of course, do what you’re comfortable with.
Can White Cake Be Frozen?
Yes, the homemade white cake layers may be baked, cooled to room temperature, and then frozen. I recommend wrapping them in a few layers of plastic wrap before sealing them inside freezer bags.
When ready to assemble the cake, thaw overnight on the counter before frosting.
Can Buttercream Frosting Be Frozen?
Yes, the white cake frosting may be frozen in a separate airtight container. When ready to eat, thaw overnight in the fridge.
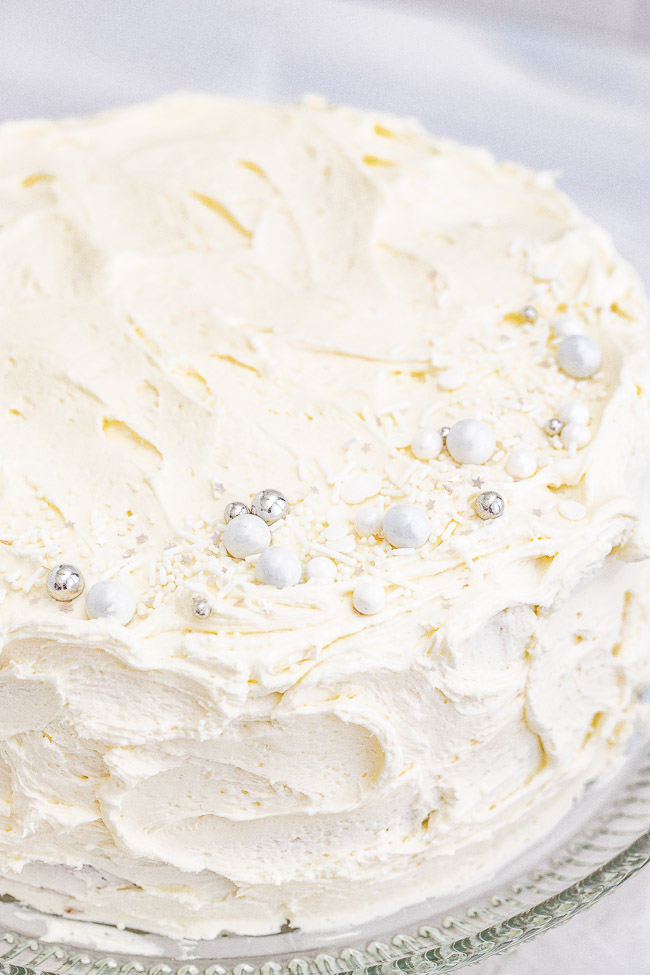
Which Vanilla Extract Should I Use?
I used clear vanilla to keep the cake as white as possible.
This likely means you will have to use “imitation” vanilla extract, something which is normally shunned by bakers. However, in this case, I believe it’s justified but you can use real vanilla extract if you’re so inclined.
Can the Almond Extract Be Omitted?
I personally love the addition of the almond extract with the vanilla. It makes the cake seem more special and gives an added dimension of flavor. There is something so magical and special about a touch of almond extract!
However, this is completely optional and I would substitute with more vanilla or another extract (perhaps lemon or orange) if someone doesn’t like almond or there’s a reason you’re not using the almond extract.
Tips for Making White Cake From Scratch
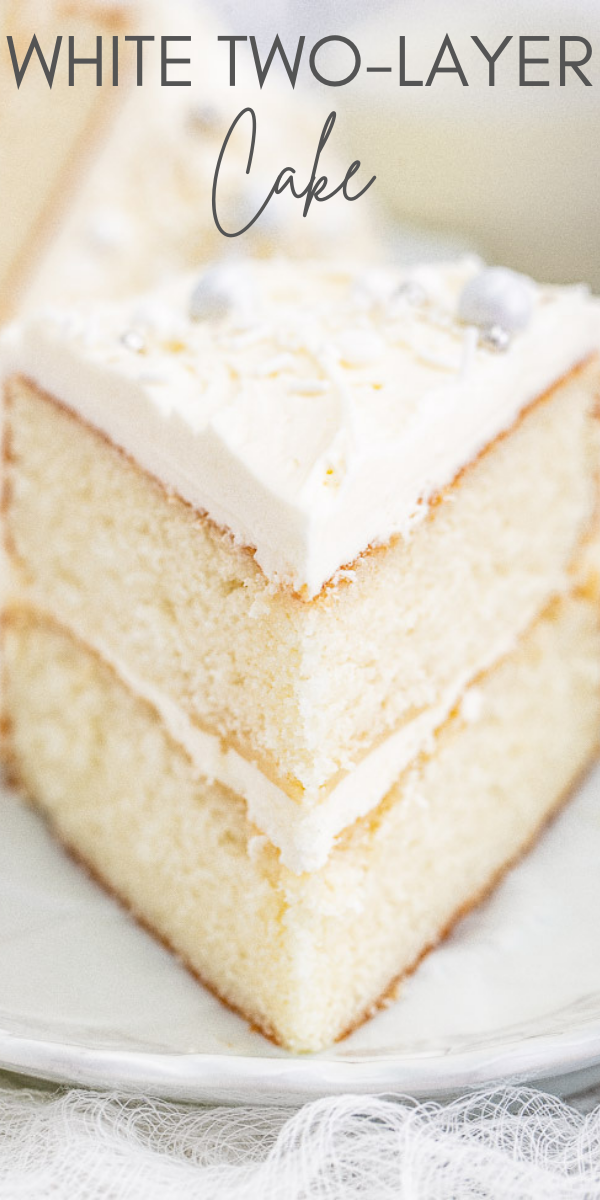
When you’re dividing the cake batter between the two cake pans before baking, you can do this by weight if you have a scale. Or, you can use a large cookie scoop and scoop it evenly into each pan, one by one, to make sure the same amount of batter is in each pan.
When baking the cakes, they are done or ready when a toothpick inserted into the center comes out mostly clean. Just a few crumbs stuck to the toothpick is ideal.
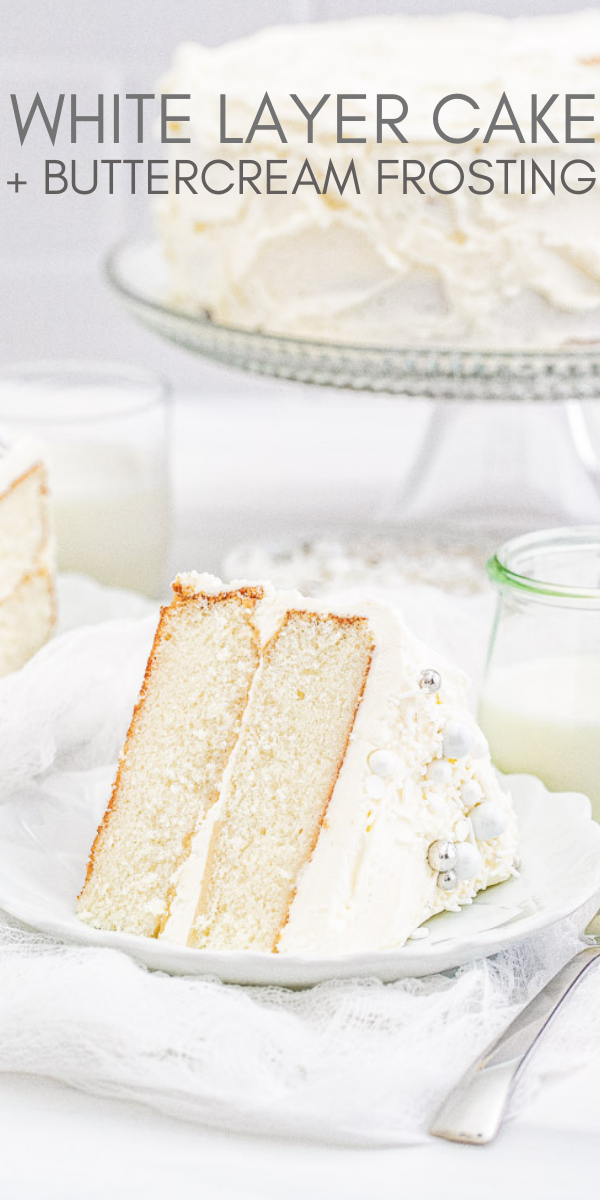
You do not want the cakes to brown too much since this is white cake, after all.
Therefore, I really recommend keeping an extremely watchful eye on them during the final moments of baking, and bake just until they’re just done and not a moment over which will ensure the sides stay white.
Although you’re frosting them, which theoretically covers up the browning.
However, when sliced, overly brown edges will stick out like a sore thumb against white frosting and the white crumb of the interior of the cake!


Pin This Recipe
Enjoy AverieCooks.com Without Ads! 🆕
Go Ad Free

White Layer Cake with Buttercream Frosting
Ingredients
Cake
- 1 cup whole milk, room temperature (65°F)
- 6 large egg whites, room temperature (65°F)
- 1 teaspoon clear vanilla extract, clear is likely “imitation” vanilla extract; real may be used noting it will yellow the cake
- 1 teaspoon almond extract, optional but highly recommended
- 2 ¼ cups cake flour, all-purpose not recommended
- 1 tablespoon baking powder
- ½ teaspoon fine sea salt
- ¾ cup unsalted butter, room temp (65°F)
- 1 ¾ cup granulated sugar
Buttercream rosting:
- 1 ½ cups unsalted butter, softened
- 6 cups confectioners’ sugar, sifted*
- 1 teaspoon fine sea salt
- 1 ½ teaspoons clear vanilla extract
- 1 ½ teaspoons almond extract, optional but highly recommended (clear is likely “imitation” vanilla extract; real may be used noting it will yellow the frosting)
- 3 tablespoons whole milk
- Sprinkles for decorating, optional
Instructions
- Prepping Cake Pans – Preheat the oven to 350°F. Spray two 9-inch round cake pans and with cooking spray. Take a pastry brush and brush the spray all over the pans to make sure they are evenly coated. Place a parchment paper liner in the bottom of the pans, it does not need to go up the sides. Grease the top of the parchment papers by spraying them with cooking spray and then brushing it lighting; set pans aside.
- Cake – To a large bowl, add the milk, egg whites, vanilla extract, optional almond extract*, and whisk until combined; set aside.
- To a separate large bowl, add the cake flour, baking powder, sea salt, and whisk until combined; set aside.
- To the bowl of a stand mixer fitted with the paddle attachment or in a large bowl with an electric hand mixer, add the butter and sugar. Beat on medium speed until light and fluffy, about 3 minutes. Stop and scrape down the sides.
- Add half of the flour mixture to the mixing bowl and beat momentarily until just incorporated. Stop and scrape down the sides.
- Add half of the milk mixture to the mixing bowl and beat momentarily until just incorporated. Stop and scrape down the sides.
- Add the remaining flour mixture and beat momentarily until just incorporated. Stop and scrape down the sides.
- Add the remaining milk mixture to the mixing bowl and beat momentarily until just incorporated. Stop and scrape down the sides.
- Divide the cake batter between the two cake pans. You can do this by weight or I like to use a large cookie scoop and scoop it evenly into each pan, one scoop by one scoop, to make sure the same amount of batter is in each pan.
- Bake for 20 to 25 minutes, or until just done. The cakes are ready and done when a toothpick inserted into the center comes out mostly clean, with a few crumbs stuck to the toothpick is ideal. You do not want the cakes to brown too much because dark sides or tops will be evident when you slice into the cake, even after it’s frosted the dark edges will be notable.
- Place the pans onto a wire rack and cool for 10 minutes before turning the cakes out and allowing them to completely on the wire rack, at least 2 hours or more.
- Buttercream Frosting – To the bowl of a stand mixer with the paddle attachment or into a
large bowl with an electric hand mixer, add the butter and whip on medium speed until completely
smooth. - Turn the speed down to low and being adding spoonfuls of the powdered sugar to the mixing bowl, one spoonful at a time. You want to make sure the confectioners’ sugar gets incorporated fully before adding the next spoonful. The overall process will take some time, but it is worth it to get super fluffy buttercream. Scrape down the sides as needed.
- Add the vanilla and almond extracts and beat momentarily on medium-low speed until combined.
- Add the milk and beat momentarily on medium-low speed until combined.
- Turn up the speed to medium-high and whip the frosting for 3 minutes. It will become super light and fluffy.
- Cake Assembly – If there is any doming on the tops of the baked cakes, carefully cut any away so it is flat.
- Take a cake stand, plate, or cake board and place a tablespoon dollop of buttercream in the center. This helps keep the cake from moving around.
- Place one of the cakes, bottom side down onto the buttercream, centering the cake on your serving platter.
- Place 1 cup of buttercream on top of the cake and smooth it out to the edge.
- Invert the other cake and place it top-side down onto the buttercream. C
- Crumb coat – Place about 1 cup of the buttercream into a separate dish. This ensures you don’t get any crumbs in your big batch of buttercream.
- Carefully smooth out a layer of buttercream all over the cake. It doesn’t have to be thick but we want to make sure to coat the cake completely. I like to press in some of the buttercream into the sides where the two cakes meet where there can sometimes be a gap.
- Place the cake into the fridge for at least 2 hours so the crumb coat can set. I like to do this step overnight so I am not overwhelmed by the frosting and decorating process.
- After at least two hours and your crumb coat has set, frost the outside of the cake. I like a rustic look so it appears homey, and ultimately is less stressful since I don’t feel pressure to create perfectly as-smooth-as-glass frosting, but you can decorate your cake however you wish.
- Optionally, add sprinkles as desired.
- Serving/Storing – I recommend allowing the cake to come to room temp before serving it because it seems to taste a bit moister. An assembled two-layer cake will keep airtight in the fridge for up to 1 week, although I find it tastes best in the first few days but take note, you can bake/assemble/frost this easily 24-36 hours before an event and store it at room temp since buttercream frosting is safe at room temp for up to 3 days because of the high sugar content.
- Baked, but unfrosted, cakes will keep airtight in the freezer for up to 3 months, and buttercream frosting will also keep for about 3 months in the freezer, so you may consider baking the cakes themselves, cooling them, freezing them, making the frosting, and then freezing everything separately. And then frosting/decorating the cakes if you need to be able to serve dozens and dozens of people all at once and can’t possibly bake enough cakes all at once to serve everyone (such as an engagement party or even a wedding); and in situations like this the freezer therefore is a good plan-ahead option so you can prebake off some of the cakes and premake some frosting.
Recipe is inspired from Cook’s Country however the assembly process of the cake is my own as well as the buttercream frosting recipe and technique.
Notes
Nutrition
Nutrition information is automatically calculated, so should only be used as an approximation.
©averiecooks.com. Content and photographs are copyright protected. Sharing of this recipe is both encouraged and appreciated. Copying and/or pasting full recipes to any social media is strictly prohibited.
More Homemade Cake Recipes:
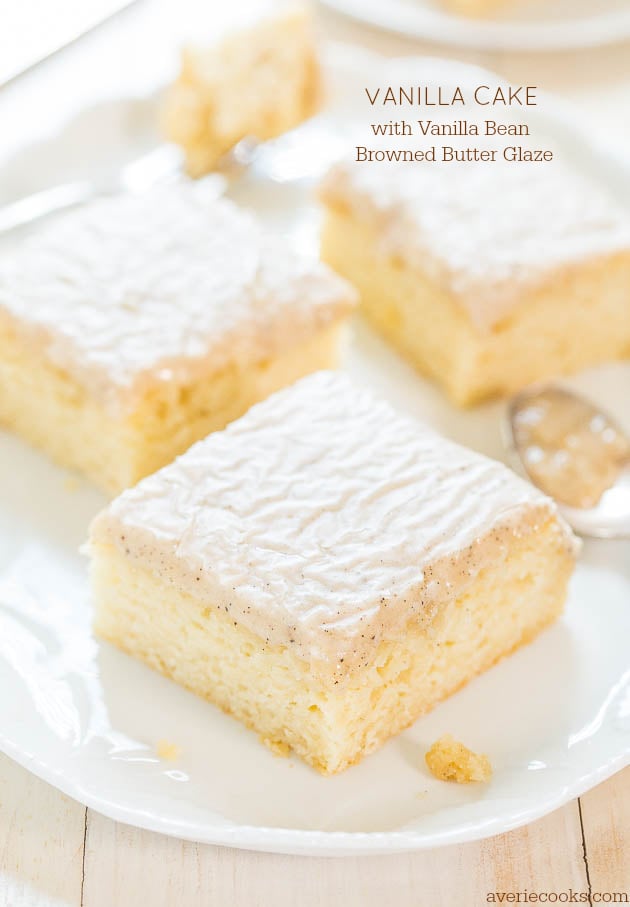
Vanilla Cake From Scratch — Move over chocolate, because vanilla has arrived. This no mixer, easy vanilla cake is topped with a browned butter glaze that’s impossible to resist!
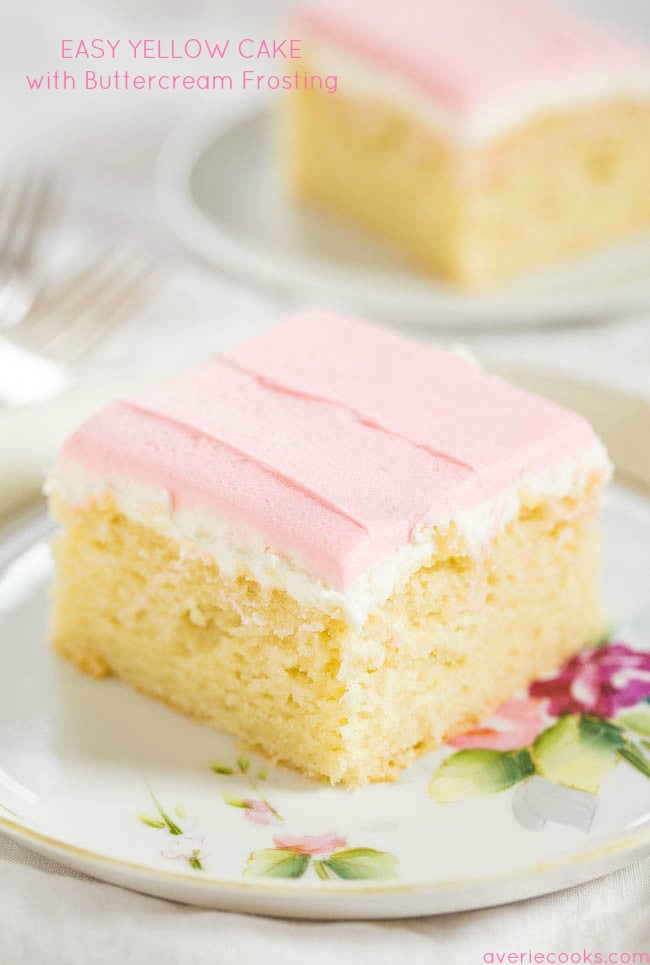
Homemade Yellow Cake Recipe — This is the easiest yellow cake from scratch and it tastes like a million bucks! This yellow cake recipe always turns out supremely moist, springy, soft and fluffy cake thanks to buttermilk, sour cream, and oil. Who needs the bakery?
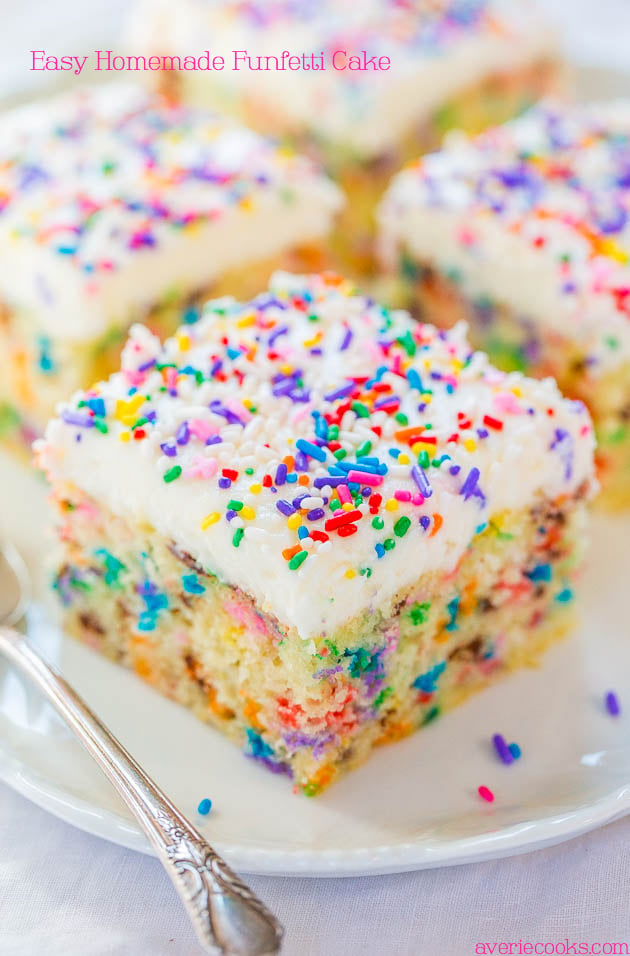
Funfetti Cake with Funfetti Frosting — This cake is as close to store-bought funfetti cake mix that I’ve been able to replicate at home. I have no shame in admitting my love for that stuff, but it’s nice to be able to pronounce all the ingredients and prep a cake from scratch in literally 5 minutes!
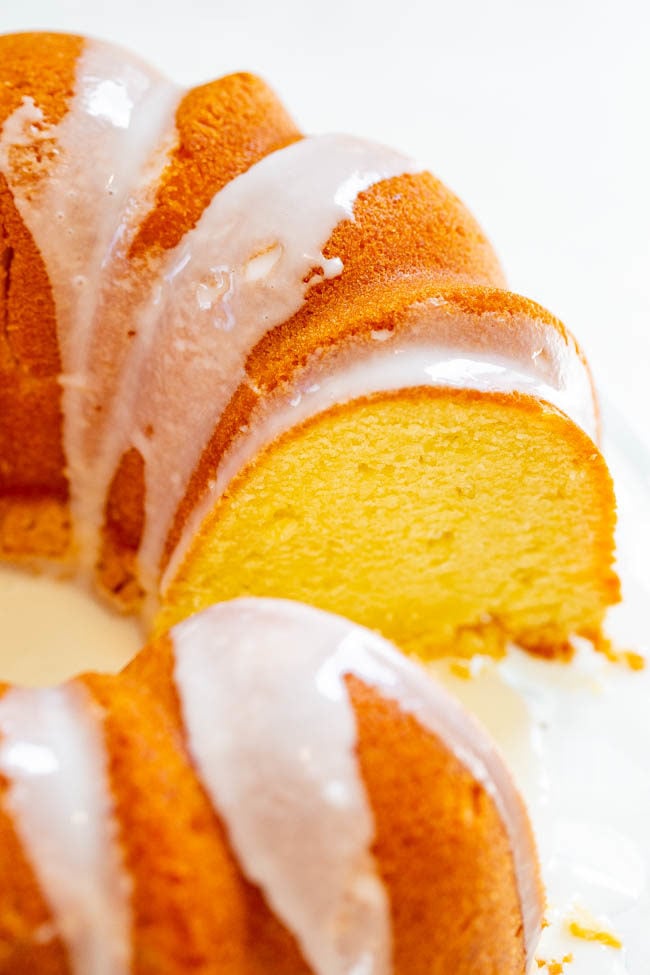
Easy Glazed Pound Cake — This EASY, buttery, velvety pound cake will be the star of your next party or celebration! If you’re looking for that PERFECT pound cake recipe, this is the one!
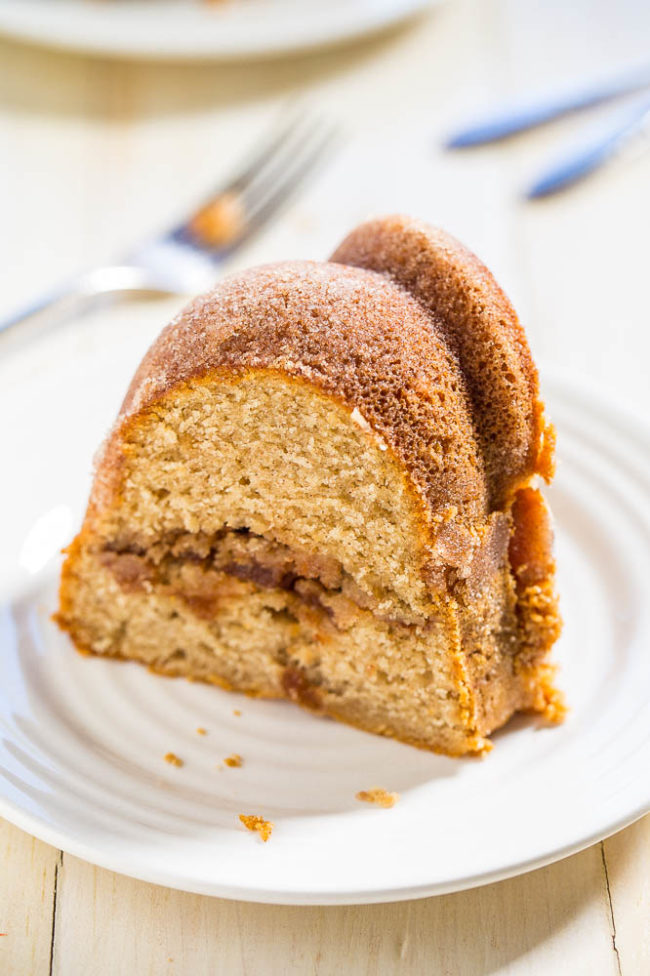
Snickerdoodle Cake— The interior of this addicting snickerdoodle cake is soft, buttery, dense, and has an almost pound cake-like texture. The cinnamon-sugar filling is my favorite part!
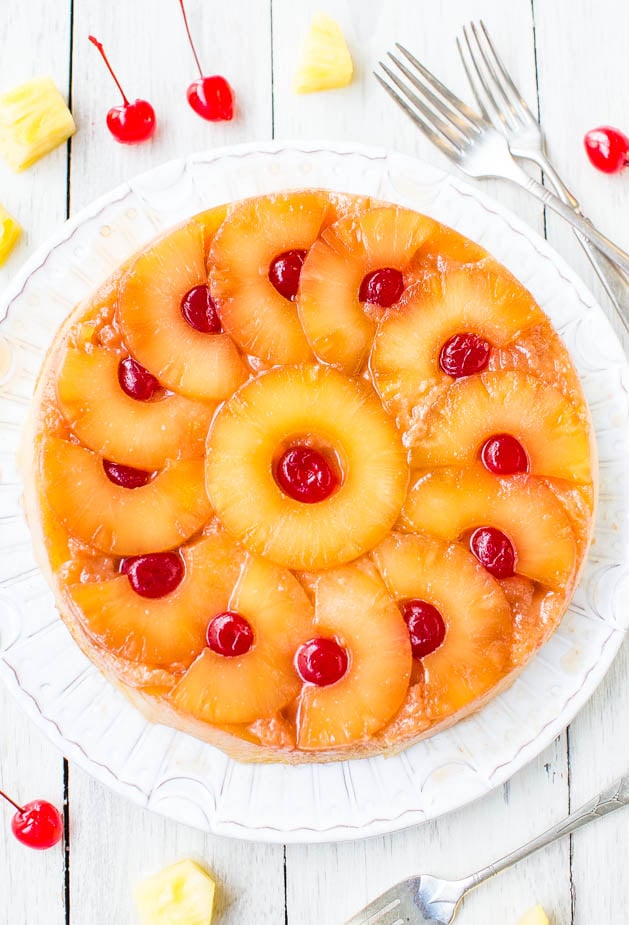
The Best Pineapple Upside-Down Cake — A cheery, happy cake that’s sure to put a smile on anyone’s face! This 100% from-scratch cake is an EASY reader favorite you’re going to love!!
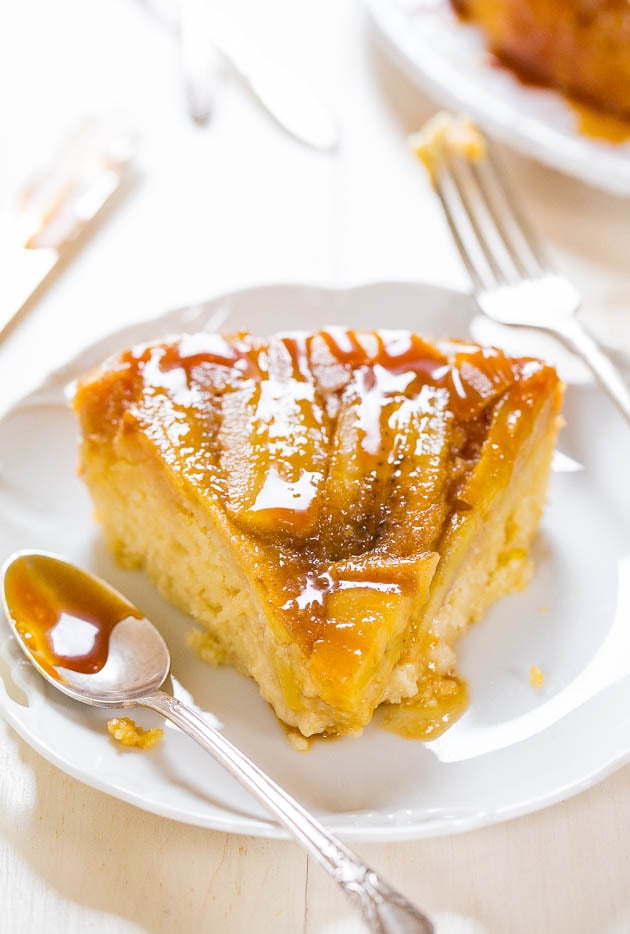
Caramelized Banana Upside-Down Cake— This upside down cake is super moist thanks to the combination of sour cream, buttermilk, and vegetable oil. It’s so easy to make, and the caramelized banana flavor is impossible to resist!
great
great
Excellent Recipe. Great Menu Choices. YUMMY !!! I’ll Definitely Try It.
Great
Excellent Recipe. Great Menu Choices. YUMMY !!! I’ll Definitely Try It.
for the white cake if i make a 9×13 size cake how long do i bake it
for the white cake if i make a 9×13 size cake how long do i bake it
Hard to say exactly but I would go with about 25 minutes and then keep checking from there until it’s done.
Your post says preheat oven to 375, but the printable recipe says 350. Which is correct?
It’s 350F. Post updated. It was a very long post to write and the other was a typo.